In Dynamics CRM 2013 ‘LEO’ release Queues are further enhanced to now support Public and Private Queues. Through this blog post we will review the enhanced feature of Queue in general.
Introduction of Private Queue would help user’s focus on their cases and resolve at better rate. Only those users who are members of a private queue can see and work on the items of that queue. Private queues can be created from Settings >> Business Management >> Queues >> NEW
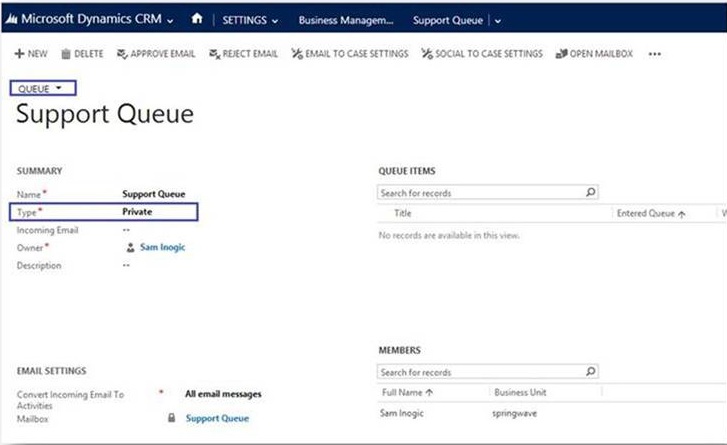
In Queue form, specify the name of the Queue, Select the “Type=Private” and save the Queue. After saving the queue you will notice that the Owner of the Queue will automatically get added into the Members grid as you can see in below screenshot:
Important points:
- As you know for each user or team, a queue used to be created by default in the system. Now such queues will be converted to Private Queues.
- When a private queue is created the Owner of the queue will automatically get added into the Queue members by default. To add more members click on the + sign on members grid and select the user.
- You can also remove the Members from the Queues by clicking on the “Trash” icon on line items.
- Members who are added in Private Queue will only be able to work on queue items of that Queue.
- While creating Queue, if you select the “Team” as owner of the Queue then all the team Members of that team will get added to that Queue as members. Whereas on update/ assign the members grid remain unchanged.
- BUT The “Administrator” of the Team will not get added into the Queue members.
- To add all the team members of any other team under a private Queue members, click on the + button >> change the Entity lookup on dialog to Team >> select the Team. Then all the members from that team will get added in the members grid.
- If any Team is Owner of private Queue with all its team members added in members’ grid of that Queue and suppose you modify the team to add any new member in that team then that newly added member will not get added under Queue members, they are not synced. If you are adding any new member/s in the Team then you need to make sure that you manually add those member/s to all the private queues where this team is Owner.
- After creating the queue, if you assign that queue to another user, then that user (i.e. New Owner) will not get added in the Queue members. Whereas the existing user (former Owner) will remain in the Queue members and will not get removed automatically. Also you need to manually add new owner to the Queue members.
Consider an example:
Queue A is private Queue and is having 3 members, one will be the owner of the Queue and other two are manually added. Now if you change the type of this Queue to Public then all the members will be removed, because it will be accessible for all the users depending on the user’s security role. And after that, if you again change the Type to Private then the previously added users are *not* restored in the Queue members, only Owner of the Queue will be retained under the members.
Add Cases to Queue:
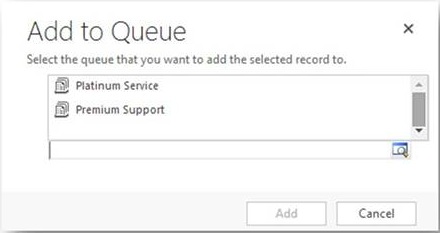
To add a case in Queue, select a case and click “Add to Queue”. The public and private business queues (Queues which are created manually) will be available in the lookup dialog as shown in below screenshot. It will only show Business Queues in pre-search
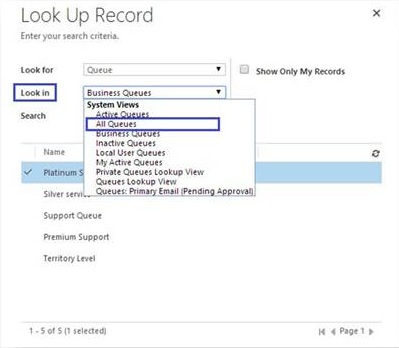
To find the other queues which are system generated, change the lookup view to “All Queues”.
Updated form experience of Queue entity:
In CRM 2013 ‘LEO’ release, Queue entity form is updated, now there will be two forms for Queue entity as “Information” and “Queue”.
Updated Queue form includes a new field named “Type” to allow selection of Private or Public. There are also two new sub-grids to display associated Queue Items and Members respectively.

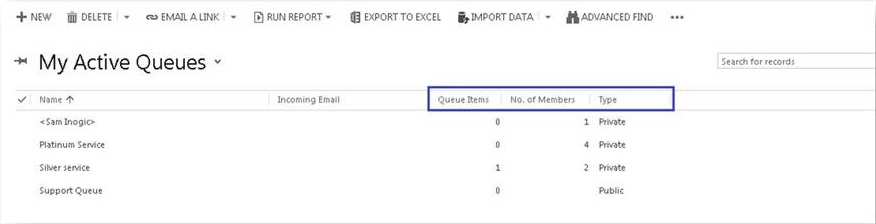
We can differentiate the Private and Public Queue from the Home Page Grid itself with the help of the “Type” column and the Queue members count i.e. “No. of Members” column. Also we can verify the No of Queue Items for each Queue as shown in below screenshot:
Command Bar Experience:
Previously the command bar on Services >> Queues used to display as below
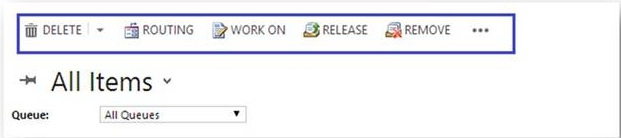
Now the same command bar will be displayed as shown in below screenshot in Leo. Routing is replaced by “Route” and Work on replaced by “Pick”.

Conclusion:
This is brief summary of enhancements to queue in Leo and also explains the behavior/ operation of private queues members. In our next blog we will explain features like how to route queued Item and how to use Assign, Pick, Release features of Queue.