Introduction
In this blog, we will focus on ‘User Template’. Adding Users to Office 365 with same configuration is now possible by creating ‘User Template’. User Template allows you to quickly add the user with a saved configuration.
Let’s consider a scenario of adding 5-6 users (Salesperson) to Dynamics 365 CRM with same basic information in common such as Product License, Password settings, Profile Info and Roles.
To create a User Template for the above scenario follow the steps given below:
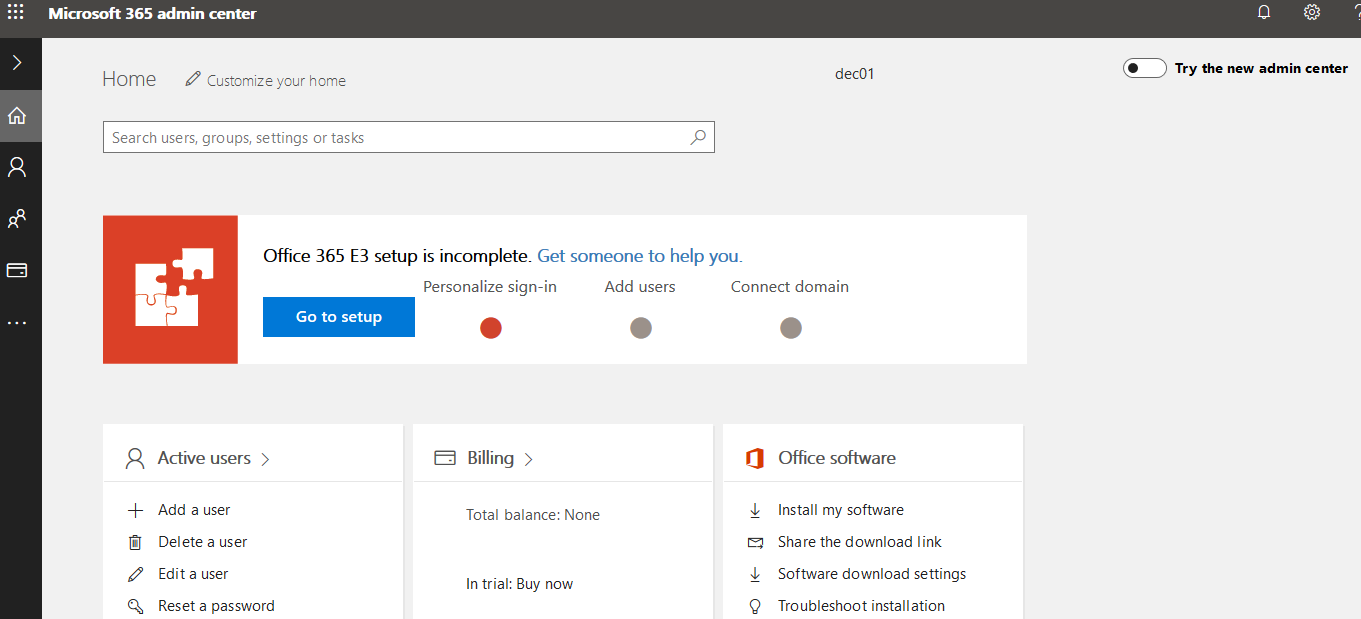
1. Login to Microsoft 365 Admin Center or use the url- https://admin.microsoft.com.
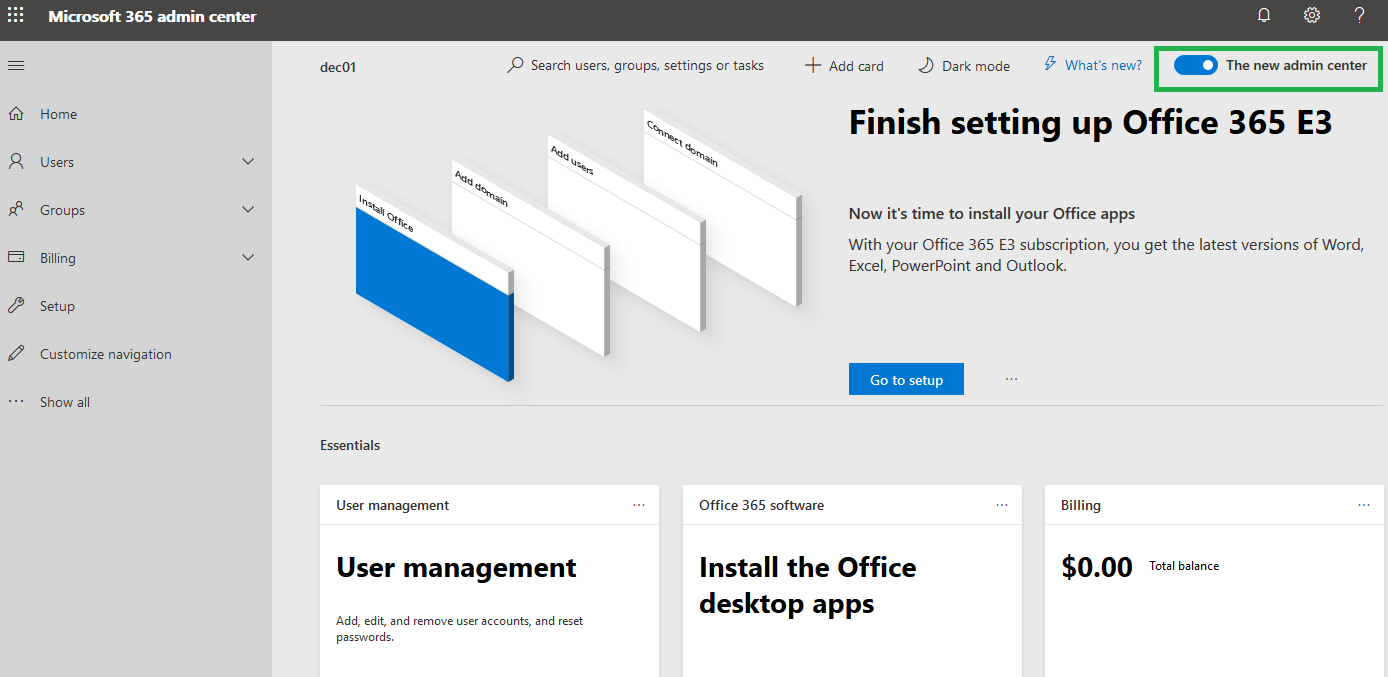
2. Enable the new Admin Center as shown in the below screenshot:
3. There are two ways of adding a new ‘User Template’.
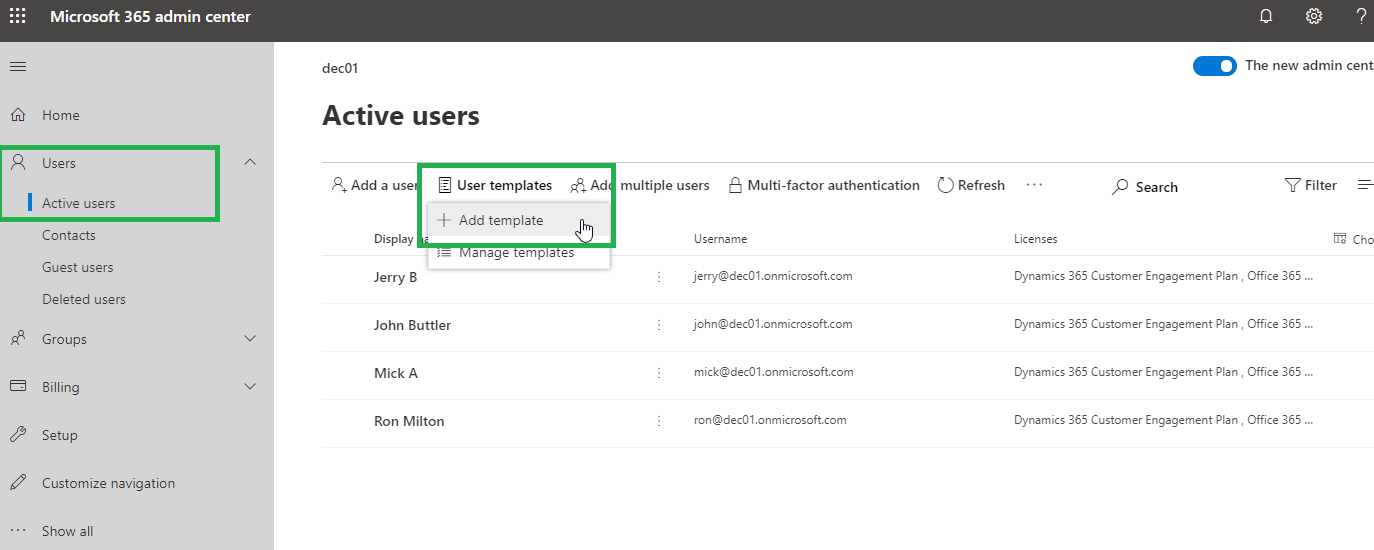
a. Navigate-> Users-> Active Users-> User Template-> Add Template.
b. Or, while adding a new user from the Active Users page, we can save all the settings for that user as a template.
4. Let’s create a Template using step (a).
Navigate-> Users-> Active Users-> User Template-> Add Template.

Provide template name and description for the template. Here, I have named the template as ‘Salesperson Template’.
After filling the relevant information click on Next button.
5. Next step is to select the domain and password settings. Then click on Next button. (if we enable ‘Auto-generated password’ the new password will be visible as soon as we finish adding the user using this template.)

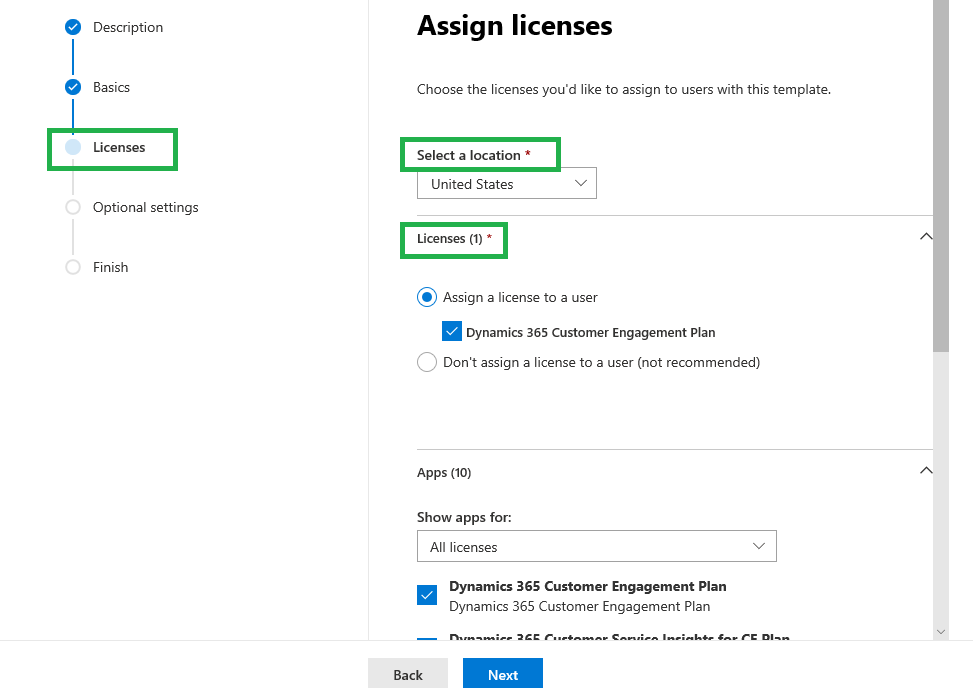
6. Once the password setting is done we need to choose the License and Location we would like to assign to user with this template. Now click on Next button.
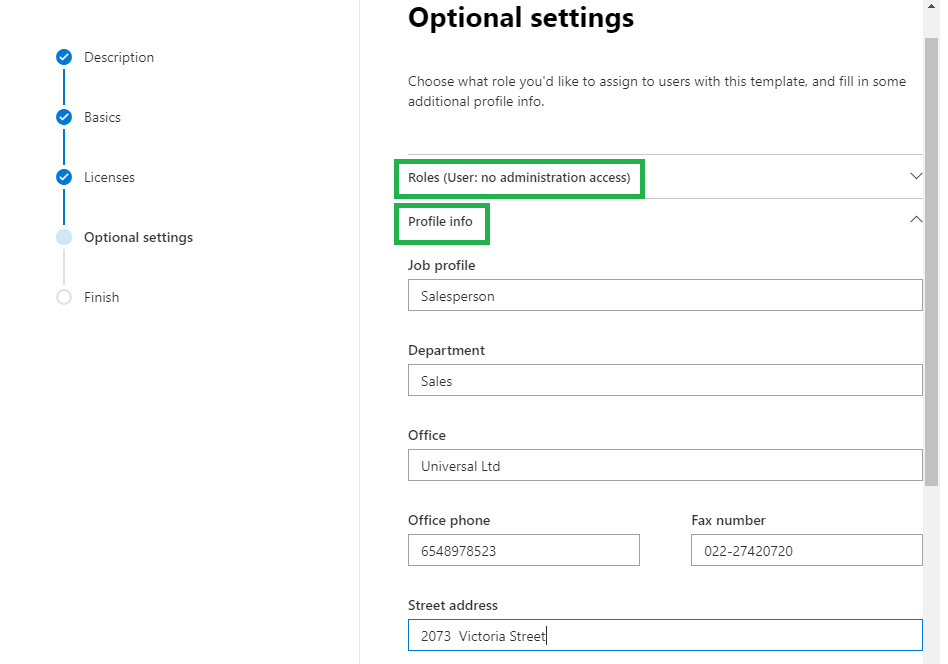
7. Next comes the Optional settings which consists of assigning a role to users with this template and fill in some additional profile info of users such as Job profile, Department, Office and so on. After filling all the details in Licenses tab proceed ahead by clicking the Next button.
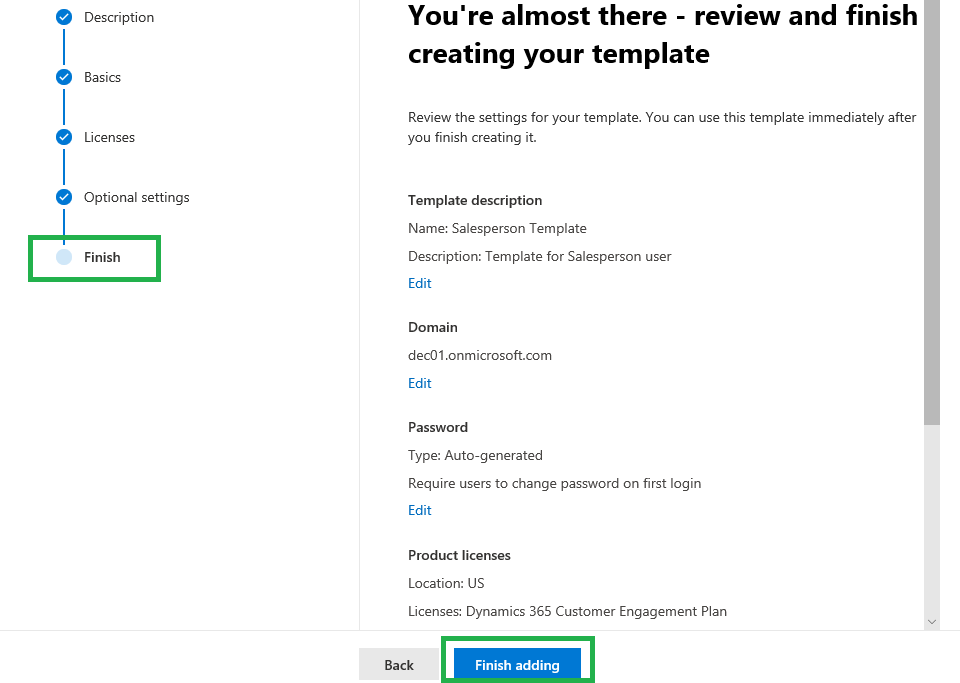
8. Finally review the template. Once verified click on ‘Finish adding’ button.
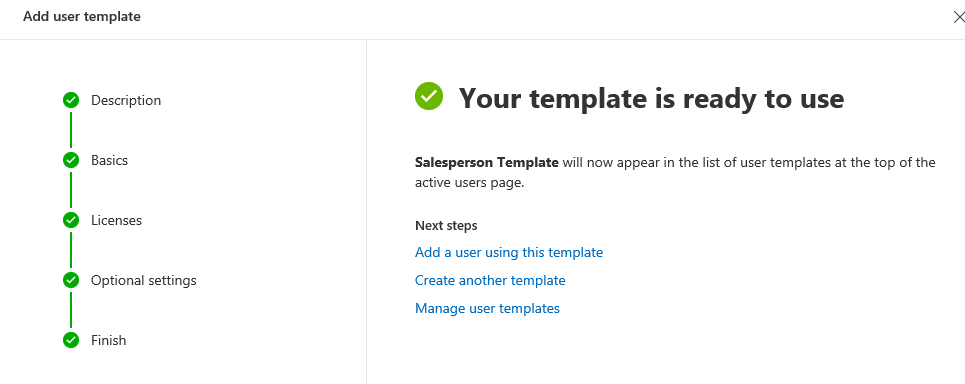
9. Once the Template is created successfully, the newly created template will appear in the list of User template at the top of Active Users page. Using the newly created template, we only need to fill out specific info for each new user i.e. First name, Last name and Username.
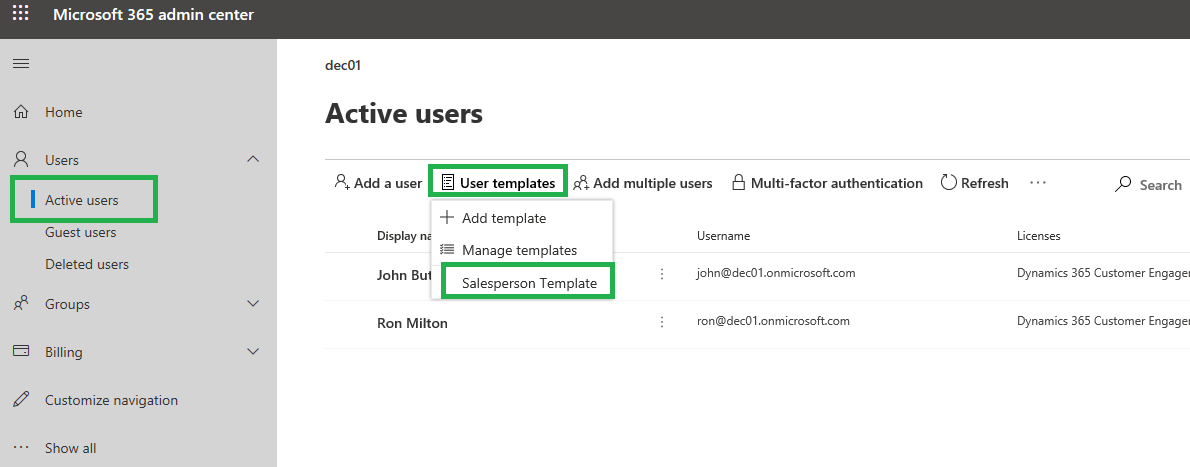
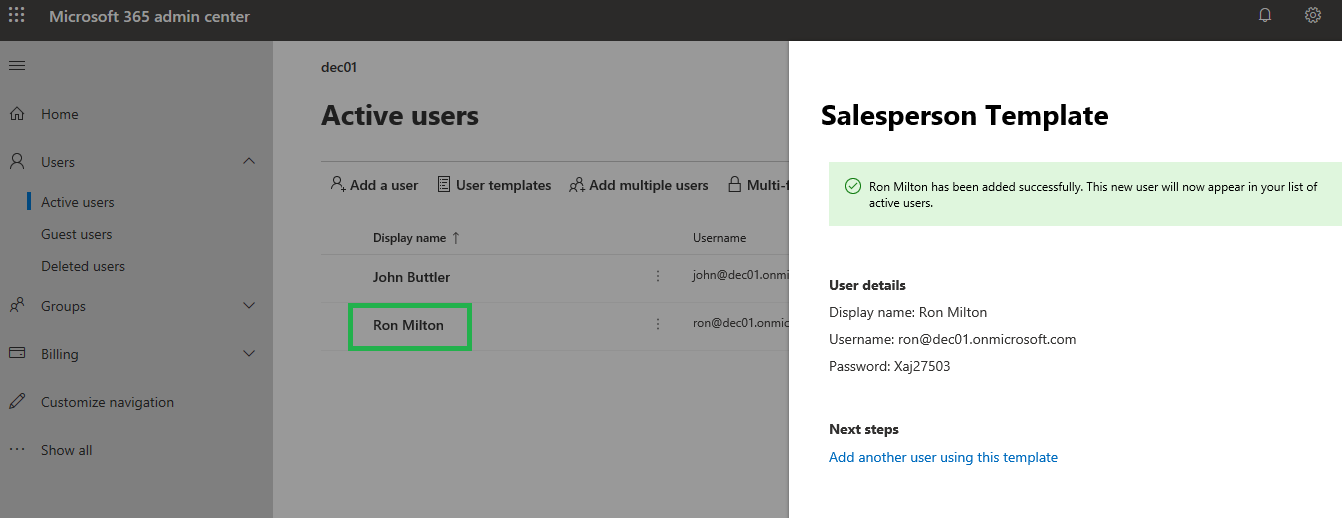
10. Now let’s add user using the template (Salesperson Template).
Navigate-> Microsoft 365 Admin Center-> Active Users page-> User templates-> Salesperson Template.
Provide First name, Last name, Username and click on ‘Add user’ button.

11. Let’s create the User template using step (b) i.e. while we add a new user from the Active Users page.
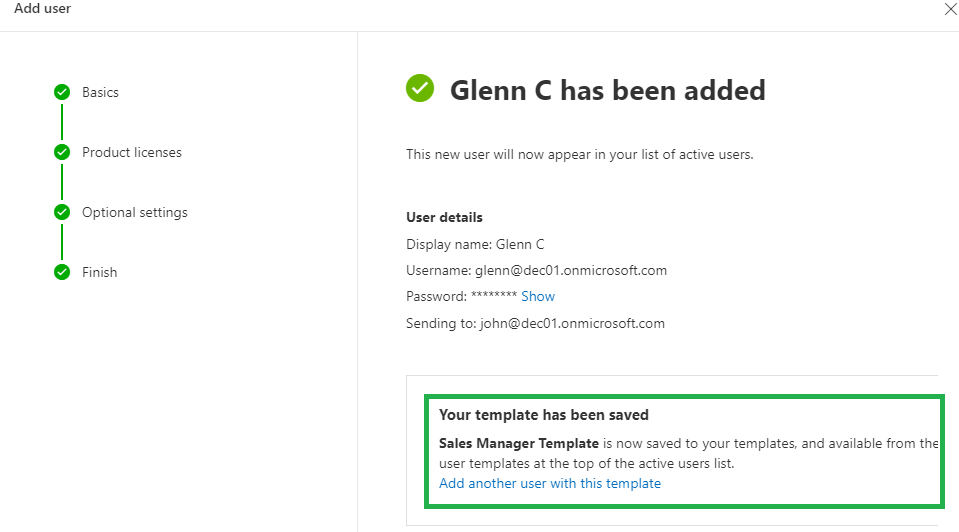
Navigate-> Microsoft 365 Admin Center-> Active Users page-> Add User. Fill in the details for all tab such as Basics, Product License, Optional settings and finish creating the User. Once you finish adding the user, provide name and description for the template and click on ‘Save as template’ button.

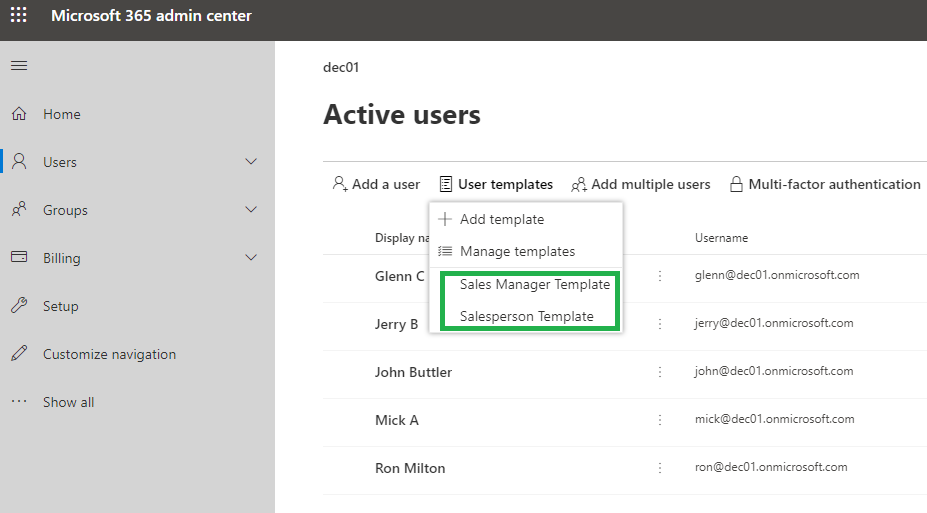
12. User Template created using both the steps (a and b) will be visible under User Template on Active Users page.
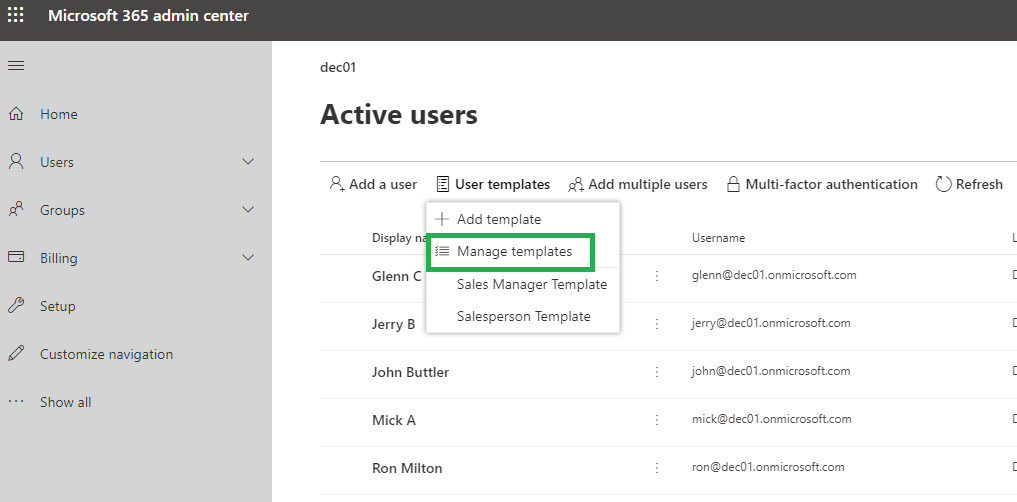
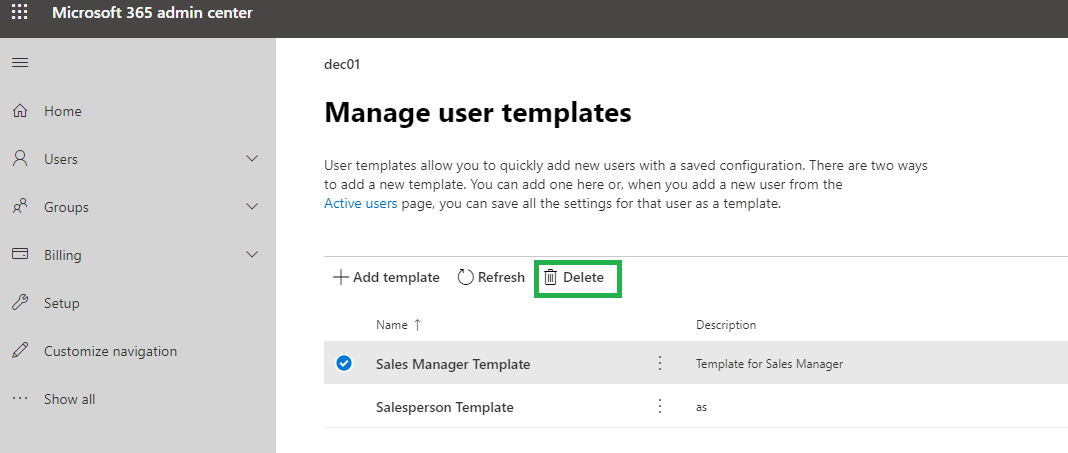
13. If we want to manage (delete) the User Template, just go to Microsoft 365 Admin Center-> Active Users page-> User templates-> Manage templates, select the template and click on delete button.
Conclusion
In this way, we can easily add users to Office 365 with the help of ‘User Template’.
