Introduction
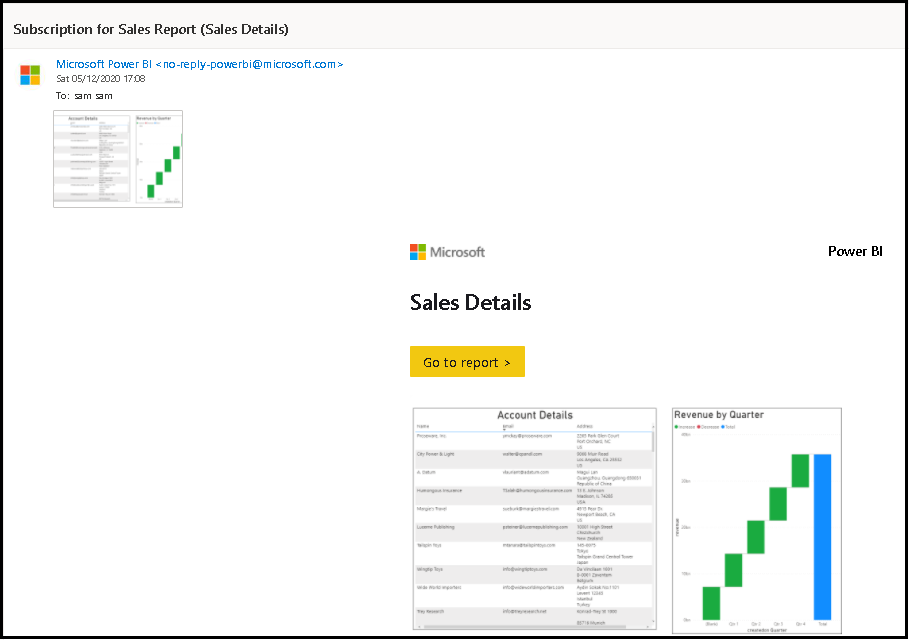
We can send the Power BI report or Dashboard details through email using the “Subscribe” button in the Power BI service. Power BI takes a screenshot of Dashboard/Report and an email screenshot is sent to the user’s inbox. Also, in the email body, it will have a “Go to Report” button, so by clicking this button user can open an embedded Power BI report (this is optional to show the report. If you don’t want the “Go to Report” button in the email body then you need to uncheck the property while scheduling “Subscribe”.)
Before moving forward I want to let you know that configuring this feature requires a Pro or Premium license.
Please follow the below steps to configure Subscribe to email:
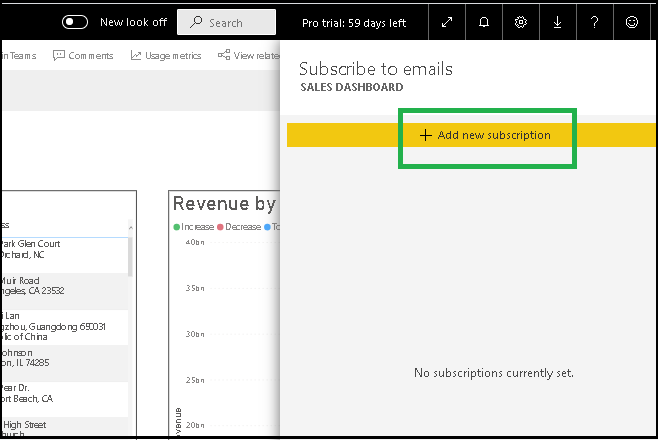
Step 1: To configure ‘Subscribe to email’, we need to click on the “Subscribe” button, please refer to the below screenshot:

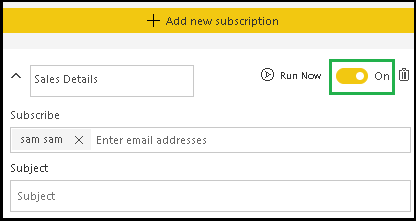
Step 2: On click of the ‘Subscribe’ button a new form will open, click on the “+ Add New Subscription” and the configuration setting will open, as you can see in the below screenshots:
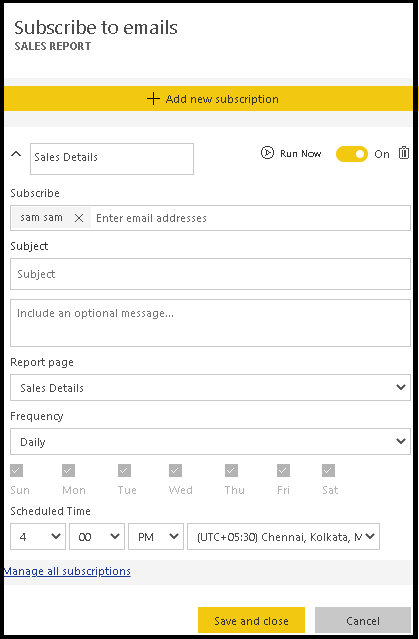
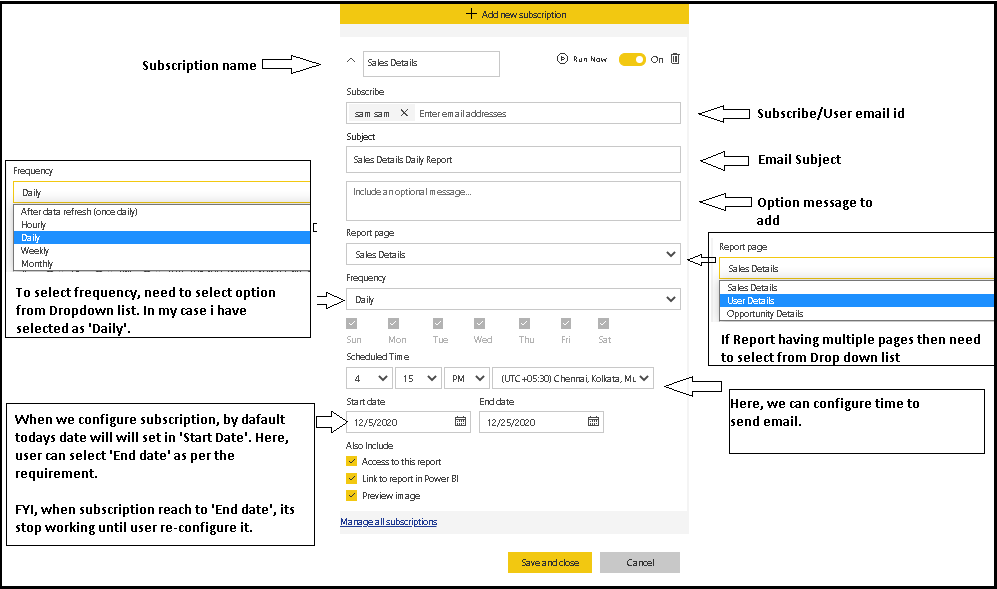
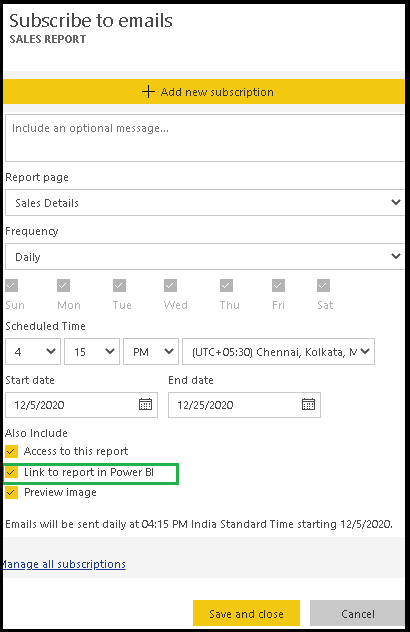
Step 3: For the next step, we need to configure details like Subscription name, email subject, an optional message, Frequency (i.e. Send email on Hourly/Daily/ Weekly/Monthly/ after data refresh basis), schedule Time (i.e. Time to send email) and other details.
Step 4: Click on the ‘Save and Close’ button and it will start working for you.
Note:
- This feature is suitable if you have charts in Reports or have a limited number of records that fit in a table. If you have a large number of records in a table and to view all records you need to use the scrollbar/Pagination then “Subscribe” will not work properly. Since it takes a screenshot of the current visual, it leaves remaining records. FYI, in the email, it will have a “Go to Report” button, so the user can open an embedded report and view all details here.
a) If the Report having multiple pages and you want to send all pages then need to create a new subscription for each page. And for each page user will receive a separate email.
Send Power BI Dashboard details through Email:
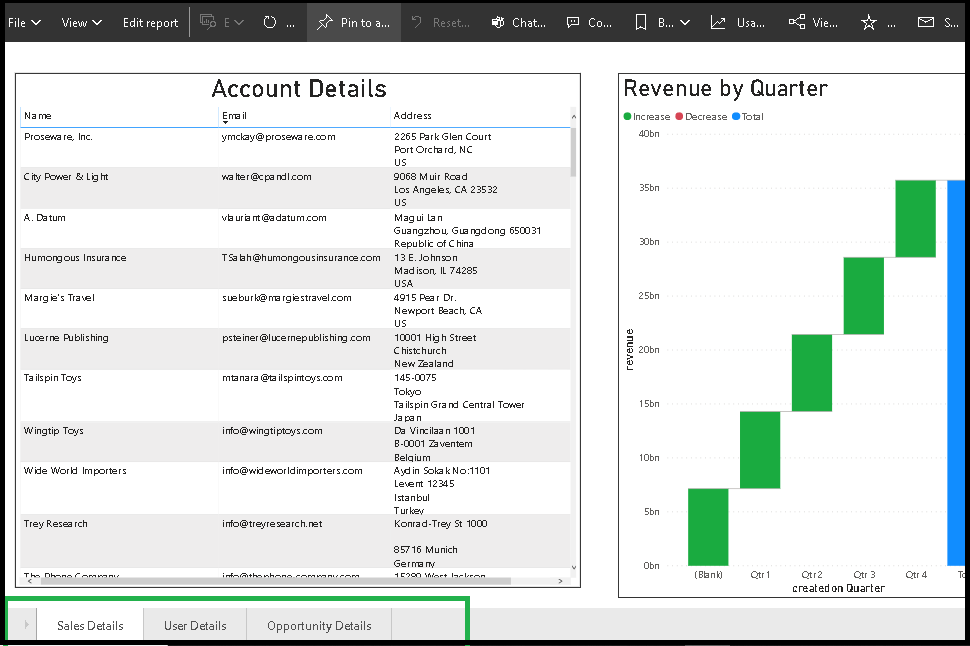
Using the “Pin a Dashboard” button we can add report all pages to the Dashboard. And using the “Subscribe” button we can configure ‘Send to email’ for Dashboard.
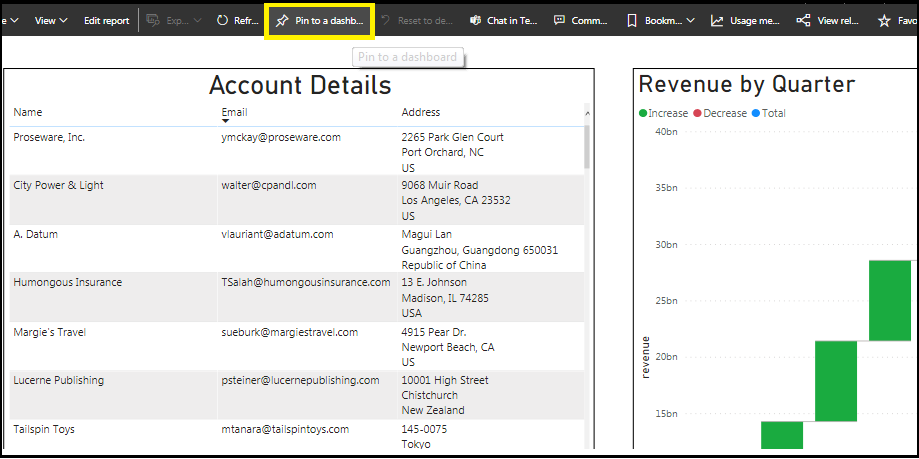
Here, the user will receive a single email that will have a screenshot of Dashboard (i.e. Show all pages in a single screenshot that are added on Dashboard).
Below is the screenshot received Email:
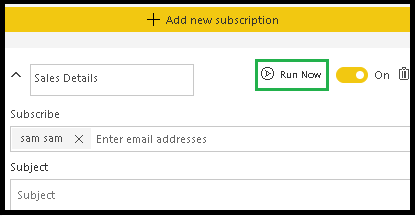
b) On-Off, delete or Manually run Subscription:
- On-Off Subscription: Using the Yellow on/off toggle button we can enable or Disable subscription. If you don’t want to trigger Subscription then need to set ‘off’ here.
- Delete Subscription: By clicking the delete button icon, we can delete the subscription.
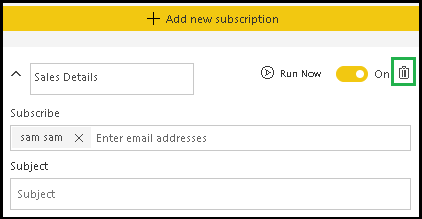
- Run Now: We can test Subscription by clicking the “Run Now” button, it will send an email right away.
- Remove ‘Go to Report’ button: If you don’t want the ‘Go to Report’ button in the email then un-check the “Link to report in Power BI” property. By default this property is checked/enabled, as shown in the below screenshot:
Conclusion
Using the “Subscribe” button, we can send the Power BI report/ Dashboard details to users through email. Also, we can set recurring for “Subscribe to email”, so it saves user efforts.
Cut short 90% of your manual work and repetitive data entry!
Get 1 Click apps and say goodbye to all repetitive data entry in CRM –
Click2Clone – Clone/Copy Dynamics 365 CRM records in 1 Click
Click2Export – Export Dynamics 365 CRM Report/CRM Views/Word/Excel template in 1 Click
Click2Undo – Undo & Restore Dynamics 365 CRM data in 1 Click