In our last post we saw about how to configure entity map in your Maplytics. One of the parts of configuring the entity map is to define the data that you would like displayed in the tooltip of the pushpin. This post covers setting up the attributes to be displayed.
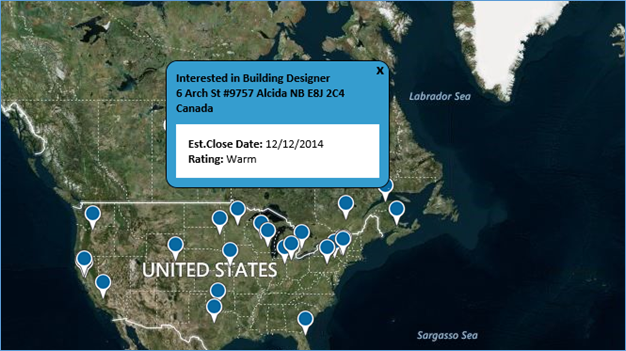
Tooltips are callouts that pop up and show quick information about the record associated with the pushpin.
Here is how a tooltip shows up for a pushpin in Maplytics.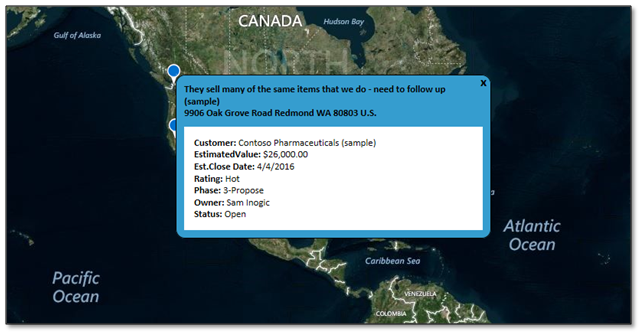
Follow these steps to configure your tooltip
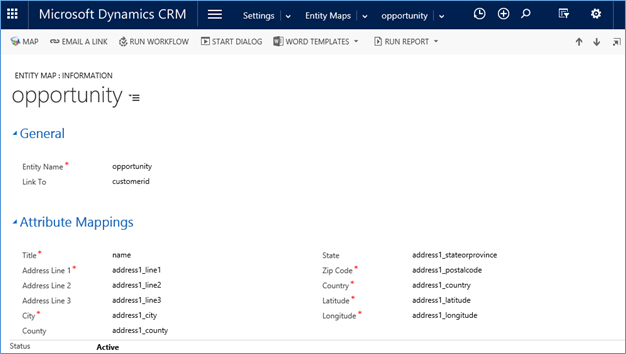
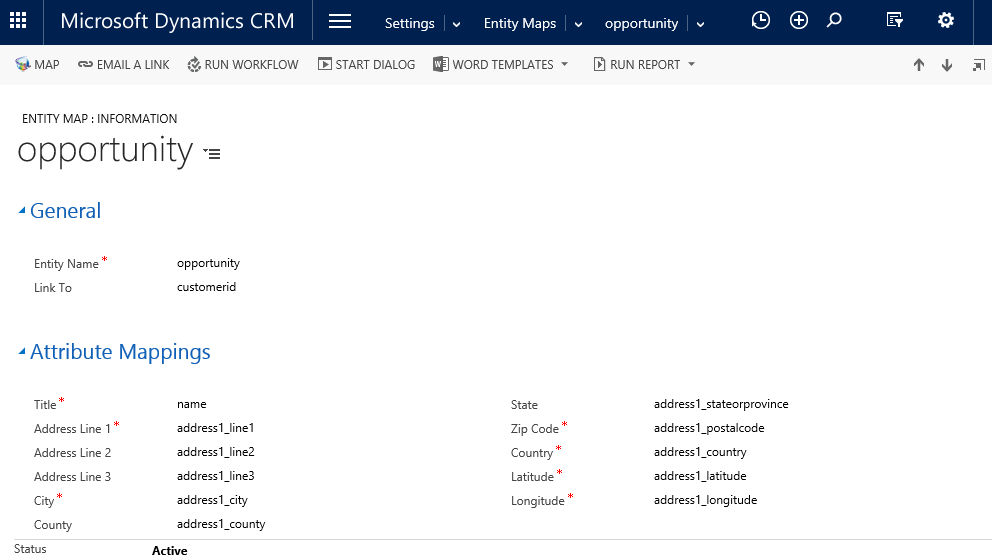
- Go to Settings → Entity Map → Select the Entity Map. It will show the list of entities. Select the required entity. This brings up the following entity map form.

- Scroll to the Tooltip Mapping section. This section allows for configuring the fields for both the Tooltip as well as the Listing of the search results. For this article we would choose the Tooltip option as shown in the below screenshot.

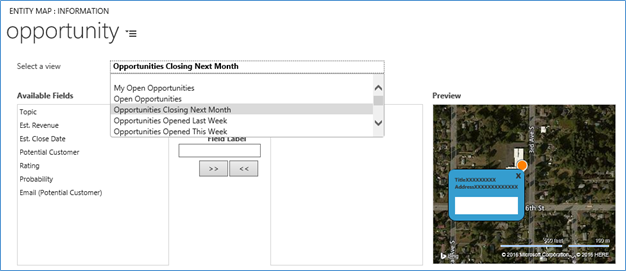
- You can select the required view from here.

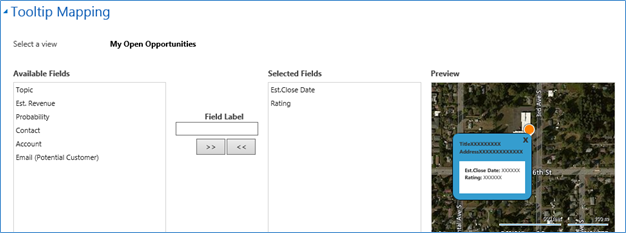
- It will list out all fields of the selected view. Select the field you want to add, after selecting any field it will automatically displayed in the Field Label, you can change that label as per your choice. Then click on forward arrow button to add attribute.
- You can drag and drop fields to change the sequence in which these fields should appear on the tooltip.
- After configuring fields, click on save button to save the changes.

With Maplytics all your client information is within your Dynamcis CRM and at your tip.