Introduction:
Entity List allows users to show the lists of records in Microsoft Portal. Recently, we had a business requirement to configure Delete record on the Entity List in Microsoft Portal. Configuring actions for Entity List is similar to configuring actions for Entity Form.
Steps to configure Delete records from Entity List Grid:
1. Go to the Portals > Entity List and select the entity list in which you want to configure the Delete
2. Once you open the Entity list form, check the ‘Enable Entity Permissions’ as seen in the screenshot below;
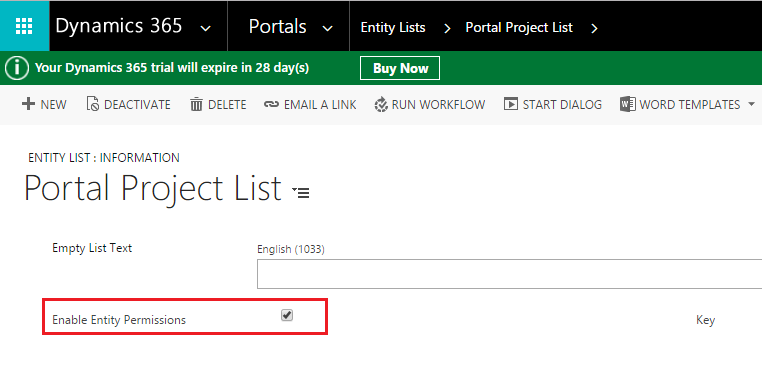
Note: If you have not checked the ‘Enable Entity Permissions’, the Delete button will not be visible.
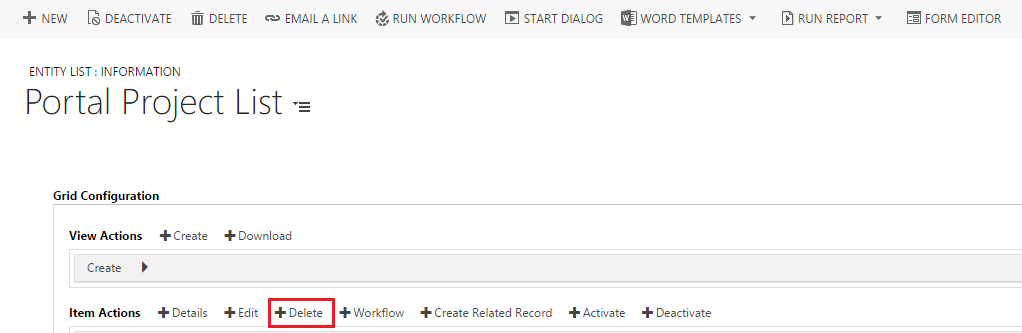
3. Then go to the Option tab > Grid Configuration section, and click on ‘+Delete’ button to add the Delete button on the Entity List as seen in the screenshot below;
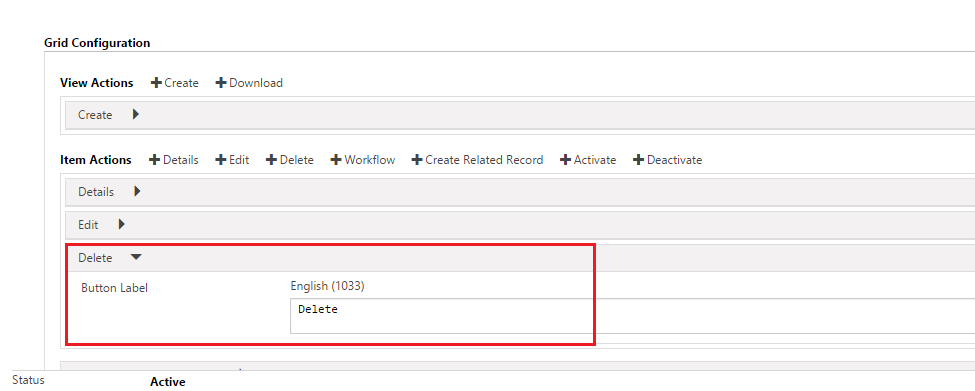
Once you click on Delete button, you will get the below screen. Just enter the Label for the Delete button and click on Save as seen in the screenshot below;
4. Now go to the portal and click on the web link on which we are showing the Project List as seen in the screenshot below;
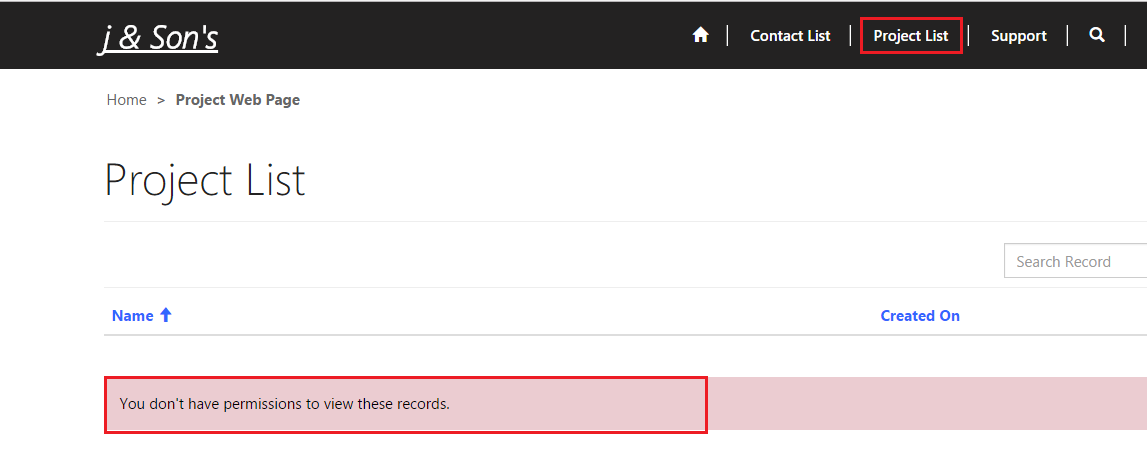
As we checked the ‘Enable Entity Permission’ in step 2, we get the above error message which notifies that the portal user does not have sufficient permission to view, update or delete the record.
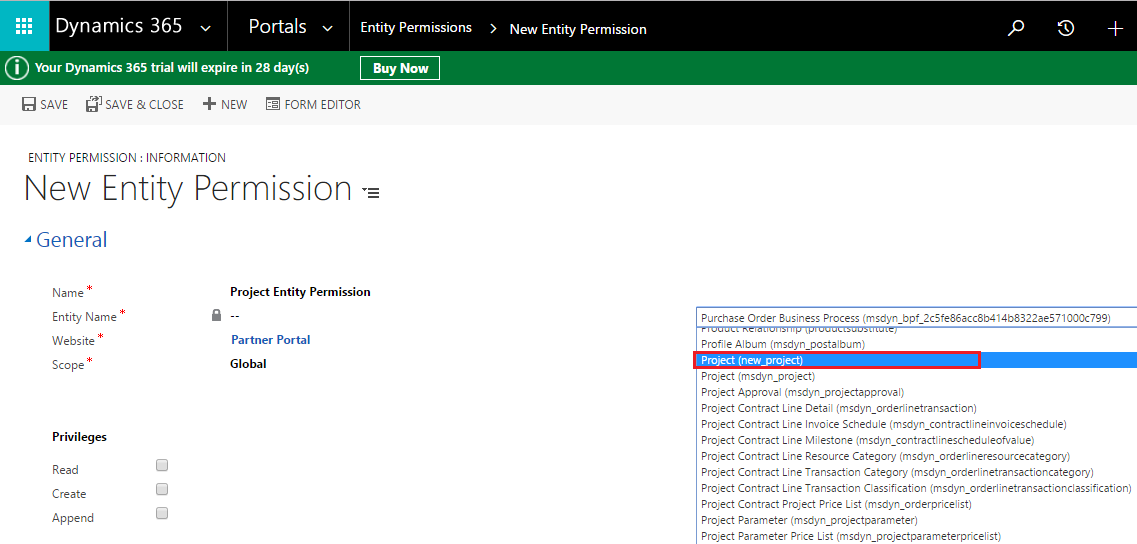
5. To resolve this issue, we need to create Entity Permission in the Portal. Go to Portal > Entity Permissions and enter the name, select the Scope and Entity for which we are creating Entity Permissions. Also, select the Privileges to the user and Save the Entity Permission record.
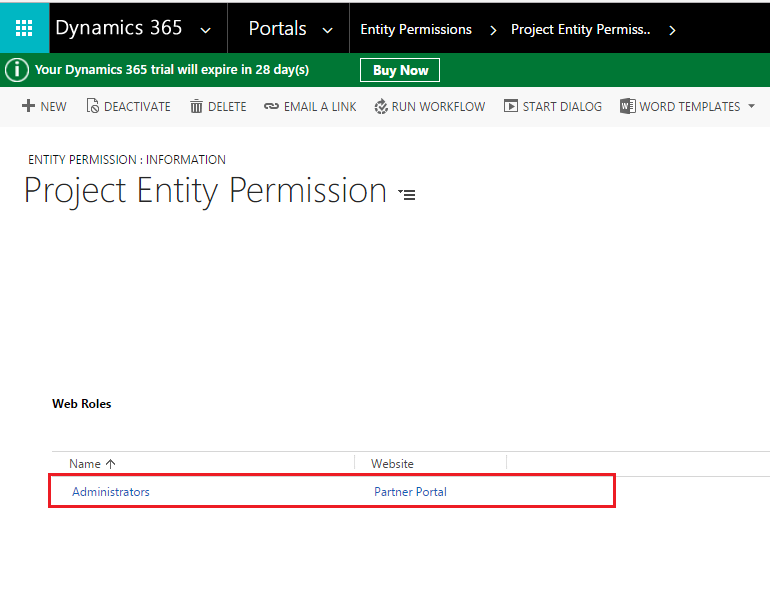
6. After saving the record scroll down to the Web Role section and add the Web Role to the Entity Permission as seen in the screenshot below;
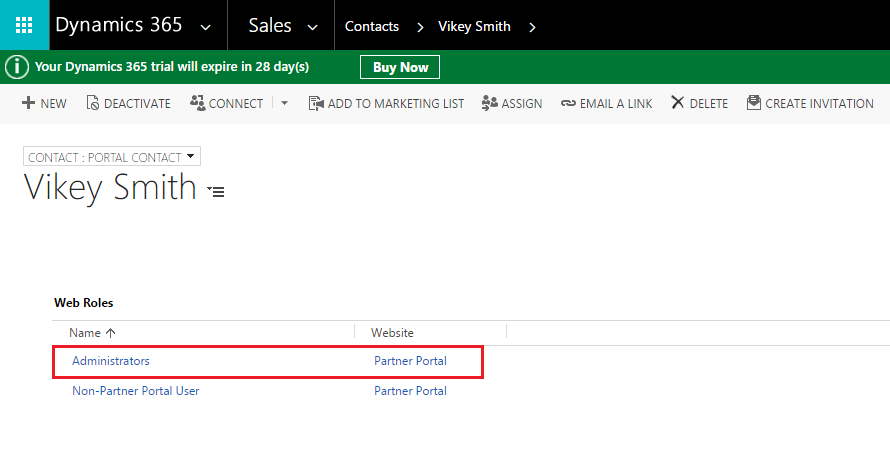
7. After adding the Web role, open the Contact record which is used to log in to the Portal. On the Contact record scroll down to the Detail section and add the Web Role to the Contact as seen in the screenshot below;
8. Now, refresh the Portal, and you will see the Delete button on the Entity List form as seen in the screenshot below;

Conclusion:
While configuring Delete records from Entity List grid, ensure that you have checked ‘Enable Entity Permission’ and created Entity Permission in the Portal.