Introduction
Using the Power Automate (Flow) and an on-premises data gateway, we can automate a process for organizations where they want to communicate their systems from on-premises networks to Cloud.
For example, automating a routine task when a defined event triggers on on-premises networks or local servers. Defined event maybe when a file is created in the local server folder.
In this blog post, we are going to learn how to trigger the Power Automate Flow on creating a file on an on-premises network and create a Dynamics 365 CE (Online) entity/table record and upload that local file to a newly created record. Let’s explore.
Install the on-premises data gateway
Before you get started, you need to install the on-premises data gateway on a machine where you want to put your files. This machine must be always on and connected to the internet.
You can find the Additional details/steps about gateway installation here.
While registering the gateway, be sure to use the same credentials as the one used to sign-in to Microsoft Flow.
Follow the below steps below to create a Flow:
1. Create a new solution or open your existing solution. Create a new Flow. Make sure you have selected the correct environment.
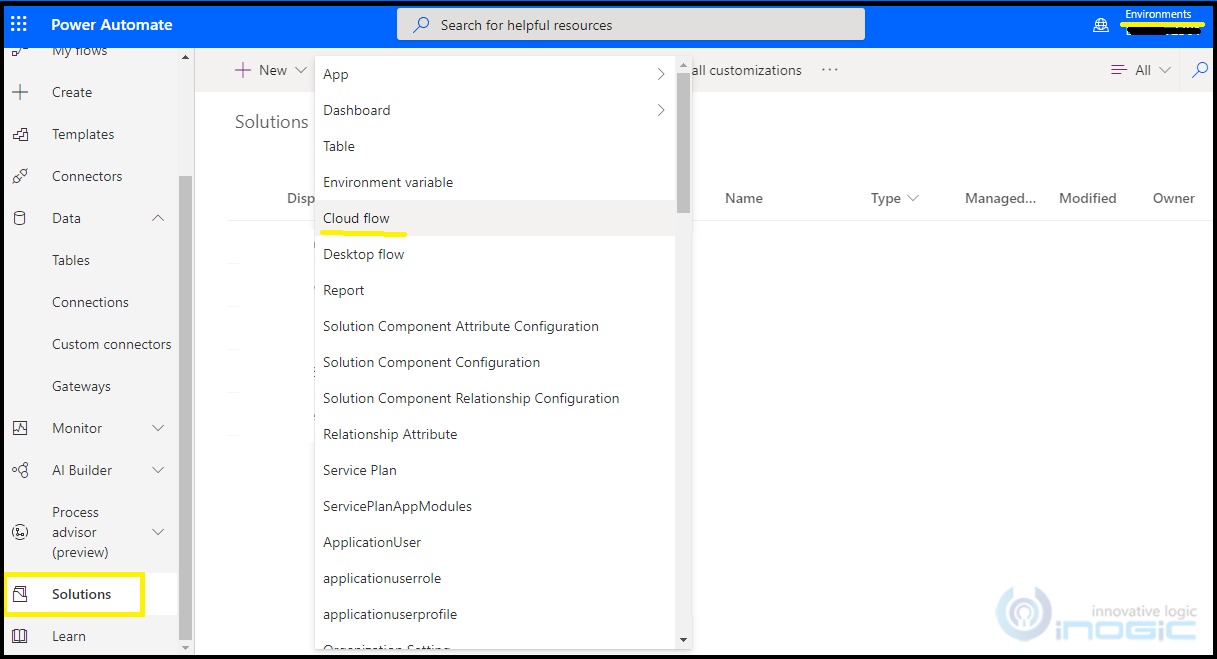
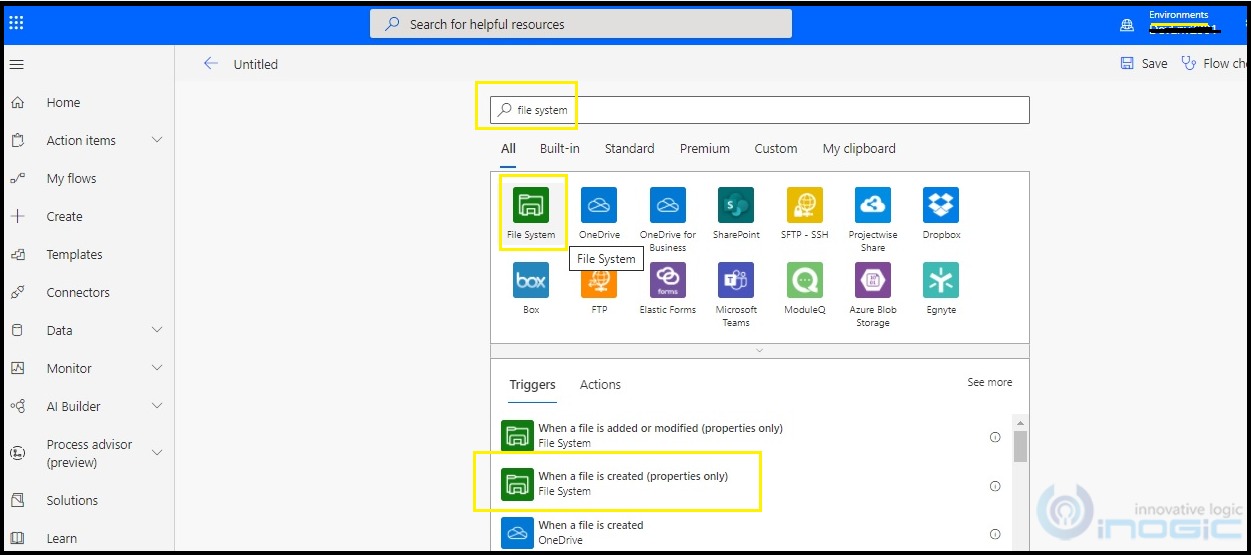
2. Select file system trigger – “When a file is created”.
3. Configure the File system connection for your on-premises data gateway. Here, specify the gateway name which we have installed on on-premises network. For Root Folder, set the root folder path to which you want to access by the gateway. The folder path must be from the machine where the gateway is installed or in the same network.

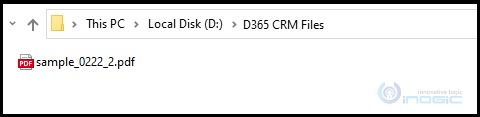
4. Set Folder- Set the folder path where you want to put/create the files to trigger the flow and upload to Dynamics 365 records. It may be root folder or its child folder.

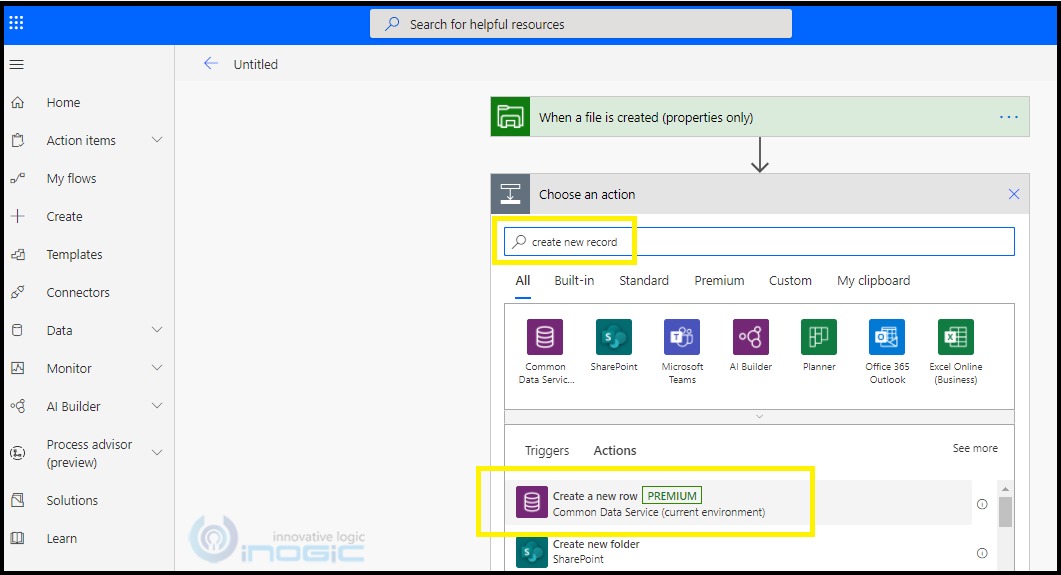
5. Add action to create new Dynamics 365 record.
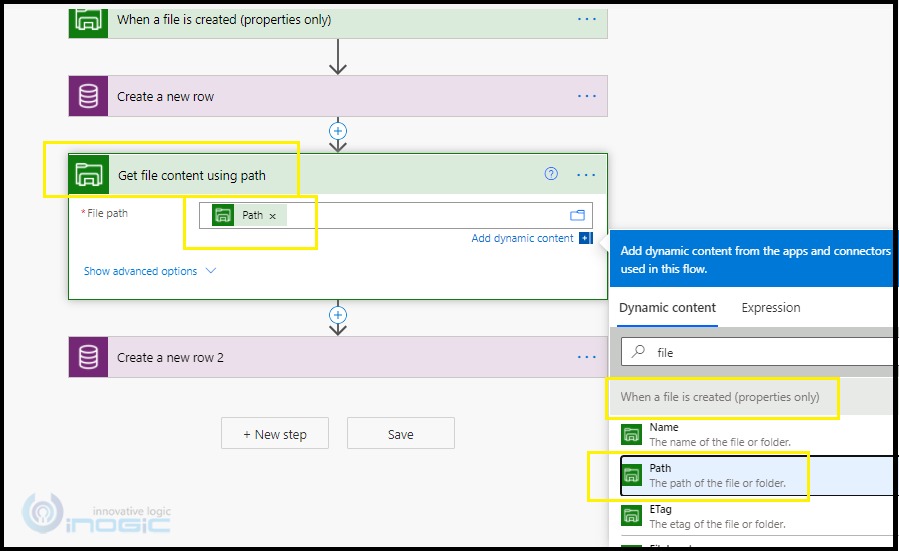
6. Specify details for the new record which you want to when the file is created in the on-premises folder. Here you can use the file attributes. For example, file name, path, etc.

7. Add new action, get file content using the path.
8. Add a new action to create notes for the above-created records and upload the file. Here, I used a pdf file so I set Mime type as ‘application/pdf’, update the correct Mime file for your file.

Importantly, also set the regarding for notes records,

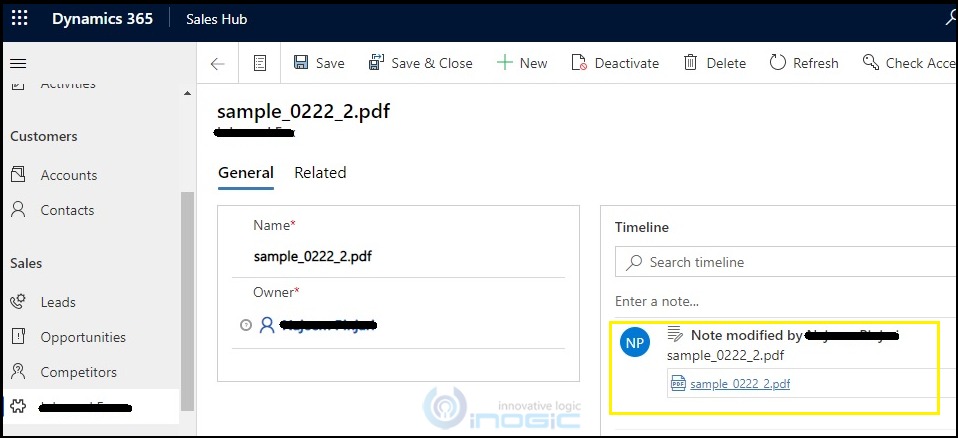
9. Now Save and test your flow. Whenever a new file is created to your specified on-premises folder, a new record will be created with the attachment of created file.
Conclusion
We can automate a process to pick files from on-premises networks and upload into Dynamics 365 CE Online through Power Automate FLOW.
Free 70% of storage space in CRM with Attachment Management Apps!
Attach2Dynamics – Store and manage documents/attachments in cloud storage of your choice – SharePoint, Dropbox or Azure Blob Storage from within Dynamics 365 CRM.
SharePoint Security Sync – Robust and secure solution to integrate Dynamics 365 CRM and SharePoint Security Sync thereby ensuring secure access to confidential documents stored in SharePoint.