Introduction
In our previous blog, we have learned about the Prebuilt Entity Extraction AI Model.
In this blog, we will see how to create an Entity Extraction model with custom entities.
Generally, in Custom Entity Extraction AI model, we can create our own custom entities to classify the data based on our business requirements. It will work the same as a standard model but in a more refined way. You can teach your model to work, as you want to fulfill your business needs.
Let us take a scenario:
As explained in our previous blog, the classification was based on city. Now what if we want to categorize those review messages based on product type like food and non-food items, which will be very convenient for retailers to deal with the reviews.
Below are the steps to create a Custom Entity Extraction Model and custom entities in it.
Step 1:
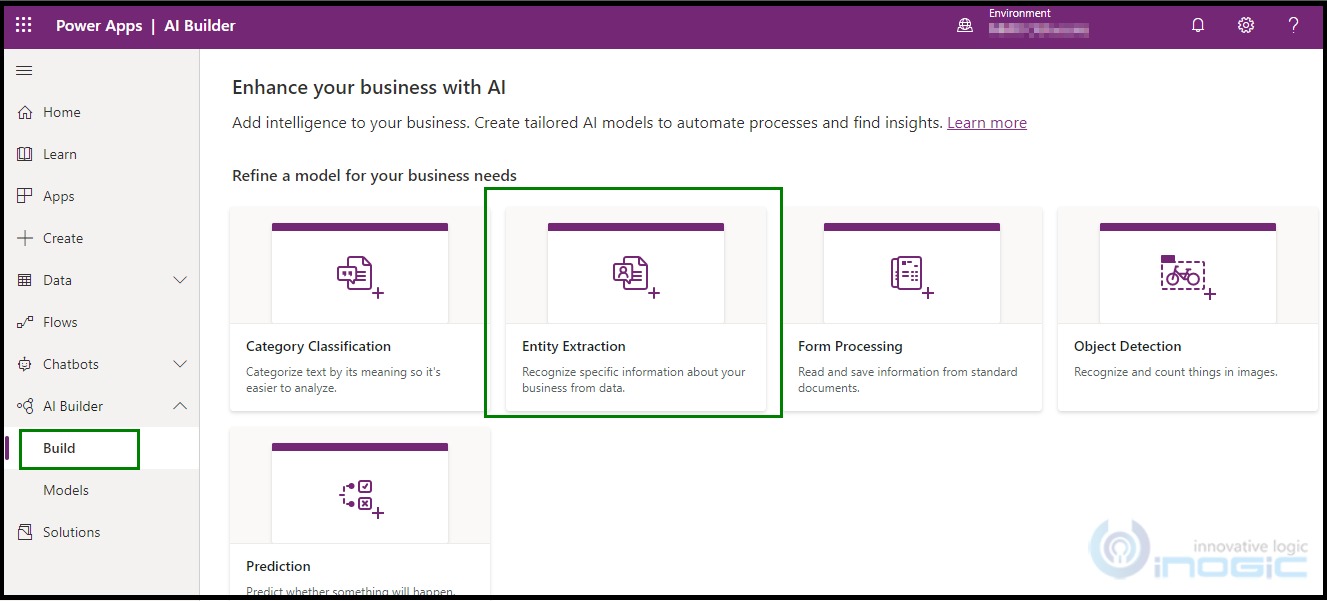
Sign in to Power Apps. In the left pane, select AI Builder > Build and then select Entity Extraction.
Step 2:
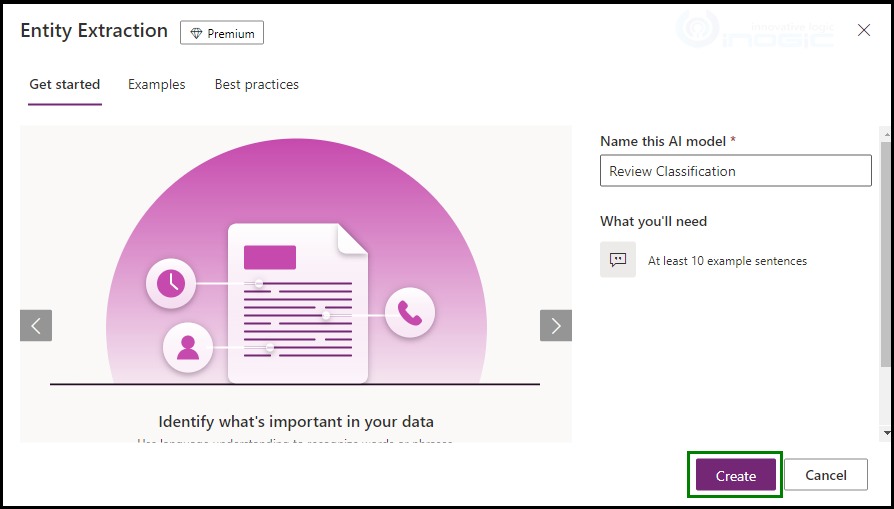
Enter a name for your model, and then select Create.
Step 3:
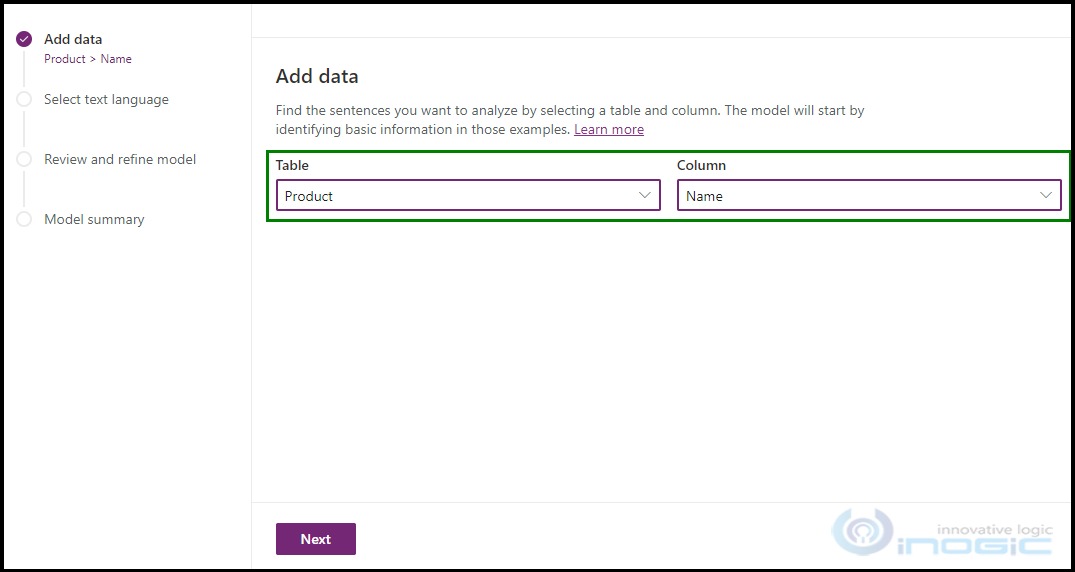
Now, to allow the model to evaluate, you need to pick an entity (Table) and a field (Column) for that entity. The model will begin by defining the basic data from this data. Here, we will select Product in Table and Name in Column so that our model will learn to recognize the product in the input data. After selecting, click on Next.
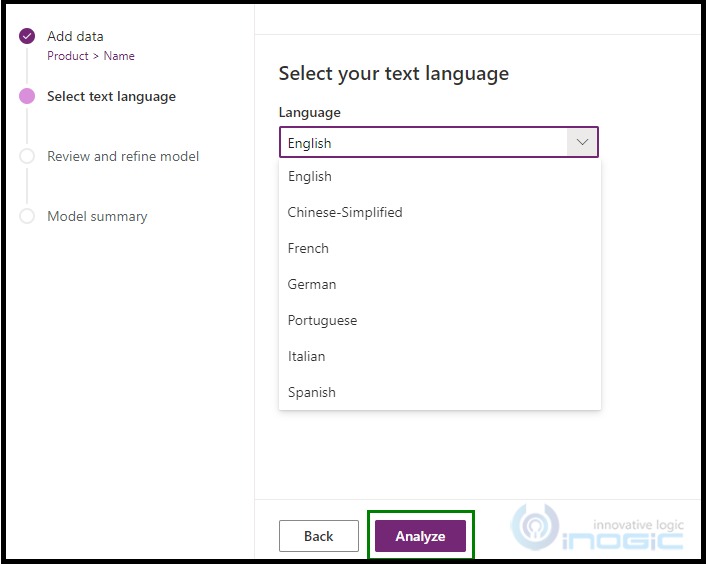
Next, select the language in which you will input your data and click on Analyze. Then our model will analyse the data based on the steps above. Performance may degrade if your text contains multiple languages.
Step 4:
In this step, you will review your model and refine it using the data you chose in the first step. A list of all products with their names can be seen in the below image and our AI model is extracting and highlighting the text. You can select the sentences and click on Next to let your model learn.
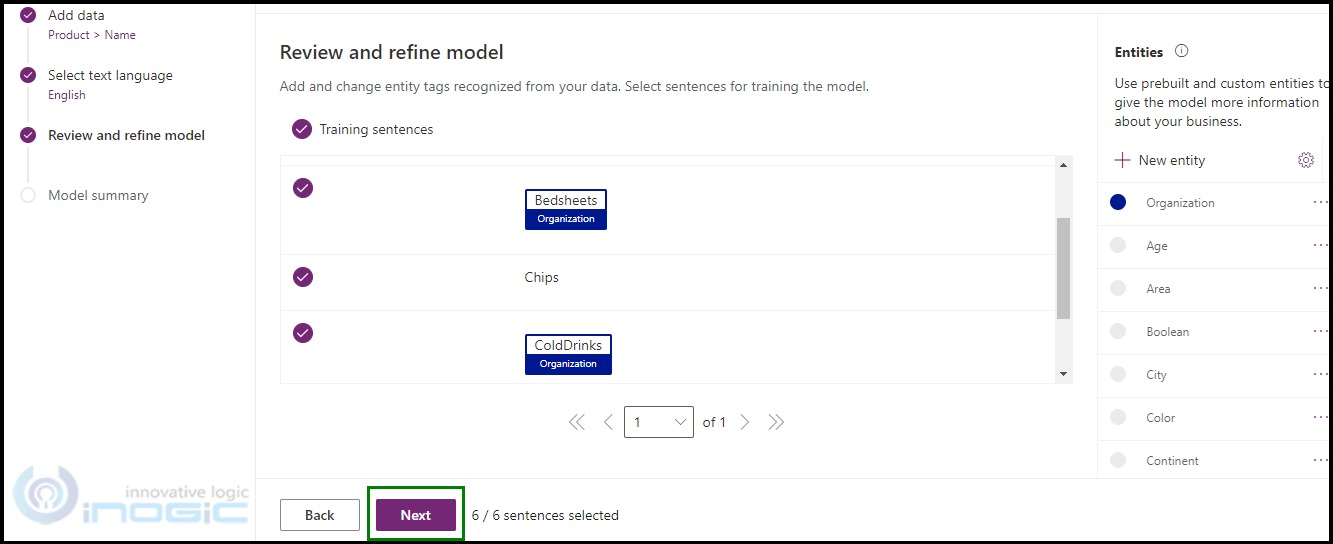
If you want to change the entity that was extracted, click on the selected text and reselect the entity you want.
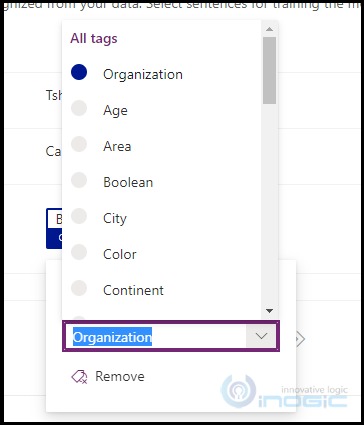
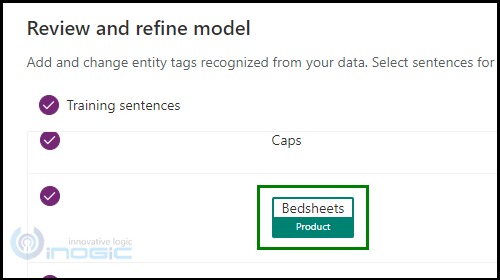
In the above image, we selected Bedsheets, which was showing as an organization, then changed it to Product.
Step 5:
Now if we want to extract the text based on our own custom entities and not the predefined. Then, please click on New Entity on the right-side section to create a new custom entity.
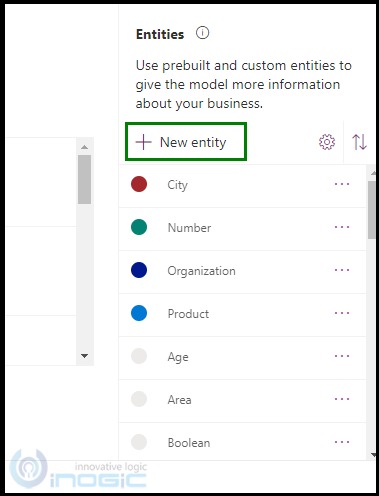
Name the entity and click on Add new example. We will create two entities namely Food and NonFood to categorize our product based on them.
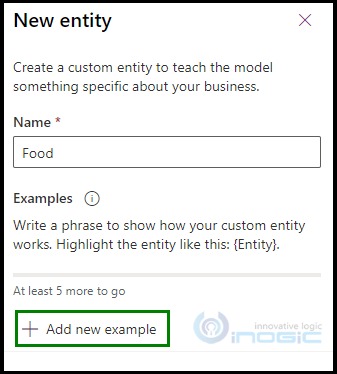
Now we will add some examples to make our model understand to select the correct entity value. The sentences should contain the value in curly braces as shown in the below image.
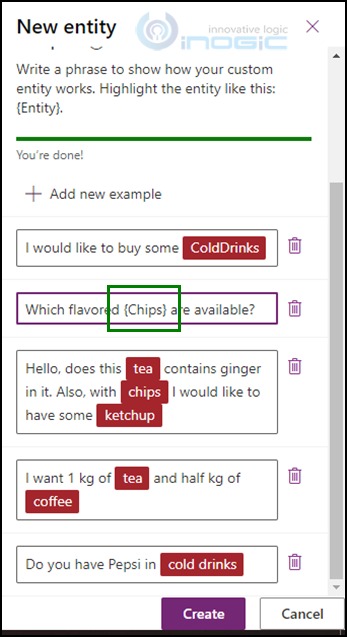
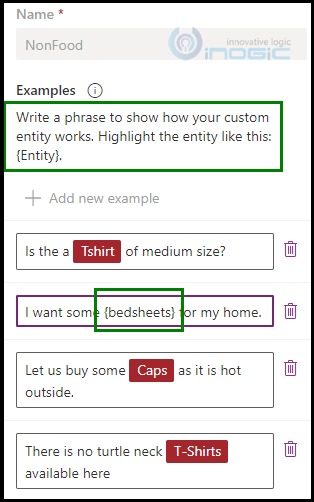
Click on Create to create the entity. Similarly, we will create NonFood entity as well.
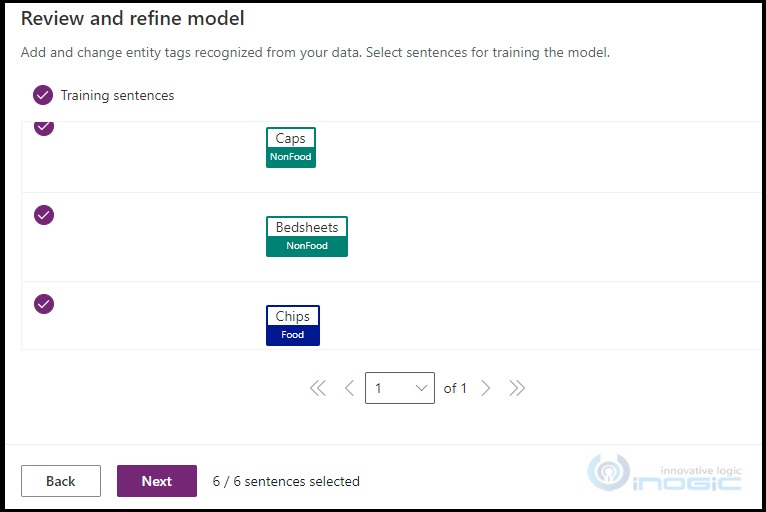
After creating both the entities, select the value and modify the entities as shown in Step 4. Now, select all the product names (sentences) and click on Next.
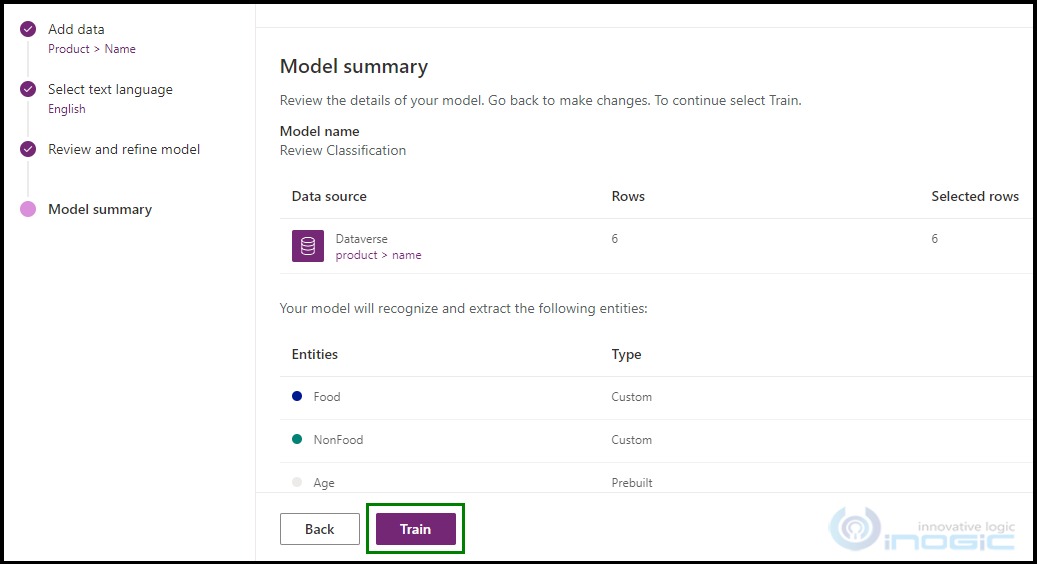
Step 6:
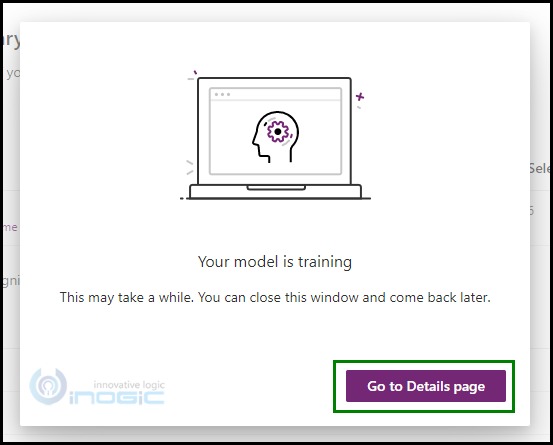
Finally, in Model Summary click on Train to train your model. Now your model can understand the difference between food and non-food items and can classify based on the same.
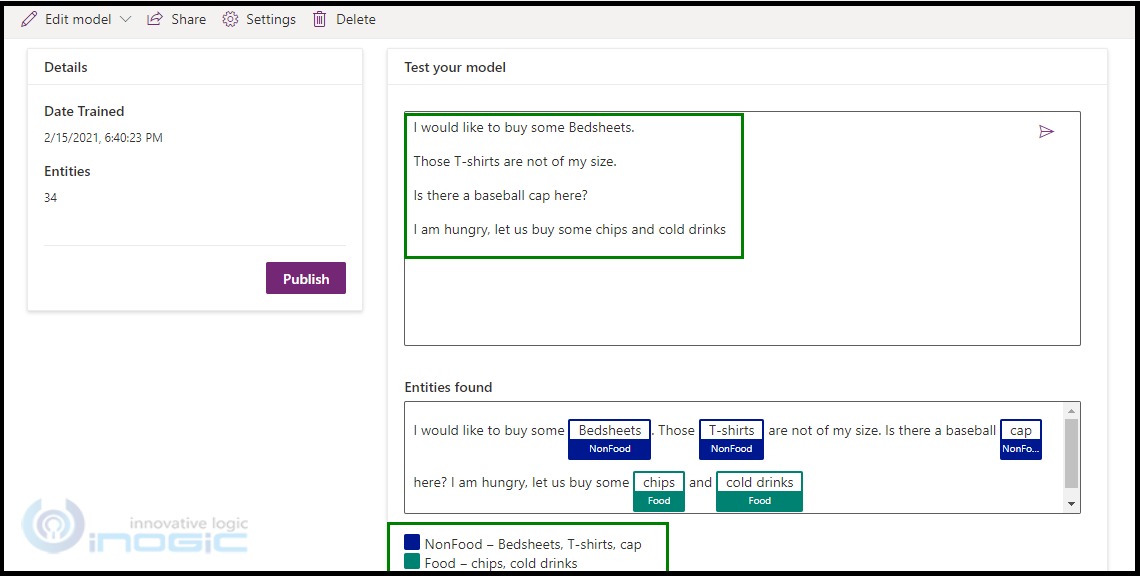
Now go to Details Page, here you can test your AI model that you just created.
In input box, we wrote some sentences and analyze them. It gave the output as expected.
To use this in Canvas App and Power Automate Flow you need to publish your model by clicking on the publish button.
Below are the steps to use Custom Entity Extraction AI Model in Power Automate Flow. Beforehand, please follow the steps to create Power Automate Flow from our previous blog.
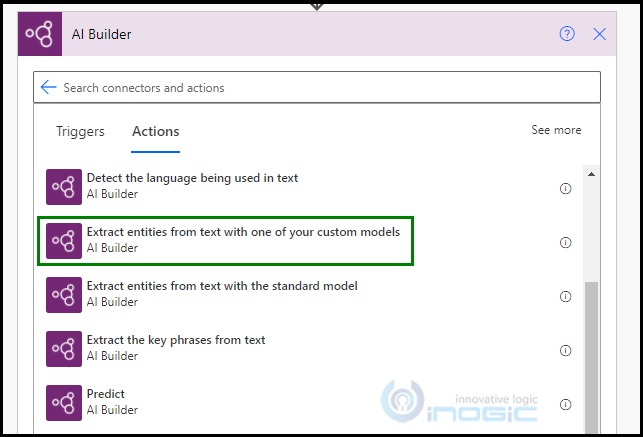
- In Power Automate Flow, click on New Step and select AI builder.
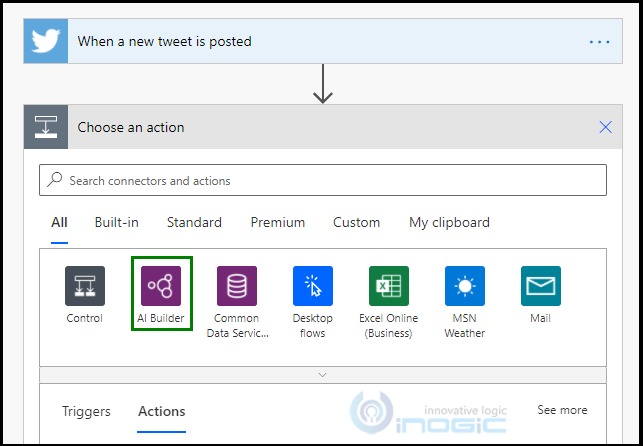
- Select “Extract entities from text with one of your custom models” from the list of options.
- You will get two properties, one to select your custom AI model and other for input data. Let us select our AI model from the options available below.
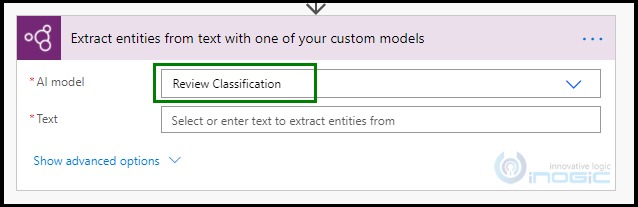
Next, input your data in Text input property.

- Run the flow and check the output.
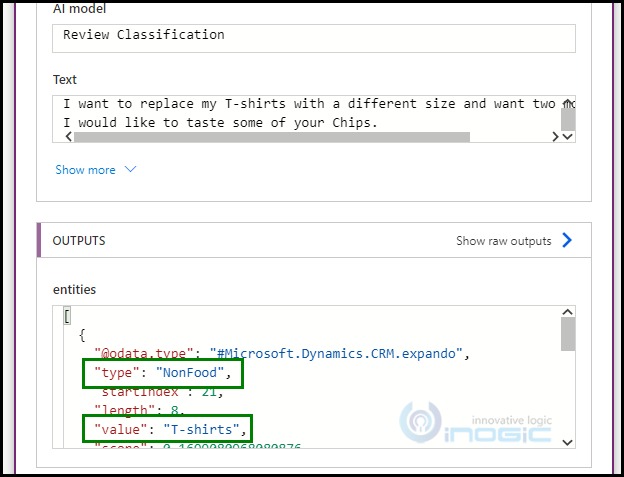
Full Output as shown below:
[
{
“@odata.type”: “#Microsoft.Dynamics.CRM.expando”,
“type”: “NonFood”,
“startIndex”: 21,
“length”: 8,
“value”: “T-shirts”,
“score”: 0.1699080968080876
},
{
“@odata.type”: “#Microsoft.Dynamics.CRM.expando”,
“type”: “NonFood”,
“startIndex”: 70,
“length”: 4,
“value”: “Caps”,
“score”: 0.8066716528767156
},
{
“@odata.type”: “#Microsoft.Dynamics.CRM.expando”,
“type”: “Food”,
“startIndex”: 111,
“length”: 5,
“value”: “Chips”,
“score”: 0.6974023743283067
}
]
These classifications can be further use as per your business needs; one of such examples has been shown in our previous blog.
Conclusion
We have understood the use of the Entity Extraction AI Model within Dynamics 365 CRM / Power Apps.