Introduction:
Power App helps you to create a quick mobile app or helps to customize the app in easiest way just dragging and dropping controls. In today’s blog, we will explore more on new “Confirmation Text” screen introduce for Canvas mode by PowerApp.
Following are the steps to add new screen with Confirmation Text in Canvas PowerApp:
1. Create a default Canvas app for appointment entity by using Dynamics 365. You can refer our previous blog here.
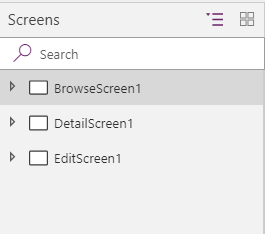
2. We get the following three screens on the left side:
- Browse Screen
- Detail Screen
- Edit Screen
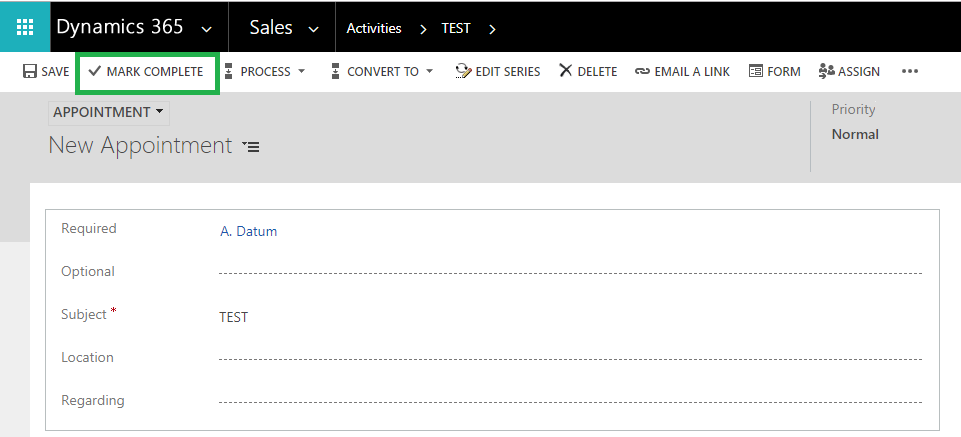
3. As you know, appointment form in dynamics365 has “Mark Complete” button as shown in below screenshot:
So, now we will add button control on EditScreen1 named as “Mark Complete” as shown in below screenshot:
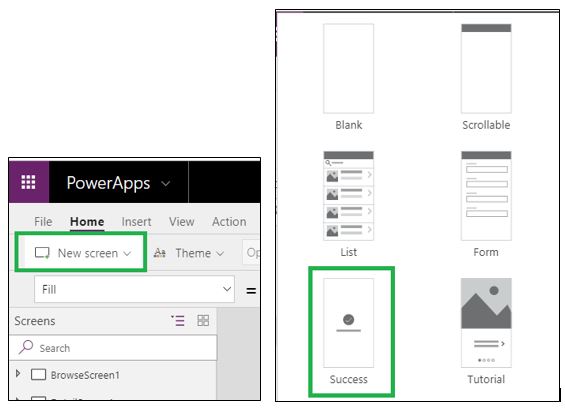
4. Now add new screen by clicking on “New screen” and select “Success” screen as shown in below screenshot:
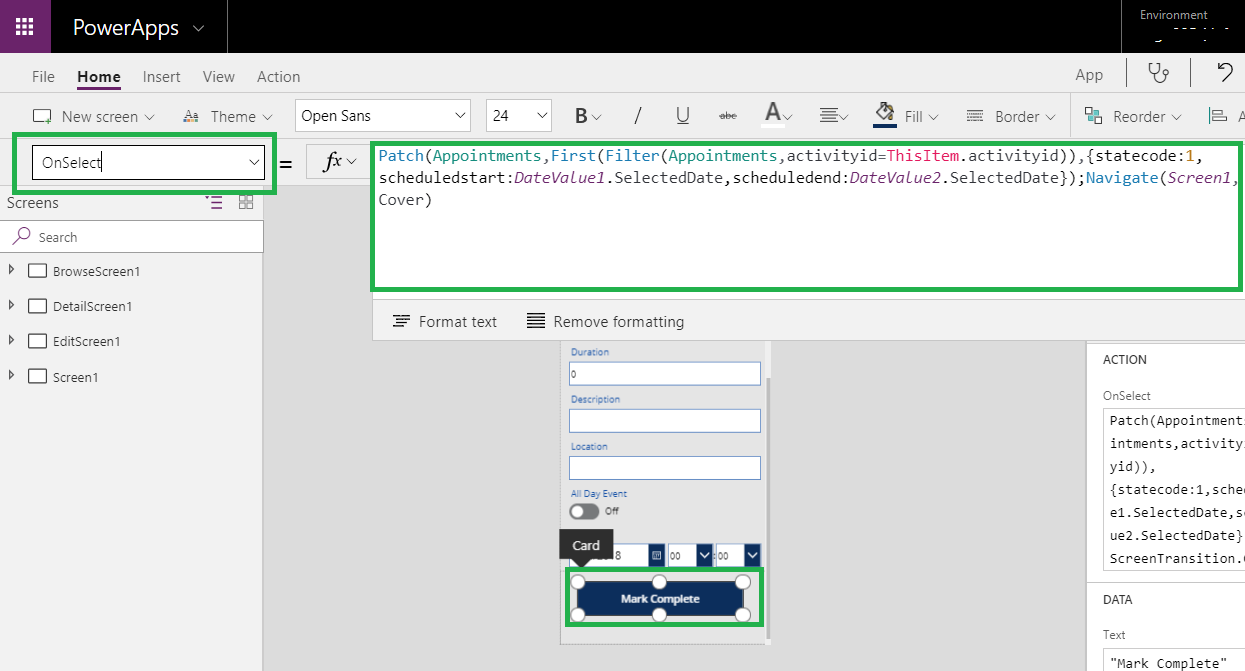
5. OnSelect property of “Mark Complete” button add formula as given below:
Patch(Appointments,First(Filter(Appointments,activityid=ThisItem.activityid)),{statecode:1,scheduledstart:DateValue1.SelectedDate,scheduledend:DateValue2.SelectedDate});Navigate(Screen1,ScreenTransition.Cover)
Please see the screenshot below:
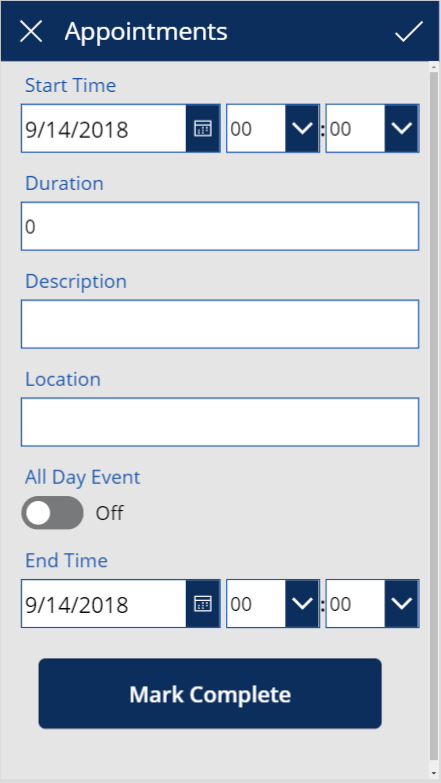
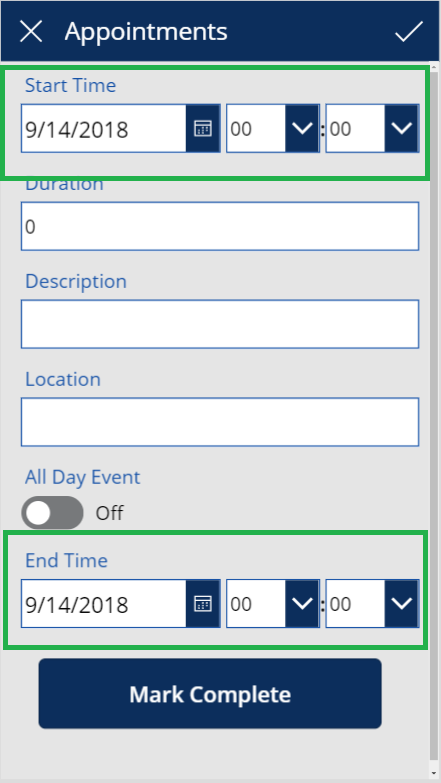
6. As you know, user can set appointment Start Time and End Time as per wish in below control:
7. Let’s run the app, and complete the appointment record by clicking on Mark Complete button. Now below screen will pop up:

Conclusion:
Now user can show New Screen with Confirmation Text in Canvas PowerApp.