In Dynamics 365, Microsoft has introduced App Designer where we can create different apps based on security roles where we can controls which entities, dashboards different people in an organization can see. As we all know, Dynamics 365 v9.0 came with Unified Interface, which provides the same user interface in all devices.
In this blog, we will see how we can create system views while creating the Apps by using App Designer.
To create a view follow the steps mentioned below:
1. Go to Settings > Customizations > Customize the System > Click on the Model-driven apps from the components and the required Hub in which we want to create views.
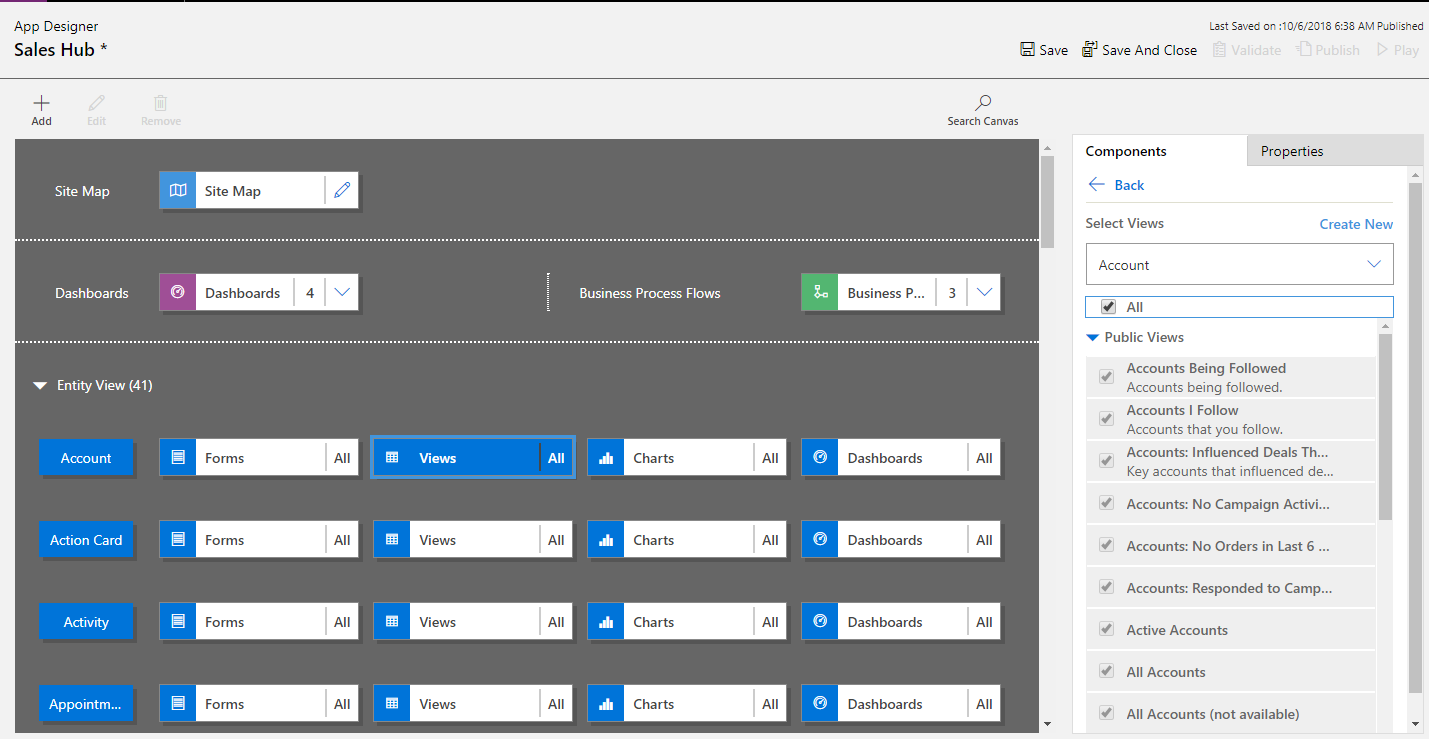
2. Click on the view of required entity in the Entity view section in app designer as shown in the below screenshot.
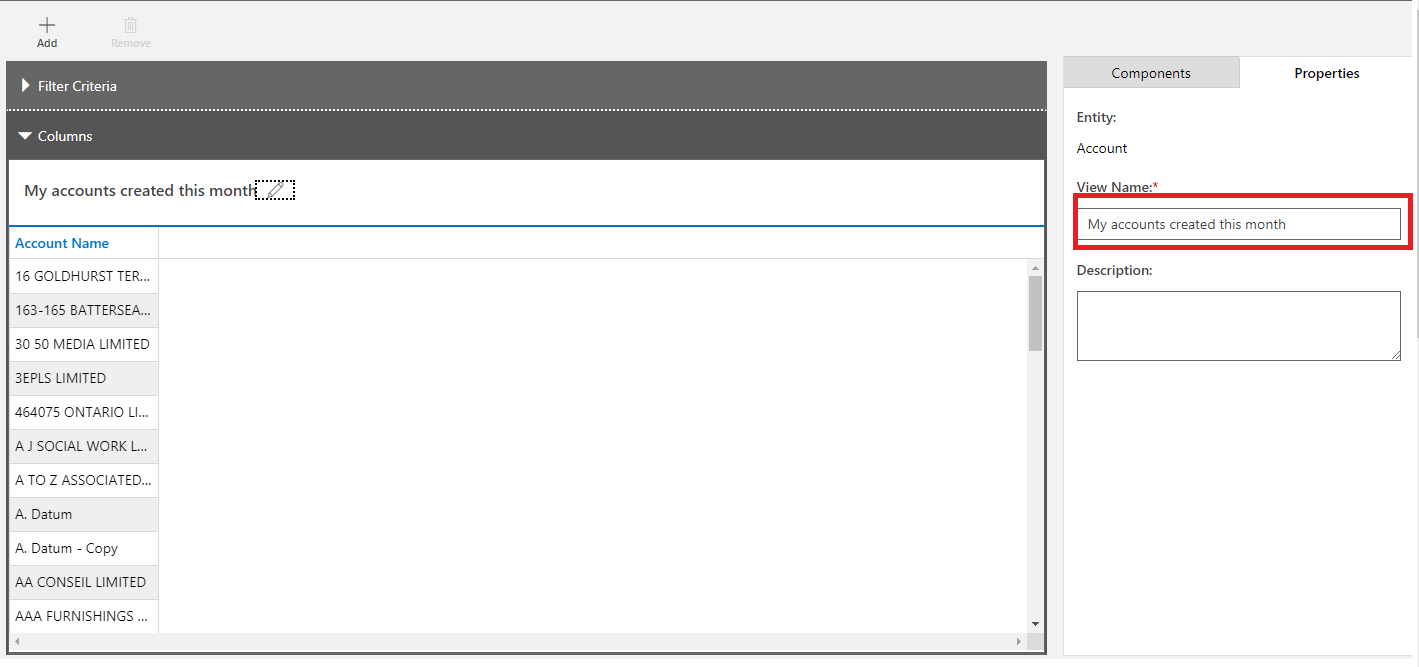
3. Click on the create new and it will open the window as below:
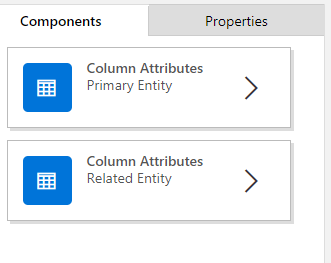
4. To define columns we can select it from the primary entity and also from a related entity.
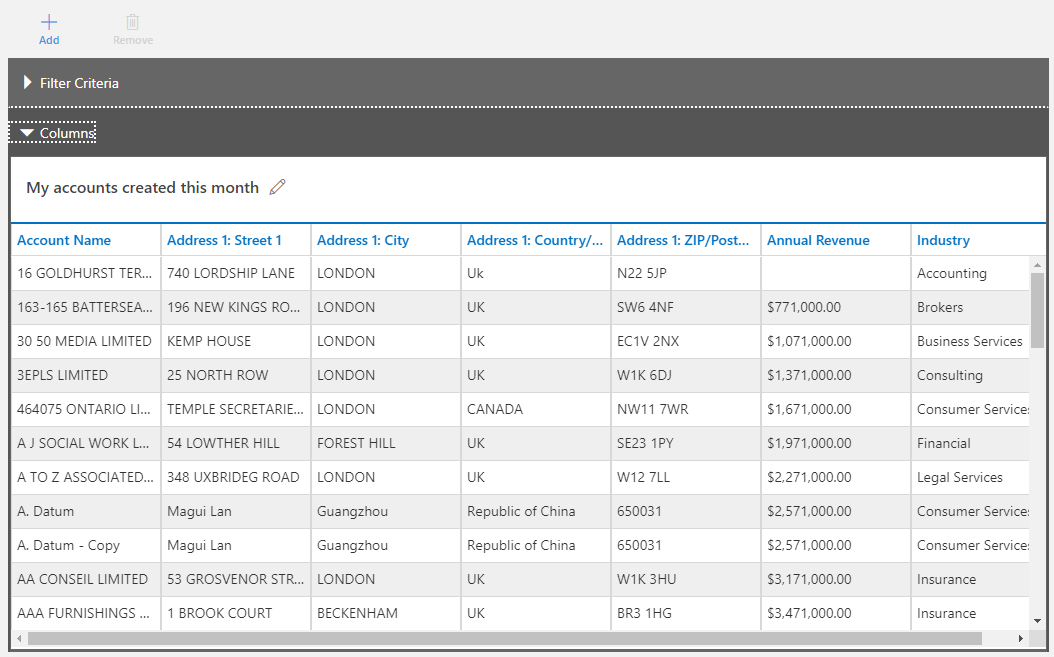
5. Click on the Column Attributes to select fields of primary entity i.e Account to view in column. It will open the list of columns as shown below:
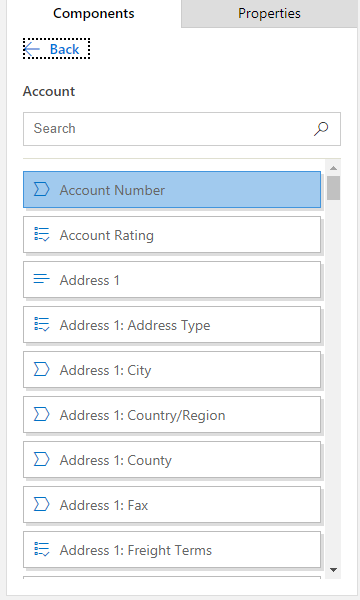
Here, we can search for the particular field and double click on that field or can drag and drop the field to the column section. If we want to change the order of the columns, we can simply drag the column in order which we want to be.
6. We can set the primary or secondary sort order to the column as below:
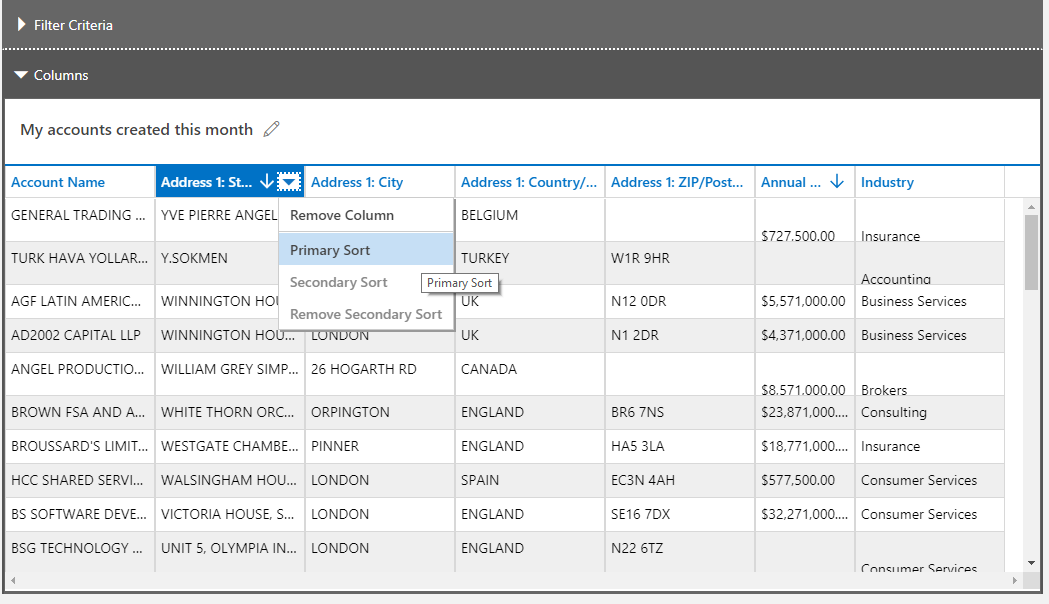
If you remove the column you selected for the primary sort order, then the column you selected for the secondary sort order becomes the primary.
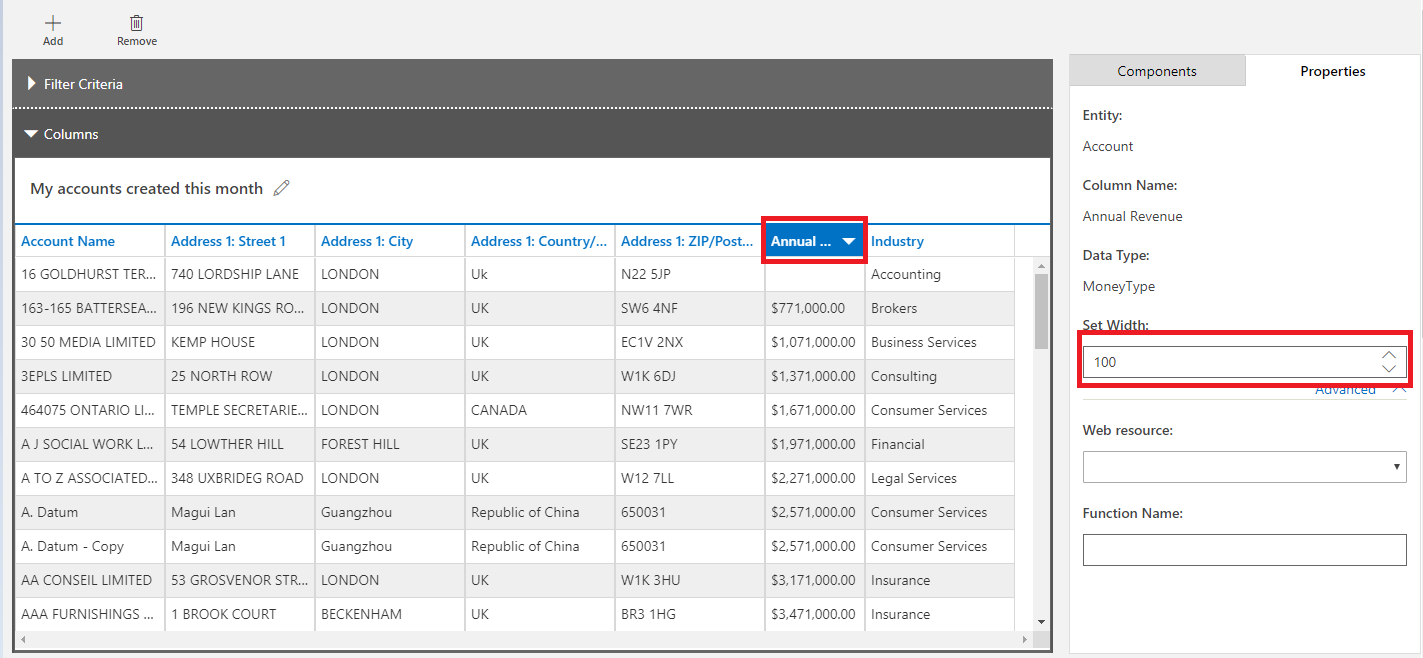
7. We can also set the width of the particular column. For the same, select the required column and it will open the properties section where we can set the width for the column, can add the web resources and it also shows the data type of the field for the details as shown in the below screenshot.
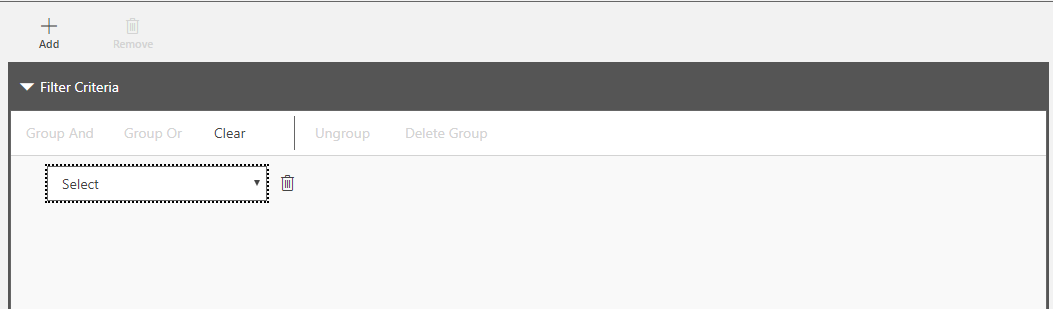
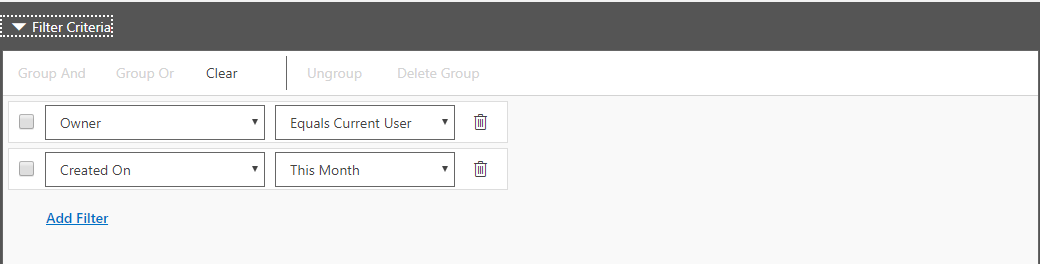
8. To add the filters into view click on the filter criteria section, it will allow us to add the criteria as below:
9. As we are creating the view to shows Account records which are created by logged in user and created in this current month, we are adding criteria as below:
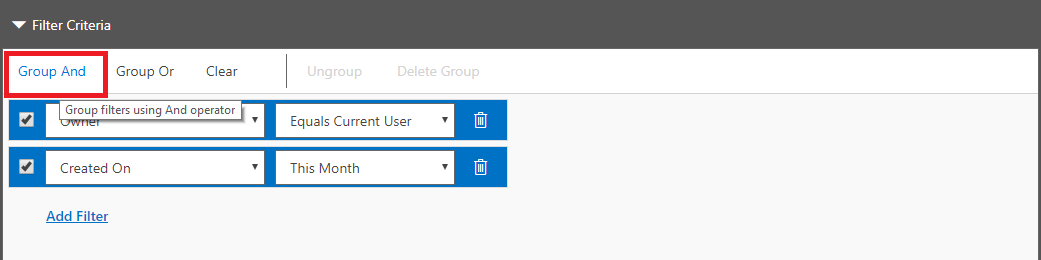
10. Then select the rows which are added and choose the condition as below:
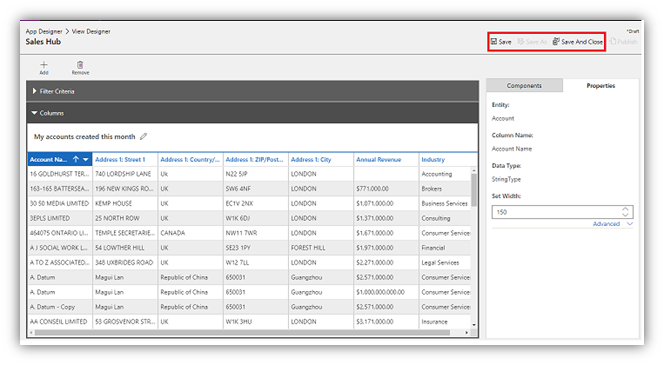
11. Once we have completed with view creation then click on the save button on the top right corner as shown in the below screenshot.
Conclusion:
Using the simple steps above user can easily create system views by using App Designer in Dynamics 365