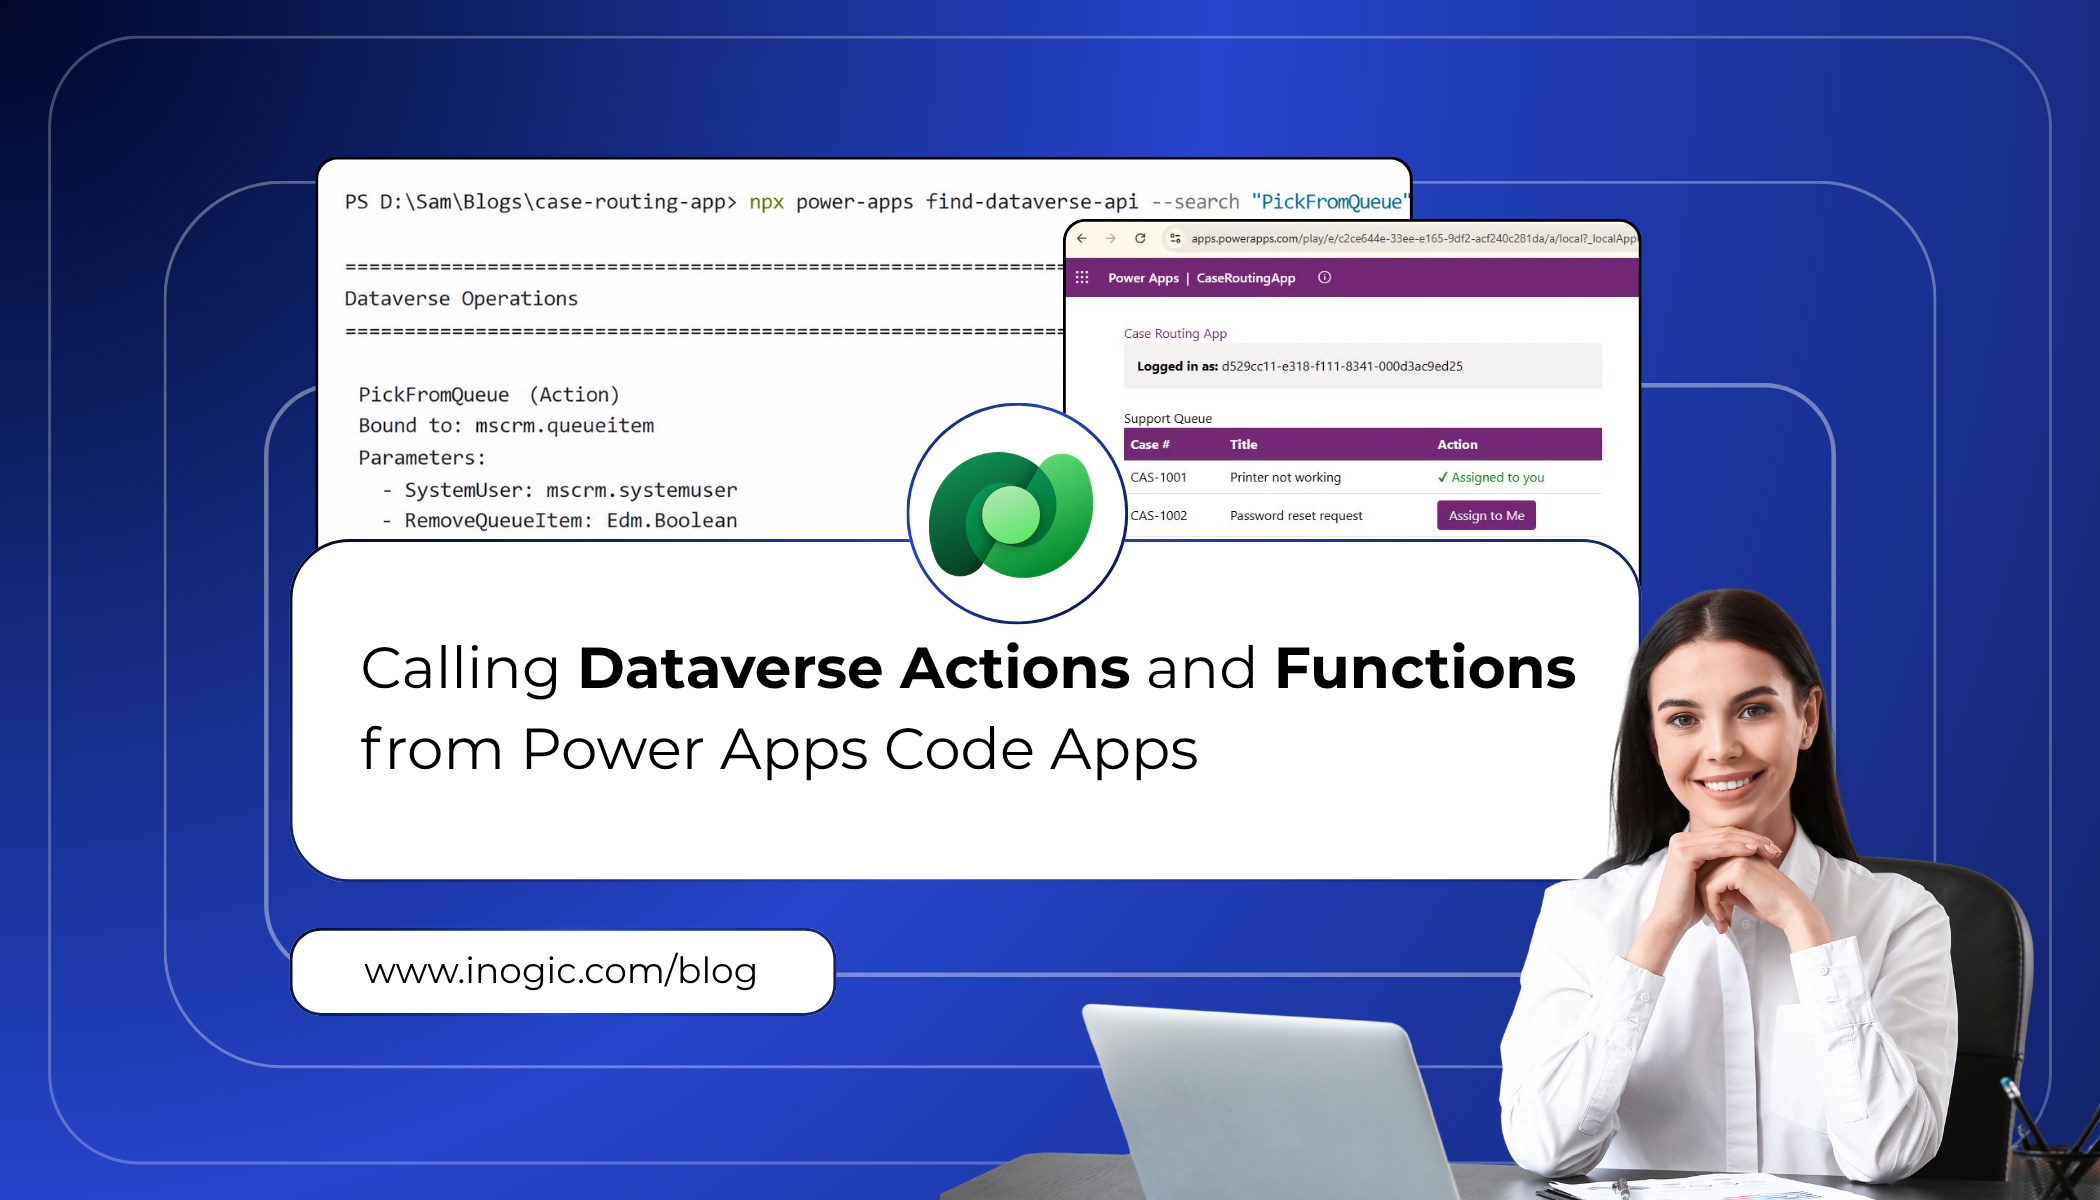
 When building Power Apps code apps, one of the most powerful things you can do is reach directly into Dataverse to trigger business logic. Whether it is routing a support ticket to the right queue, checking who the current user is, or running a custom API operation, Dataverse actions and functions are the engine behind most enterprise workflows.
In the past, calling these operations required manually writing Web API fetch calls, constructing the right URLs, and handling typed responses by hand. It worked, but it was slow, error-prone, and hard to maintain as schemas evolved.
Microsoft has now introduced a much cleaner developer experience through the Power Apps npm CLI. With just two commands — find-dataverse-api and add-dataverse-api — you can discover operations in your Dataverse environment, generate fully typed TypeScript service classes, and call them directly from your code app with confidence.
This blog walks through exactly how to do that, using a real-world scenario: a support team that needs to automatically route incoming cases to the correct queue based on priority.
Client Scenario: Automated Case Routing
A client running a customer support operation on Dynamics 365 came to us with a specific pain point. Their agents were starting every shift by manually scanning a shared queue, finding cases relevant to them, and self-assigning each one individually through the Dynamics 365 UI. With dozens of queued cases at any given time, agents were spending the first 15–20 minutes of every shift just on assignment, before they had even looked at a single customer issue.
They needed a code app that displayed all cases currently sitting in the queue and allowed an agent to pick and assign any case to themselves with a single click. The assignment logic already existed as a Dataverse bound action called PickFromQueue. The challenge was invoking it cleanly from a modern Power Apps code app.
The requirements the client laid out were straightforward:
- View all active cases in a clean, filterable list
- Select a case from the queue and assign it to yourself with one click
- Show who is currently logged in so agents can confirm their session
- Ensure all operations are type-safe and maintainable
This is exactly the kind of scenario the add-dataverse-api command was built for.
Prerequisites
Before following this guide, make sure the following are in place:
- A Power Apps code app initialised using npx power-apps init
- The @microsoft/power-apps package at version 1.1.1 or later in your package.json
- An active CLI session (the CLI will prompt you to authenticate if not already logged in)
- Access to the Dataverse environment that contains the operations you want to call
- js installed on your machine (version 18 or later recommended)
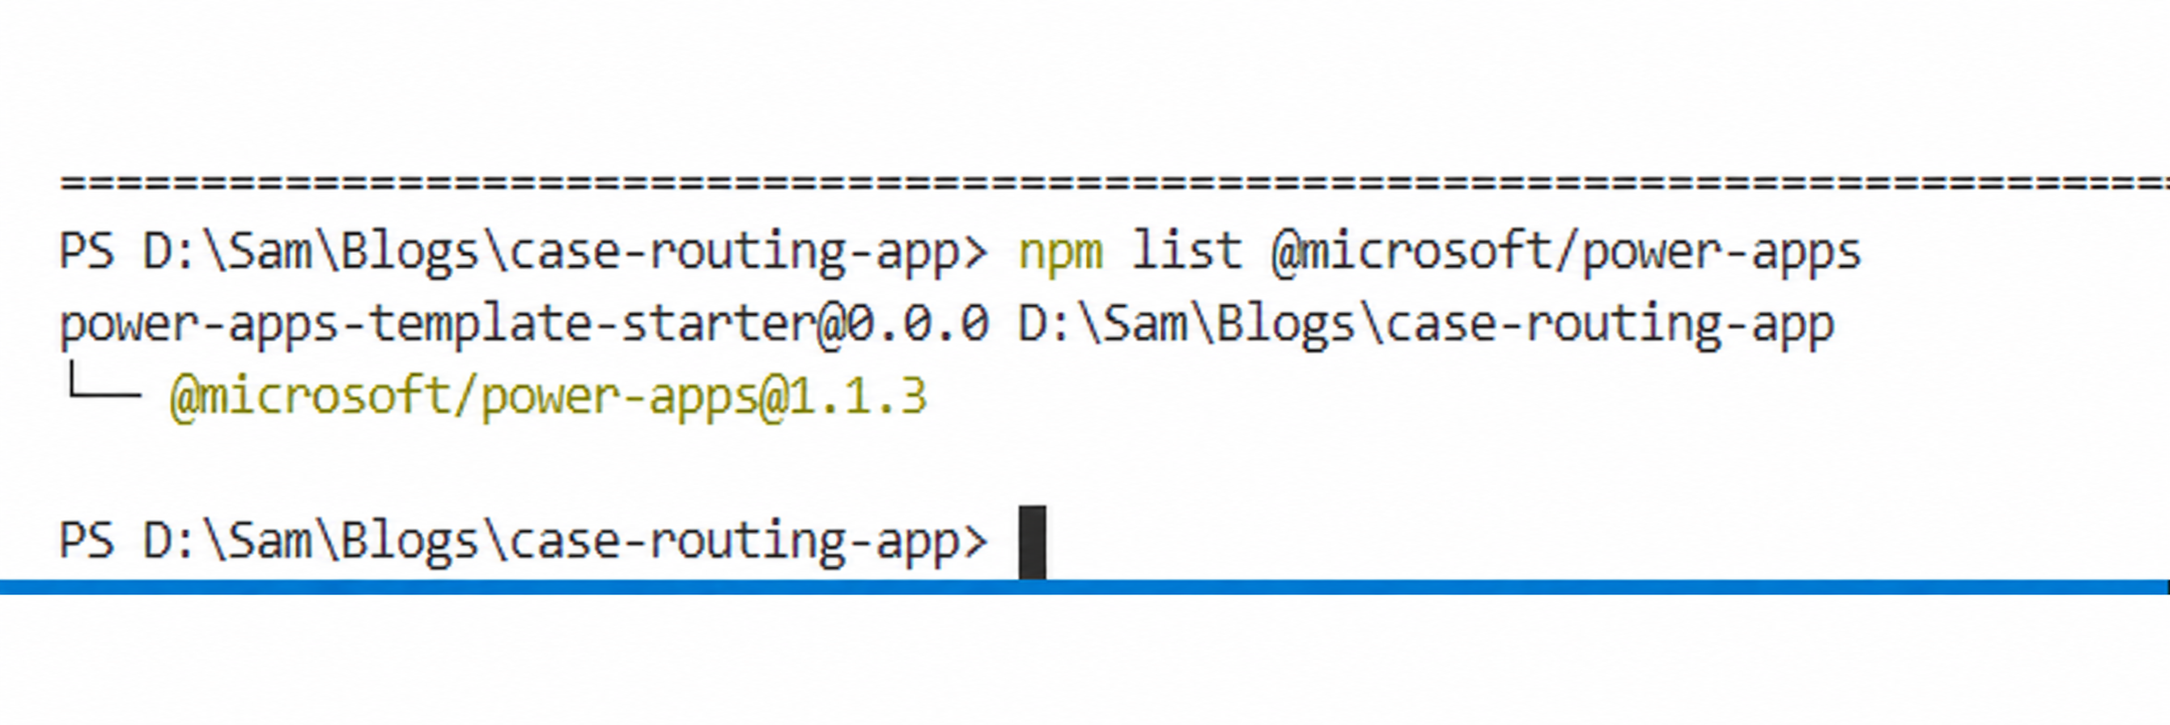
Note: Run npm list @microsoft/power-apps to confirm the package version (1.1.1 or later). The CLI version (shown by npx power-apps –version) may differ from the package version..
Step 1: Discover Available Dataverse Operations
The first step is to find out which Dataverse operations are available in your environment. The find-dataverse-api command performs a case-insensitive substring search against the operation names in your connected environment.
For this scenario, we need two operations. The first is WhoAmI, which identifies the current logged-in user. The second is PickFromQueue, which picks a case from a queue and assigns it to a specified user.
Finding WhoAmI
Run the following command in your terminal from inside the code app project folder:
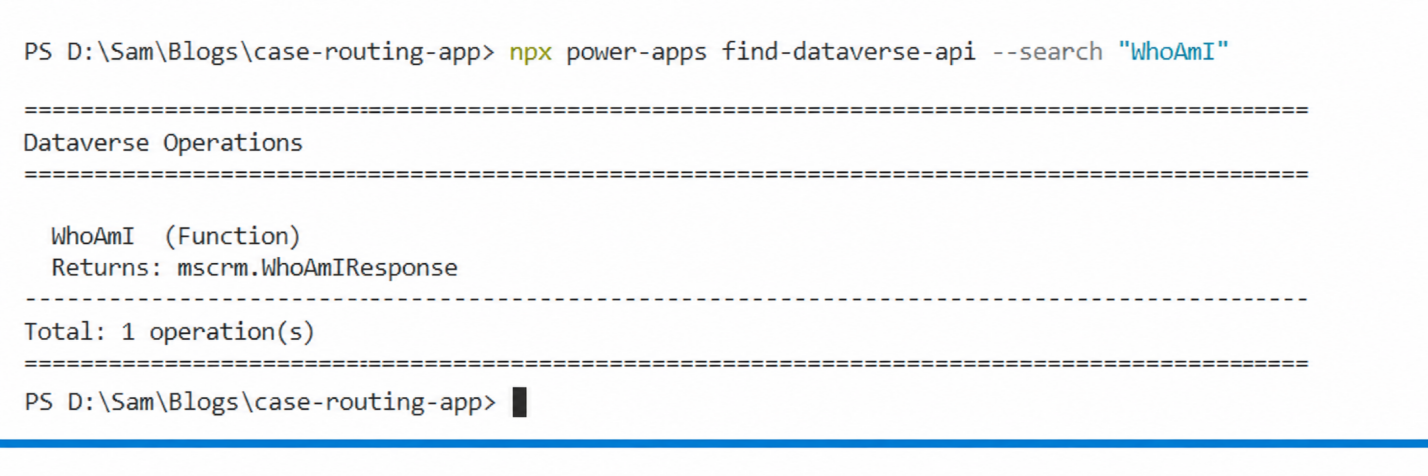
npx power-apps find-dataverse-api --search "WhoAmI"
The output will show the operation name, its kind (Function or Action), and its return type:
Finding PickFromQueue
Next, search for the PickFromQueue action:
npx power-apps find-dataverse-api --search "PickFromQueue"
You will see something like this:
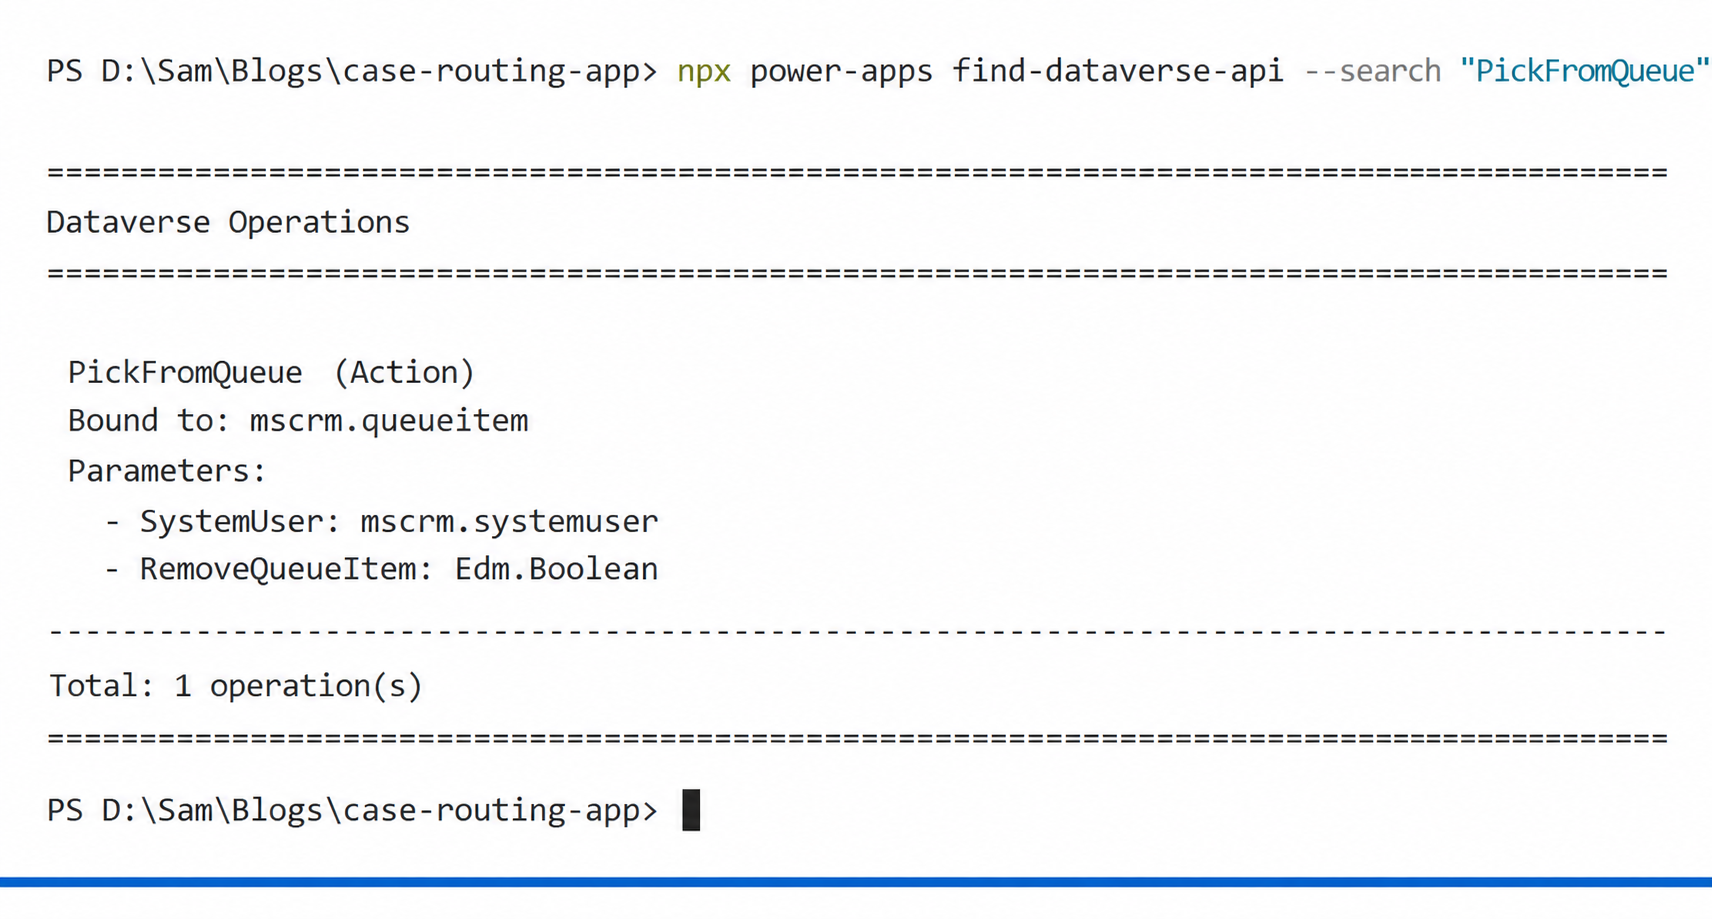
Notice that PickFromQueue is a bound action — it is bound to mscrm.queueitem, meaning it must be called with the GUID of the queue item record as its first argument. This is an important distinction that affects how the generated service method works, which we will cover shortly.
If you want to inspect the raw JSON output for scripting purposes, add the –json flag:
npx power-apps find-dataverse-api --search "PickFromQueue" --json
Step 2: Add the Operations to Your Code App
Once you have confirmed the operation names, use the add-dataverse-api command to wire them into your project. This command does several things automatically:
- Fetches the full operation definition from your environment’s Dataverse metadata endpoint
- Creates a schema file at the configured schema path
- Generates TypeScript model files for any entities referenced in the operation
- Generates a typed service class for the operation
- Updates power.config.json with the necessary database reference
- Regenerates dataSourcesInfo.ts to include the new operation
Adding WhoAmI
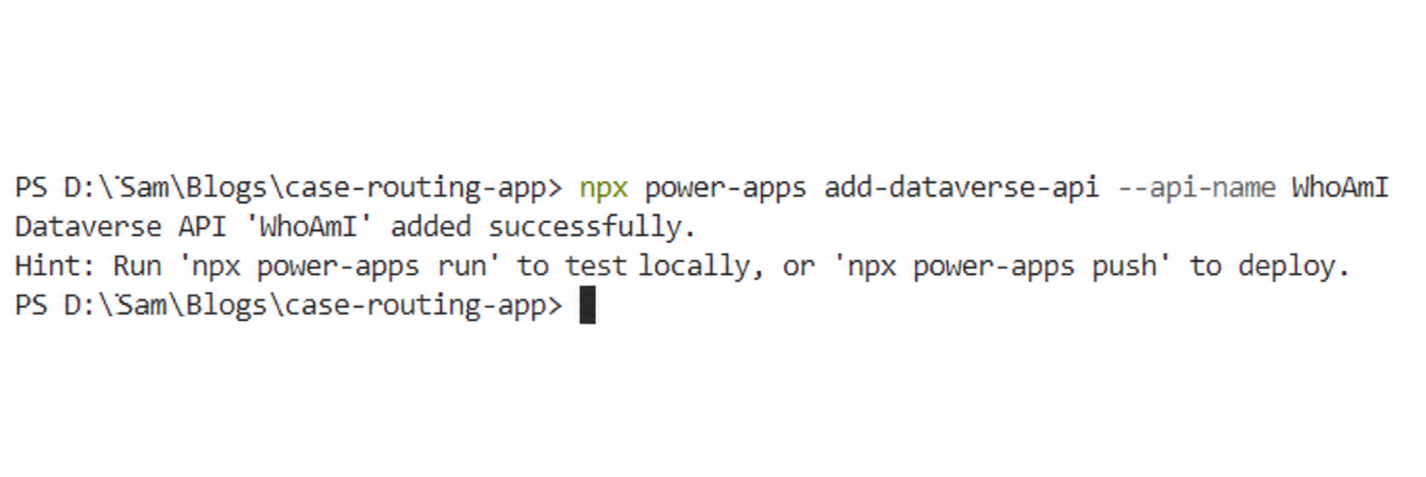
npx power-apps add-dataverse-api --api-name WhoAmI
On success, you will see:
Adding PickFromQueue
npx power-apps add-dataverse-api --api-name PickFromQueue
Or using the short alias:
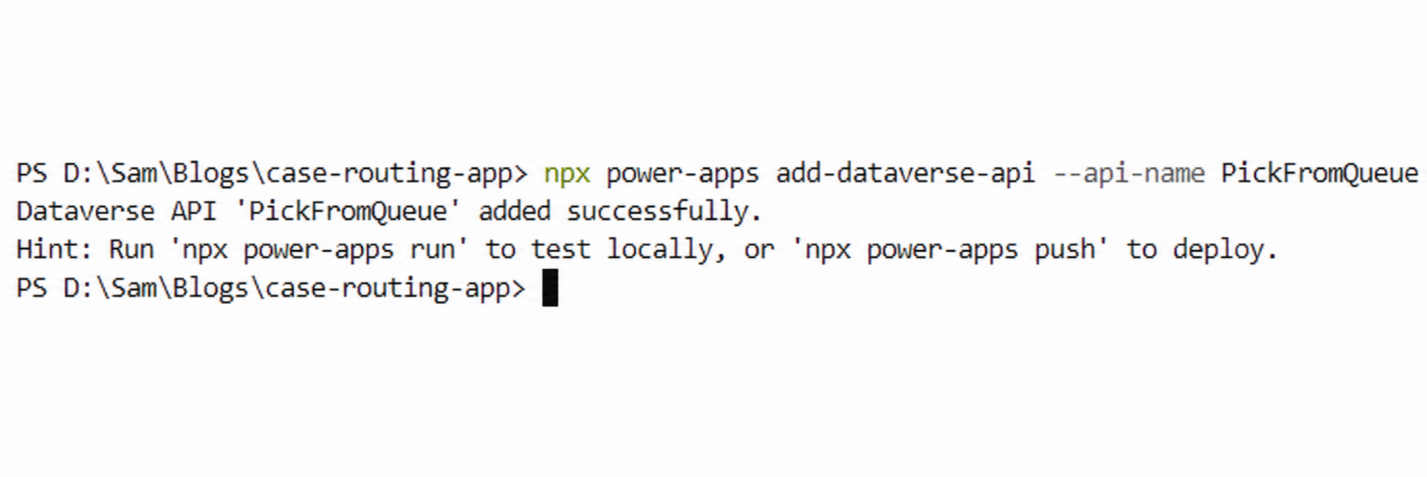
npx power-apps add-dataverse-api -n PickFromQueue
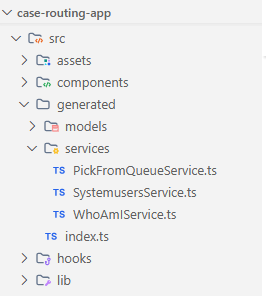
Once both commands complete, your project structure will include new generated files. Here is a summary of what was created or updated:
| File | What Changed |
| schemas/dataverse/WhoAmI.Schema.json | Created — operation schema |
| schemas/dataverse/PickFromQueue.Schema.json | Created — operation schema |
| schemas/appschemas/dataSourcesInfo.ts | Regenerated to include both operations |
| power.config.json | Updated with default.cds database reference |
| generated/services/WhoAmIService.ts | Generated typed service class |
| generated/services/PickFromQueueService.ts | Generated typed service class |
Step 3: Use the Generated Services in Your App
With the service classes generated, you can now import and call them directly in your application code. The CLI handles all the Web API URL construction, authentication headers, and response parsing behind the scenes.
Calling WhoAmI
Import the WhoAmIService from the generated services directory and call it to retrieve the current user’s identity:
import { WhoAmIService } from './generated/services/WhoAmIService';

const userInfo = await WhoAmIService.WhoAmI() as any;

const currentUserId = userInfo.UserId;

const businessUnitId = userInfo.BusinessUnitId;

const orgId = userInfo.OrganizationId;
The result object contains three GUIDs — UserId, BusinessUnitId, and OrganizationId — all fully typed. In the case routing app, we use the UserId to display which agent is currently logged in, giving the team lead confidence before performing any routing action.
Calling PickFromQueue
The PickFromQueue action is a bound operation, which means the generated service method takes the queue item GUID as its first argument, followed by the operation parameters:
import { PickFromQueueService } from './generated/services/PickFromQueueService';
const handlePickCase = async (queueItemId: string, currentUserId: string) => {

const systemUser = {

'@odata.type': 'Microsoft.Dynamics.CRM.systemuser',

systemuserid: currentUserId

};

await PickFromQueueService.PickFromQueue(

queueItemId,    // GUID of the queue item (first arg for bound actions)

systemUser,     // The system user to assign the case to

true            // RemoveQueueItem — remove from queue after picking

);

console.log('Case picked from queue successfully');

};
The function picks the case from the queue and assigns it to the specified user. When RemoveQueueItem is true, the item is automatically removed from the queue to prevent duplicate assignments.
Note: For bound operations, the first argument is always the GUID of the record the action is bound to. In this case, PickFromQueue is bound to mscrm.queueitem, so the first argument is the queue item ID.
Step 4: Build the Case Routing UI
With both services wired up, the final step is to build the actual interface the team leads will use. The component needs to show a list of open cases, allow selection, and trigger the routing action.
Below is a simplified version of how the component comes together:
import { useEffect, useState } from 'react';

import { WhoAmIService } from './generated/services/WhoAmIService';

import { PickFromQueueService } from './generated/services/PickFromQueueService';

// Sample cases in queue (in production, fetch from Dataverse)

const queuedCases = [

{ id: 'CAS-1001', title: 'Printer not working',    queueItemId: '< queue-item-guid-1 >' },

{ id: 'CAS-1002', title: 'Password reset request', queueItemId: '< queue-item-guid-2 >' },

{ id: 'CAS-1003', title: 'Software installation',  queueItemId: '< queue-item-guid-3 >' },

];

export const CaseRoutingApp = () => {

const [currentUserId, setCurrentUserId] = useState('');

const [routedCases, setRoutedCases] = useState<Record<string, boolean>>({});

useEffect(() => {

WhoAmIService.WhoAmI().then((r: any) => setCurrentUserId(r.UserId));

}, []);

const handlePickCase = async (queueItemId: string, caseId: string) => {

const systemUser = {

'@odata.type': 'Microsoft.Dynamics.CRM.systemuser',

systemuserid: currentUserId

};

await PickFromQueueService.PickFromQueue(queueItemId, systemUser, true);

setRoutedCases(prev => ({ ...prev, [caseId]: true }));

};

return ( /* your JSX here */ );

};

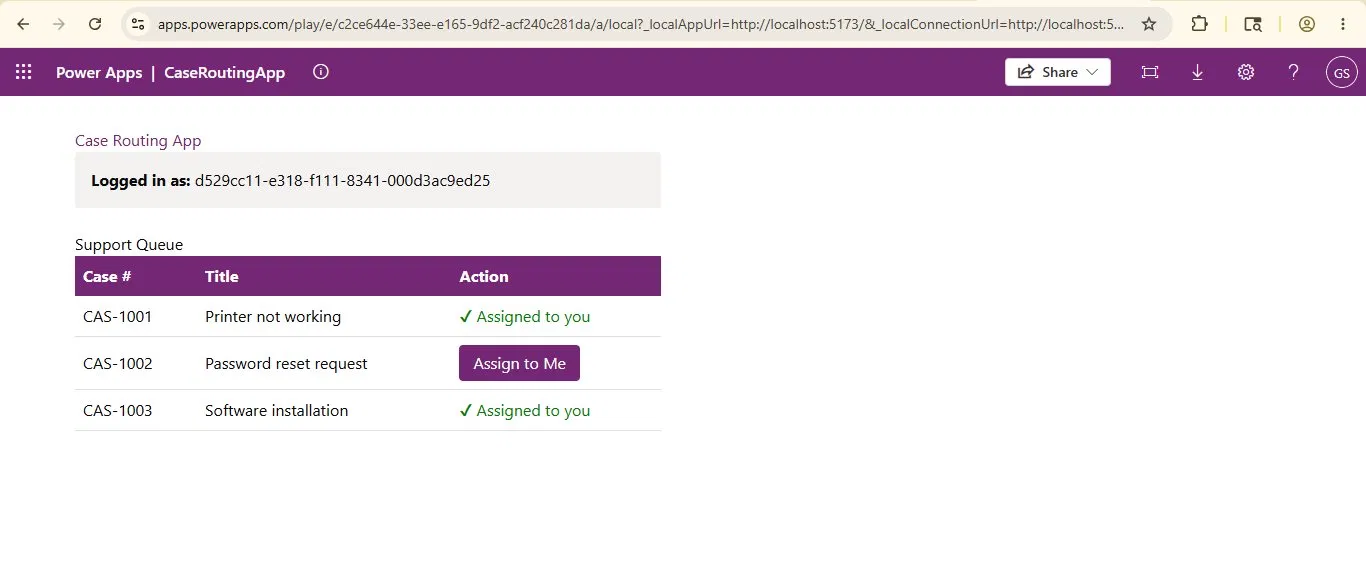
Once you are happy with the result in local preview, run:
npx power-apps push
This deploys the app to your Dataverse environment and makes it available inside the model-driven app.
Important Notes and Common Pitfalls
A few things to keep in mind as you work with this feature:
Bound vs. Unbound Operations
The distinction between bound and unbound operations matters for how you call the generated service method. Bound operations always take an id: string as the first argument (the GUID of the record the operation is bound to). Unbound operations, like WhoAmI, take only the declared parameters.
The CLI detects the operation type automatically and generates the method signature accordingly. You do not need to configure anything manually.
Re-running add-dataverse-api is Safe
If the operation’s signature changes in your environment — for example, a developer added a new optional parameter — simply re-run the same command:
npx power-apps add-dataverse-api --api-name PickFromQueue
The command is idempotent. It overwrites the schema and regenerates the service class with the latest definition. It will not create duplicate entries in power.config.json, and it will not overwrite entity schema files that already exist.
Conclusion
The add-dataverse-api command is a significant quality-of-life improvement for developers building Power Apps code apps. Instead of handwriting Web API calls, managing URL patterns for bound vs. unbound operations, and manually typing response objects, you get fully generated, type-safe service classes in seconds.
For the support team in our scenario, the result was exactly what the client needed. Cases are now routed with a single click, the correct agent identity is confirmed before any action is taken, and the development time was a fraction of what it would have taken with raw Web API calls.
Whether you are calling WhoAmI to verify the current session, triggering a bound action like PickFromQueue to execute business logic, or invoking a custom operation your team has built, the CLI handles the scaffolding so you can focus on building the experience.
FAQs
What is add-dataverse-api in Power Apps code apps?
The add-dataverse-api command is a Power Apps CLI feature that generates fully typed TypeScript service classes for Dataverse actions and functions. It eliminates the need to manually write Web API fetch calls when building Power Apps code apps.
How do you call Dataverse actions from a Power Apps code app?
You can call Dataverse actions in a Power Apps code app by using the Power Apps npm CLI commands find-dataverse-api and add-dataverse-api. These commands generate typed service classes that let developers invoke Dataverse actions directly in TypeScript.
What is the difference between bound and unbound Dataverse actions?
Bound Dataverse actions are linked to a specific Dataverse table or record and require a record GUID as the first parameter. Unbound actions are standalone operations that do not require a record reference. For example, PickFromQueue is bound, while WhoAmI is unbound.