Introduction:
Microsoft recently introduced Microsoft Power Platform Command Line Interface to perform various operations on Microsoft Dataverse environments, Power Apps Portal, PCF, Plugin, Solution, Admin, and Canvas by using Visual Studio Code.
In this blog, we will be focusing on Power Apps Portal and will see how we can connect Portal using Microsoft Power Platform CLI and perform various operation on the same.
To be precise, we will create a new web page using CLI and check it on the portal.
However, there are some prerequisites that we need to configure before start working on Power Apps Portal.
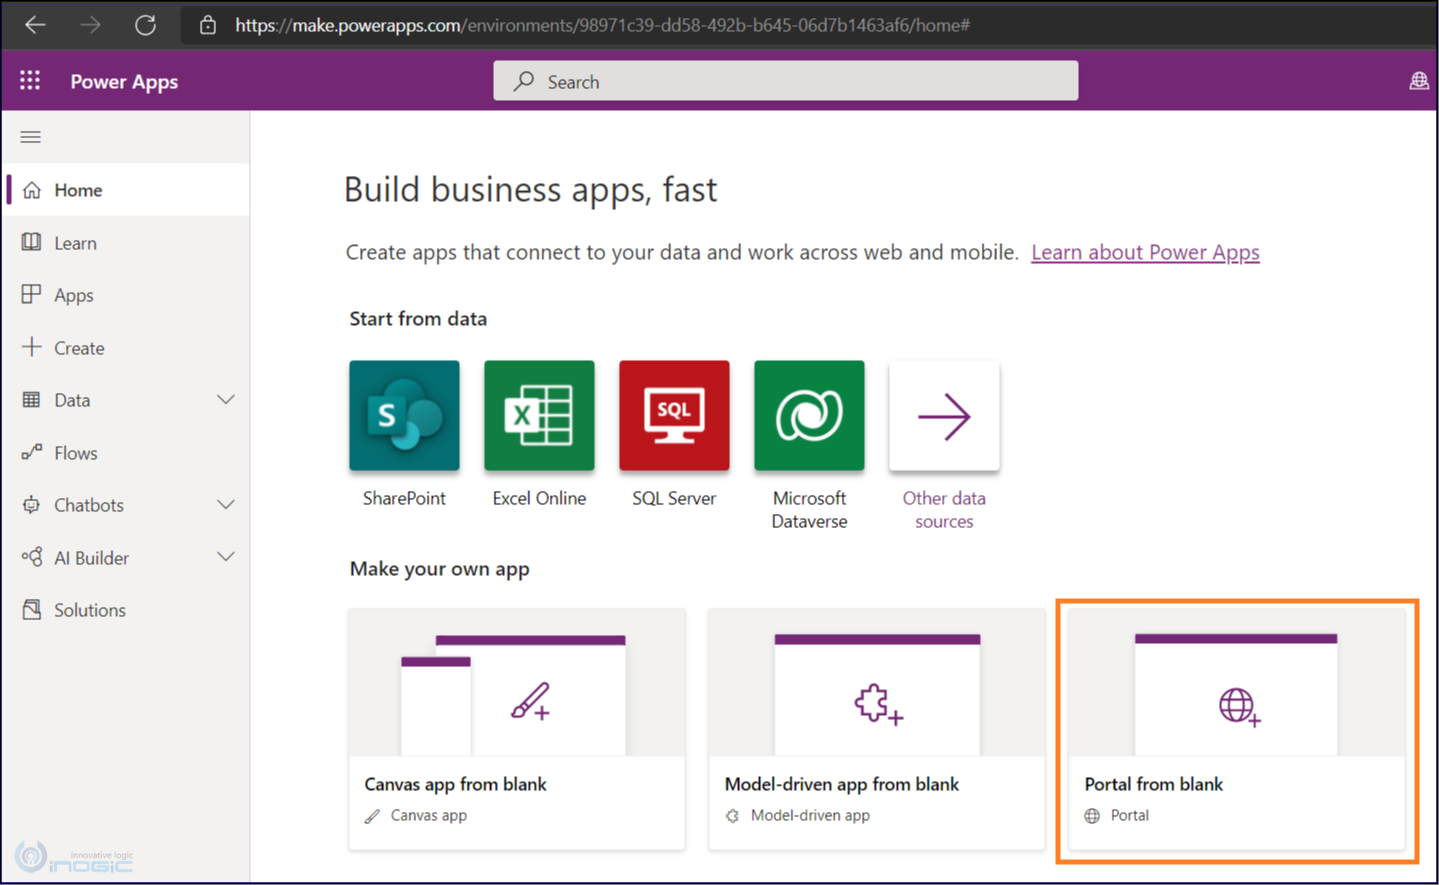
First, we need to configure the Power Apps Portal for our CRM.
Login to https://make.powerapps.com/ and click Portal from Blank.
After clicking the button, a popup will appear where we need to provide a suitable name for the portal and address.
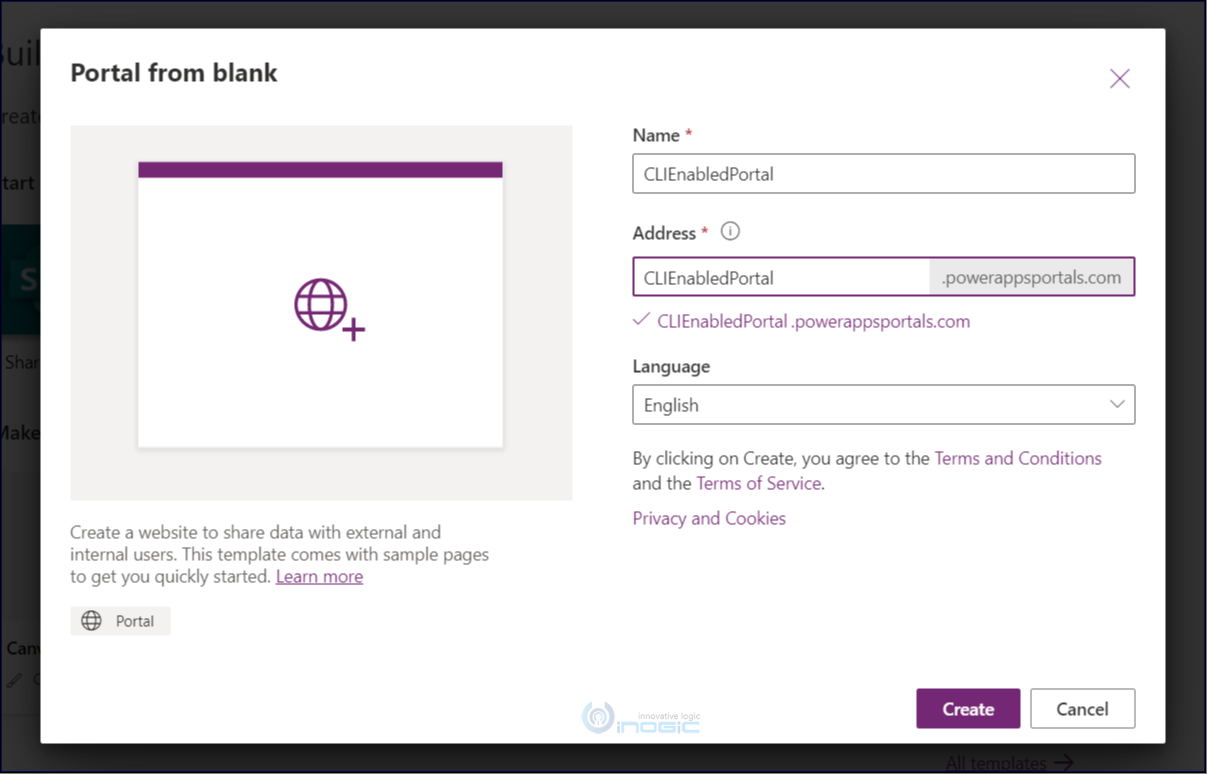
Then click on the Create button and wait for the portal to become ready to use.
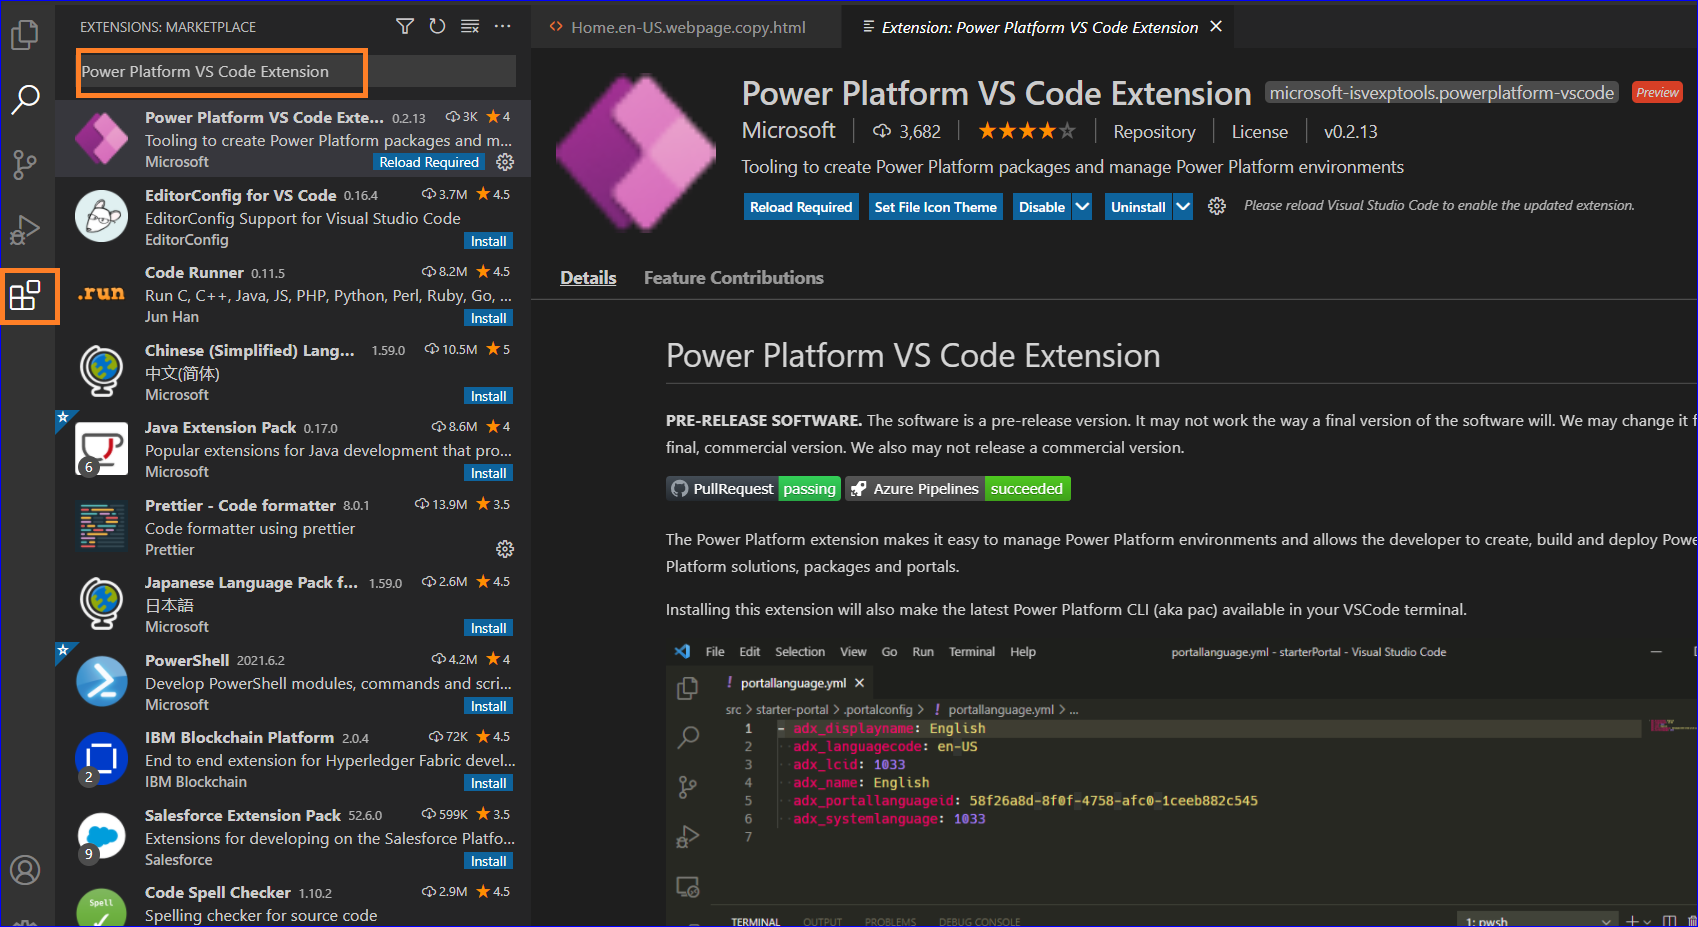
While the portal is being configured, we need to install the Power Platform VS Code Extension in our Visual Studio Code.
Open the Visual Studio, click the extension button and search for the Power Platform VS Code Extension. Once it is visible, click the install button.
Here we are done with prerequisites and ready to connect the Power Apps Portal.
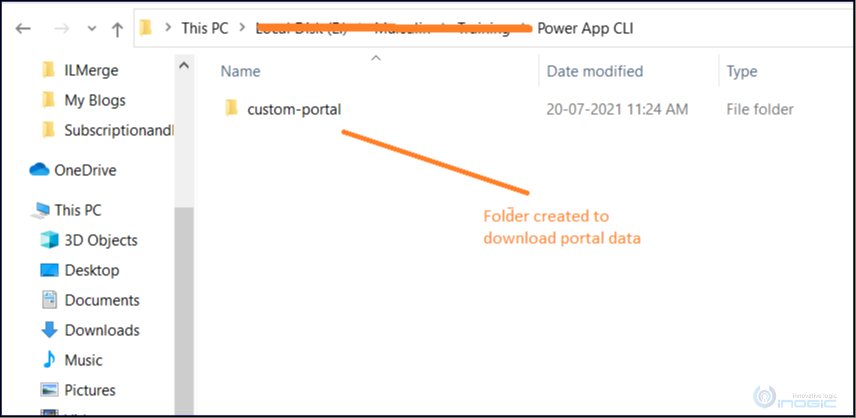
Now create new folder and open that into Visual Studio Code. The Power Apps Portal data will be downloaded in this newly created folder.
Open the Terminal in VS Code.

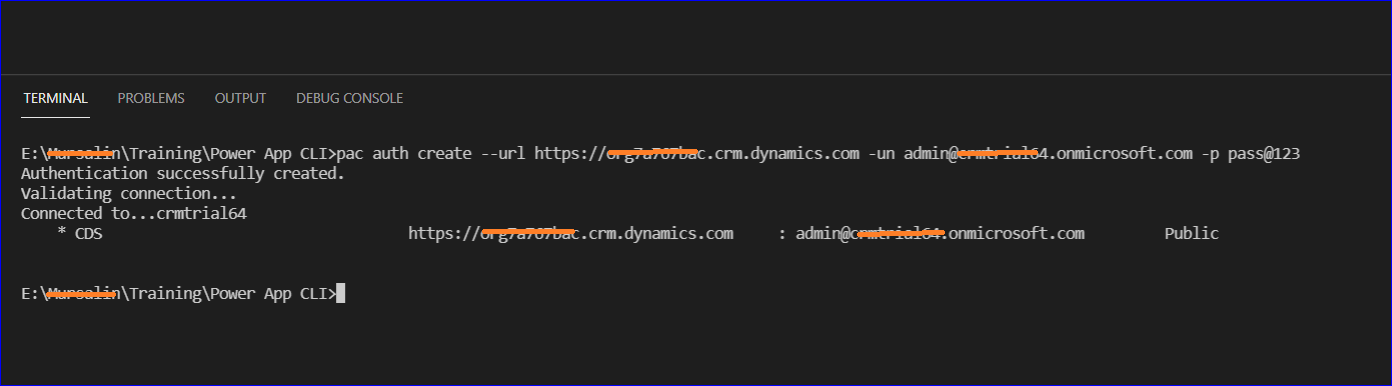
Now we need to authenticate it in order to connect Power Apps Portal. To authenticate we will use below command:
Command: pac auth create –url <Dynamics CRM Url> –un <User ID> -p <Password>
For example: pac auth create –url https://orgname.crm.dynamics.com –un admin@orgname.onmicrosoft.com -p pass@123
You can check if you have successfully connected to your environment by running the command.
Command: pac org who
This will show you the organization details.
Once successfully authenticated now we need to download the portal data into our system so that we can work offline into our portal and then upload it back to cloud.
To download the Power Apps portal data we need to run the below commands.
Command: pac paportal list
This will show you the listing of portal websites and website ids into your connected environment. The WebsiteId will be used in the command to download the Portal data.

Command: pac paportal download –path “<Directory Path>” –webSiteId <Portal WebsiteId>
For Example:
pac paportal download –path “E:\Sam\PowerAppsCLI” –webSiteId d78574f9-20c3-4dcc-8d8d-85cf5b7ac141
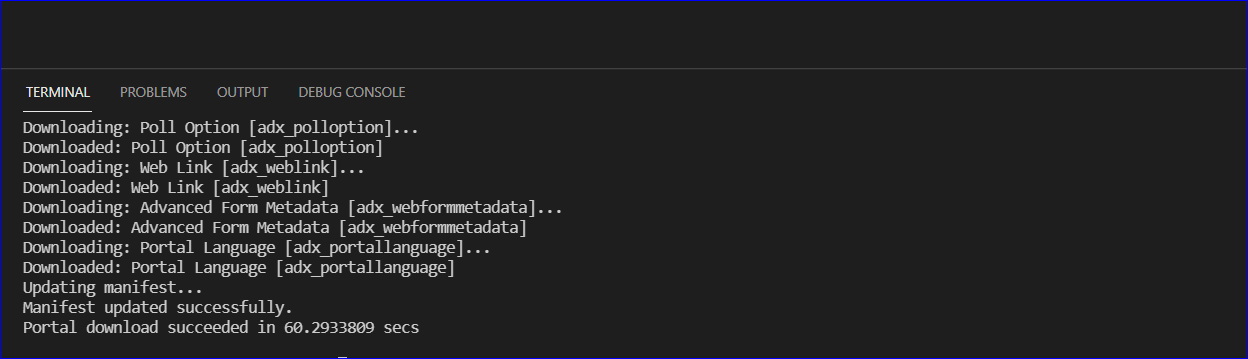
Once it is downloaded, all portal data can be seen in the folder and since we have already opened the folder in our VS Code we just need to refresh it.
Now to create new custom webpage we need to know things we required to update.
- YML extension files: – yml is serialized human readable text document file, which is actually not a Markup Language. Using this we will be setting our web page properties.
- How we can set property? It will be like key value pair and the key will be logical name of the property and the value for the key needs to specify after the colon (:).
Our custom page should be having the below properties and its values.
- Parent Page(adx_parentpageid) : Home Page
- Page Template(adx_pagetemplateid): Full Page without Child Links
- Publishing State(adx_publishingstateid) : Published
As can be seen above, we will be using the “Home Page” as the value of the adx_parentpageid, “Full Page without Child Links” as the adx_pagetemplateid and “Published” as the adx_publishingstateid.
Moreover, to set the above properties we first need to get unique ids for each of these properties. As each of them are attributes of type lookup in Dynamics 365 CRM and to map respective records in the lookup fields we require their respective Ids.
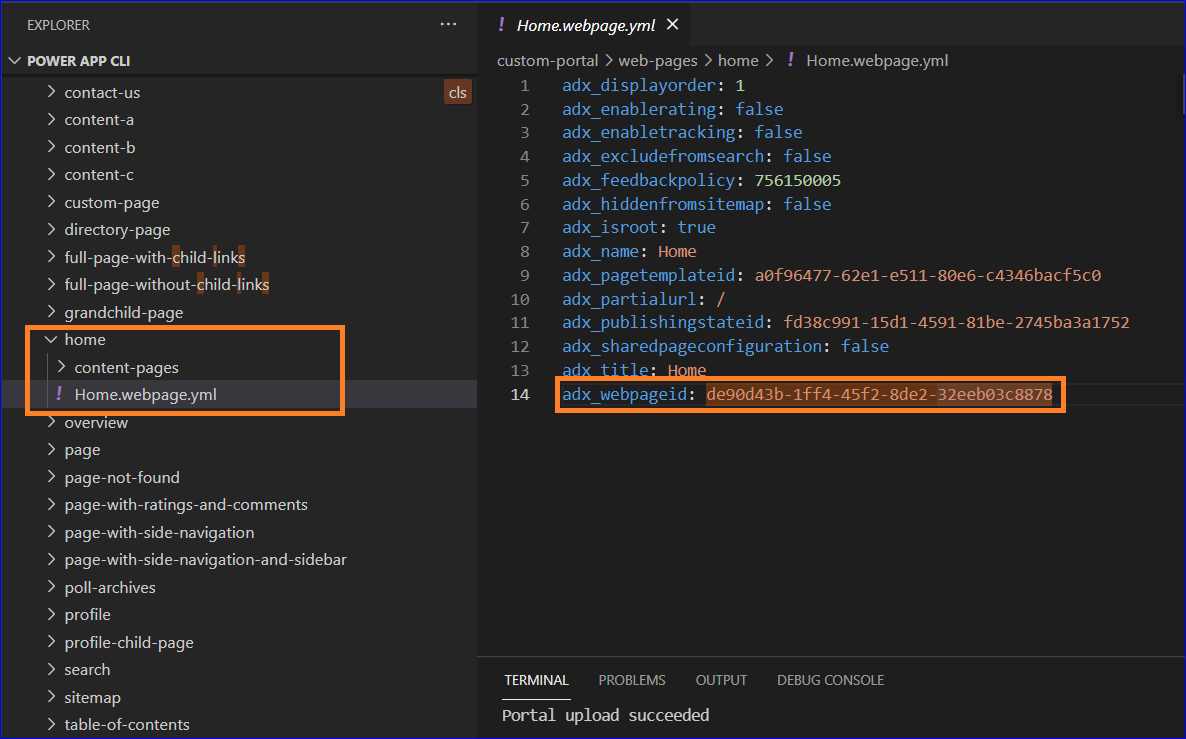
To get the unique id of the Home Page, expand the Web Pages folder and find home. Then expand it and open the Home.webpage.yml. After that copy the value of adx_webpageid. This is the value we shall use for the adx_parentpageid attribute of our custom page.
To get the unique id of Page Template, expand the page-templates folder from main folder, look for the Full-Page-without-Child-Links.pagetemplate.yml page template file and copy the value of adx_webtemplateid. This is the value we shall use for the adx_pagetemplateid attribute of our custom page.

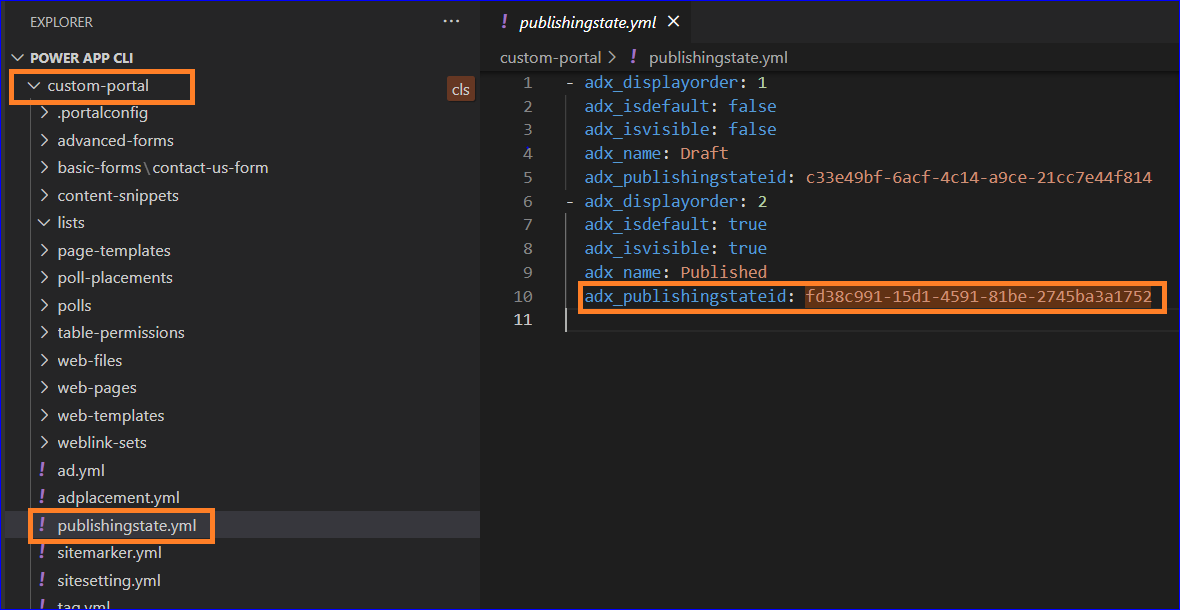
Similarly, we need to find the id of Publishing State. In the main folder search publishingstate.yml file and copy the value of adx_publishingstateid. This is the value we shall use for the adx_publishingstateid attribute of our custom page.
Now we have all values for our required properties.
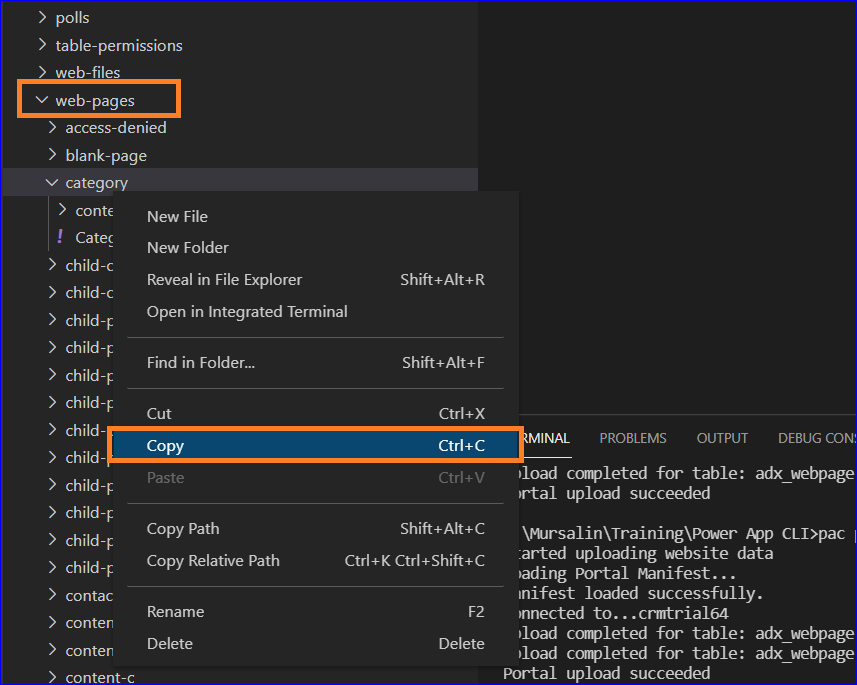
To create new custom web page, we will expand the Web Pages folder and within it copy & paste any Web Page. For instance, we copied category page as shown below:
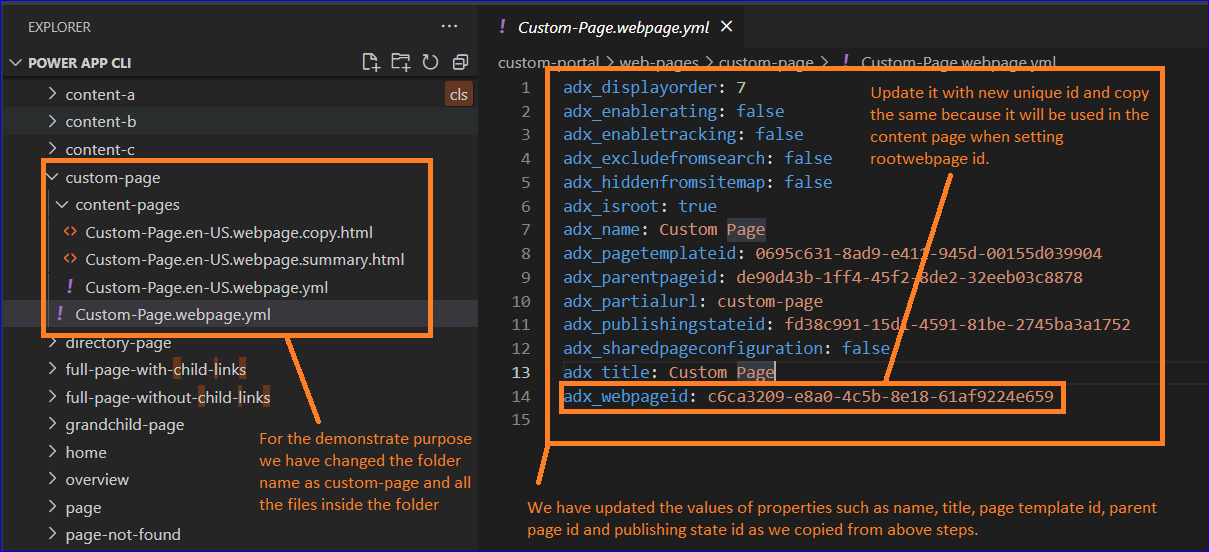
After pasting all required things now we will update folder and files as per our requirement.
We changed the web page name to custom-page and also renamed all files inside the folder. After updating the name, we need to set/update the properties inside the “Custom-Page.webpage.yml” file.
You can check the changes we did in below screenshot:
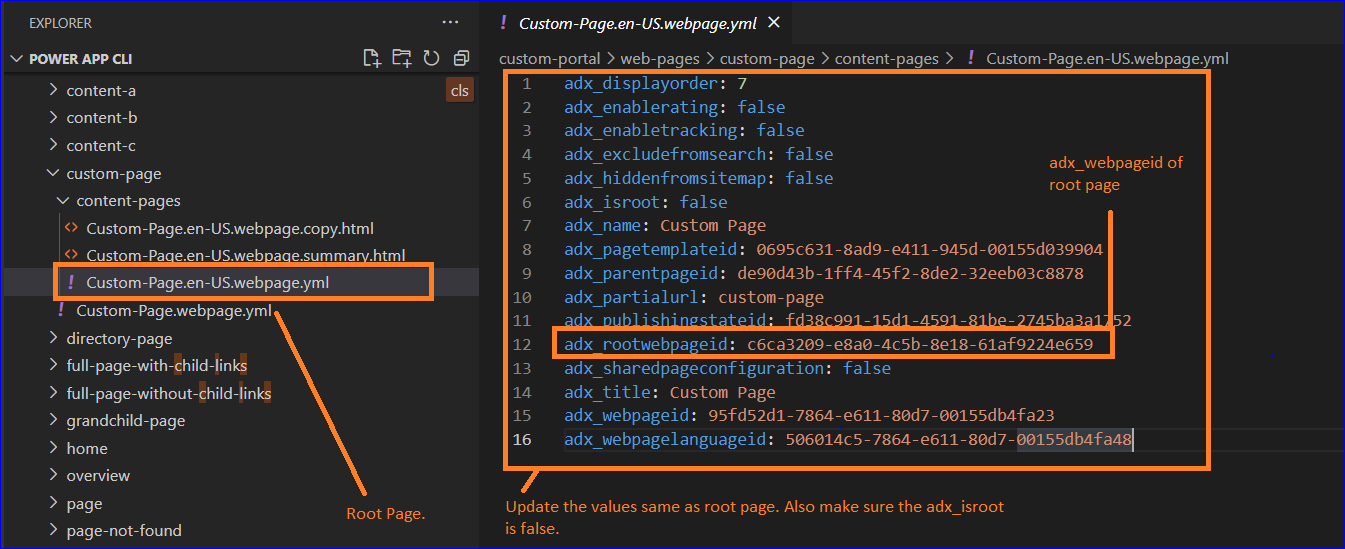
Now in the “Custom-Page.en-US.webpage.yml” we will be adding the same values as we have set in the above step except for the adx_rootwebpageid. In the adx_rootwebpageid we will set the value of adx_webpageid from the “Custom-Page.webpage.yml” file.
After updating the yml files, we can now update the html files and that will be shown in our portal.

Once changes are done, save the changes. And now we are ready to upload our portal data into cloud.
For uploading the changes, we will use below command:
Command: pac paportal upload –path “<Directory Path>“
For Example: pac paportal upload –path “ E:\Sam\PowerAppsCLI“
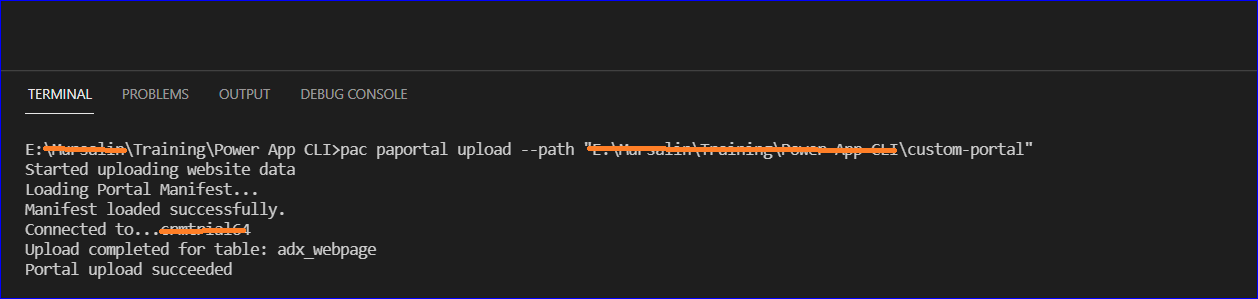
Result:
We completed our changes and uploaded those changes on cloud. Now we will check if the changes are reflected in our Portal or not.
Open the portal home page and since parent page of our custom page is home then after the portal url we will add “/<partial name of the page>/” to access our page.
For example: <portal url>/custom-page/

Conclusion:
Using Microsoft Power Platform CLI, we are able to work on the portal in offline mode and after doing the changes, we are able to upload them in one go. In addition, it will help developers to migrate portal data from one environment to other environment with very less effort.