Introduction
We all know how quick and efficient it is to schedule work to a resource using the Schedule Board. Now, with the growth of usage and popularity of PCF components, Microsoft has added one more PCF component into their arsenal for managing work items to resources.
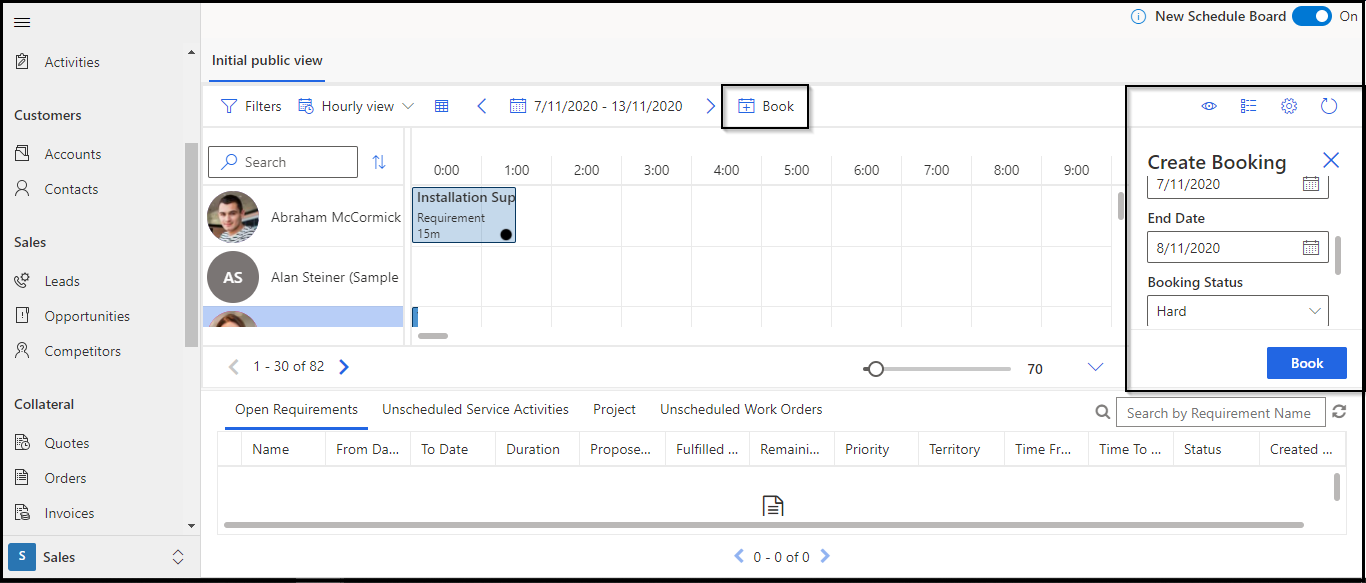
The new Schedule Board PCF component can be added to any entity and you can manage all the scheduling processes from within the entity itself, as shown in the below screenshot.
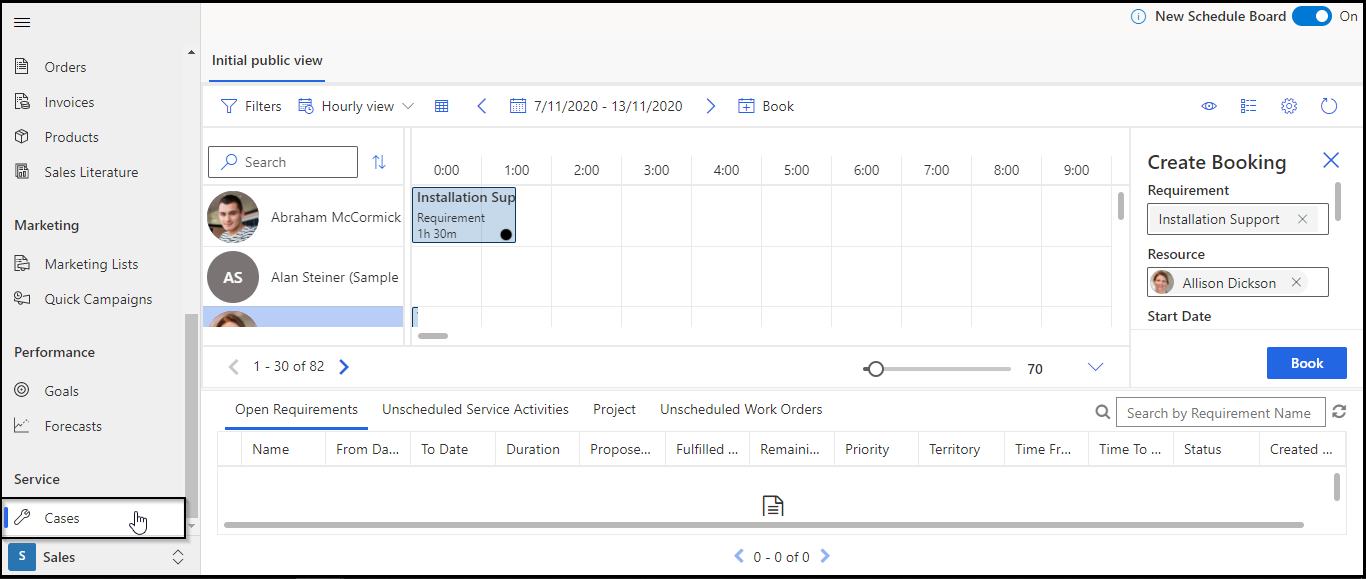
I have configured the Schedule Board control on the Case entity because of which I now don’t need to navigate to the Resource Scheduling App and then click on the Schedule Board entity. Hence, saving time and providing a simple navigation option within your existing app.
First, enable the Case entity for Scheduling by following these steps:
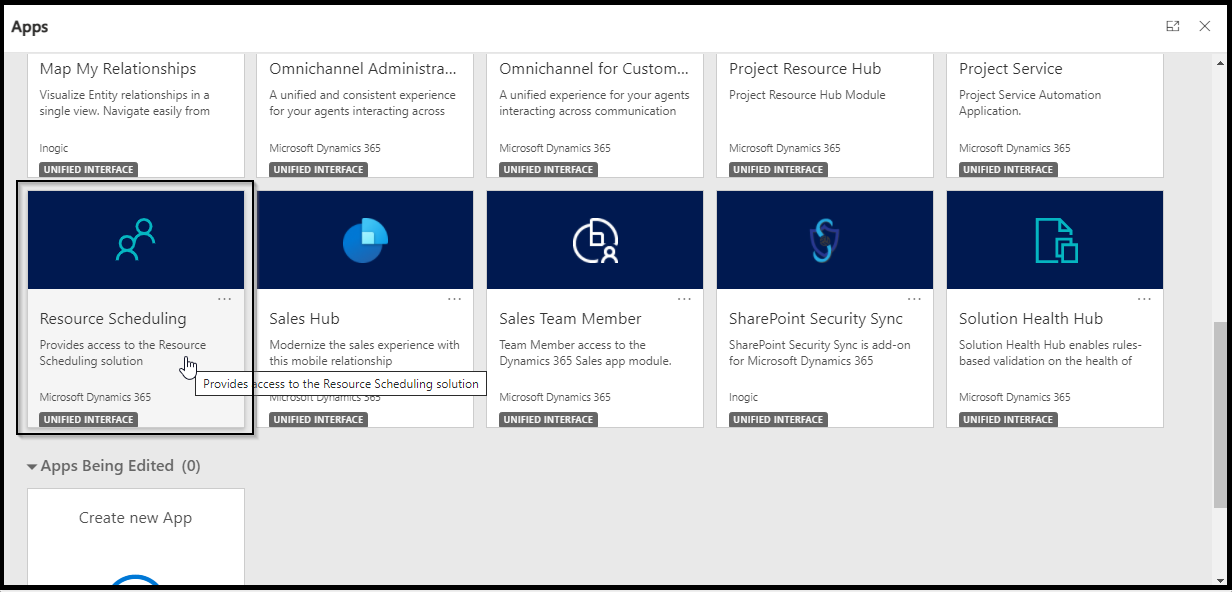
- Navigate to the Resource Scheduling app.
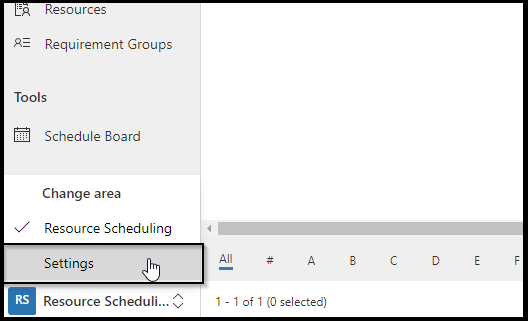
- Once you open the App, Change area to Settings, as shown in the below screenshot.
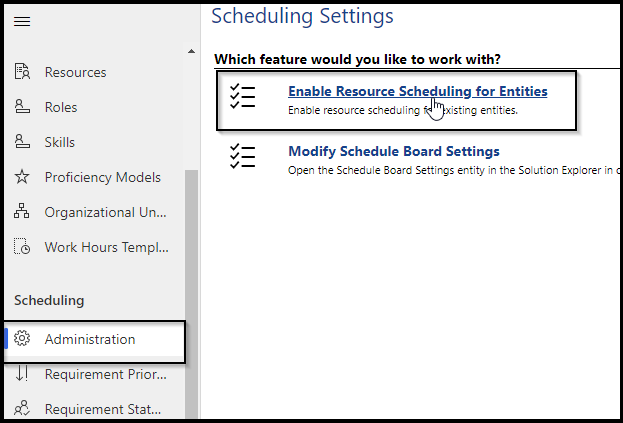
- Click the Administrator entity under the Scheduling section. Once done, click on the Enable Resource Scheduling for Entities.
The Add Entity Select the case entity and in Booking and Requirement Relationship select Create New Relationship
Configuration – You can configure the Schedule Board control on any entity as the steps remain the same for all the entities. In this blog, I will show an example for the Case entity.
Step 1: Navigate to Customization.
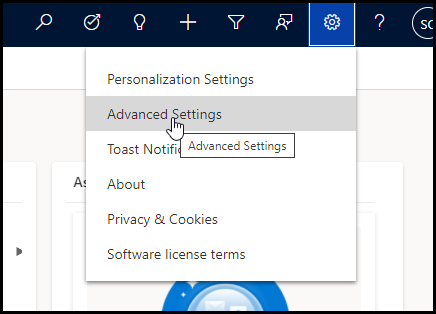
- Click on the gear icon at the top and select Advanced Settings.
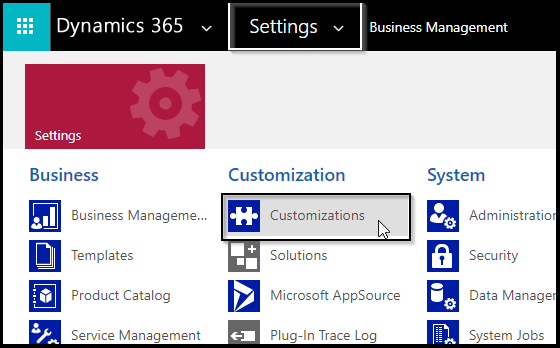
- Then click on the dropdown beside Settings and then select Customizations.
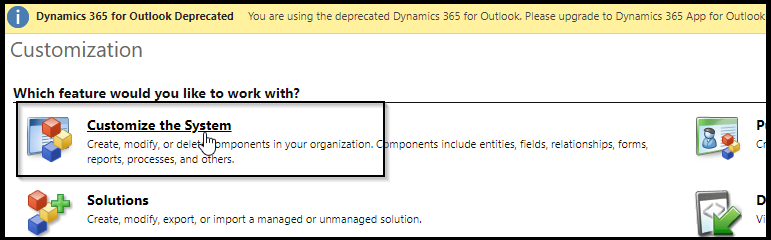
- Click on Customize the System
Step 2: Add control
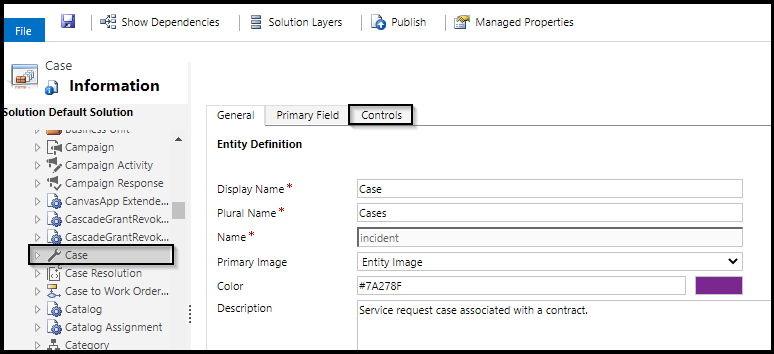
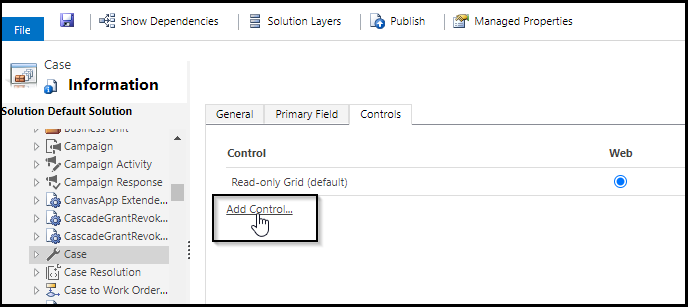
- Select the entity on which you want the Schedule Board control and then click on the Controls tab.
- Then click on the Add Control.
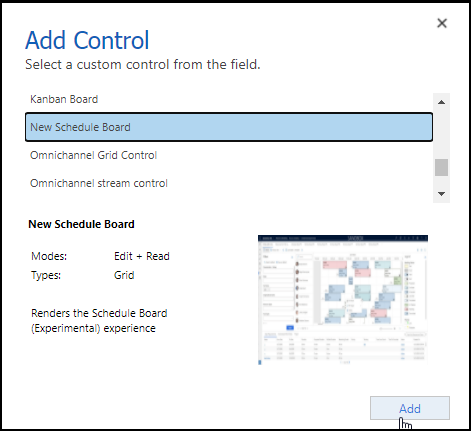
- Once you click on Add Control, a Popup will appear consisting of all the control which are available for the entity. From the listed options, select the New Schedule Board control and then click on the Add button as shown below
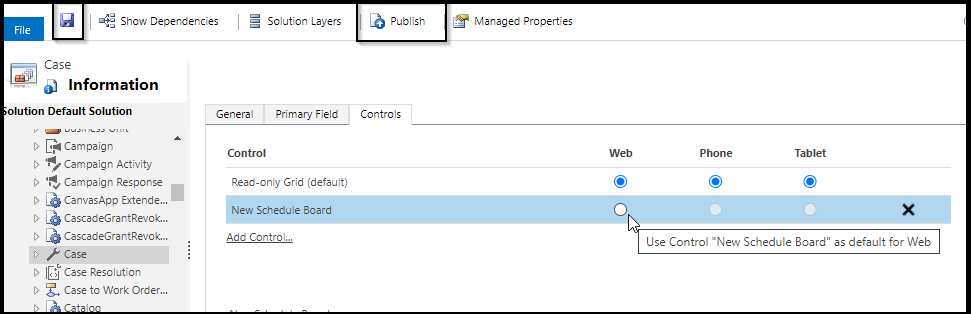
- Once it is completed, choose the Radio button on the Web column if you want to see Schedule Board by default when the case entity is loaded.
- In this example, I will be not setting it to default because currently there is no option to navigate to the OOB grid view from the Schedule Board.
- After this, just Save and Publish the configuration which we have done.
- Once publish is completed navigate to the Case entity.
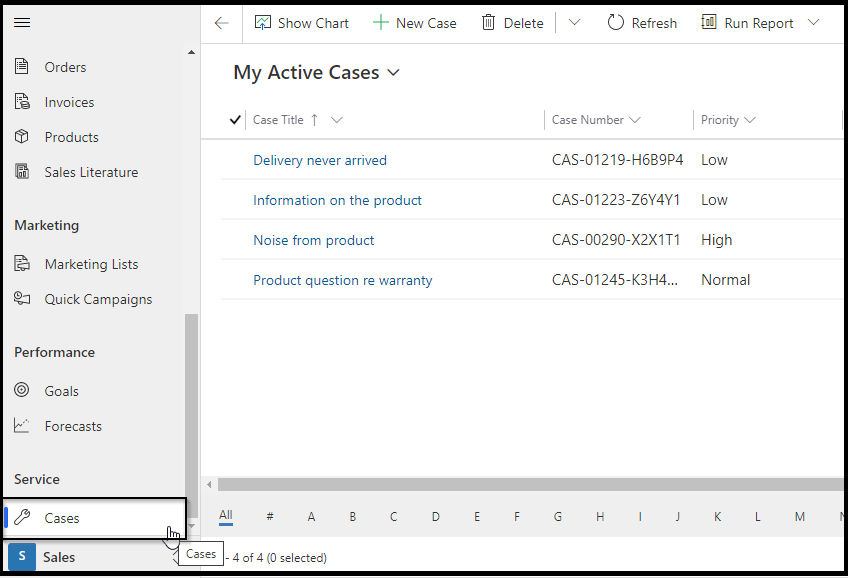
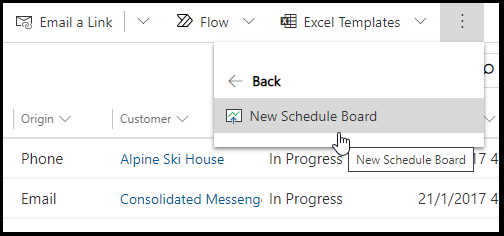
- You will see the default OOB grid of the CRM to switch to Schedule Board click on the ellipses and then click on the Show As option.

- Once done, select the New Schedule Board option.
- As soon as you select the New Schedule Board option, the Schedule board control will be loaded from where you can manage all the scheduling of work like booking resources.
Conclusion
In this blog, we have seen a new way to schedule resources and use a schedule board.