Introduction:
Organizations use Microsoft Dynamics 365 Portals as a hub for making relevant information available to the users at the right time. Many organizations need their portal users to attach documents that get stored in CRM but can be easily accessed from the portal for effortless information flow.
Steps to attach documents from Microsoft Portal:
1. To view the notes area on the portal, we need to have the notes area present in the Dynamics 365 form that is used in the portal’s Entity form.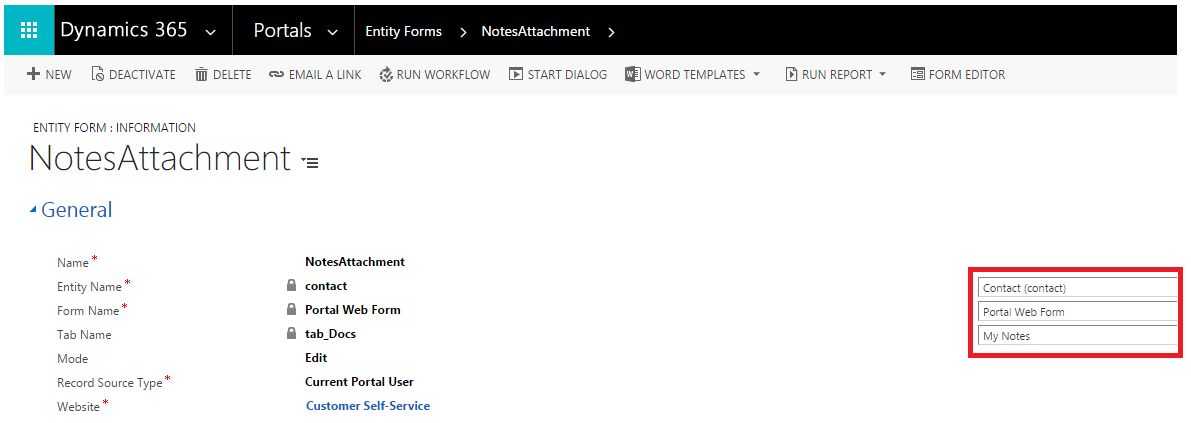 As seen in the above screenshot, we have a custom CRM form ‘Portal Web Form’ where the notes area is present in the ‘tab_Docs’ tab to attach notes for the logged in portal user contact.
While configuring the CRM form and adding notes in the section, select Notes in the Default Tab section as shown in the screenshot below;
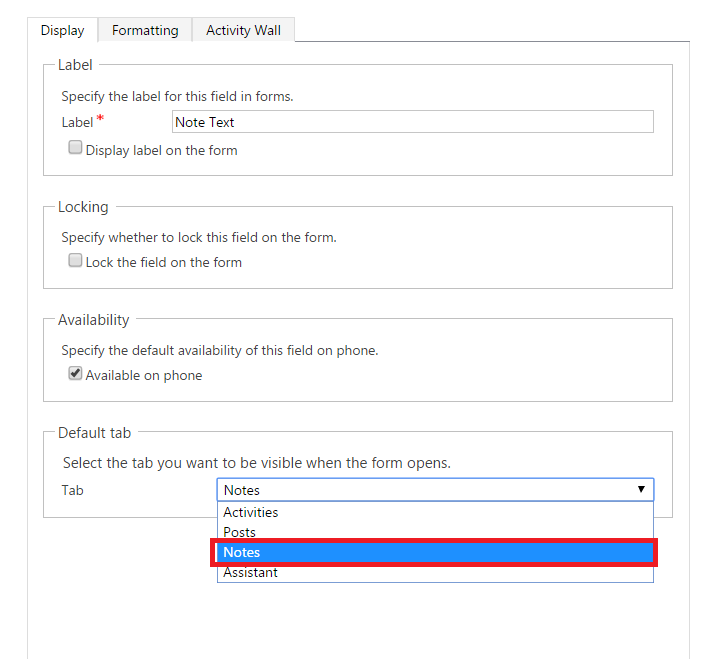
Note: By default, the Tab is set to Activities.
This will just show the notes section on the portal. To be able to attach Notes from the portal, further customization of Entity Form is needed.
If you scroll down on the ‘NotesAttachment’ Entity Form (shown in the first screenshot) you will find a section named ‘Add Attach File’ as shown in the screenshot below;

The options available are as follows:
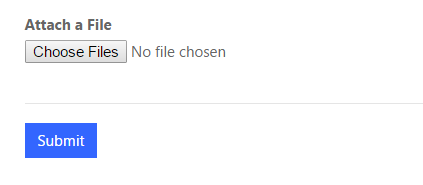
a. Attach File: This allows the user to attach documents from the portal as shown below;
b. Attach File Save Option: Choosing this as ‘Notes’ allows the user to attach the documents as an attachment to the Notes.
c. Allow Multiple Files: This allows the user to attach multiple documents at one go.
d. Attach File Storage Location: This allows the user to define the storage location of the attachments.
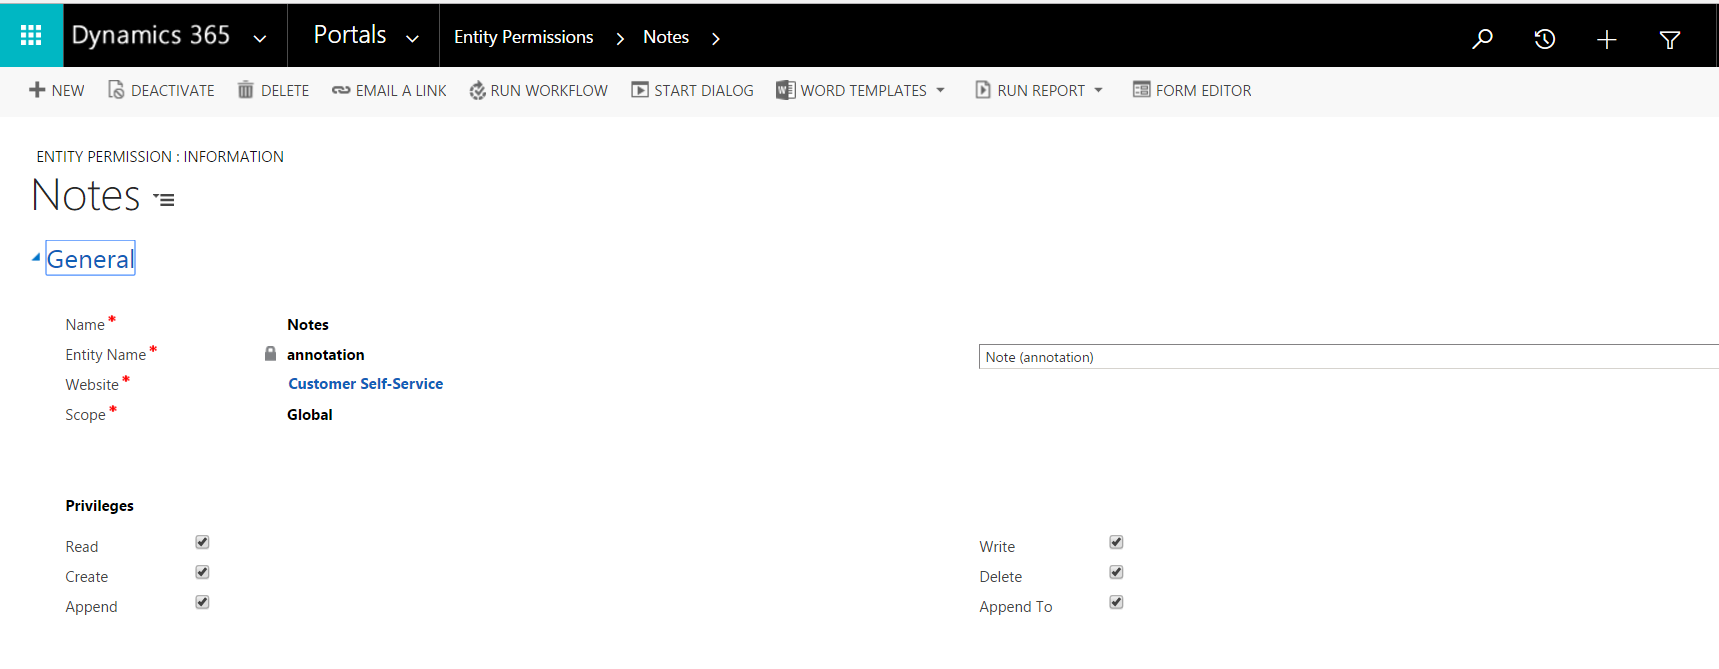
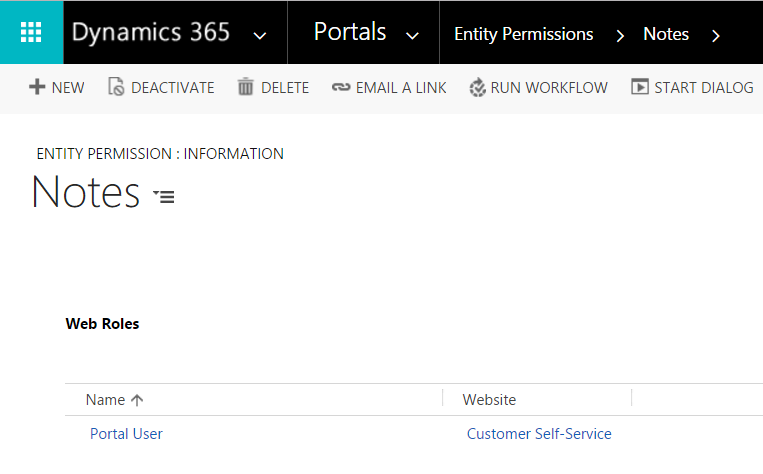
2. To view the attached documents on the portal, we need to add Entity Permission for the Notes Entity. The Web Role associated to the Portal Contact should also be associated with this Entity Permission as shown in the screenshot below;
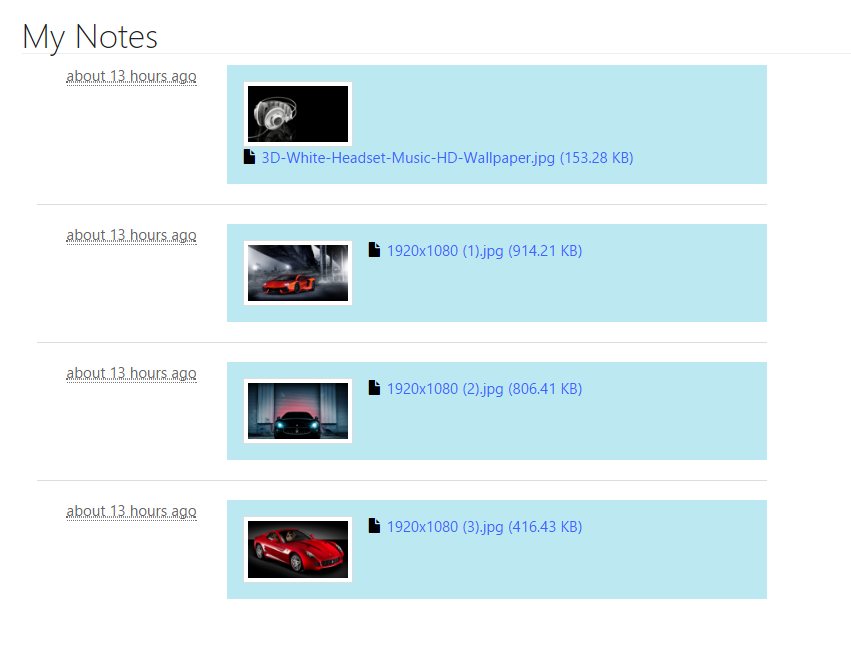
 The attached documents can be seen from the portal as shown in the screenshot below;
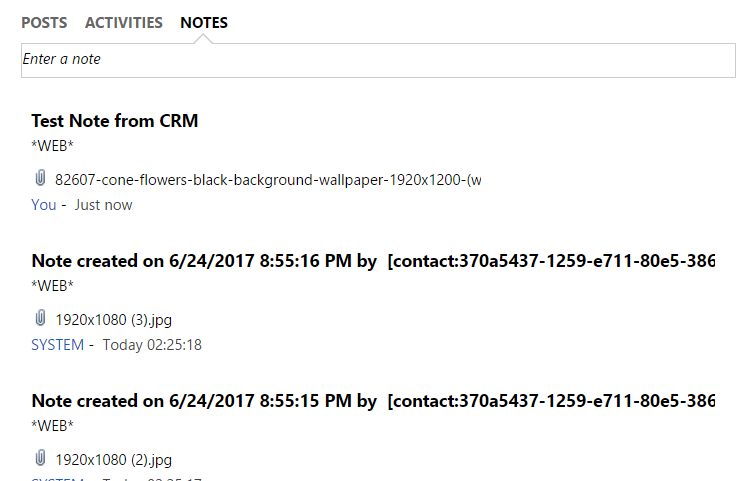
 3. The notes are saved in CRM with the description as *WEB*. So, if we create a note in CRM with the description containing *WEB*, that note can be viewed in the portal.
Additional Customization:
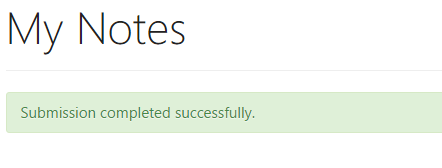
Usually, on successful completion of attaching a document, we get a success message as seen in the screenshot below;
To redirect the page on successful attachment of a document, we need to change the ‘On Success Settings’ from ‘Display Success Message’ to ‘Redirect’ as shown in the screenshot below;
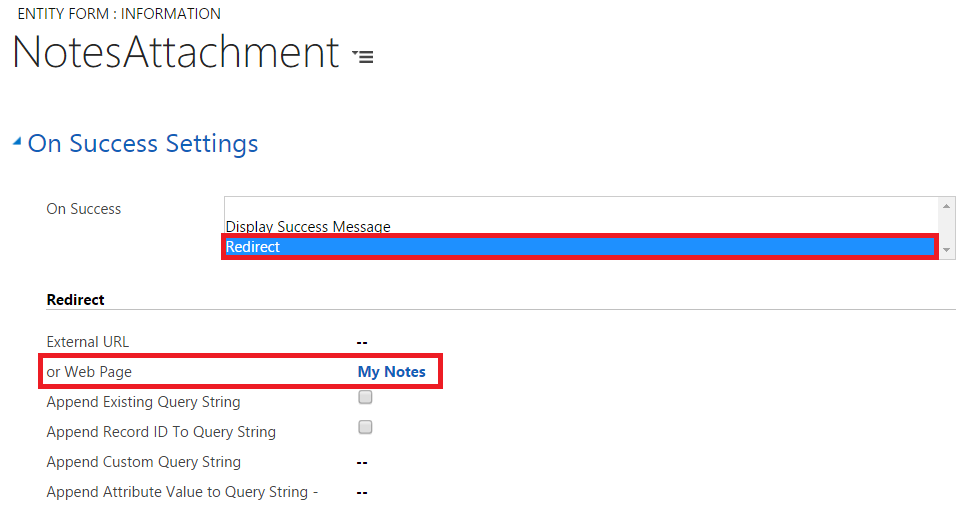
Set the Web Page same as the one used to show the Notes, so that on the successful attachment of the documents, the page is redirected.
Conclusion:
By following the steps mentioned above, we can easily attach documents from the Portal for later use. This functionality can be utilized by users to share documents effortlessly using Portals.
One Pic = 1000 words! Analyze data 90% faster with visualization apps!
Get optimum visualization of Dynamics 365 CRM data with –
Kanban Board – Visualize Dynamics 365 CRM data in Kanban view by categorizing entity records in lanes and rows as per their status, priority, etc.
Map My Relationships – Map My Relationships – Visualize connections and relationships between Dynamics 365 CRM entities or related records in a Mind Map view.