I recently encountered a client requirement that necessitated handling both “GET” and “POST” HTTP requests. While Azure Function offers a straightforward solution for such scenarios, the concern was it should be handled within Dynamics CRM. Faced with these constraints, I explored alternatives that would allow us to meet the client’s needs within the preferred environment. Accommodating both “GET” and “POST” methods posed a unique challenge for our project.
I needed one URL that would trigger on “GET” and “POST” methods. Only one time it will trigger the “GET” method to validate logic and after that, it will call for the “POST” method to process some response. Below is the approach that allowed us to fulfill the client’s requirements seamlessly.
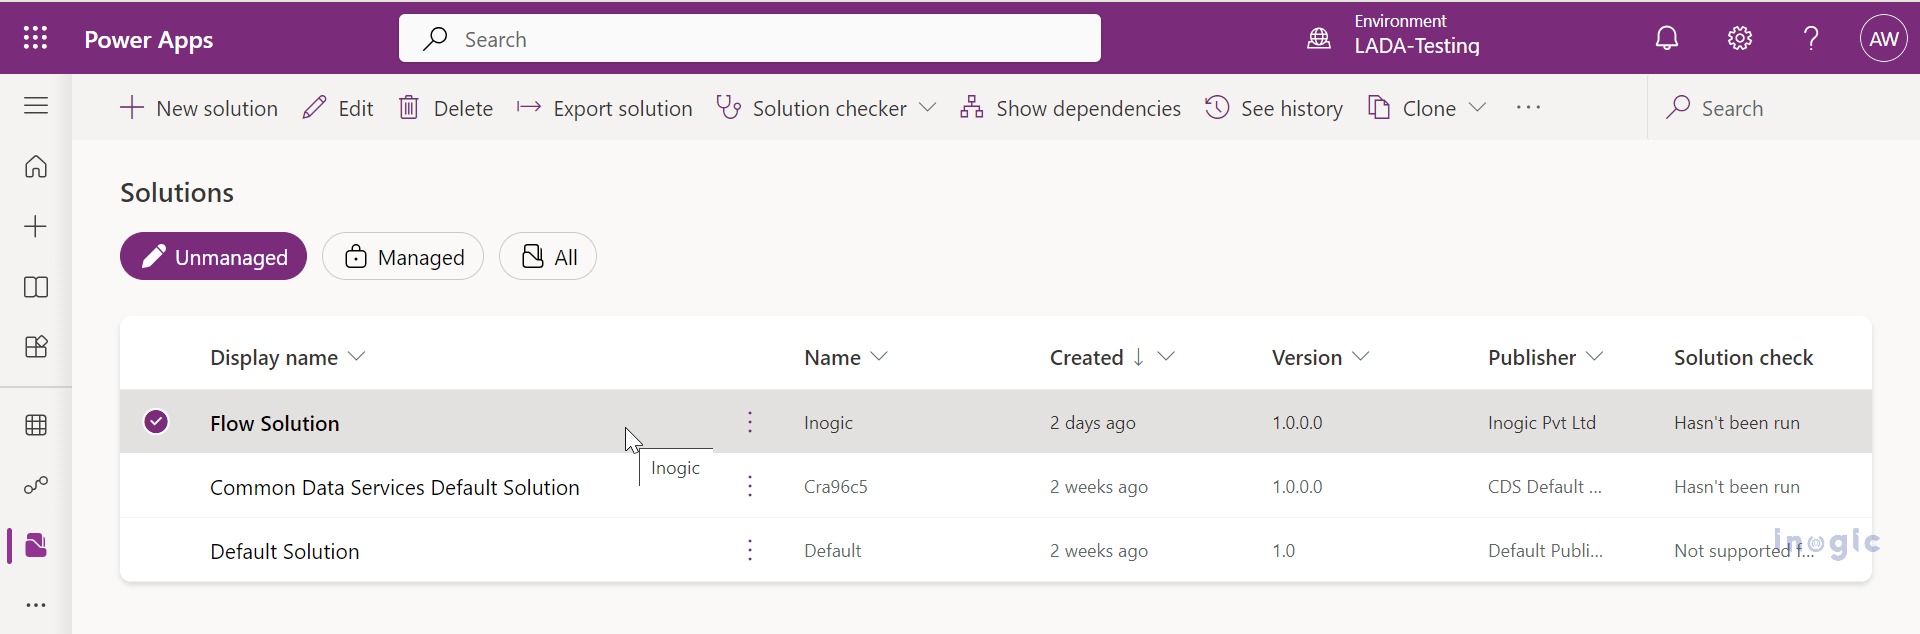
1. Create a solution in https://make.powerapps.com/where you have to add your Power Automate (Ms Flow)
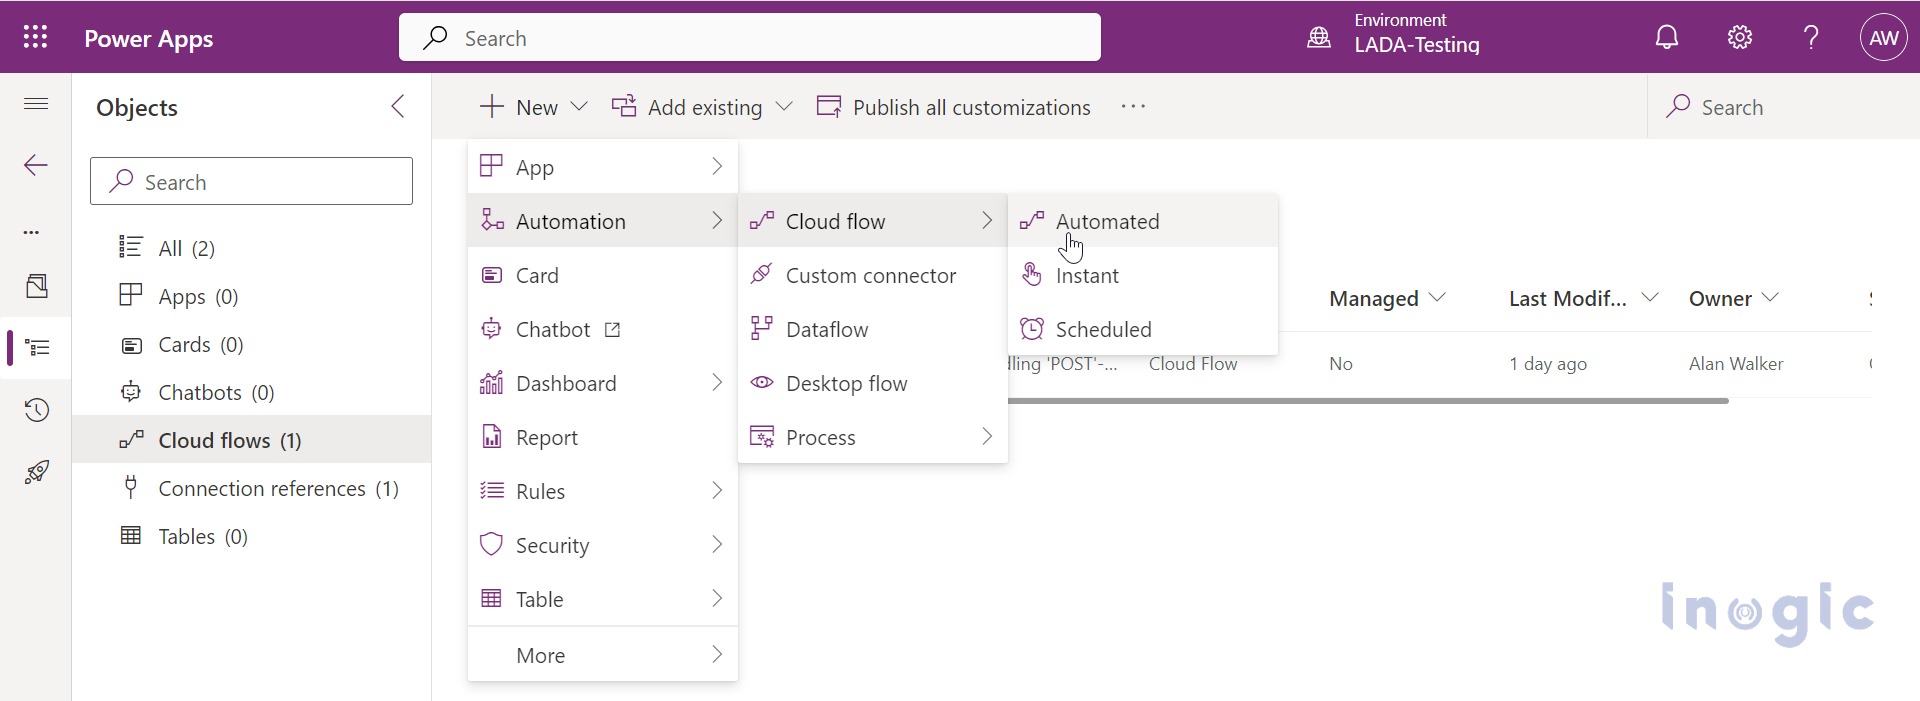
2. In the solution click on the “New” button & select Flow as shown in the below image. It will redirect you to the Power Automate (MS Flow) window as shown in the following image.
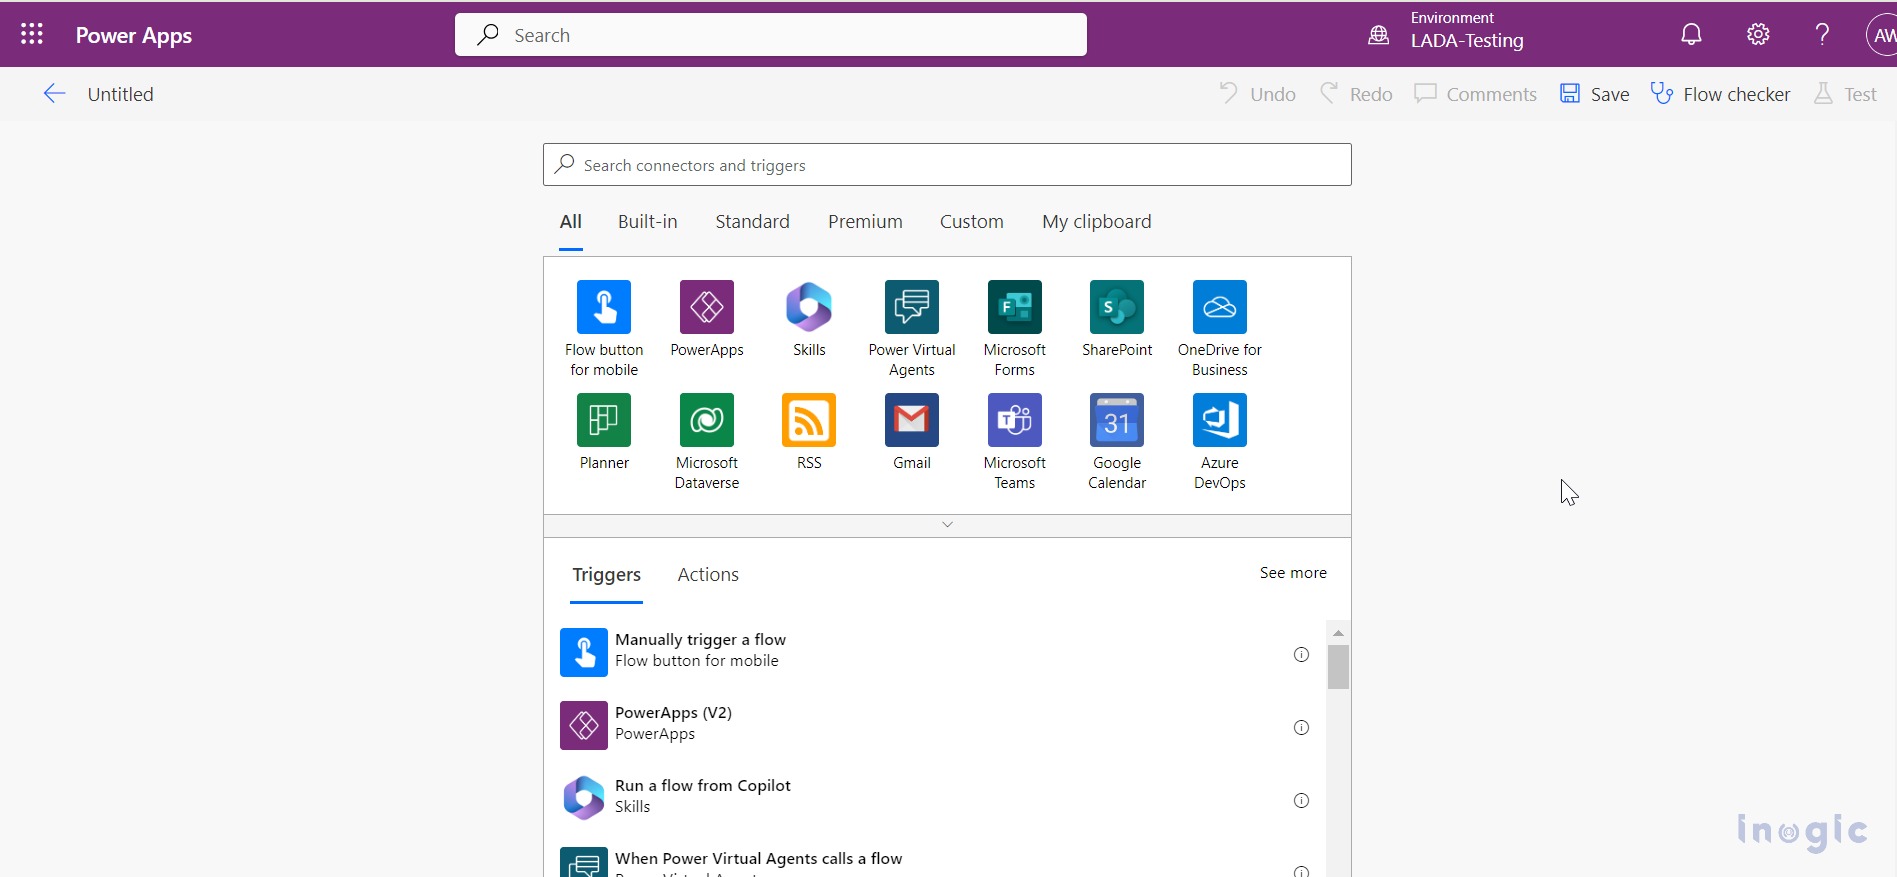
3. Now we have to Search for the “When an HTTP request is received” Trigger point in our newly created Flow & from the search result select “When an HTTP request is received” and select “Who can trigger the flow” from the dropdown as per your requirement configure “Who can trigger the flow” based on your needs. Set the method as “GET” and give your flow a name. Finally, click on “Save” to obtain the “HTTP POST URL”.
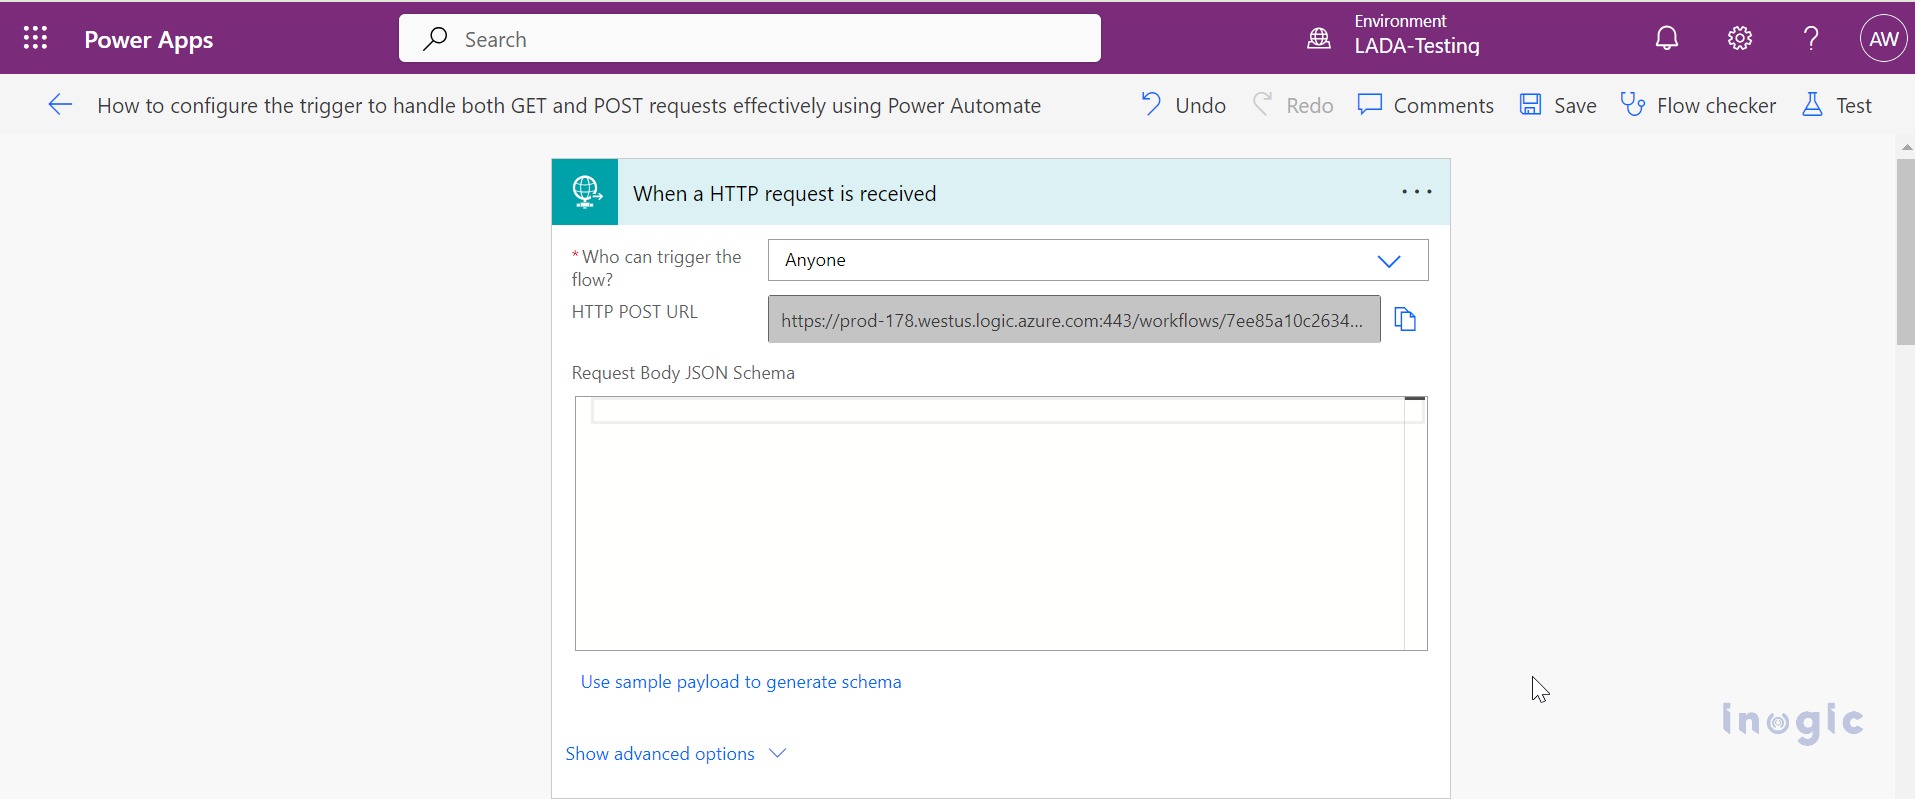
4. Once saved, you’ll receive an HTTP POST URL, as illustrated in the image below. Now I am using this URL as the endpoint. This ensures that whenever it is triggered, your flow will also be triggered, regardless of whether the request is a “GET” or “POST“.

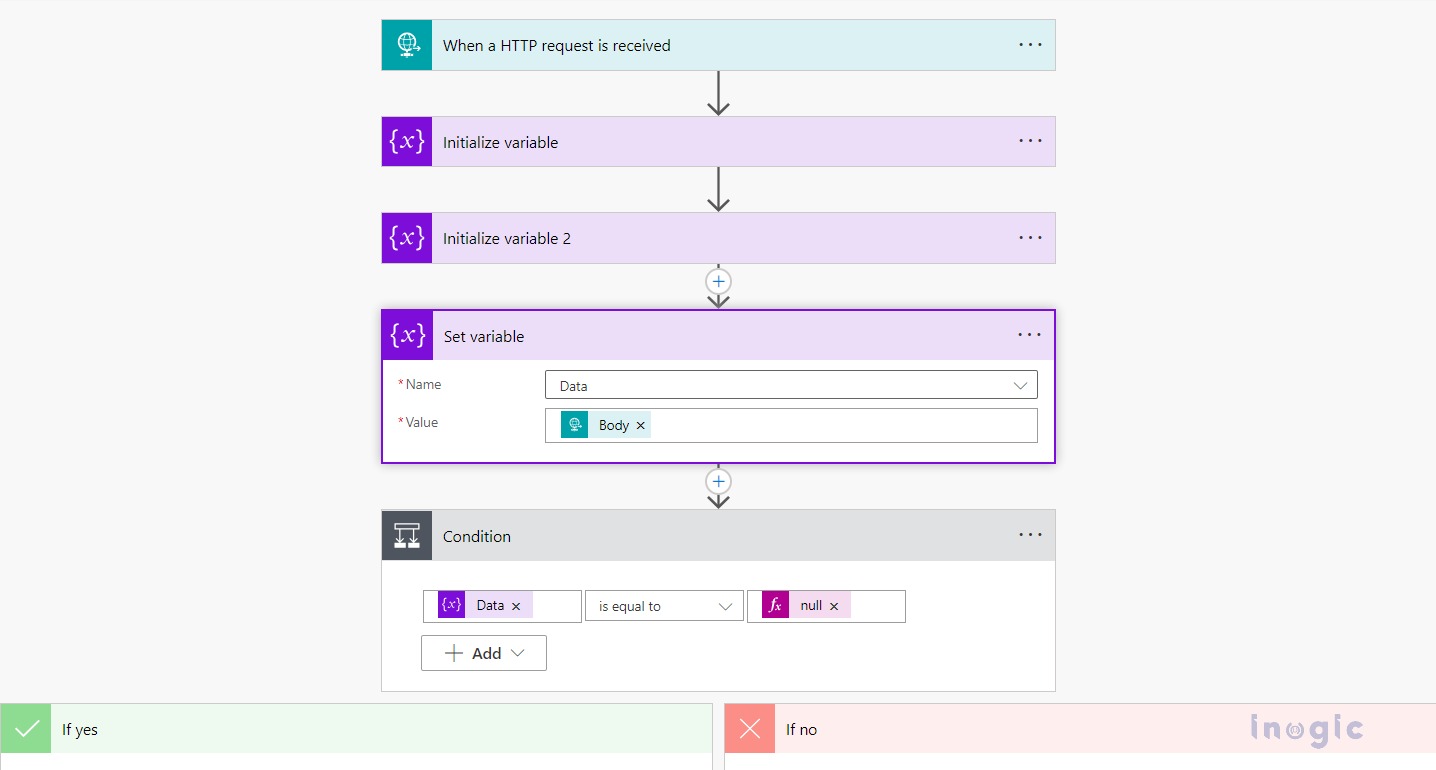
5. Next, add the “Initialize Variable” action to create variables. It will store the data coming into the Body.
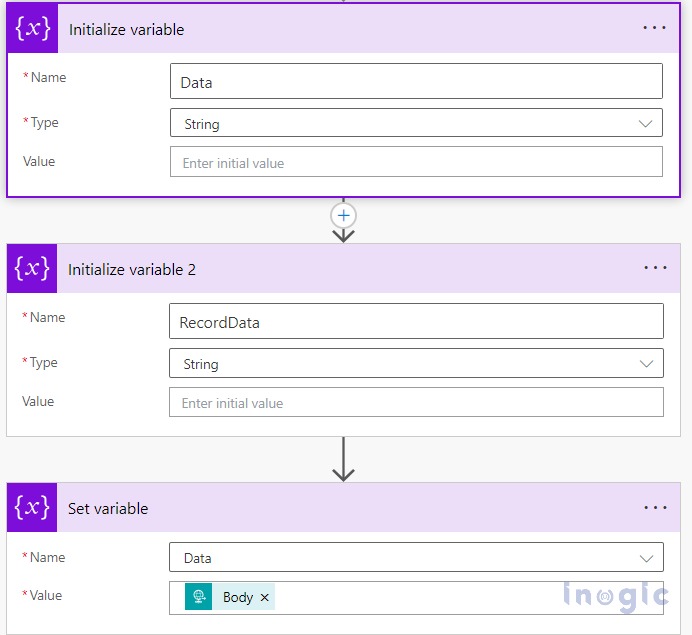
6. When the “GET” method is called then Body will be blank, we will get a result from query string parameters however in the “POST” method response will come in Body. So, to handle both scenarios I have added the condition to check If Data is null then it should move further and take query string parameters and return them in the response as well as update that Power Automate from the “GET” method to “POST” else it will direct return the response.
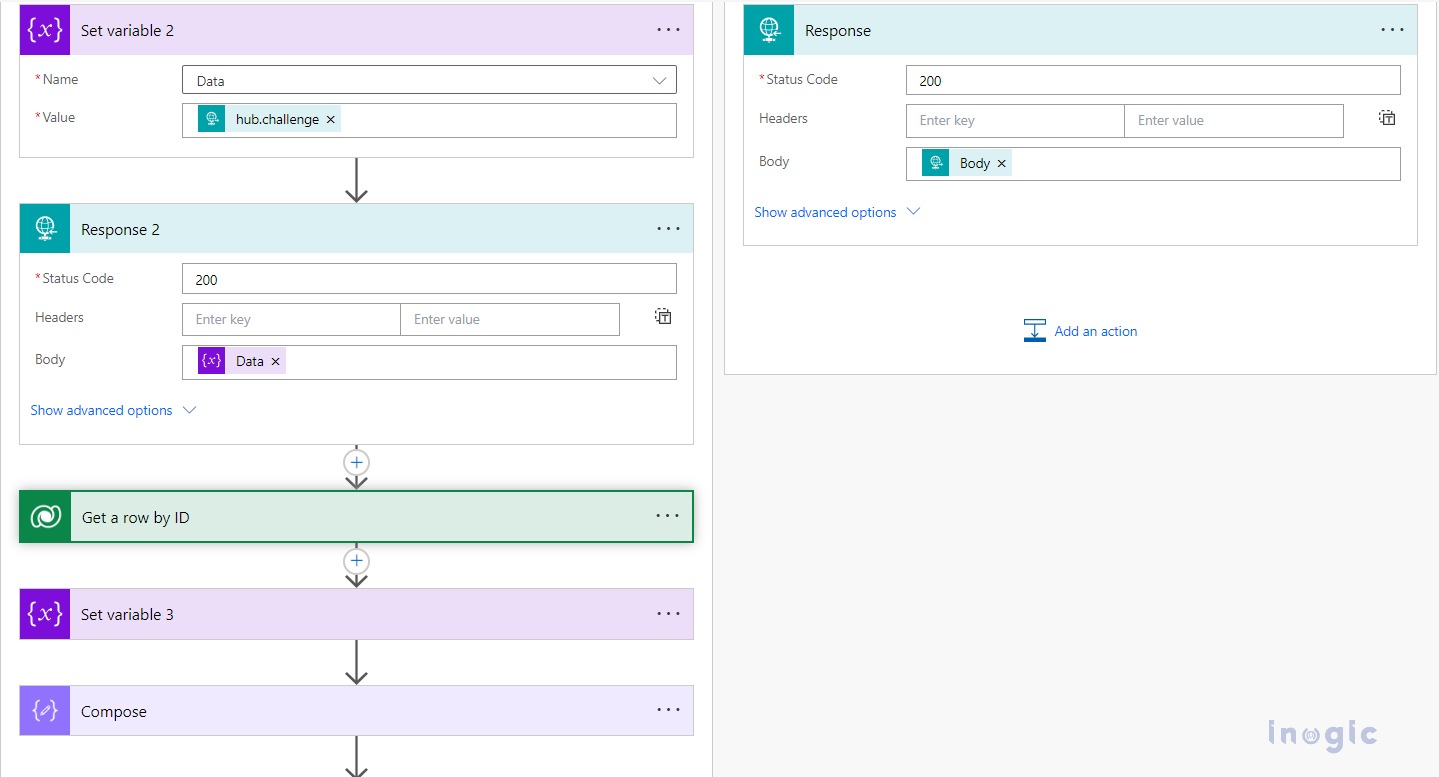
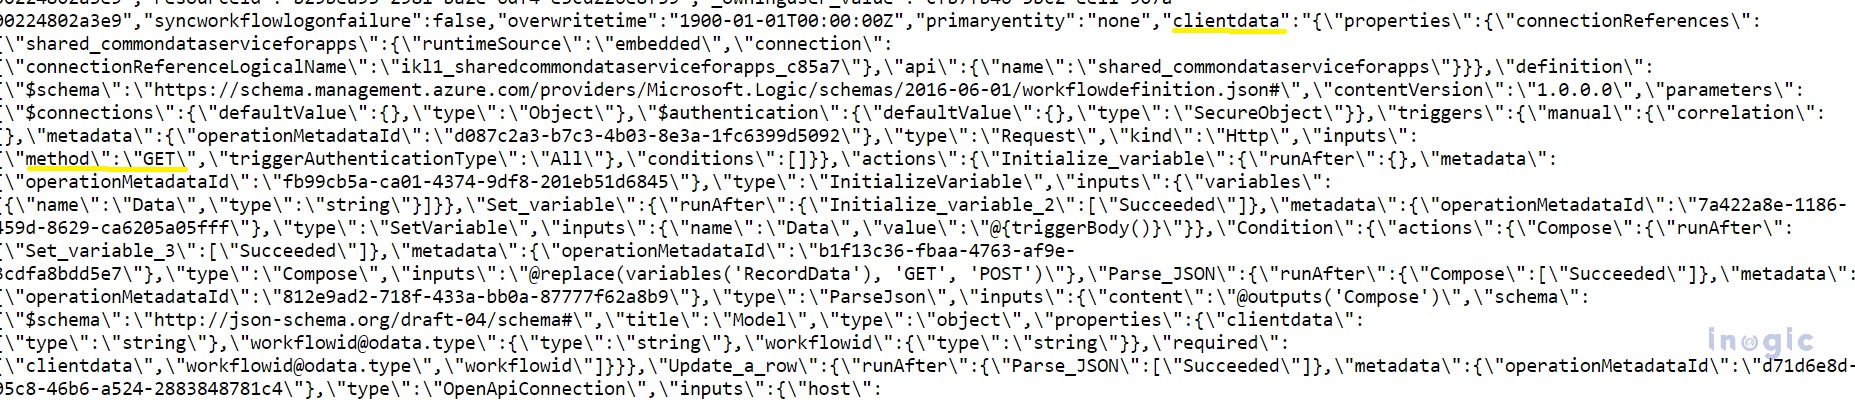
Whenever any Power Automate gets created those are stored in the “workflow” entity. So, I tried to find my Power Automate using ODATA and I got its ID, name, and other details. It stores all Power Automate steps in one field “clientdata” in JSON format. So, to update from “GET” to “POST” we need to follow the below steps.
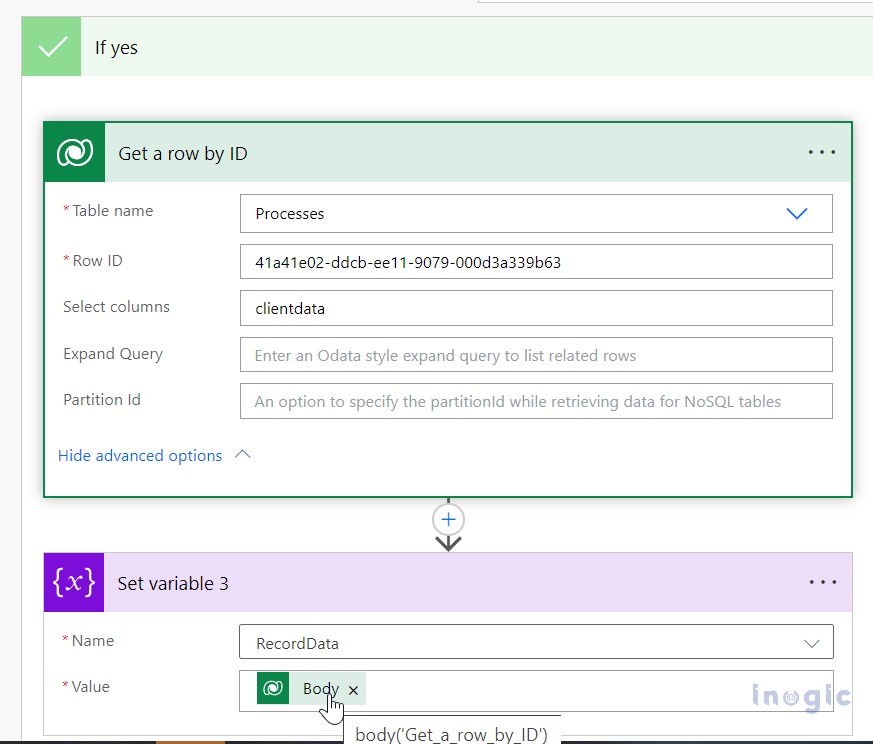
Now in Power Automate, we specified the table (entity) name as “Processes” which is the display name of the “Workflow” entity, and entered the ID of our flow in the “Row ID” field. we also need to retrieve the method stored in the “clientdata” attribute column. Therefore, select “clientdata” in the “Select columns” option. Also, set the variable “RecordData” using the “Body” output of the “Get row by ID” action.
7. Following this, use the “Compose” action, where the input will be modified by substituting “GET” with “POST” in the aforementioned JSON.

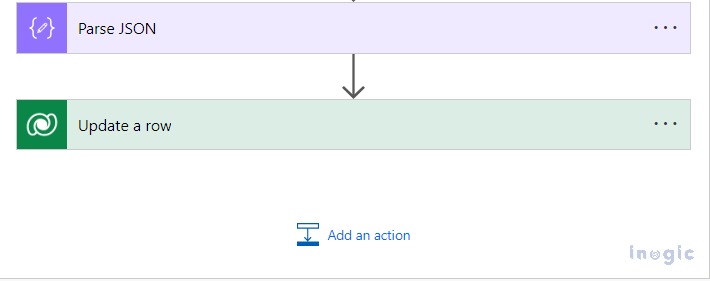
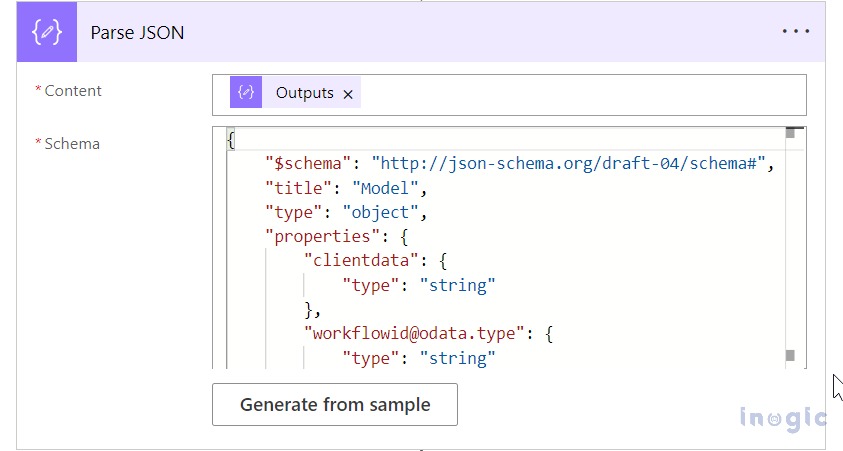
8. The subsequent step involves parsing the JSON, which means converting the JSON string into an object format. It’s essential to input the correct schema, as illustrated in the image provided.
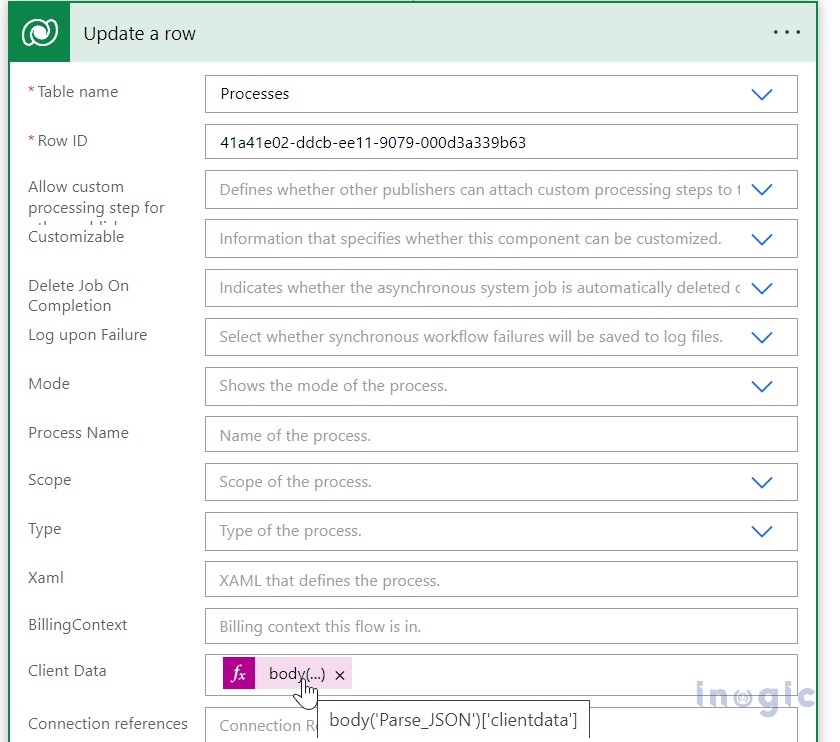
9. The final step involves updating the previously retrieved process record. Modify the “clientdata” column to reflect the updated “clientdata”, wherein the method has been changed to “POST“.
10. After the record is updated, the modified JSON will resemble the image below.

Conclusion
In conclusion, the method outlined above demonstrates how you can dynamically alter the flow’s method from “GET” to “POST”. This is particularly useful when there’s a requirement for your flow to be triggered once using the “GET” method and subsequently, for all future triggers, to operate using the “POST” method.