In this blog post, we’ll explore the process of allowing multiple users to collaborate on “The Canvas App” simultaneously from anywhere. By leveraging this functionality, we can connect our Canvas App to Git, enabling other users to collaborate on the same app. In this scenario, Git serves as a repository, it allows you to create, store, change, merge, and collaborate on files or code. Any member of a team can access the Git repository (think of this as a folder for files) and see the most recent version in real-time.
Benefits of Using Git for Canvas App Development:
Collaboration Made Easy
Git allows multiple developers to work on the same Canvas App simultaneously. Developers can create branches to work on specific features or bug fixes independently, reducing conflicts and promoting parallel development.
Version Tracking and Rollback
With Git, every change made to the Canvas App is tracked, providing a detailed history of modifications. This not only helps in understanding the evolution of the project but also facilitates easy rollback to a previous state in case of errors or unexpected issues.
Branching Strategy
Implementing a well-defined branching strategy is crucial for efficient Canvas App development. Developers can create branches for features, bug fixes, or experimental changes. Git’s branching capabilities allow for the isolation of different tasks, preventing conflicts and ensuring a smooth integration process.
Code Review and Collaboration
Git platforms such as GitHub or GitLab provide tools for code review and collaboration. Team members can review each other’s code, suggest improvements, and ensure that the Canvas App adheres to coding standards and best practices.
Prerequisite:
1. Need to have a Git Account or Create a new Git
Kindly find below the Instructions to enable Git version control and integration with CRM:
1. Open any existing app or create any new canvas app that you want to link to Git version control in Power Apps Studio and redirect to the Settings
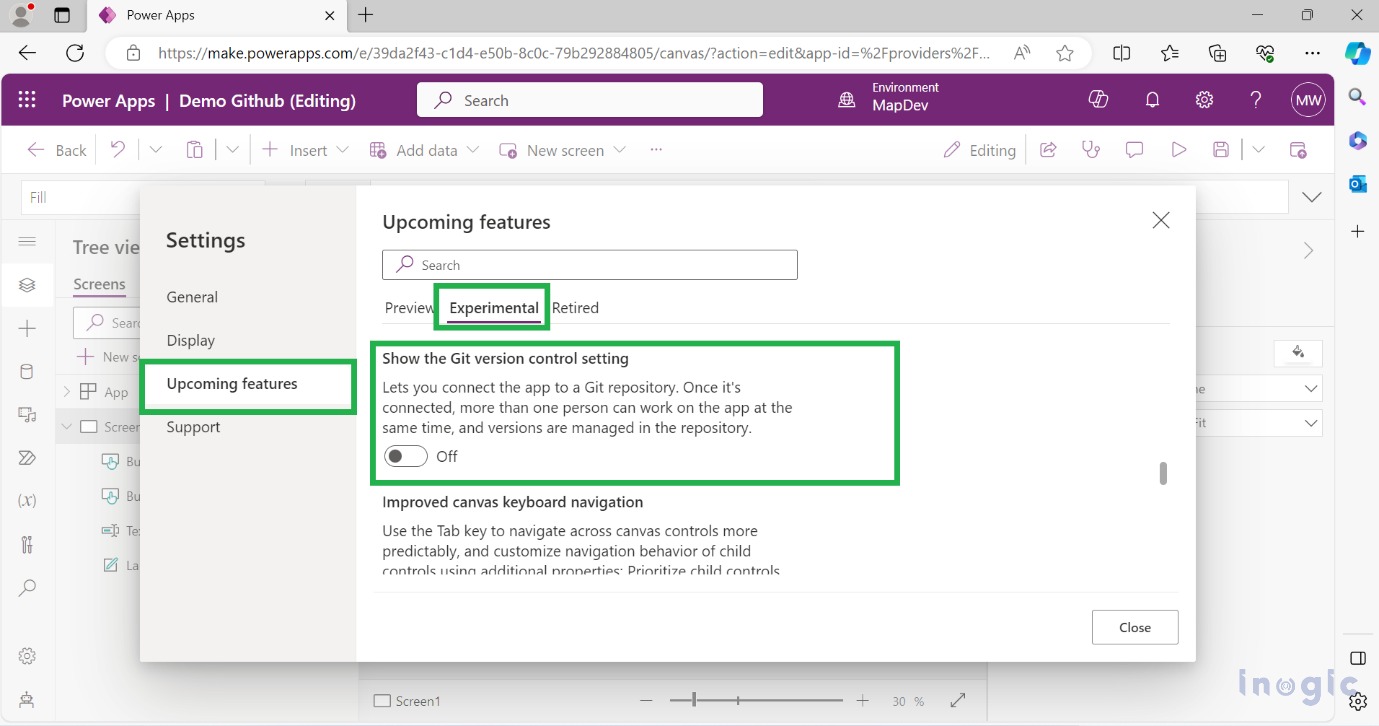
2. Select Upcoming features then select Experimental and search for Show the Git version control setting as shown in the screenshot below. After enabling this feature, you can see Git version control on the left-hand side of the settings pane.
3. Select the Git version control option from the Setting panel, it will ask for you to connect as shown in the screenshot below.
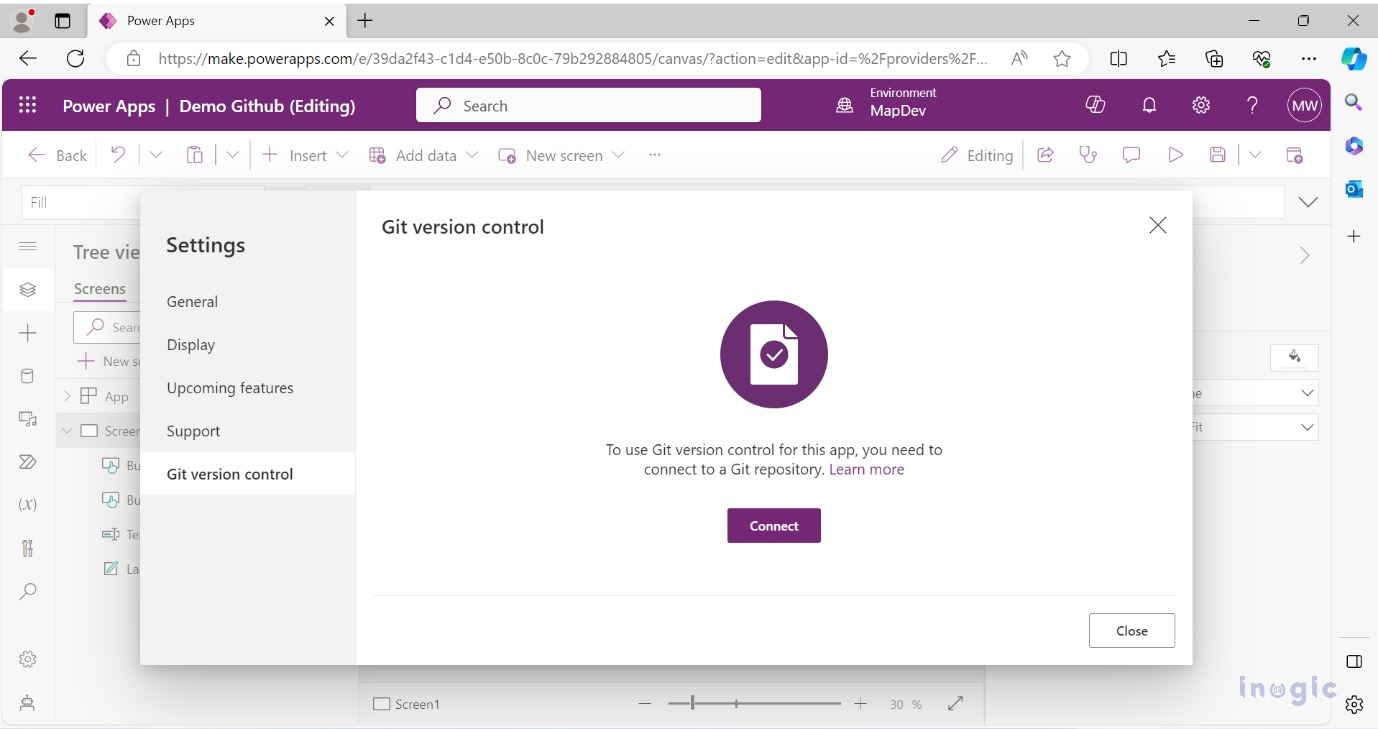
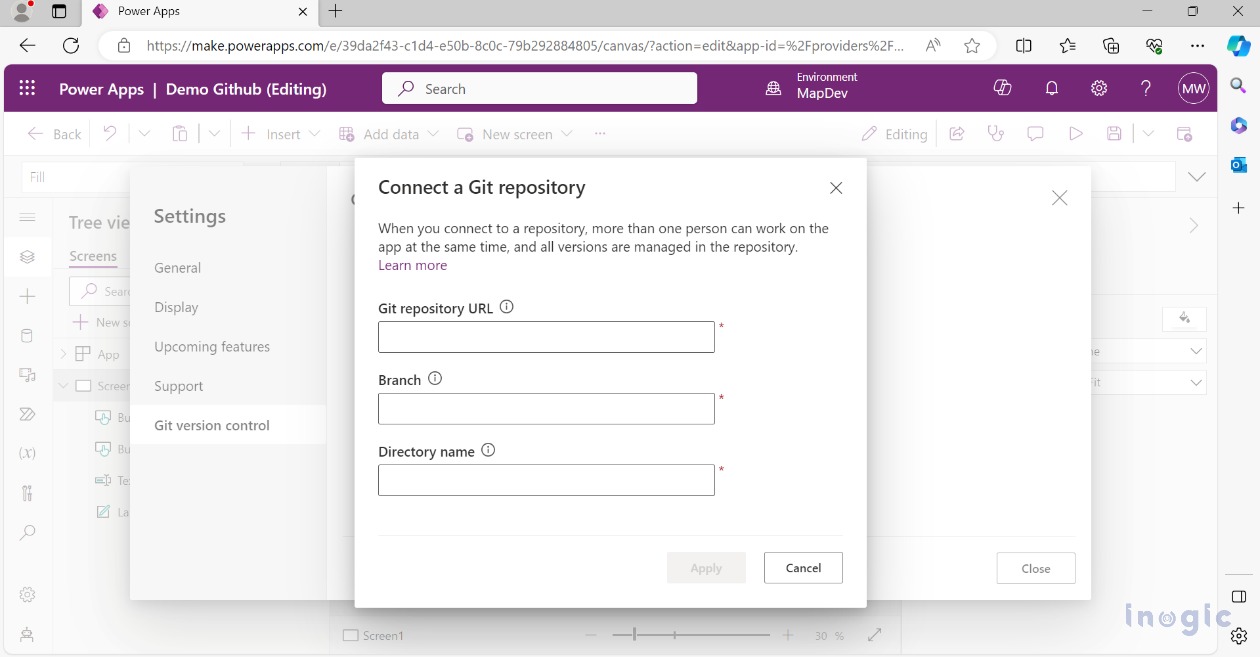
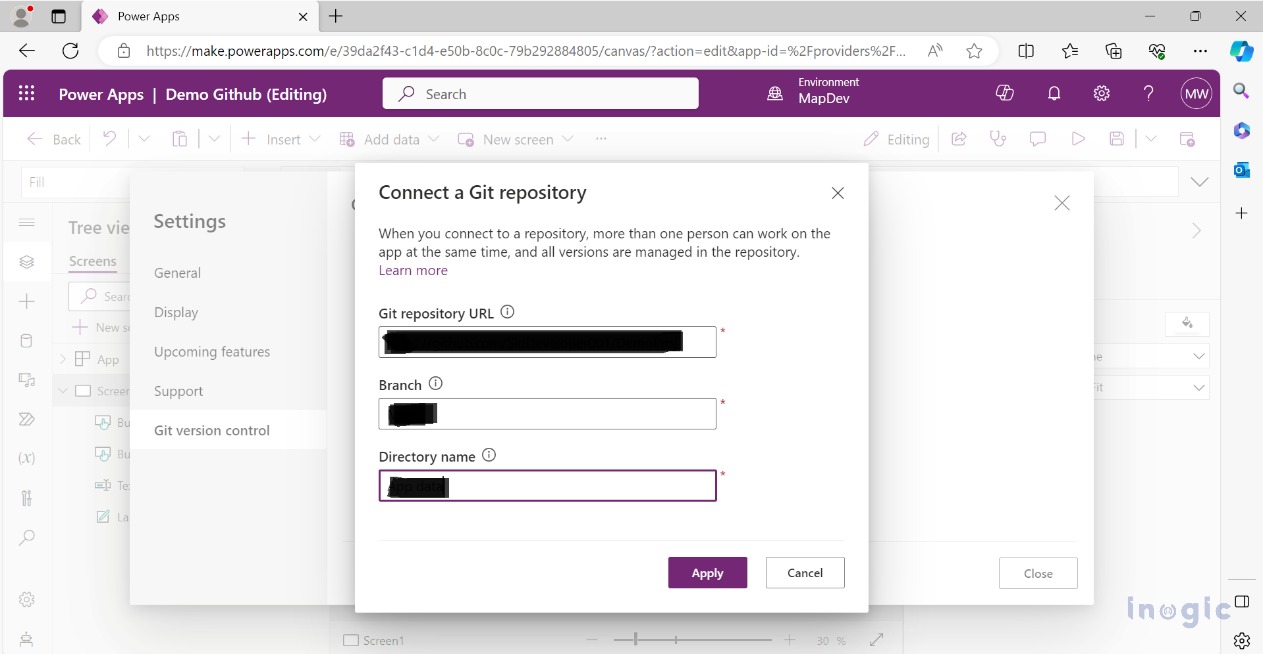
Click on Connect and fill in the data to connect with Git. To fill in all these details, you must have a Git account.
Git repository URL – URL of your repository (which you would normally use with Git tool).
Branch – The branch name to use. Where you push your project.
Directory name – directory within the branch to use.
If a branch or directory doesn’t exist then it will prompt to create. And if that branch or directory already contains the canvas app then the existing app will be loaded from Git.
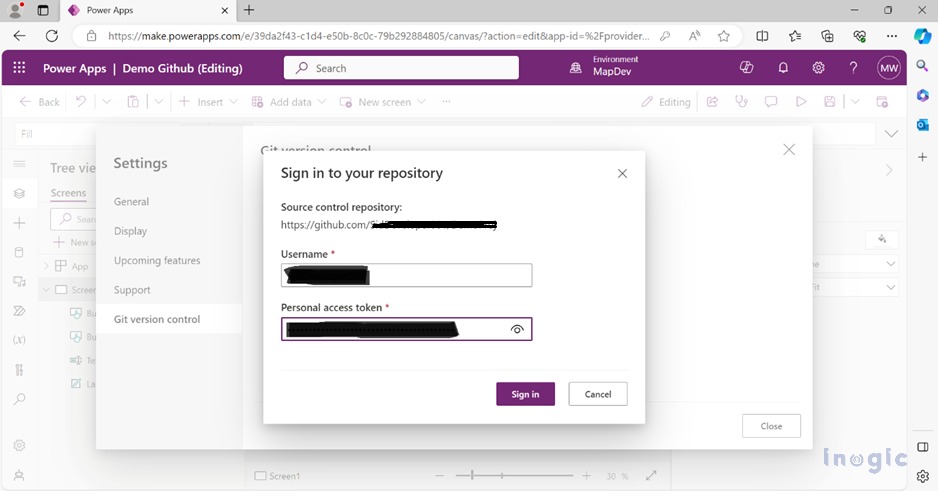
4. Then it will ask for to sign in your repository. Here in Username, you can use the same username that you used while creating the account in Git. Personal access token, you have to generate this after creating an account in Git.
Personal access tokens allow you to grant access to your data through the Git API. Some third-party integrations and plugins require a personal access token so that they can be authorized to access your data within Git.

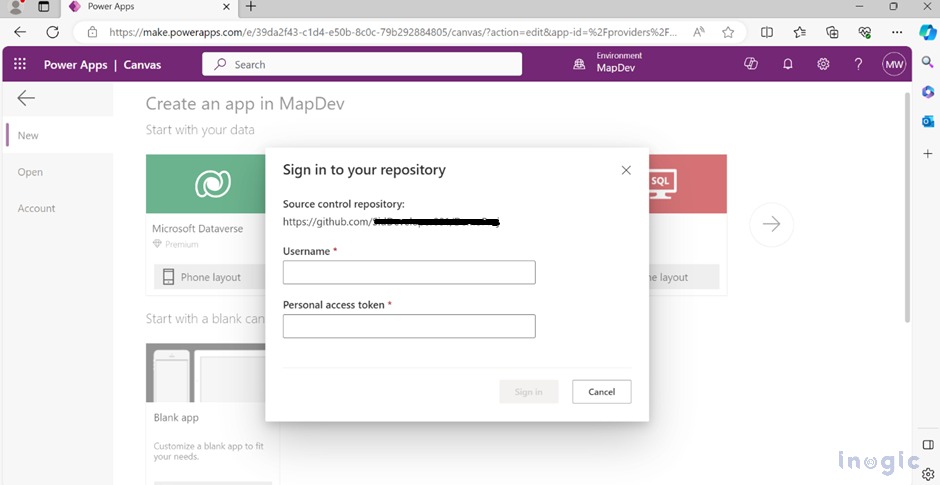
5. After Successful Connection
After a successful connection, whenever you try to open your canvas app, it will ask for your repository login. So that more than one person can log in and they can edit the app. All the changes that have been made will be merged and will be available for all other users as well.
Note: After being connected to Git, changes are stored in Git rather than in Power Apps.
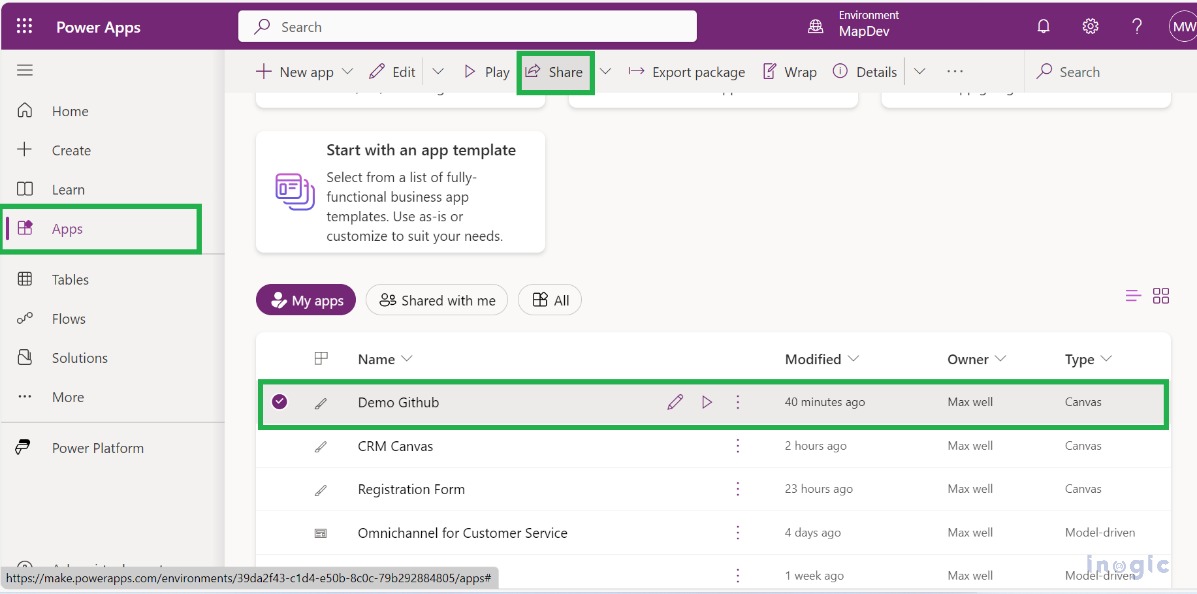
6. After Connection to Git control, you have to share this canvas app with your team members so that they can also edit the app simultaneously.
To achieve this, Go to Power Apps, Select Apps select the respective app that you want to share then click on the share button from the ribbon bar.
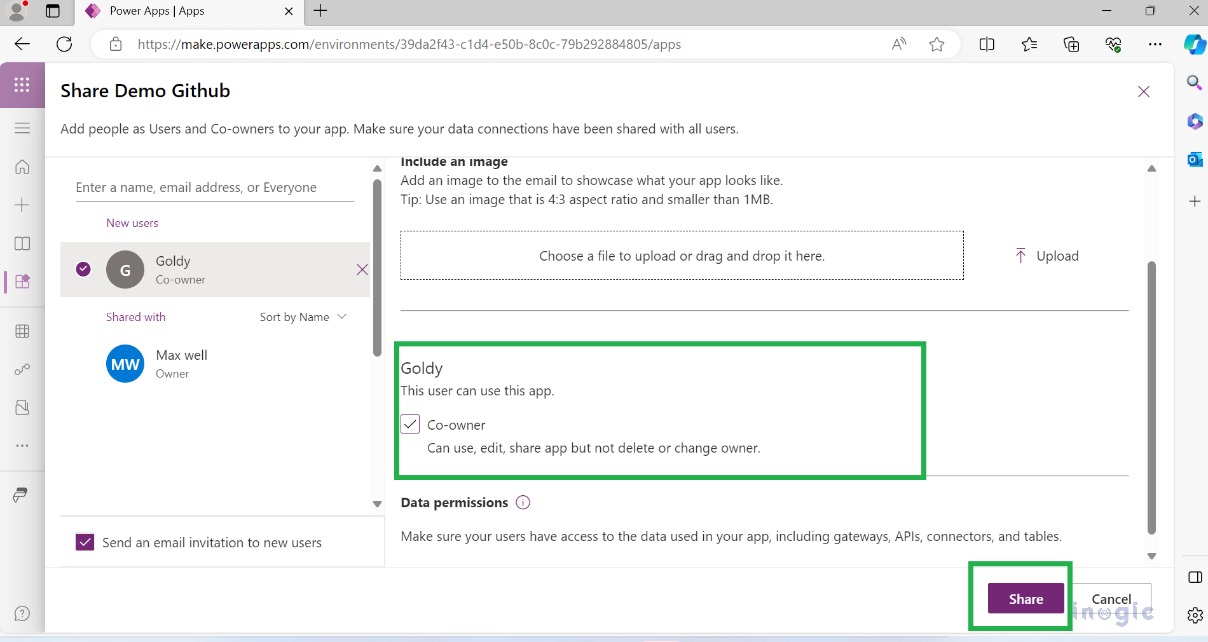
7. In this window, you can add a team member with whom you want to share this app.

Then you can assign a co-owner permission to this team member by checking the co-owner box. Select the share button. By checking this, you are allowing this team member to edit this app which will be authenticated by Git control.
Now, this team member can also be able to edit the canvas app at the same time. Before making any changes to the app every team member needs to authenticate with Git by using username and personal access token.
Then, any team member can make changes to the app, save it, merge it with Git’s data, and publish this app.
How to upload the app to Git:
Once the connection process is completed, a new button will appear at the top of the studio screen. After making changes you have to click the (Merge) button so that all changes will be merged with the Git repository. Then you can publish the app and make other person to visualize your changes.

Note: This feature is currently in the experimental phase and the availability of this feature depends on the region.
Conclusion
This blog thus demonstrates how to use Git version control to edit canvas apps by more than one person simultaneously.