The Resco Mobile App provides a valuable feature that enables users to customize reports through the Resco Report Tool. This tool constructs a report in the form of a template, storing it within the CRM system. Within a form, there is a command named “Run Report,” which grants users the choice to initiate the report directly from the Resco mobile app, seamlessly integrated with the “Resco Report Builder.”
To execute the report, users should locate the relevant form within the mobile app and select the “Run Report” command. However, the process of executing the report from the Resco mobile app requires users to possess the appropriate privileges designated for the mobile application.
Now, consider a scenario where the intention is to share the report outside the scope of the Resco mobile app or extend access to users who lack entry to the app.
In the latest version of the Resco Mobile App (16.0), a new capability has been introduced. This feature allows users to run and attach reports to notes or emails, as per the requirement using Power Automate. We have to “Generate a single row report” connector has been integrated into Power Automate, enabling seamless access to Resco reports and their execution through the same platform.
Now, let’s check out the steps and intricacies of achieving this functionality.
Suppose we want to attach a report to a note once a technician finishes their task, specifically when a Work Order is marked as completed. To make this achievable, our initial step involves the creation of a Power Automate workflow.
In our scenario, we want to create a Note on an update when the “System Status” is set to “Completed.” To set this into motion, we will configure the trigger point within Power Automate, using the “When a row is added, modified, or deleted” connector, and then proceed to provide the necessary details for the connector.
Upon successfully adding the trigger connector, we can search the Resco Reports connectors. For a visual reference of these steps, please see the screenshots presented below.
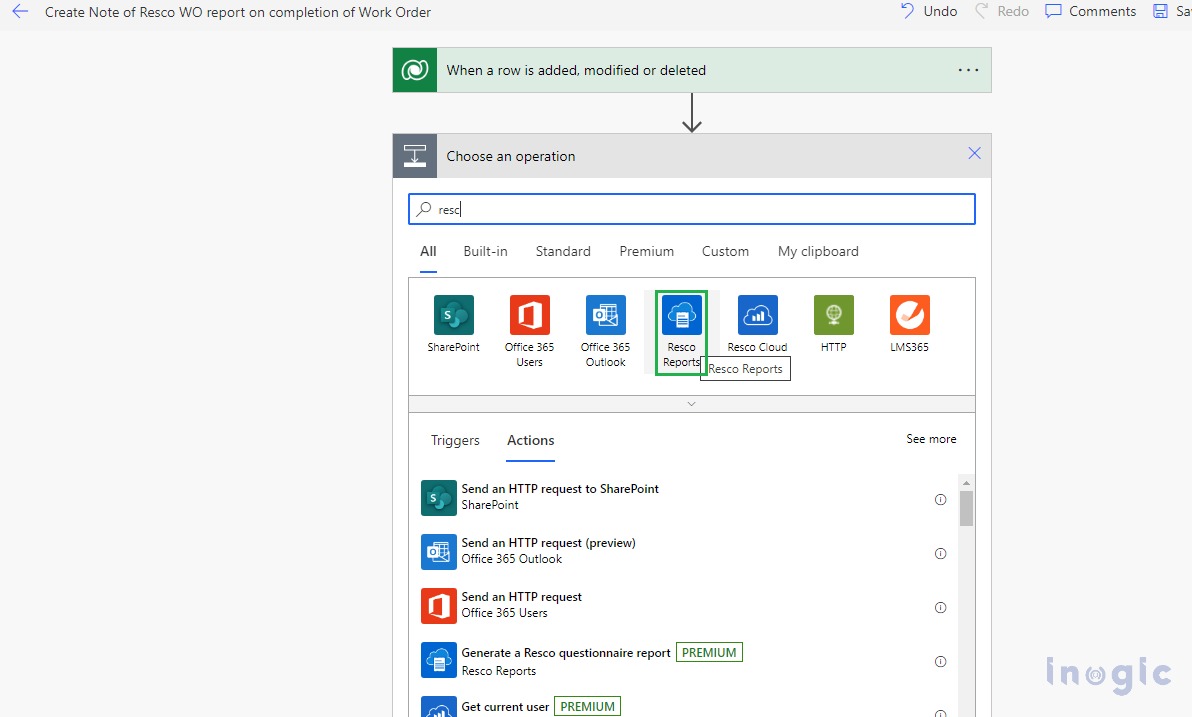

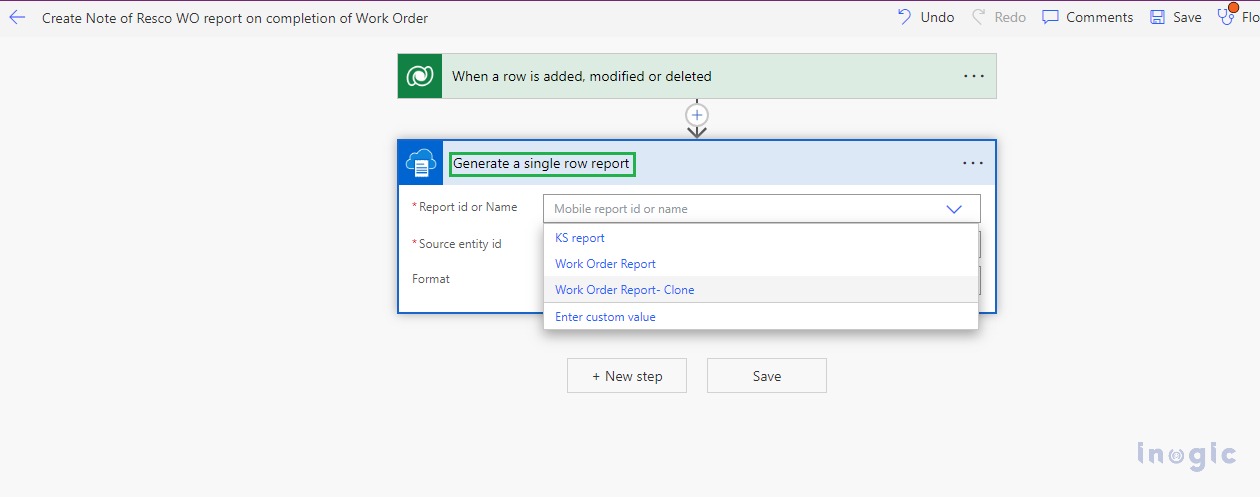
We are required to choose the “Generate a single row report” connector in order to execute the Resco Report. Upon selecting this connector, a list of report names will be displayed, which are prebuilt within the “Resco Report builder,” as shown in the provided screenshot.
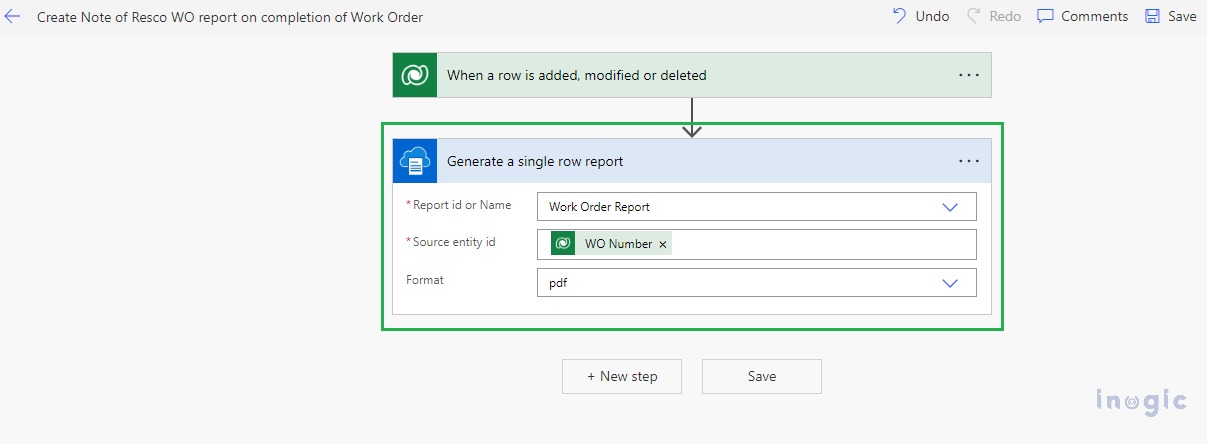
Here’s how to proceed with configuring the connector:
- Report ID or Name: Choose or input the name of the Resco mobile report.
- Source Entity ID: Provide the GUID of the record on which the report execution is intended.
- Format: Indicate the desired file format for the generated report.
Once this connector is utilized, it triggers the execution of the Resco Mobile Report. Now, let’s move on to attaching this executed report to a Note record by following these steps:
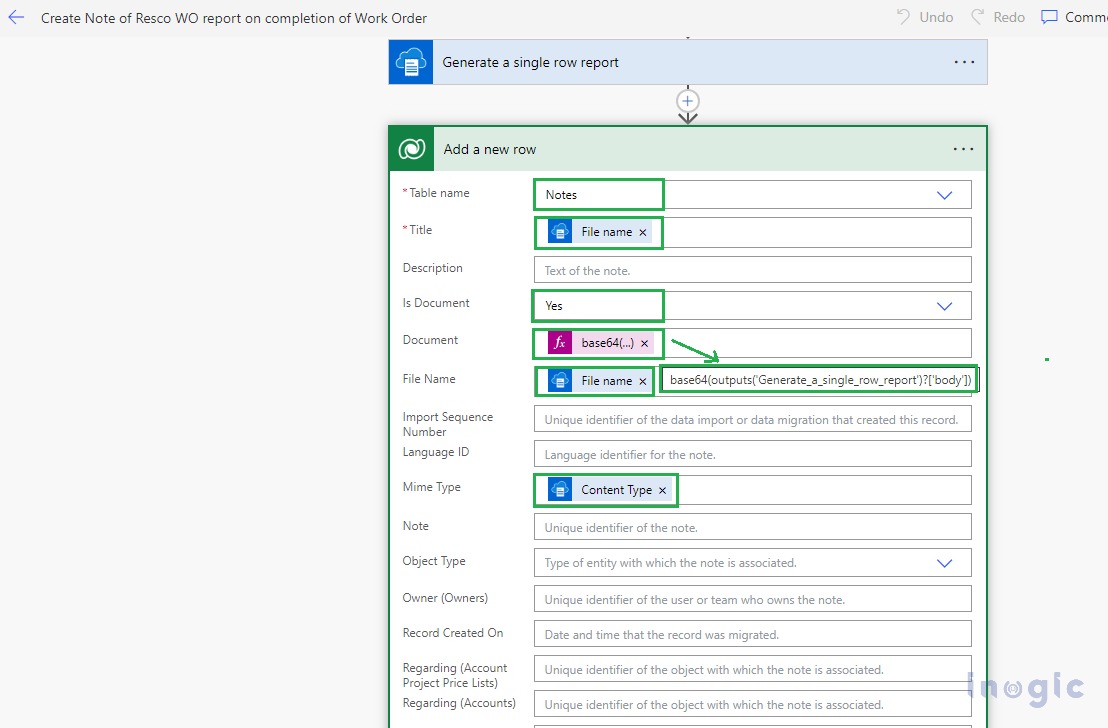
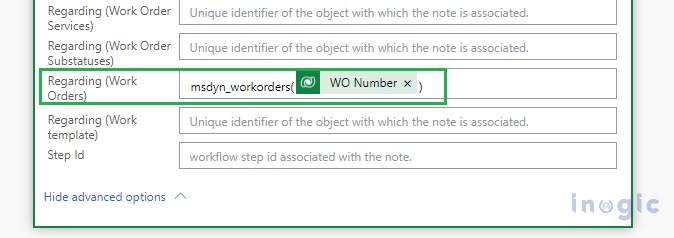
- Add an “Add Row” connector for Dataverse, responsible for creating a new Note record.
- Map all the necessary fields, particularly the “Regarding (Work Orders)” field, as demonstrated in the provided screenshot.
Note: Add the “Report Content” dynamic value from the previous step, encoding it in base64, and assign it to the “Document” field.
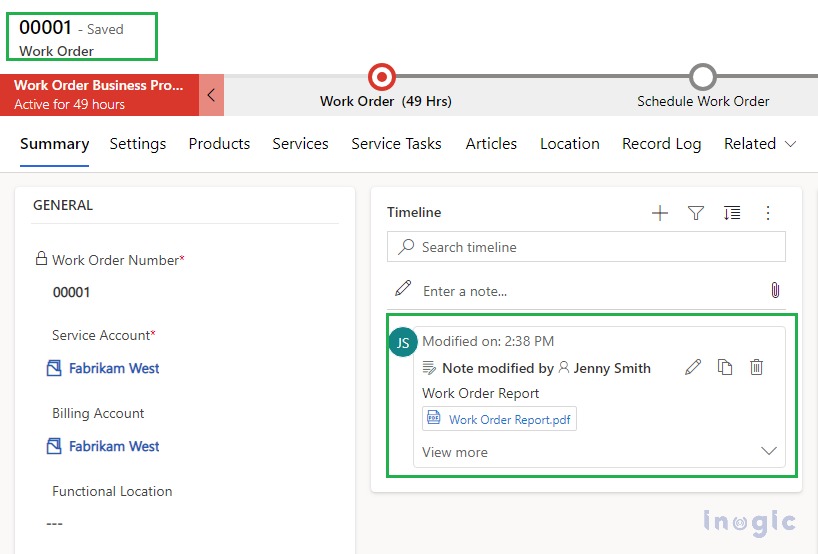
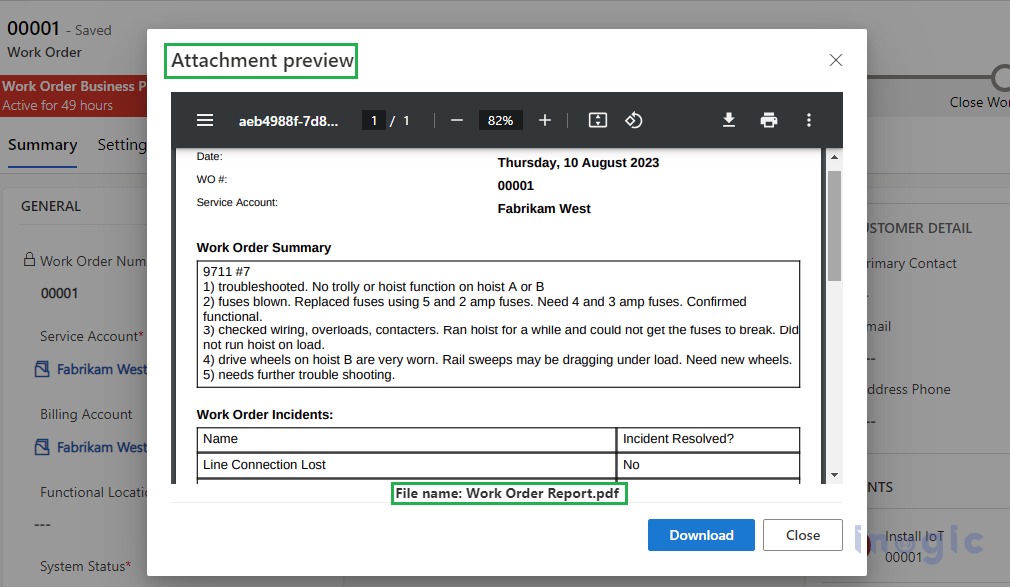
After triggering the workflow by updating the “System Status” of the Work Order, the outcome will be a newly created Note, complete with an attachment of the executed Resco Mobile Report.
To conclude, the utilization of the “Generate a single row report” connector from Resco Reports, integrated with Power Automate, facilitates the execution of Resco Mobile App reports from external sources, extending the functionality beyond the confines of the Resco Mobile App.
