In our last blog related to Power App cards, we learned how to create and design a power app card and designing of it.
In this blog we will learn about Connecting the card to Microsoft Dataverse, storing the values in the Dataverse table, and debugging the card.
Follow the below steps to connect the cards to Microsoft Dataverse so that values can be stored in the respective table.
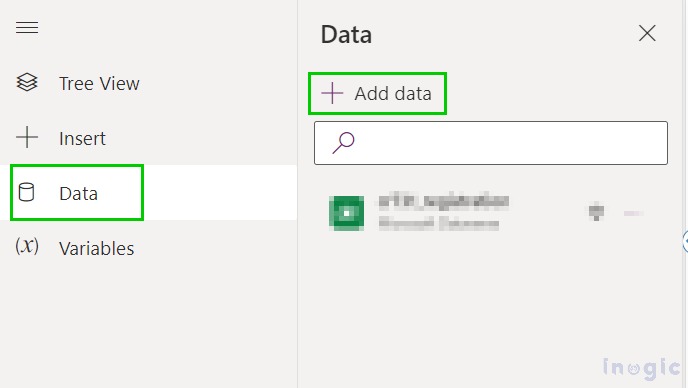
Step 1. Click on the Data icon and select Add data as shown below.
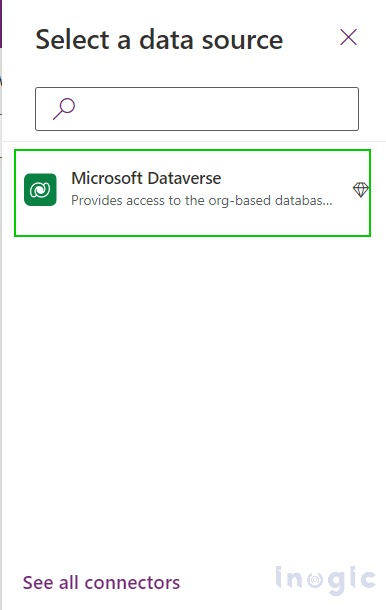
Step 2. Select Microsoft Dataverse and select your table as shown below.
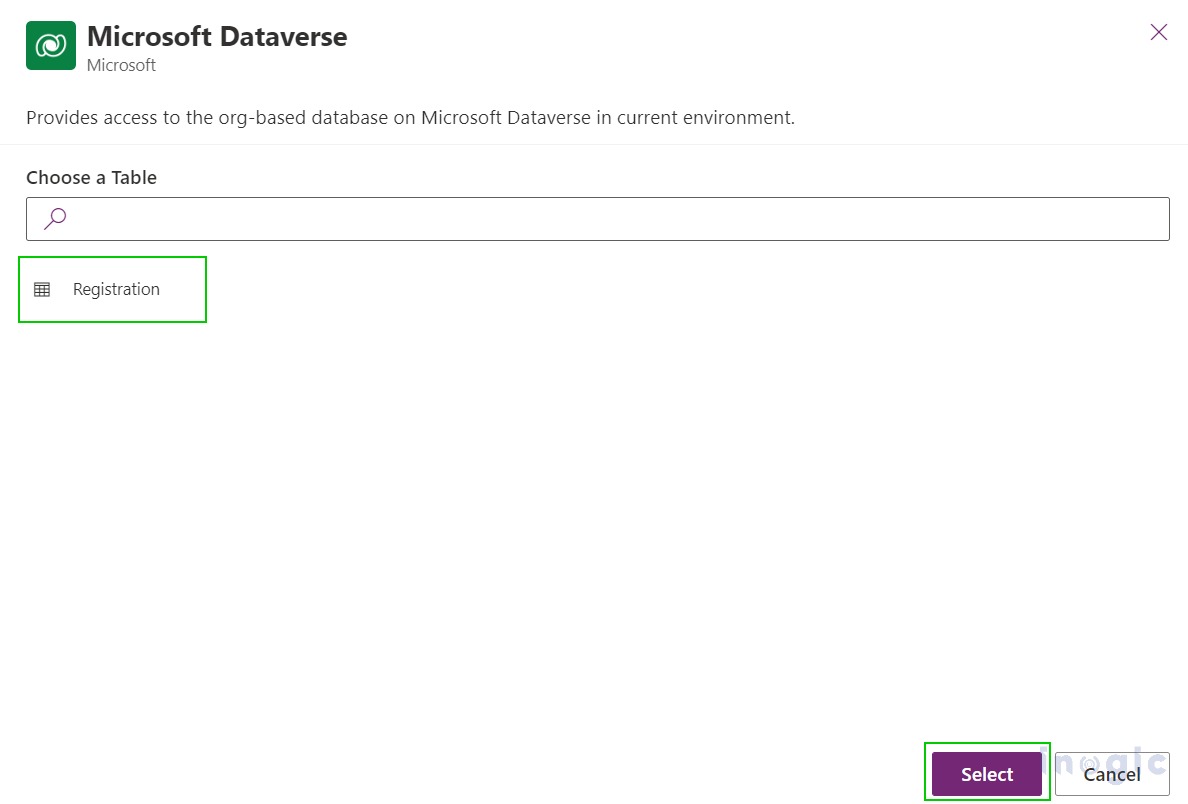
Step 3. Select the table and click on the Select button.
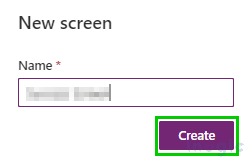
Step 4: Add a screen to the card by clicking on the New Screen option as shown below.

Give a name to it.
Step 5: On the next screen add label text and input field.
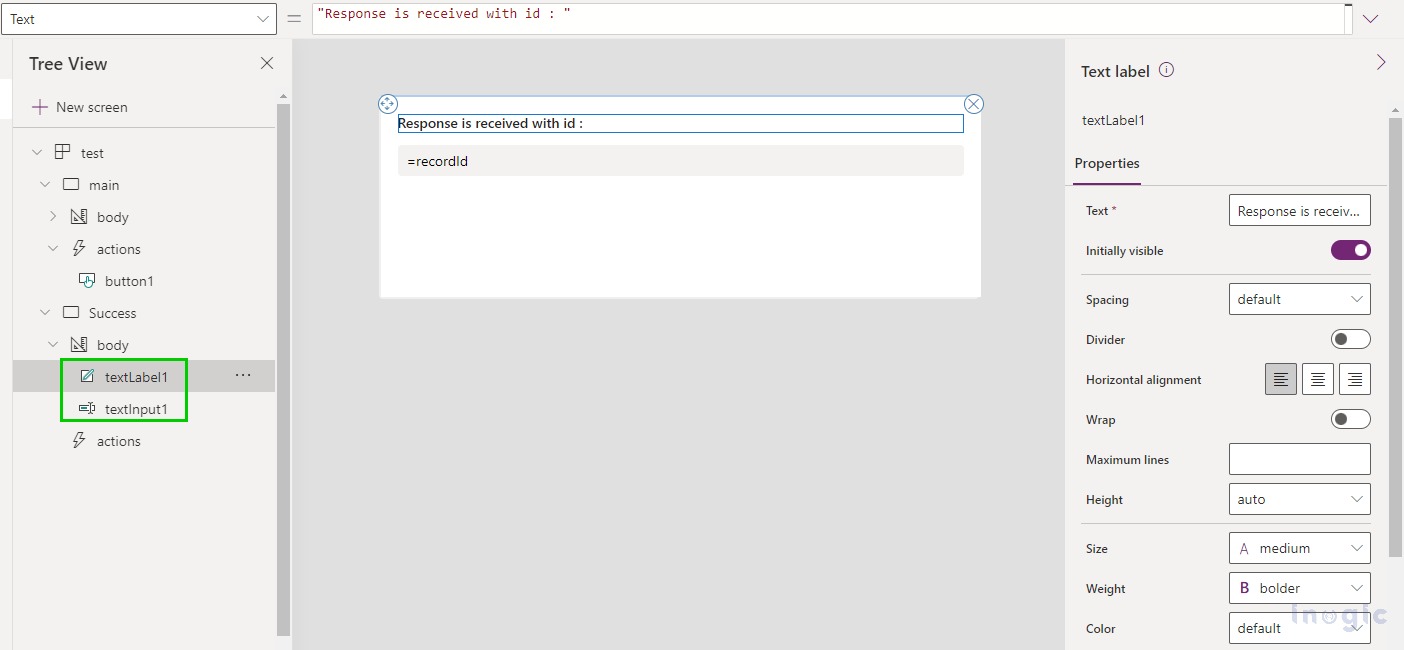
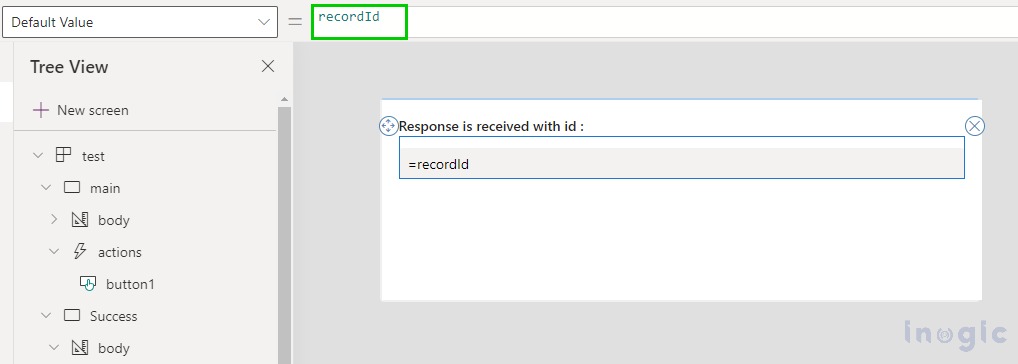
Step 6: We give a title and assign a variable name recordId which we are using to store the id of the record that is being created after clicking on submit button to populate the ID.
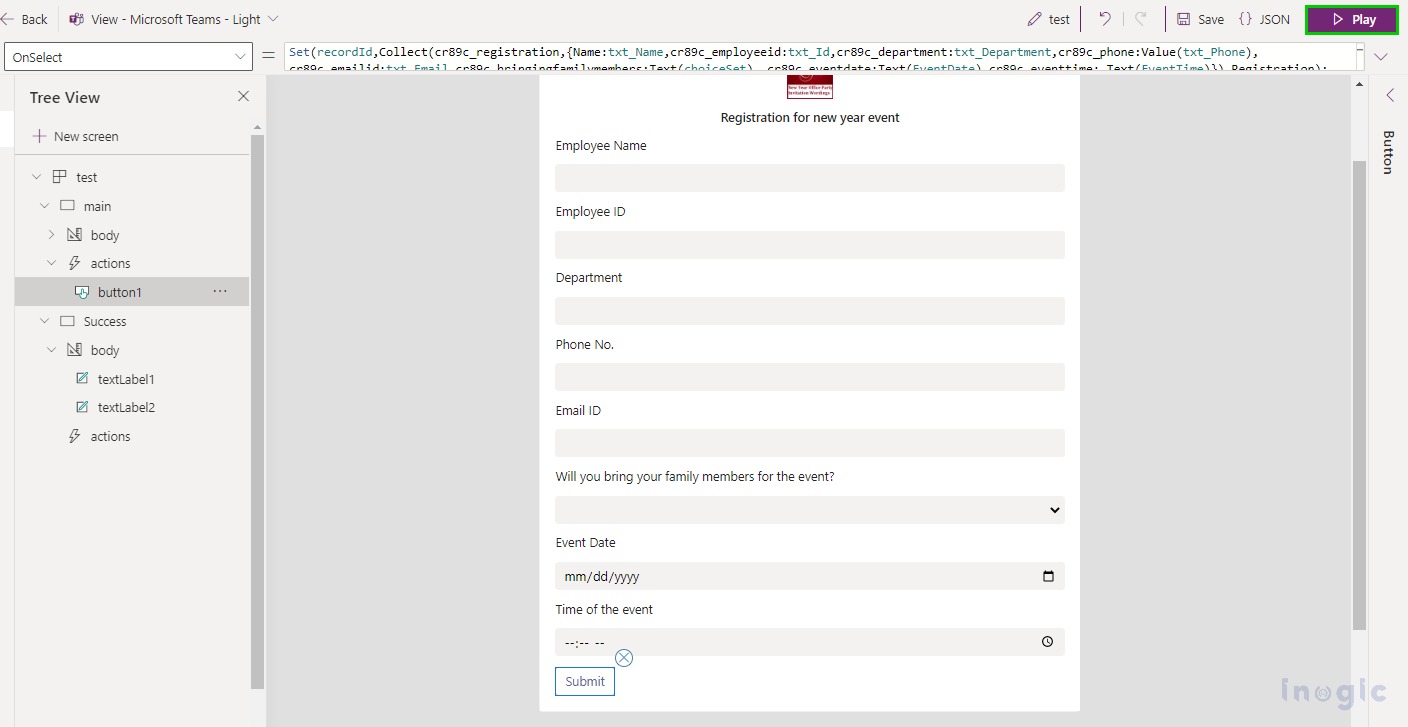
Step 7: Add a formula on Submit button to store the values in CRM.
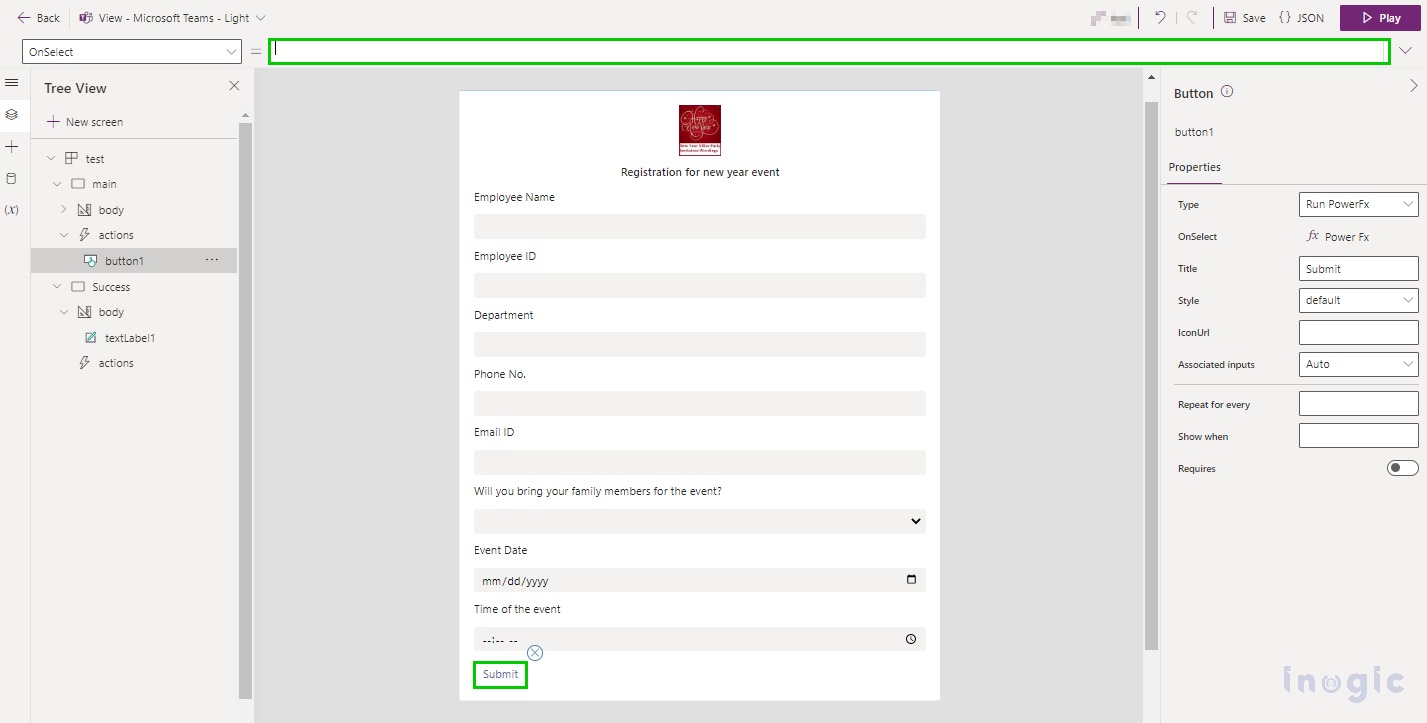
Formula:
Set(recordId,Collect(new_registration,{Name:txt_Name, new _employeeid:txt_Id,
new _department:txt_Department, new _phone:Value(txt_Phone), new _emailid:txt_Email,
new _bringingfamilymembers:Text(choiceSet), new _eventdate:Text(EventDate),
new _eventtime: Text(EventTime)}).Registration);
Navigate(Success);
Here, we have used the Collect formula to store the values in Dynamics CRM.
Collect ( Entity logical name, { Column name: Name of the field in card } )
To get the record id that has been created by the collect functionality we add the collect formula inside the Set function.
Set (variable name, Collect());
To Navigate to another page, we have used Navigate function.
Navigate(screen name)
Step 8: To run your card please click on the Play button as shown in the below image.
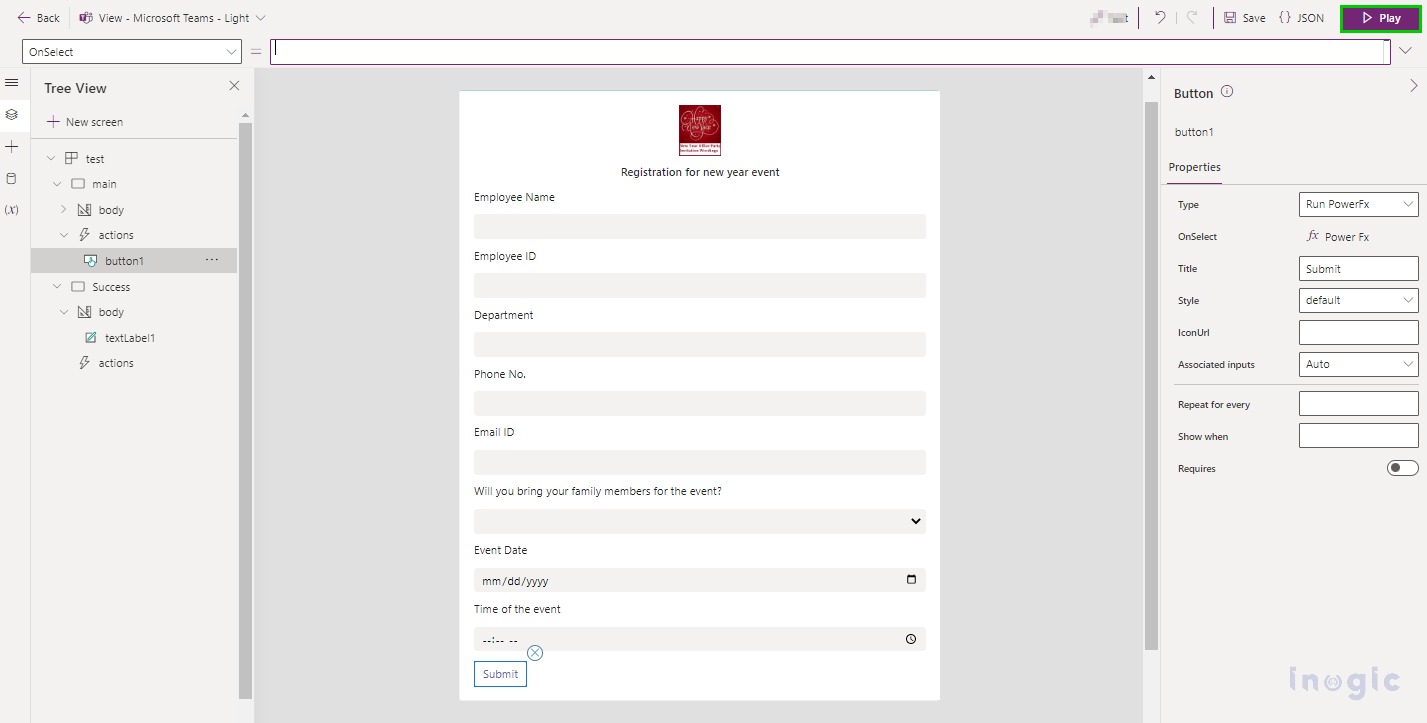
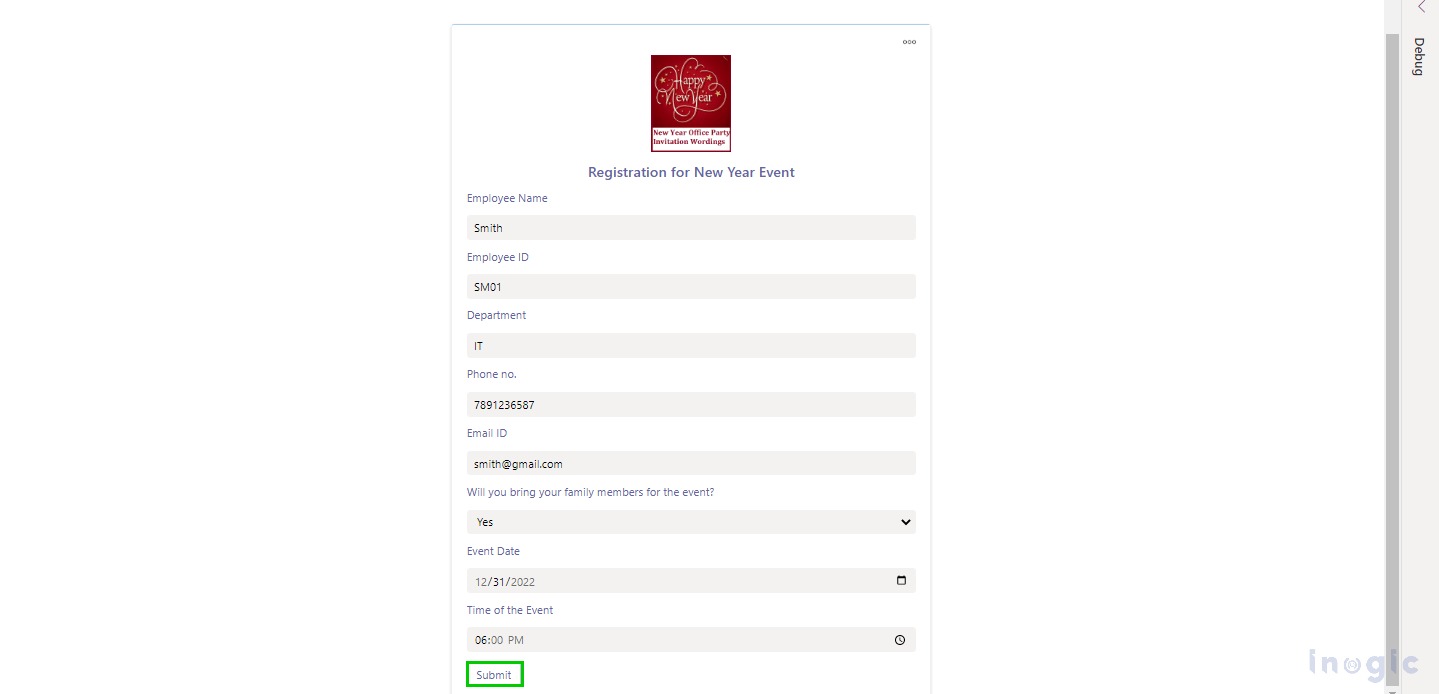
After running the card, fill in the details, and once you click on submit button the entered data will get stored in Microsoft Dataverse.
But to check whether the values are getting assigned properly or not or to check the errors, we can debug the card. Debugging is achievable from debug panel that Microsoft has provided in cards.
Follow the below steps to debug the card –
1. Click on the Play button first to run your app as shown in the above image.
2. Enter the values in respective fields and click on Submit button.
3. After clicking on submit button, the user will get navigated to the next screen where the user can check the record id.
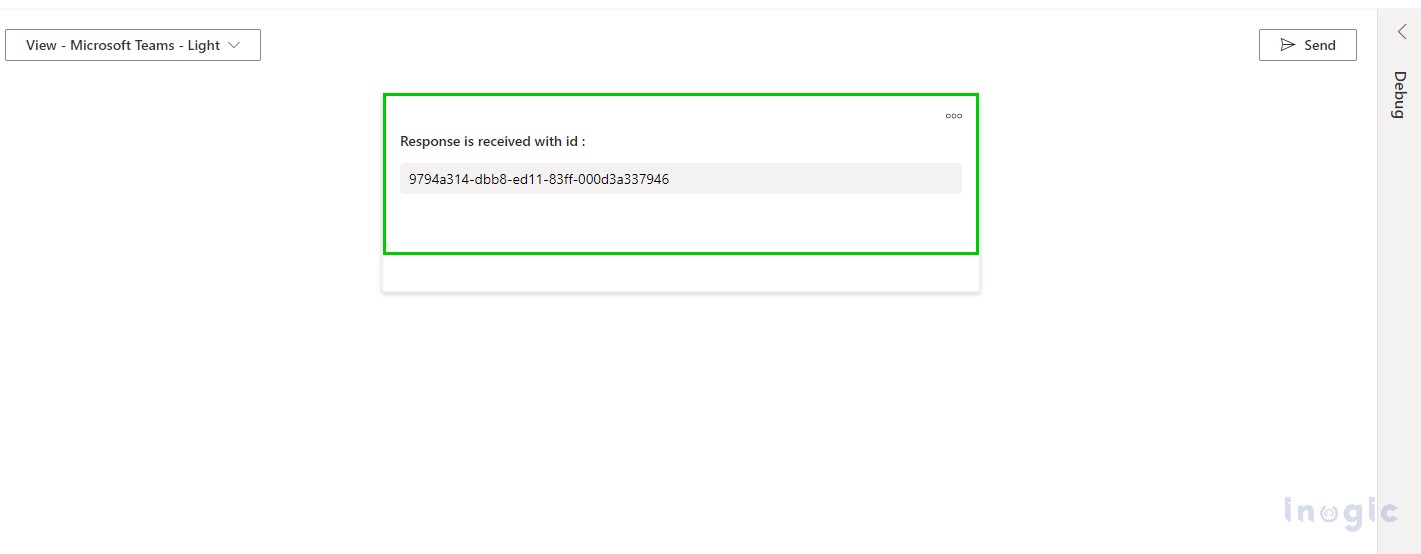
4. Click on Debug panel to open the debugging session as shown in the below image.
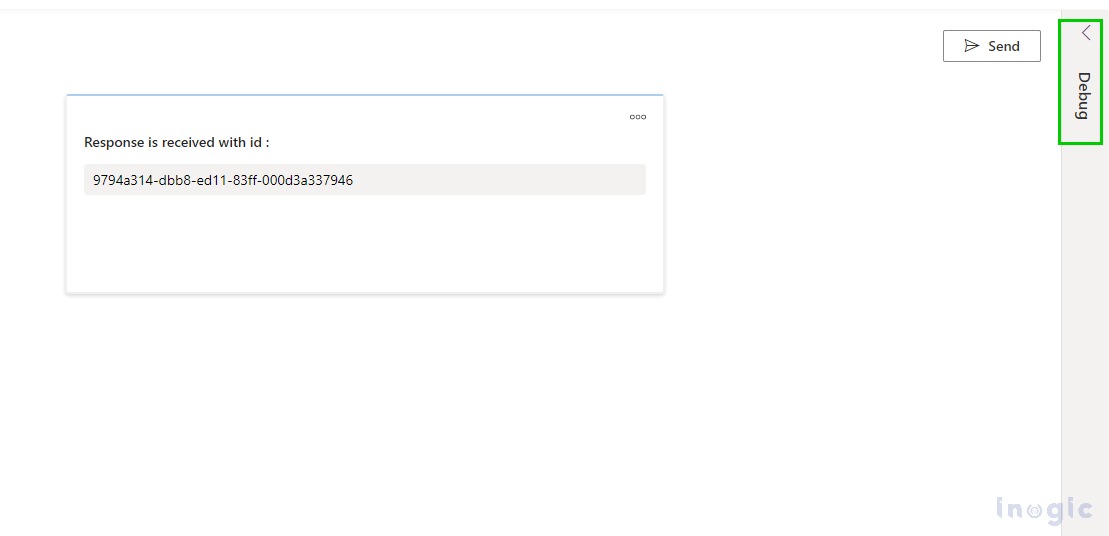
5. After you click on Debug panel, you will be able to see the below window.
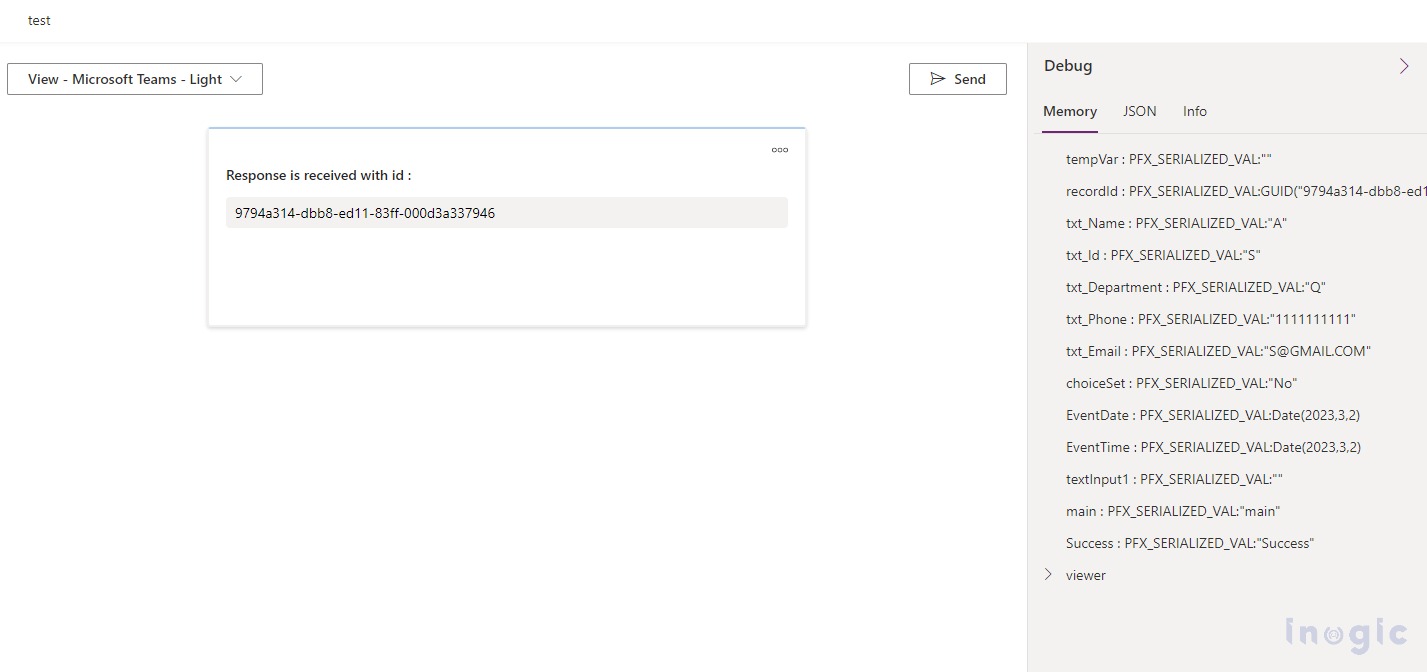
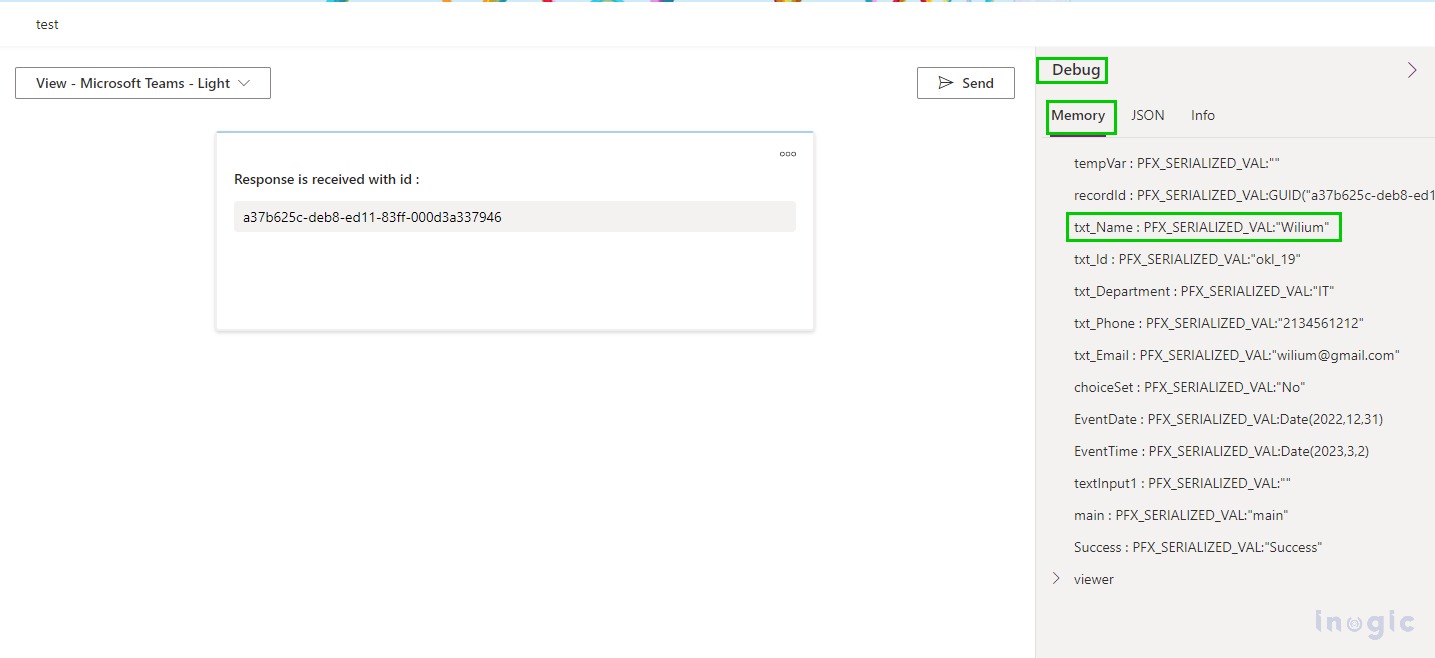
Memory:- This tab shows, the variables and values assigned to it.
For eg., We passed Smith as a value for the name and in the debugging window I can see that Smith has been assigned to the txt_Name field.
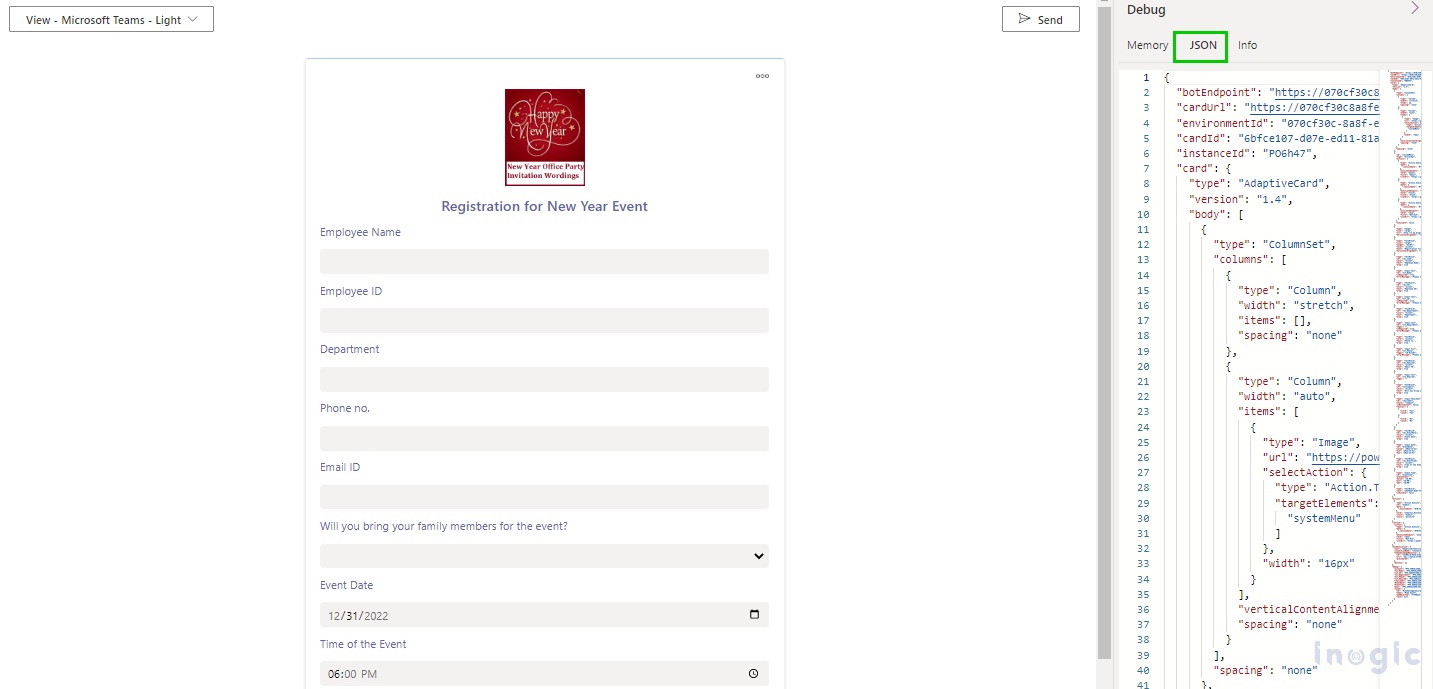
JSON:- JSON tab represents the JSON representation of the card.
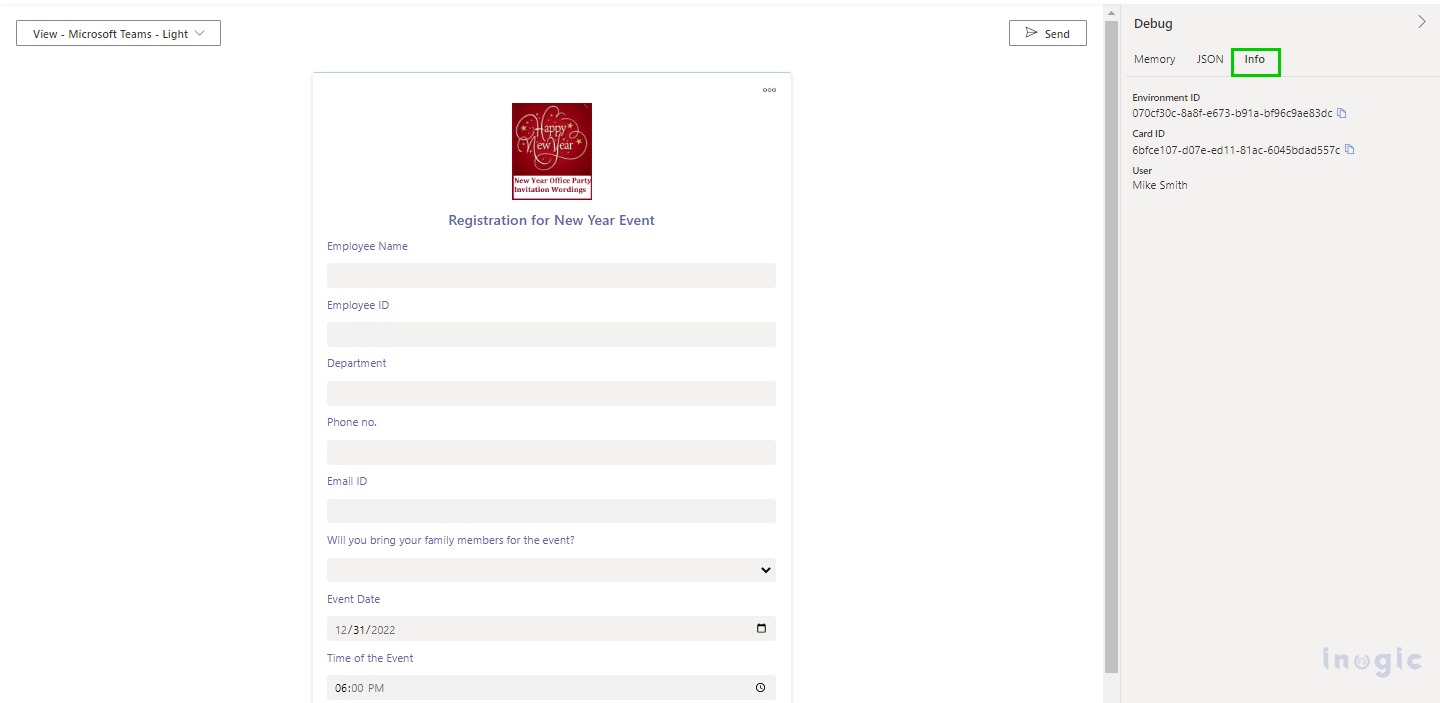
Info:- The Info tab displays the card’s Environment ID, Card ID, and User.
Conclusion
It is very easy to connect Power App Cards to Dataverse and we can check the stored values while debugging these cards.
