In this blog, we will learn how the marketing team can schedule advertising/marketing posts in Dynamics 365 Marketing module and post the same directly to the respective social media sites.
Consider a scenario where your organization is about to conduct a Webinar in the month of March. You plan to start its marketing on all of your social media platforms a month prior so that a maximum number of members of your Target Group are aware of the event. Also, you could analyze how well your post is accepted by your TG. To achieve the above requirement, the Social post Designer within Dynamics 365 Marketing allows you to create rich content.
To schedule and publish a post to one of your social media channels follow these steps:
Step 1
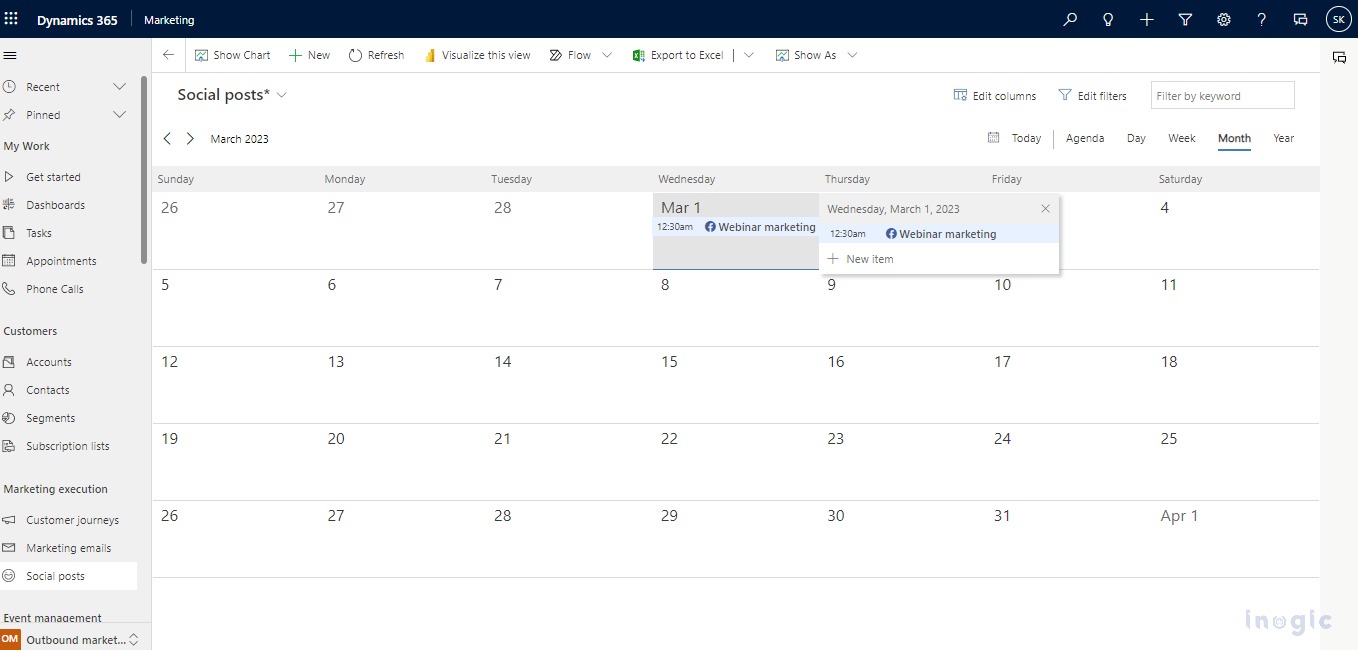
Use the Social posts entity to upload and schedule your posts. When you open the entity, a calendar is visible where you can select your desired date. You can post on Instagram, Facebook, Twitter, and LinkedIn.
Step 2
You can select the date and right-click on it to schedule our post.
For instance, if I want to post an advertisement for my Webinar on the 1st and 8th of March, then I have to right-click on the mentioned dates and a form shall open as seen in the below screenshot.
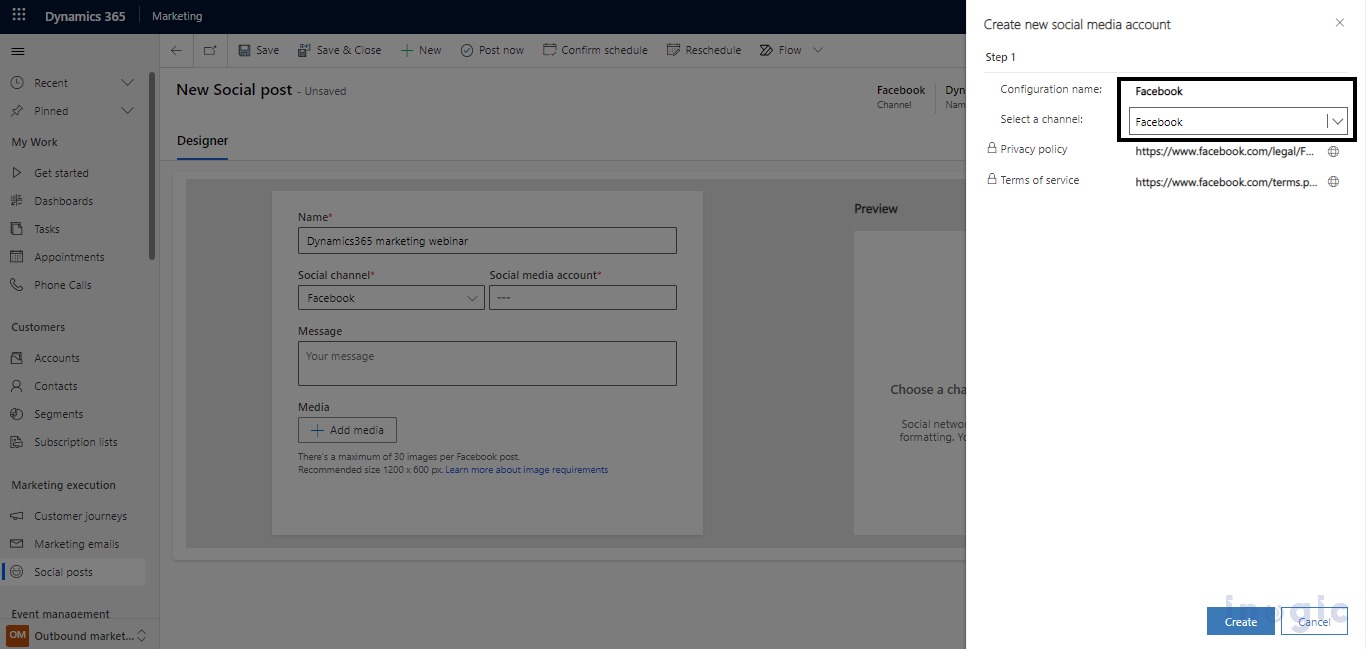
 In the form, you have to fill in the related data for each field as mentioned below. In the current version, you can use accounts on Facebook, Instagram, LinkedIn, and Twitter. For this example, I have gone with the Facebook option.
 Step 3
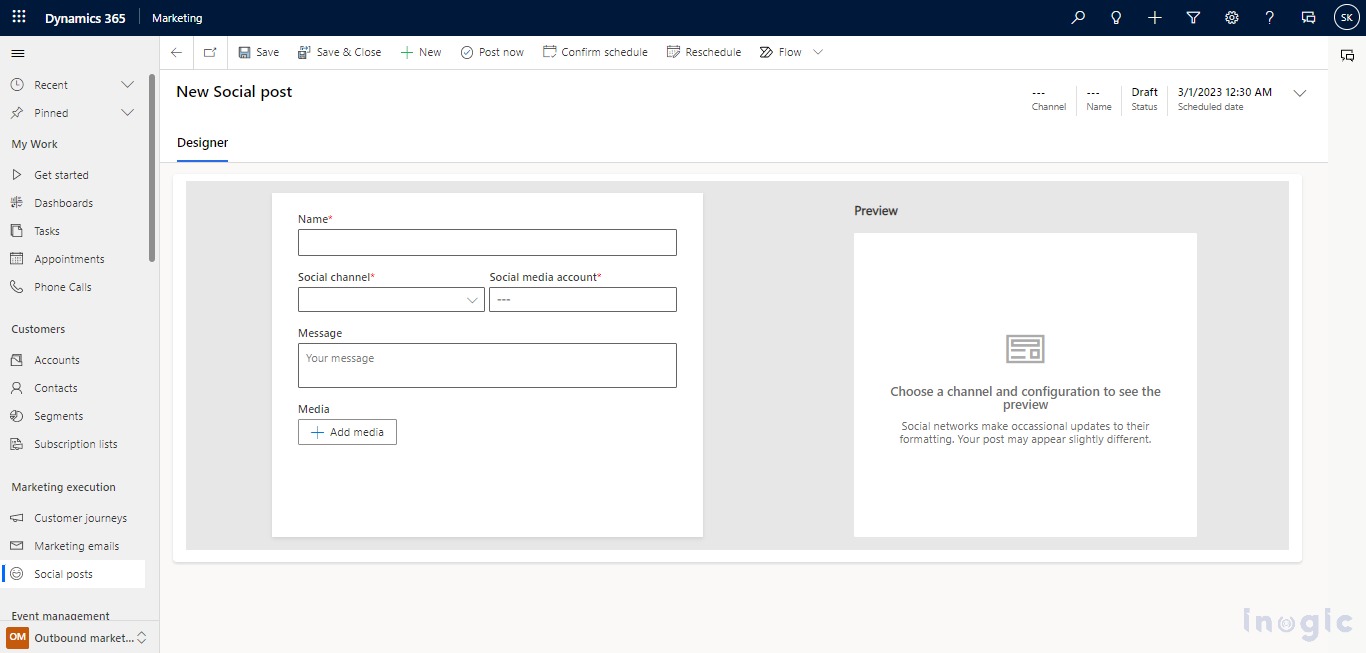
I have a social-media post ready that I want to post on my Facebook account.
Please find below a description of the fields that need to be filled.
Name: The record will be created with the name mentioned here.
Social channel: Choose the social channel you have to post your message to (i.e, Facebook, LinkedIn, or Twitter)
Social media account: Set the account from which you want to share your post. You can either create a new account or can use an existing account.
Message: Enter the content of your post. You can use emojis also.
Media: If you want to add an image to your post, select the Add Media button option.
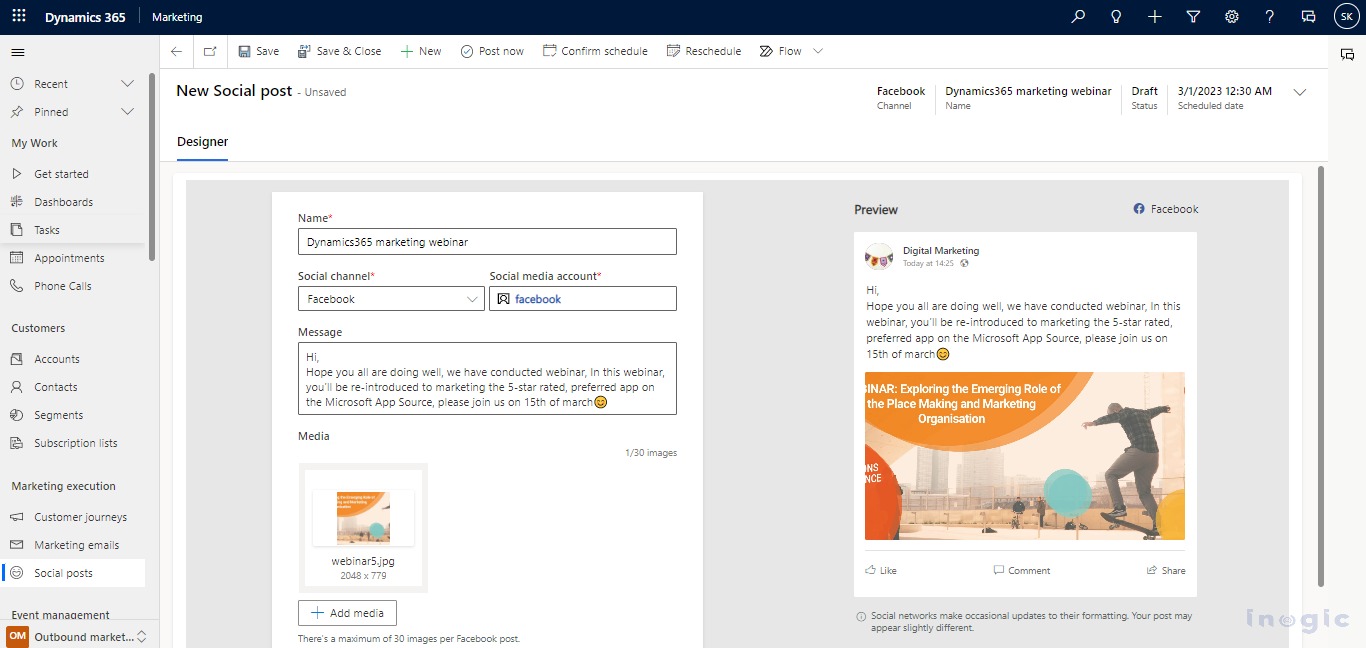
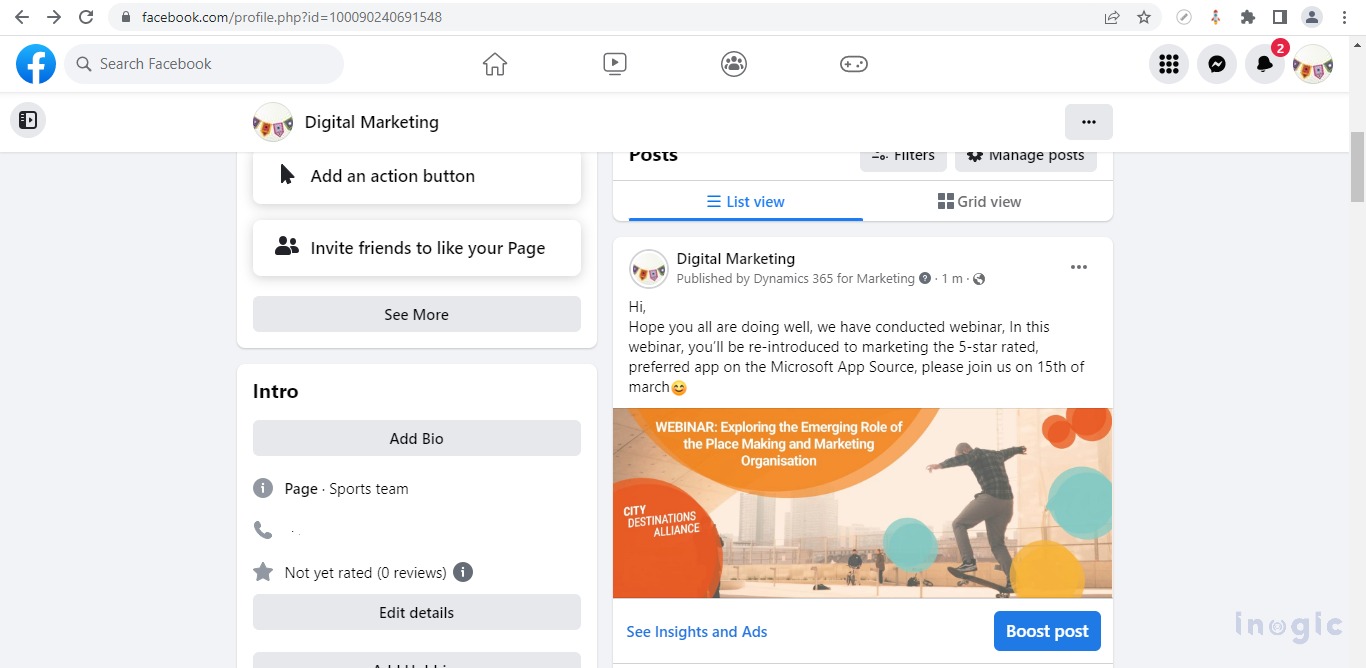
After filling in the data, Click on the ‘Post now’ button on the ribbon bar to publish your post on social media.
Step 4:
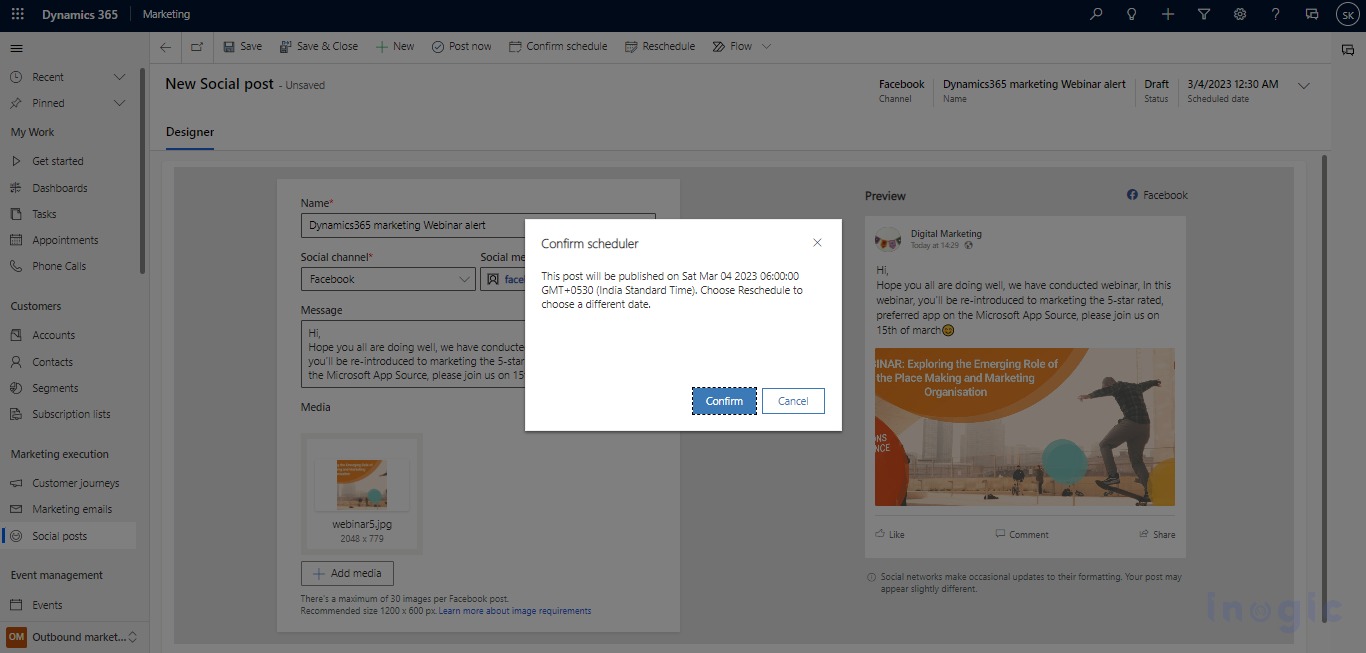
You can also set a schedule to automatically post from your social media account on any future dates. To achieve this, Confirm Schedule button will be used. You can also make changes to your scheduled post by using Reschedule button from the ribbon bar.
Please find below a description of both buttons:
Confirm schedule: This is used to save the post and schedule the post on the given time and date.
Reschedule: If you want to make changes in the existing scheduled post you can use reschedule from the ribbon button.
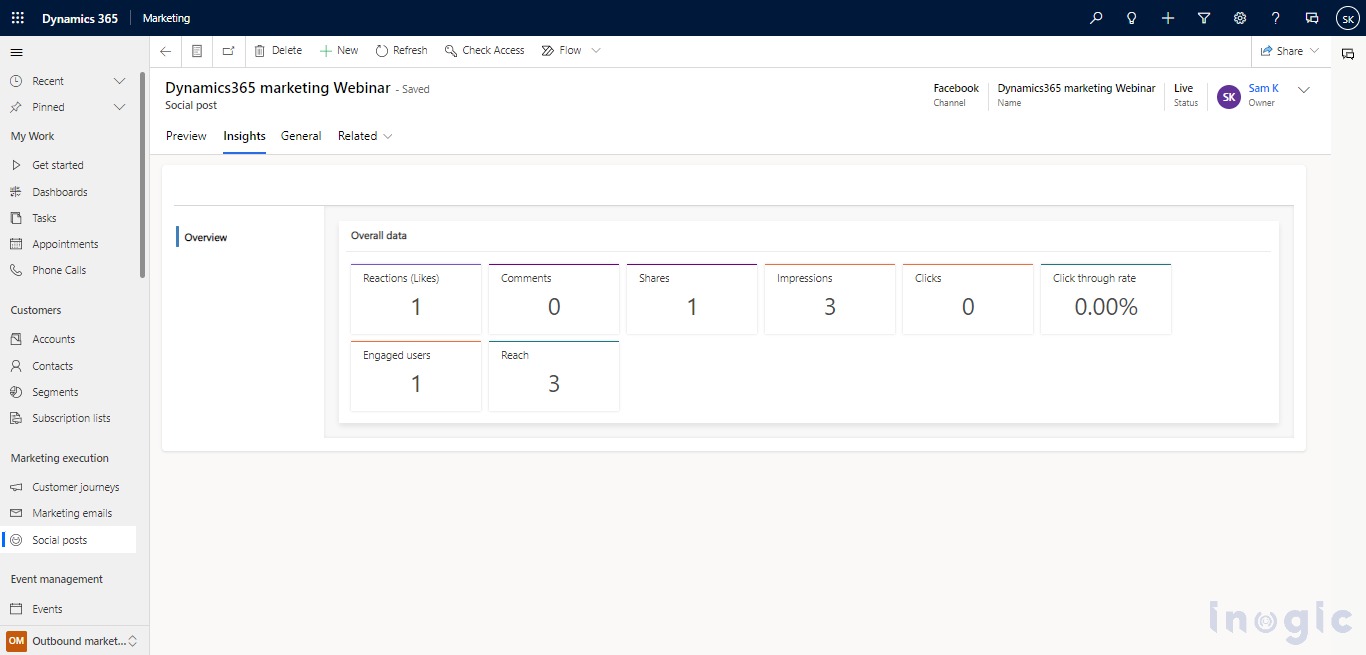
In the Insight Tab, you can see how well the post has performed on social media channels. It will provide details about likes, shares, comments, etc. based on which the marketers can try to work on their future posts and better engage with the audience.
Conclusion
We can design a creative and easily post, schedule, and reschedule it on social media platforms (Facebook, Instagram, Twitter, LinkedIn) using Dynamics 365 Marketing.