What if your files or documents are stored in SharePoint and you need to attach them and send through a Dynamics CRM email? Generally, we do it by downloading a file and attach it to the email or note in CRM. But there is a way so that we can directly browse the file from SharePoint folders and attach it to a CRM email. We have outlined the steps below as in how this can be achieved:
1. First thing make sure that your SharePoint is integrated with CRM On-Premise/ Online. To configure SharePoint for your On-Line CRM you can follow this blog (Integration of CRM and SharePoint Online – Part 2)
2. Then add the SharePoint URL in the trusted sites of Internet Explorer Options. For this open IE –> Internet Options –> Security Tab –> Trusted Sites –> Sites and add SharePoint URL (e.g. https://<sitename>.sharepoint.com).
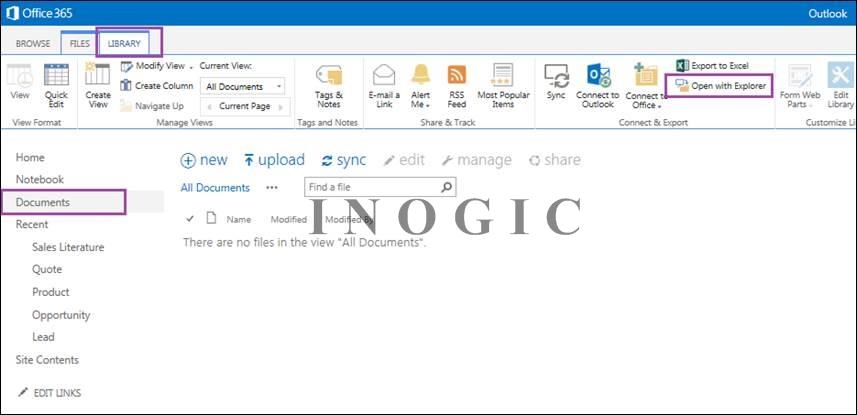
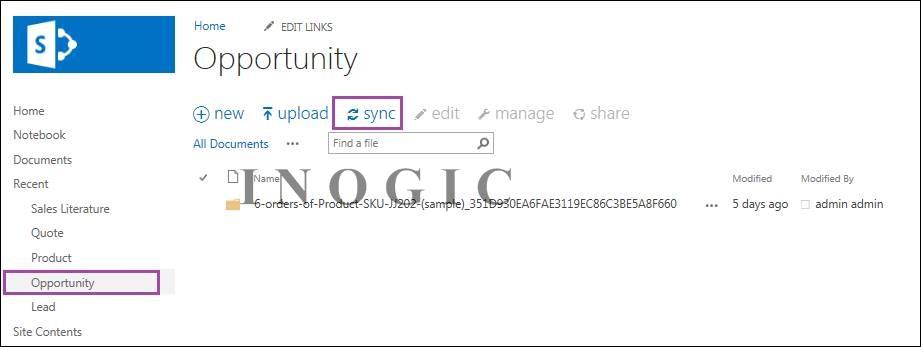
3. Now log in into the SharePoint site though IE (because on Chrome or Firefox some of the controls don’t work and are disabled). Then select any directory or select documents from left had side -> click on “Open with Explorer”.
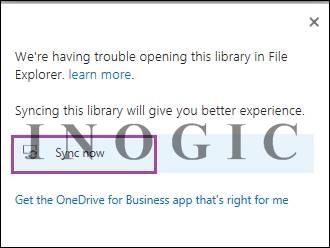
4. Then following pop up would appear –> Click on Sync now.
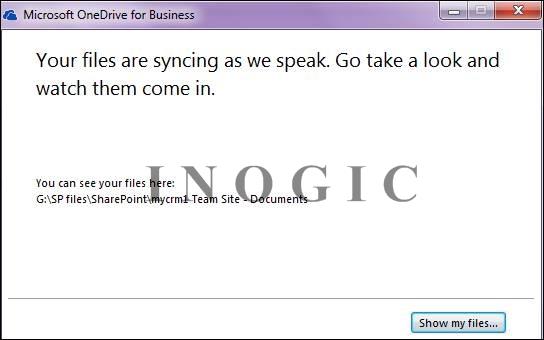
5. It will ask for a folder locally where you want SharePoint files to be synced and stored. So here you can change the location where you want to store the library and documents from SharePoint so that it would be better to browse when needed from other applications.
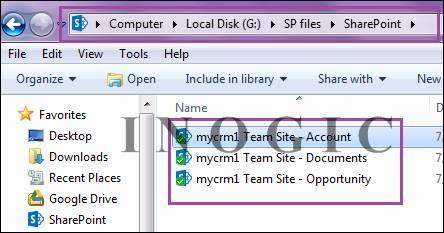
6. After this, you can see the SharePoint site added in your Network like say in this case under “G:\SP files” folder (as we mentioned this location while first sync) as shown below. Under this folder you will see ![]() folder and in that you will see
folder and in that you will see ![]() folder as we set up Documents link first.
folder as we set up Documents link first.
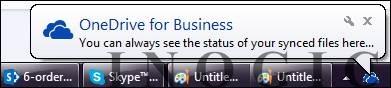
7. During the Sync process you will see the notification as below or you can manually check the status from OneDrive icon on task bar. If you want to stop the sync, then right click on the icon and say “Stop Syncing a folder”.
8. In order to see the opportunity or account related documents, you need to manually go in SharePoint and sync the particular library for once and then any file/folder added in there will be seen locally in the folder on your computer.
 9. After you sync the accounts library as well from SharePoint then you will be able to see following folders. So just sync the library once and then folder or files added in that library will be seen in the folder locally.
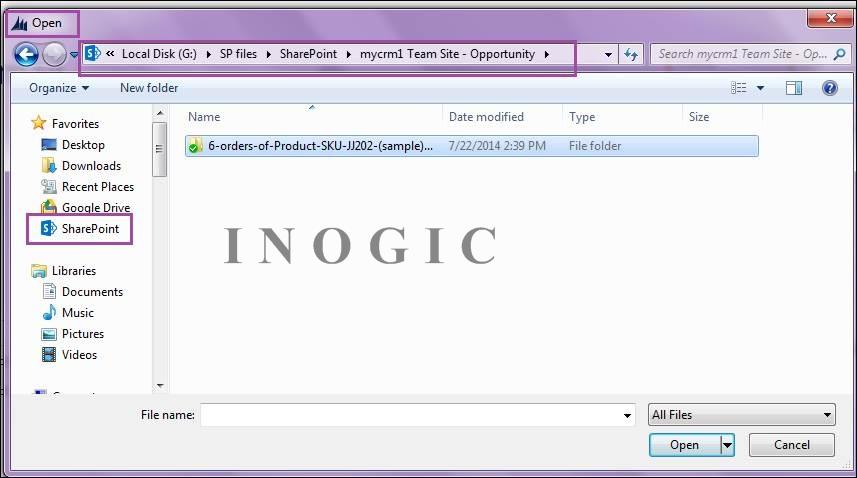
10. Now, if say you want to attach any document from these folders in a CRM email then you can easily browse them as shown below. This can be browsed from any browser IE or Chrome or Firefox.
 Note: This is one time setup that needs to be done on each user’s desktop who need access to SP files for browsing or attaching then in CRM emails etc. So the above steps need to be repeated on all user desktops.