In today’s competitive sales environment, equipping your team with the right tools can significantly contribute to success. One such powerful tool is the Sales Qualification Agent — a smart assistant designed to streamline prospect evaluation and outreach efforts. Before your sales team can fully leverage its capabilities, it’s crucial to lay the groundwork through proper configuration.
This blog will walk you through the essential setup steps, including defining your business offerings, aligning with your target audience, and fine-tuning preferences to ensure the agent supports your unique sales approach.
Business Use case:
A software solutions company, was rapidly expanding its sales team. With several new salespeople joining each month, the company faced growing pains around onboarding — particularly when it came to lead research, Ideal Customer Profile (ICP) identification, and creating relevant first-touch emails. The process was slow, inconsistent, and heavily dependent on senior salesperson for guidance.
To overcome these challenges, management implemented the Sales Qualification Agent and configured it to align with their unique business needs — including product offerings, ICP attributes like industry, company size, and location, and revenue. Once set up, the agent acted as a smart assistant, helping salespeople evaluate leads, check for ICP fit, and generate personalized outreach content in minutes.
Before You Begin: Key Prerequisites
Before setting up the Sales Qualification Agent, make sure the following requirements are met:
- You have admin access in Dynamics 365 Sales.
- You have been given a valid Copilot Studio license.
- The Sales Hub app is running with the updated modern user interface.
- Enabling Copilot in Dynamics 365 Sales is recommended for deeper lead insights.
- Create a custom security role or use an existing one and Grant User-level permissions for read, write, create, append, append to, and assign to the following entities:
- Sales Copilot Email Insight
- Sales Copilot Insight
- Sales Copilot Insight Card State
Configuration: Sales Qualification Agent Setup and Activation
Once prerequisites are in place, follow these steps to configure and activate the Sales Qualification Agent in the Sales Hub app:
1. Open the Sales Hub app, navigate to the bottom-left corner, and click on Sales → App Settings.
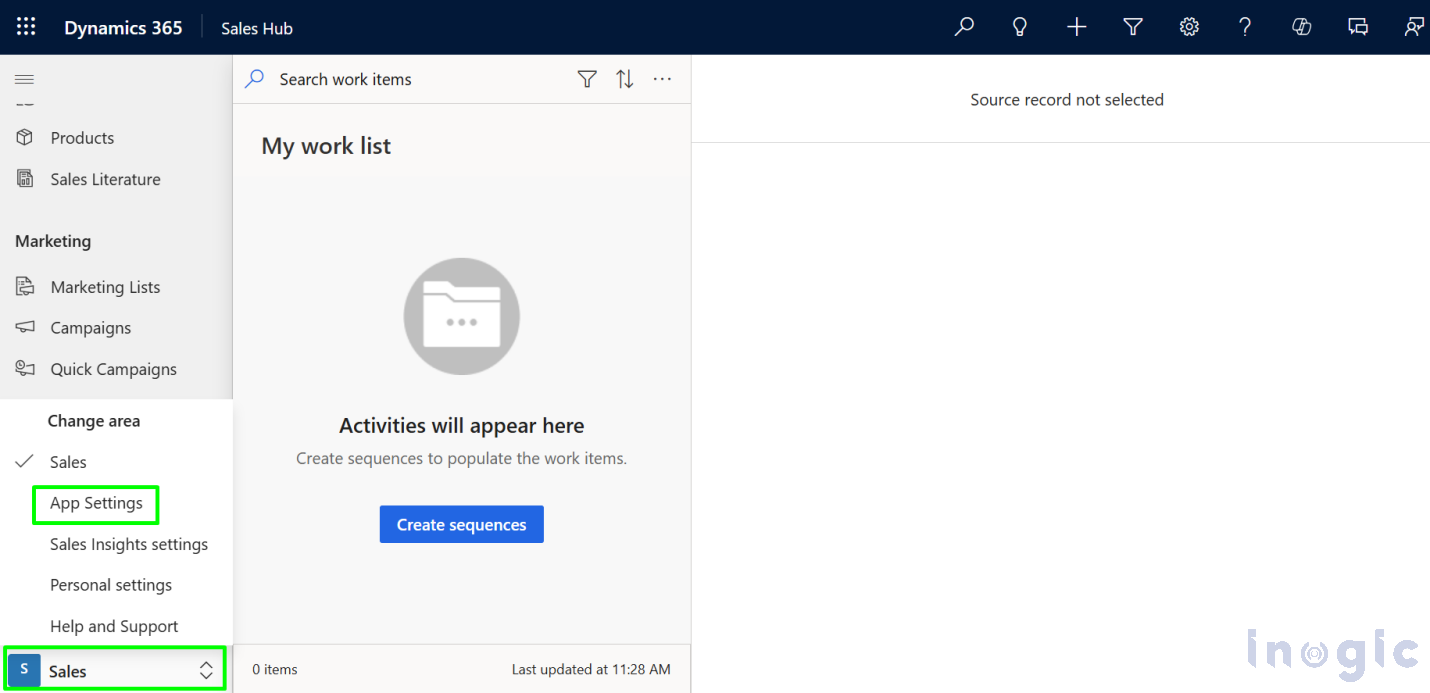
2. In General Settings select Copilot -> Agents (Preview) -> Get Started

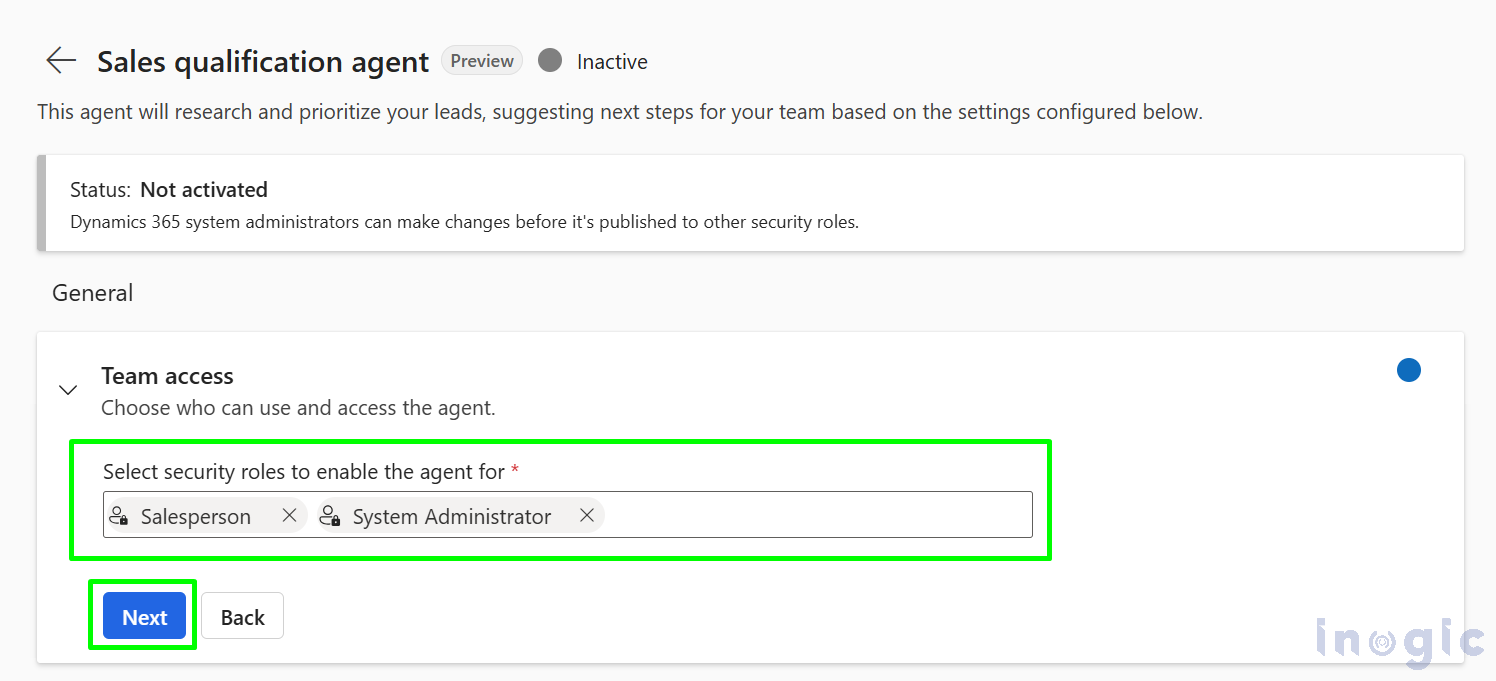
Enter information about your business, the goods you sell, and the people who should have access to the agent in the General area.
- Team Access: Select the appropriate security roles that should have access to the Sales Qualification Agent (e.g., salesperson, system administrators), then click Next.
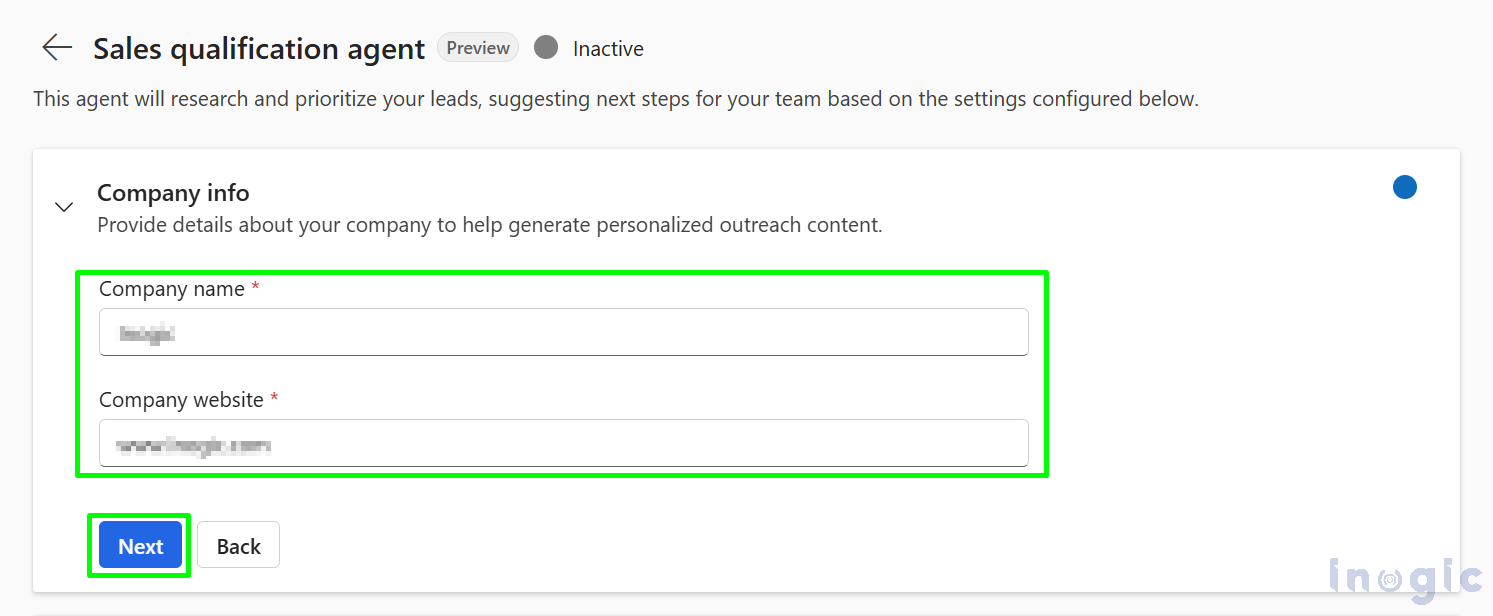
- Company Info: Enter your company’s name, website, and a brief overview of what your organization does. This information helps the agent generate more relevant and personalized outreach content. Click Next to proceed.
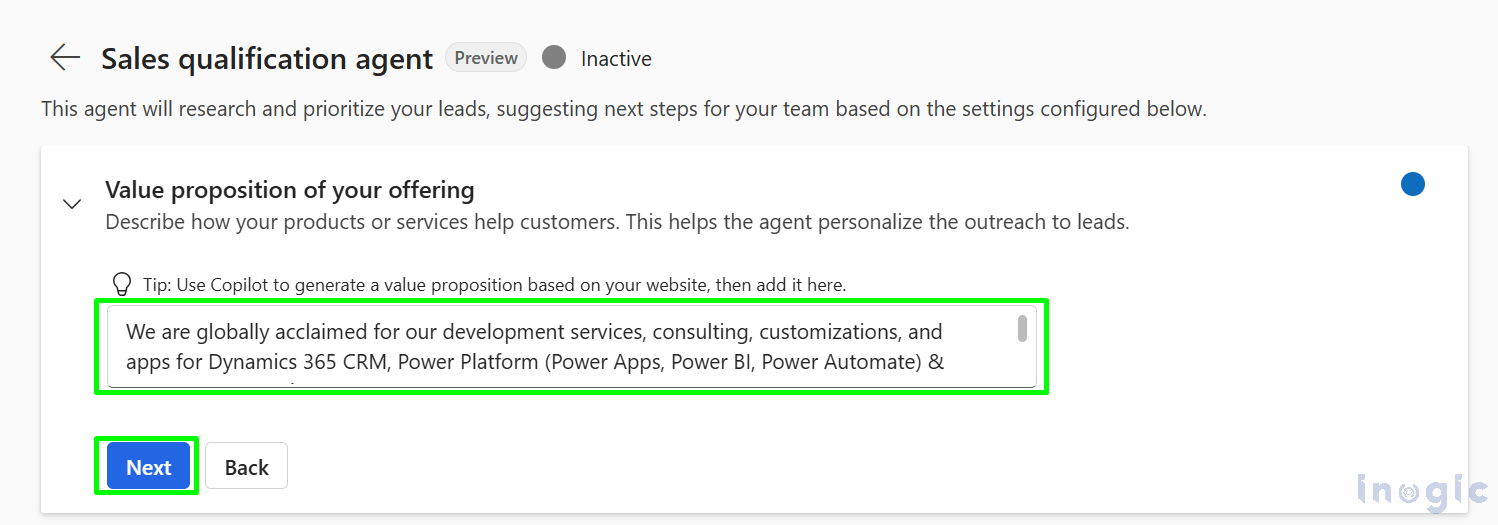
- Value Proposition – Your Offerings: Describe how your product or service delivers value to customers. Helps the agent better understand your offering and reach leads. Click Next to proceed.
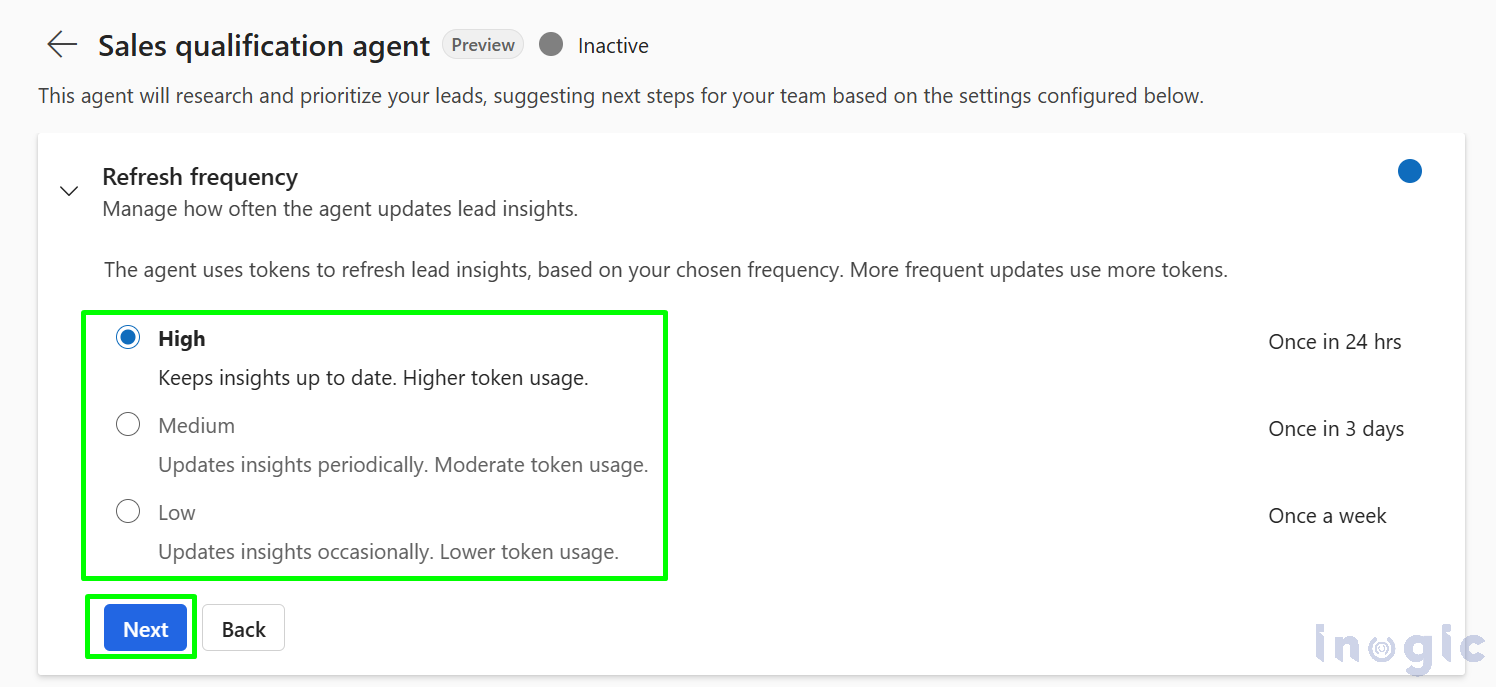
- Refresh Frequency: Choose how often you want the research data to be refreshed based on your business needs: as High – Daily updates, Medium (Default) – Every three days, Low – Weekly updates. Click Next to proceed.
Research section
In the Research section, you can see the predefined sources the agent relies on to collect information about your leads. These sources are built-in and cannot be modified:
- Default basic research: Draws from existing Copilot insights, internal relationship data (like who knows whom), and linked sales opportunities to understand the lead better.
- Default web research: Pulls data from trusted online sources to provide up-to-date information on the lead’s company, including their financial status, recent news, and general business context.
These data sources work together to give your sales team a well-rounded view of each lead without manual research.
To enable the agent to recognize high-potential leads for follow-up, you’ll need to set up your Ideal Customer Profile (ICP) in the Qualification section as shown below.
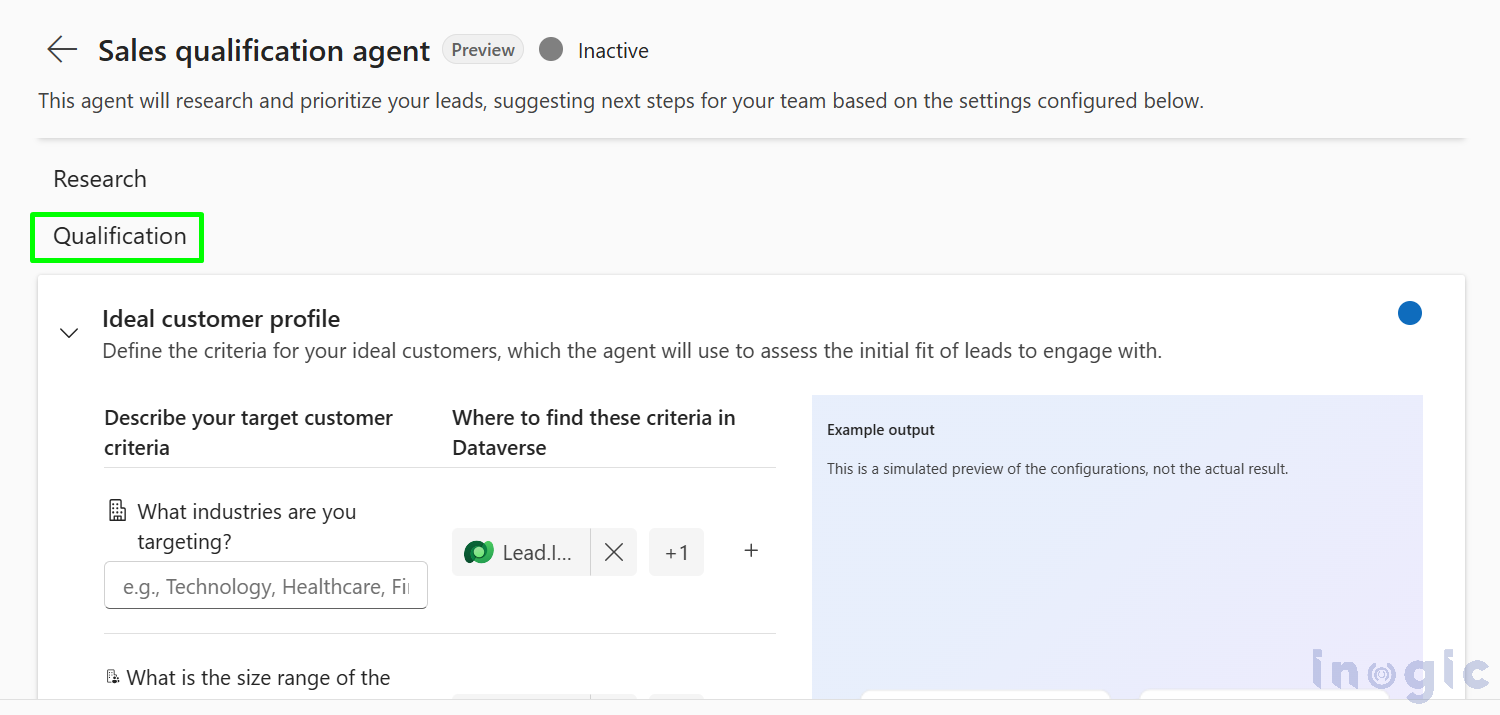
- Type in or choose the attributes that best characterize your target client, such as job titles, industries, firm size, and customer location.
- In order to compare the criteria, the agent should check the prepopulated fields from out-of-the-box Dataverse tables under Where to find these criteria in Dataverse.
In the Qualification section, you’ll help the agent understand what a “qualified lead” looks like by setting clear ICP criteria. This helps the agent effectively identify leads with the highest potential to convert
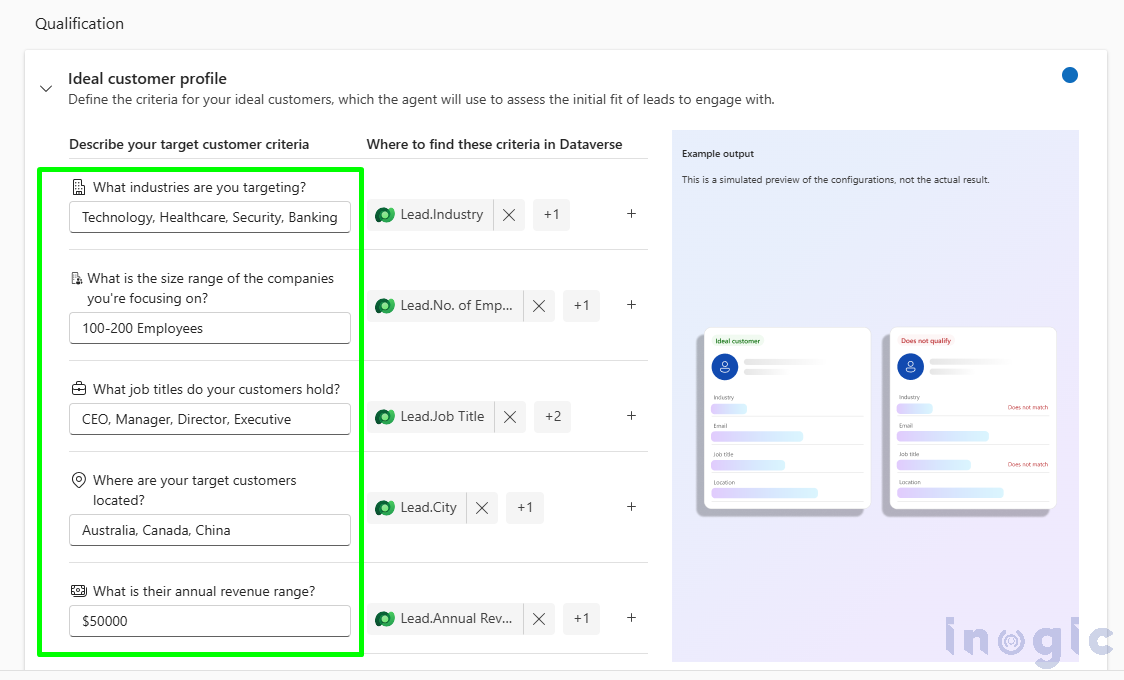
When defining your Ideal Customer Profile, consider the following key attributes:
- What industries are you targeting – Specify the sectors your solution is designed for or performs best in.
- What is the size range of the companies you’re focusing on – Define the range in terms of employee count or scale (e.g., small businesses, mid-market, or enterprise).
- What job titles do your customers hold: Identify which decision-makers or influencers (e.g., Sales Managers, IT Directors) are most relevant to your offering.
- Where are your target customers located: Indicate the regions or countries you serve or want to target?
- What is their annual revenue range: Set a revenue range that typically aligns with your best-fit customers.
These inputs guide the agent in qualifying leads more effectively, helping your sales team focus on the right opportunities from the start.
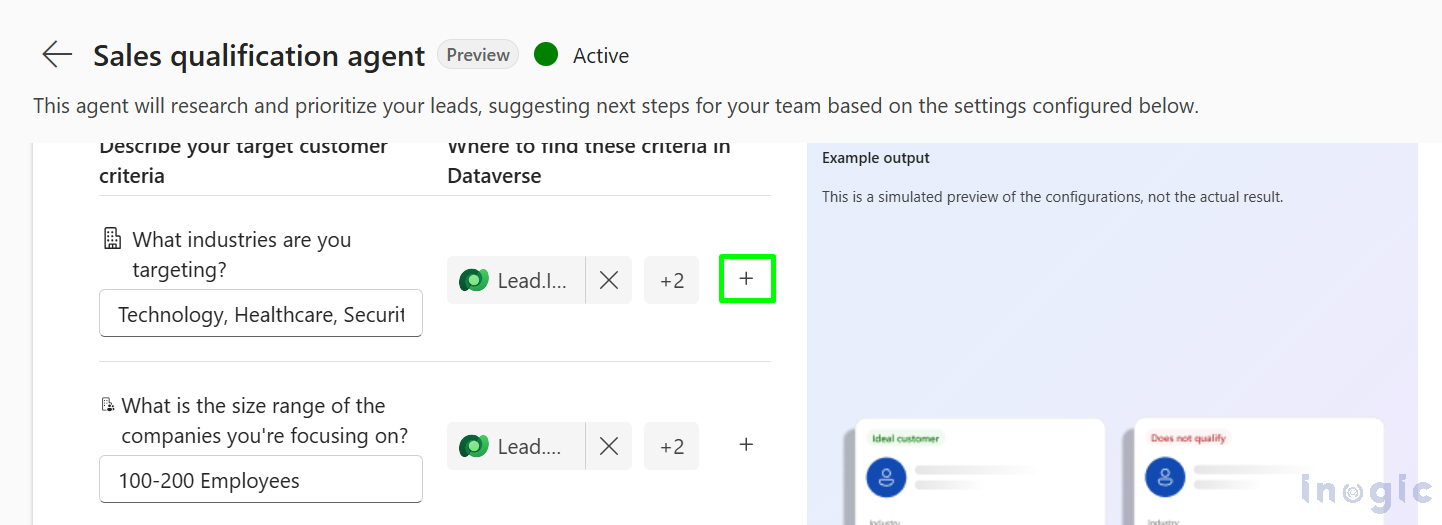
To include additional fields under “Where to find these criteria in Dataverse,” simply click the ‘+’ button as shown below.
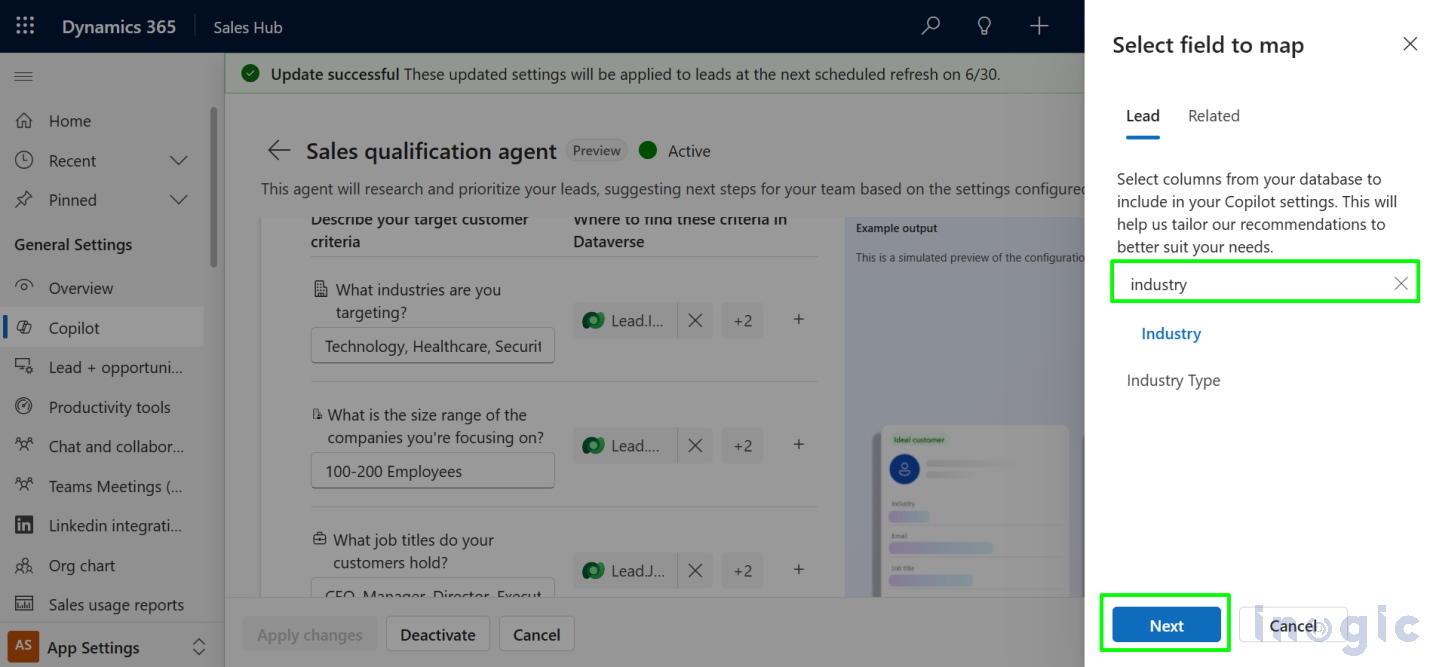
This will open a side panel where you can browse and select the desired field. Once you’ve made your selection, click Next to add the field to your qualification criteria.
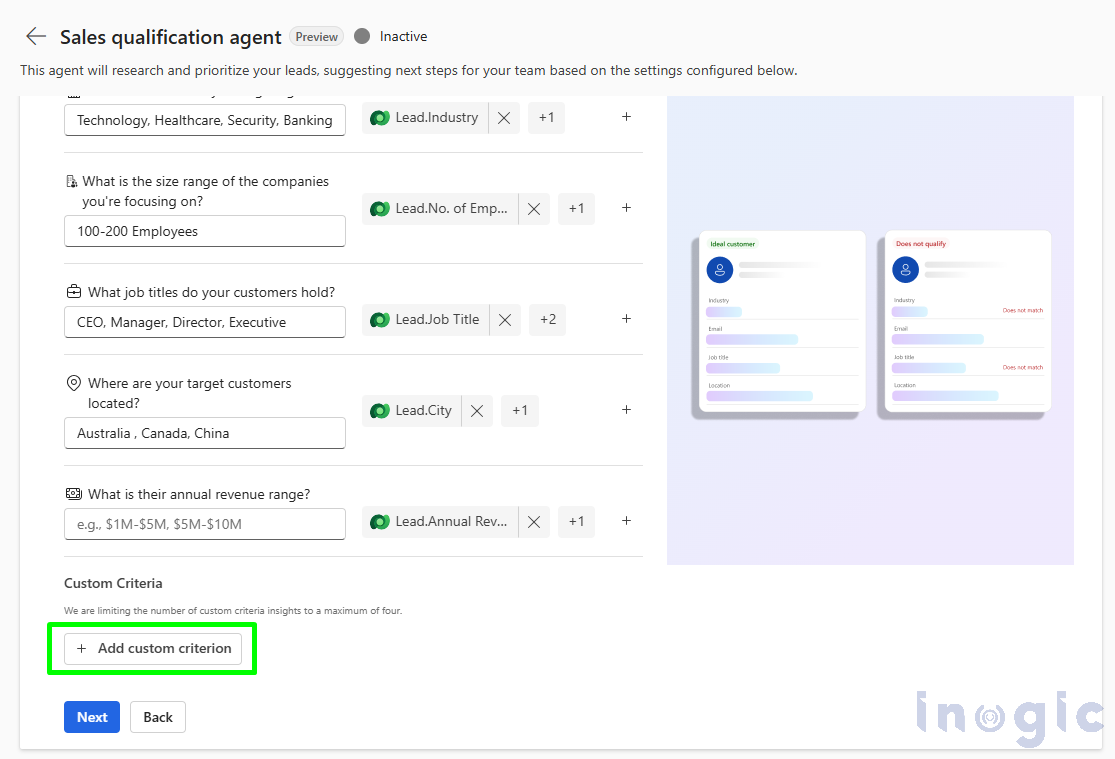
By selecting the “+ Add Custom Criterion” button, as indicated below, you may also set more criteria. This allows you to include custom fields or conditions that are specific to your business needs, giving the agent even greater precision when qualifying leads.
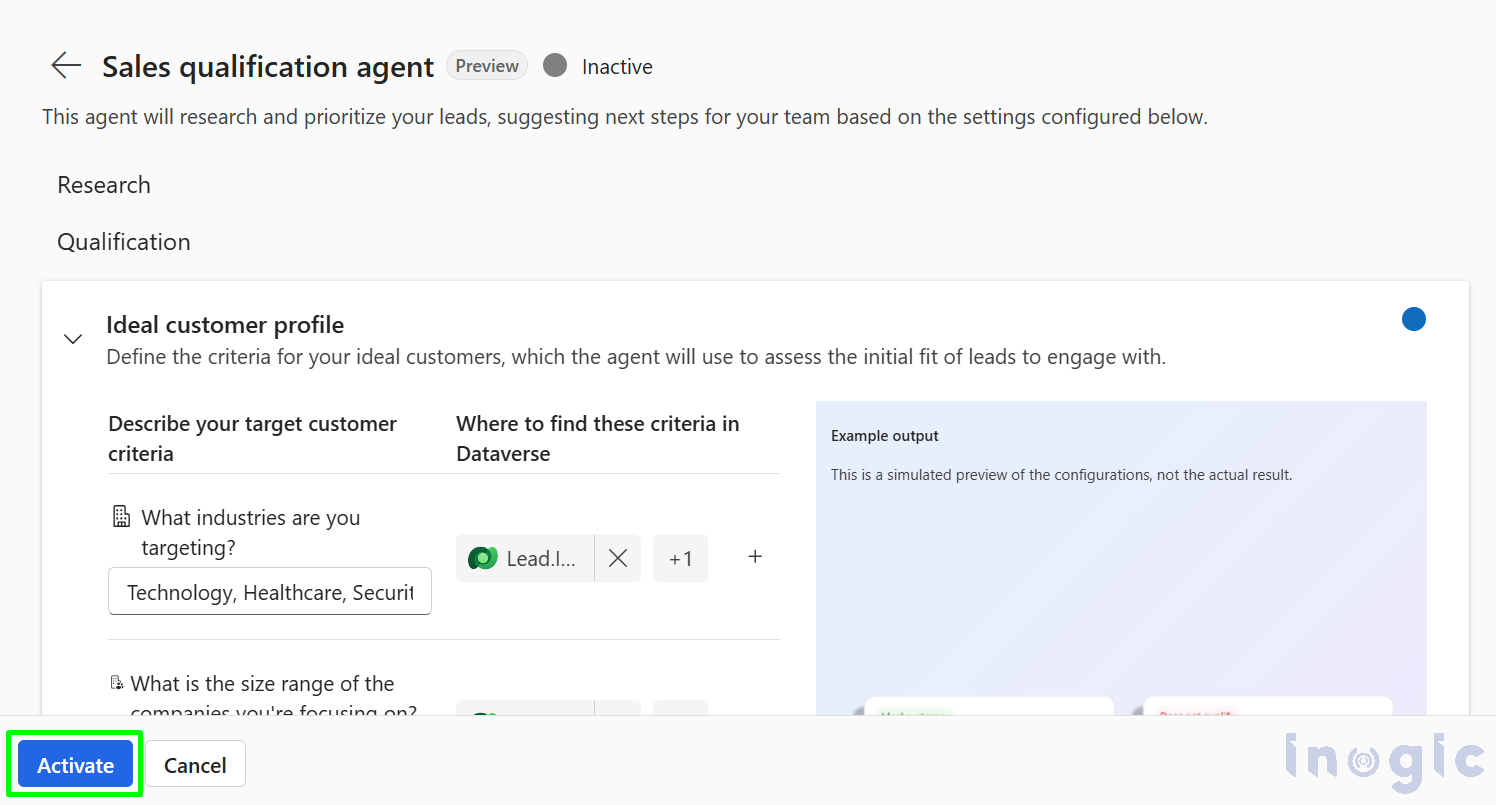
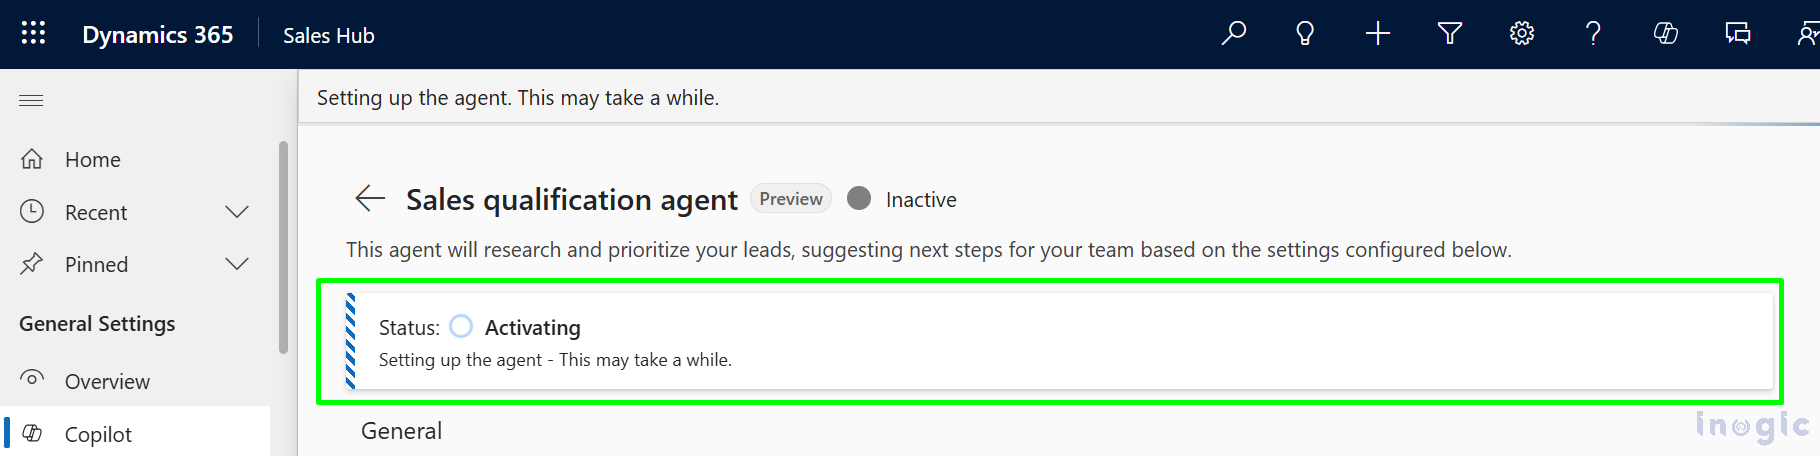
Once all the settings are configured, click the Activate button to turn on the Sales Qualification Agent. This will initiate the agent to start analyzing leads based on the defined criteria and begin generating insights automatically.
Activation may take a few moments, during which you’ll see a status notification saying “Activating”.
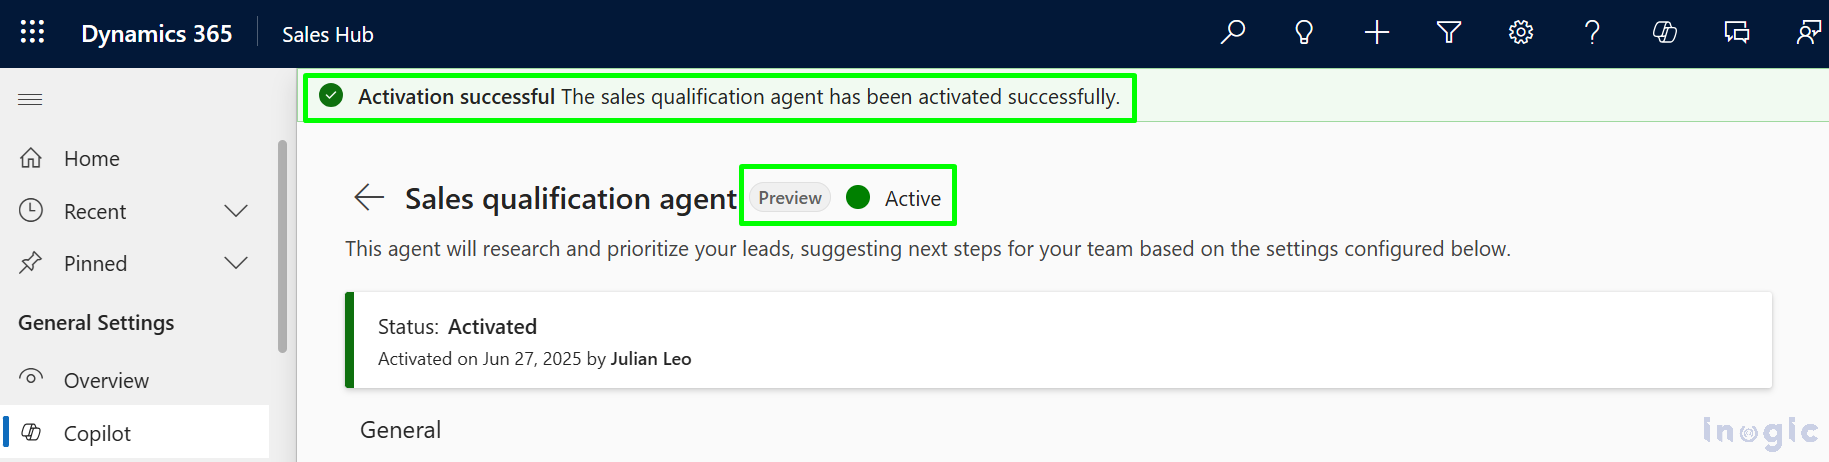
Once the activation is complete, a confirmation message will appear:
“Activation Successful – The sales qualification agent has been activated successfully.”
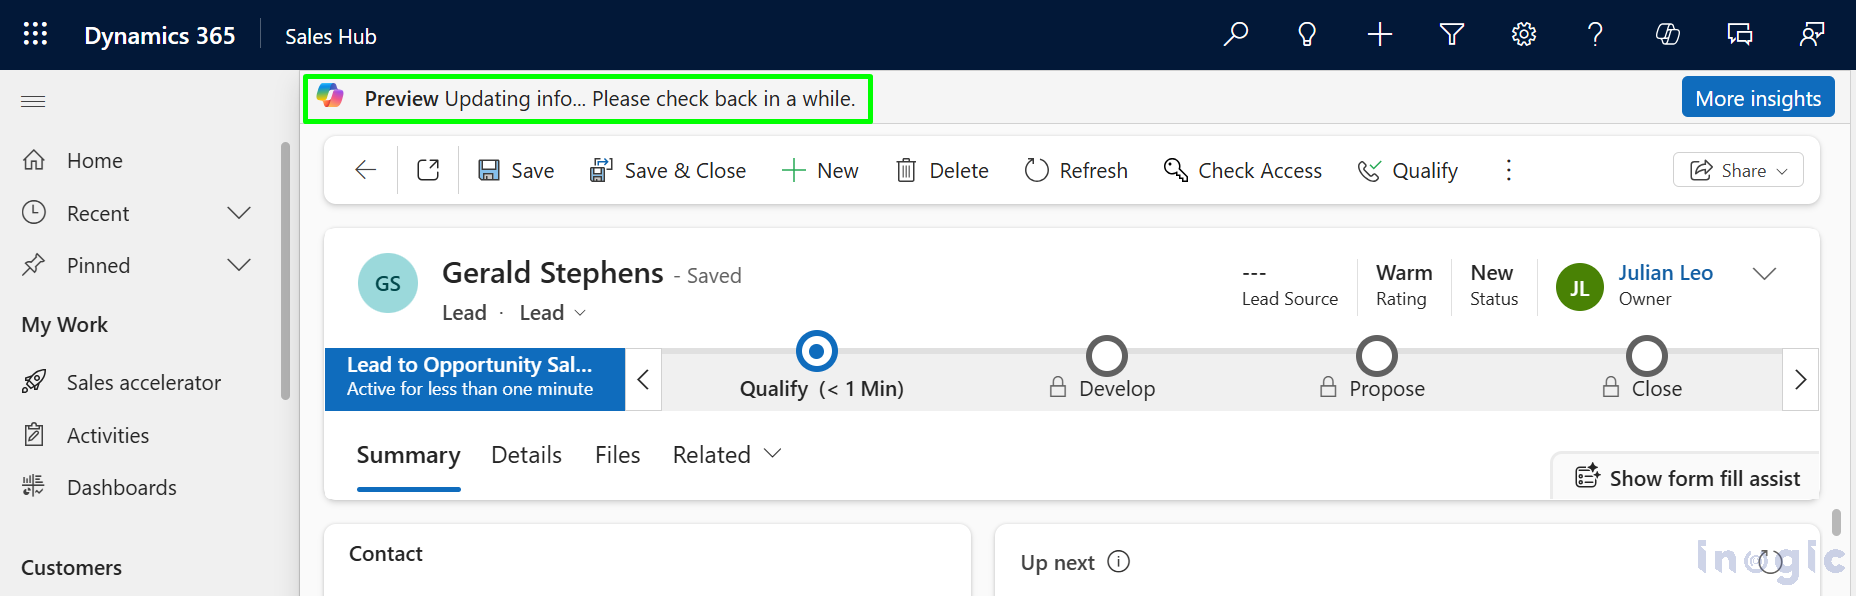
Test the Agent with a Sample Lead:
To see the agent in action, create a new Lead record. After saving the lead, a Notification message will appear on the form: “Updating info… Please check back in a while.” This means the agent is analyzing the lead in the background using the Ideal Customer Profile (ICP) you configured earlier.
After a short time, refresh the lead form. If the Lead matches the ICP You’ll see a notification:
“Sales Qualification Agent indicates this lead may be worth exploring. See insights to guide your next step.”
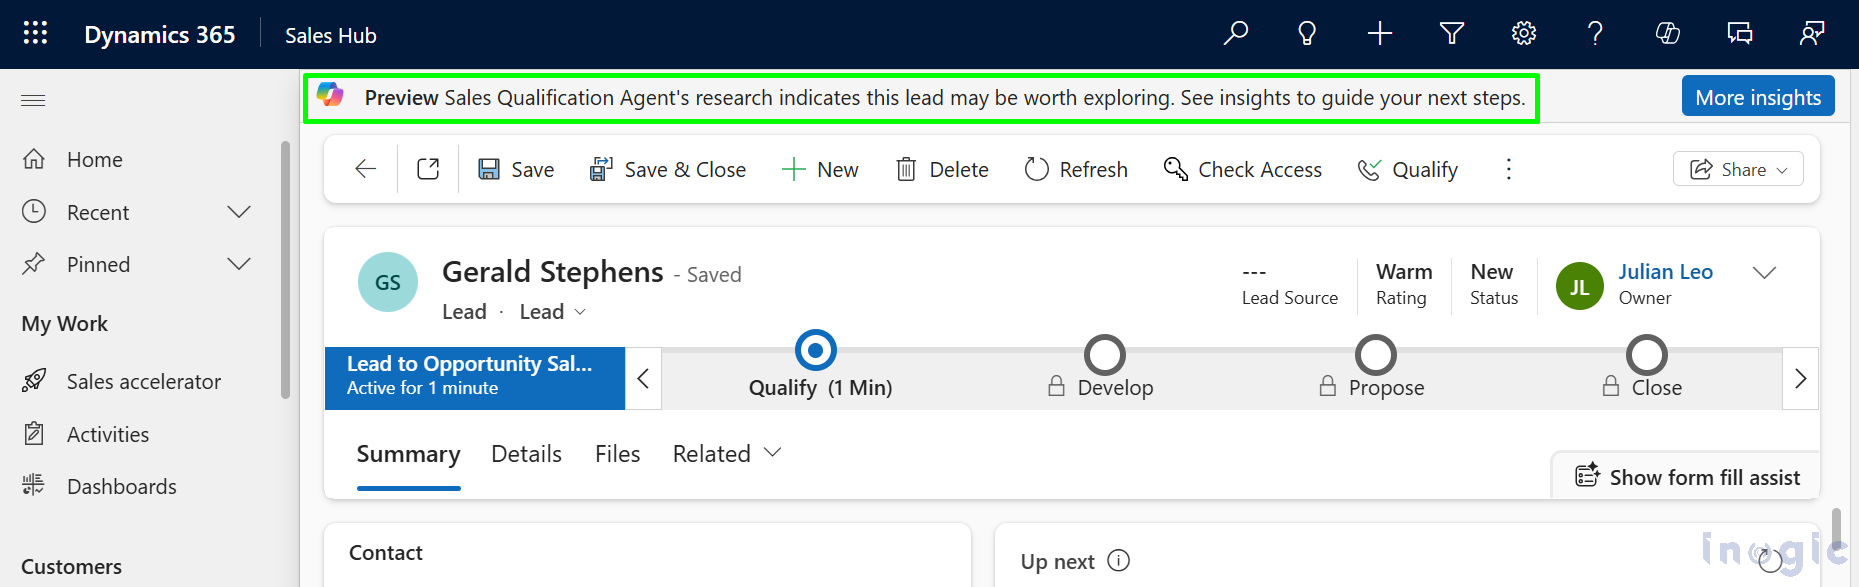
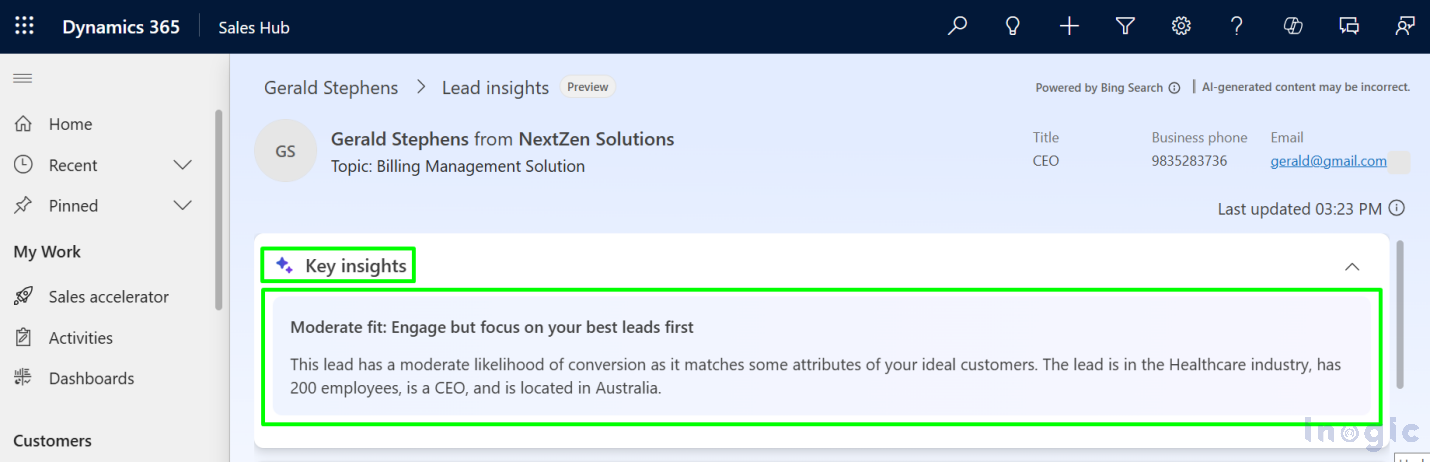
Click More Insights to open the Lead Insights panel, where you’ll find detailed information about why the lead was considered a good fit—highlighted under Key Insights.
If the Lead Does Not Match the ICP: The agent will display a message: “Sales Qualification Agent’s research indicates you should not engage with this lead.”
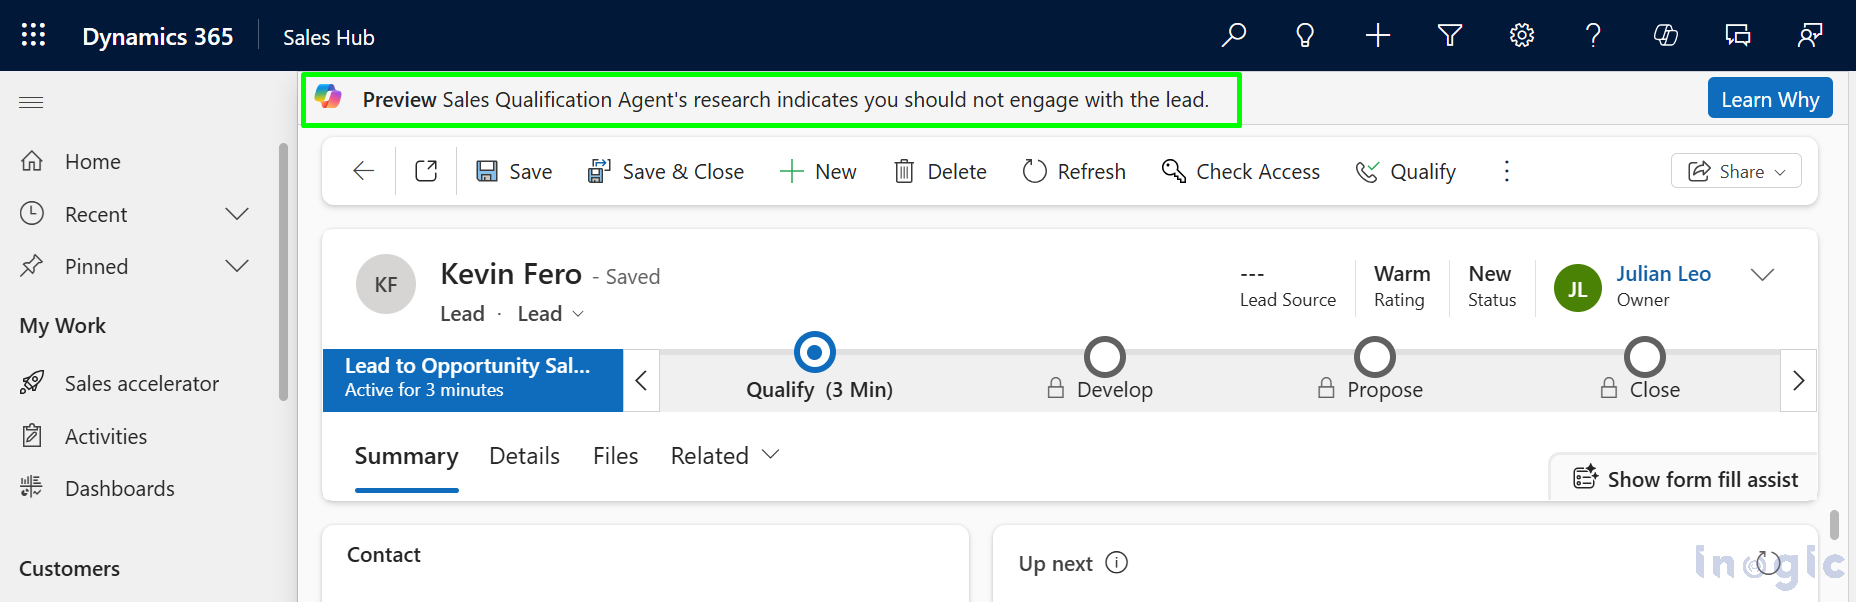
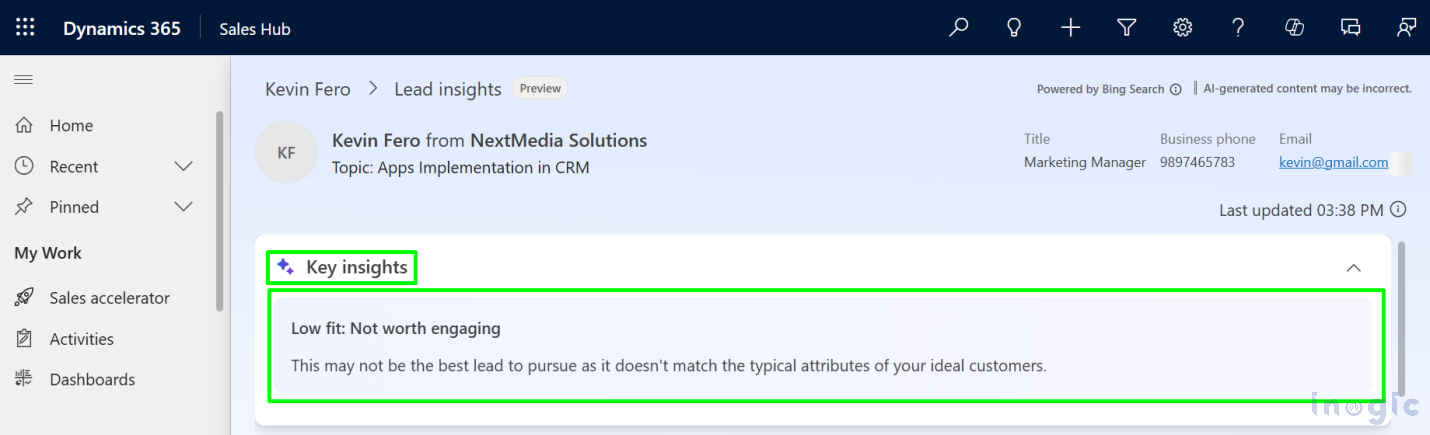
You can click Learn Why to view the Key Insights explaining why this lead does not align with your defined ICP criteria.
Updating Agent Configuration:
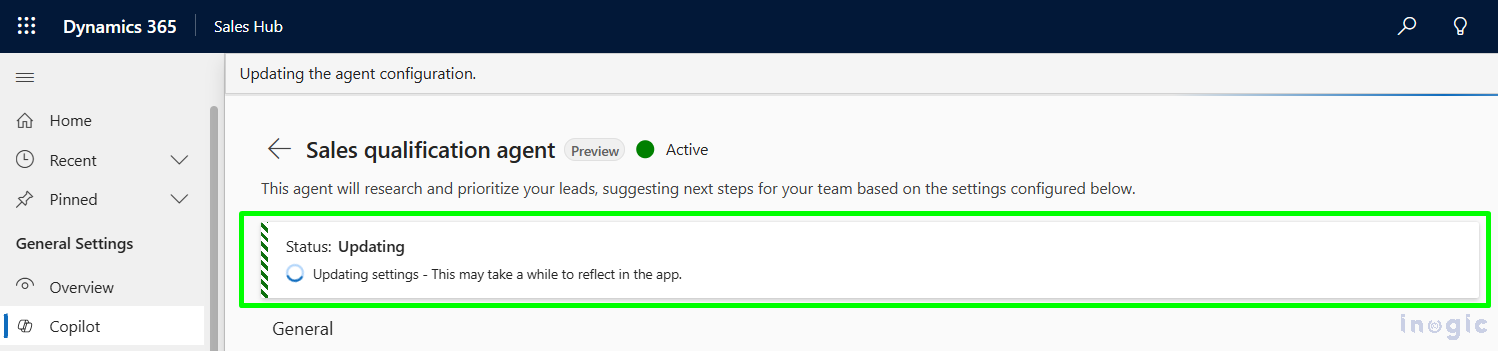
If needed, you can modify the agent’s settings at any time from the configuration panel. After making your changes, click the Apply Changes button to save and update the configuration.
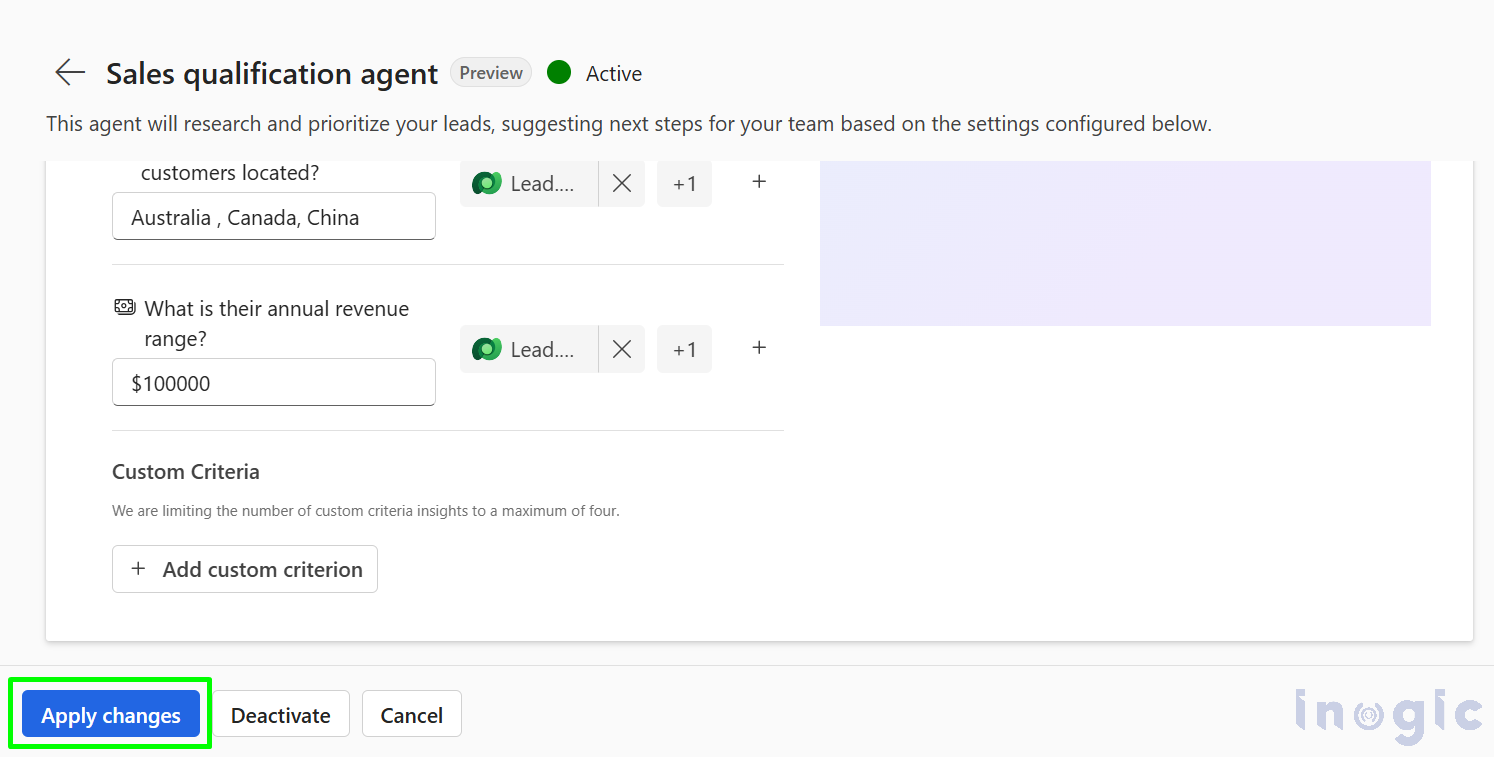
Once applied, the system will display a status message indicating “Updating” as the new settings take effect.
With these steps completed, your Sales Qualification Agent is fully set up and ready to support your team by identifying high-potential leads and streamlining outreach efforts.
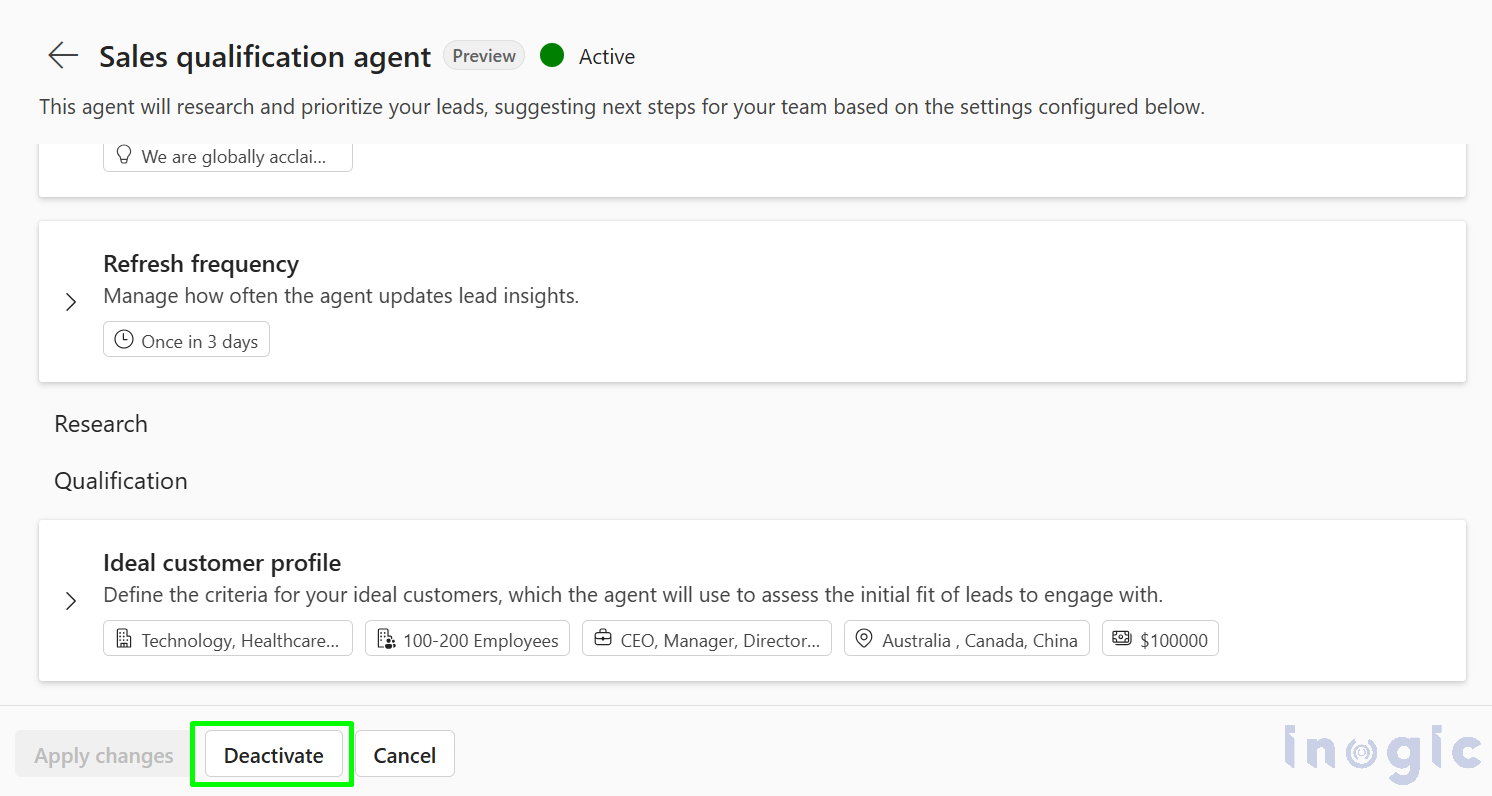
Deactivation Agent Configuration:
To deactivate, simply click the Deactivate button as shown below. This will turn off the agent and pause its lead evaluation and insight generation. The agent’s status changes to Deactivating until the process is complete. Once deactivated, the status changes to Inactive.
Conclusion:
Setting up the Sales Qualification Agent empowers your sales team with intelligent lead analysis and personalized outreach, all driven by your business-defined criteria. It not only reduces manual effort but also ensures your team focuses on the most promising leads. With proper configuration, the agent becomes a valuable assistant in accelerating sales cycles.