In this blog, we would be exploring the new addition introduced in Microsoft Dynamics 365 CRM, “Security Group and Licenses”.
If your Organization has multiple environments, then to segregate their workspace into individual departments, the “Security Group” option can be used. This shall help in controlling the licensed users, who can be members of a particular environment.
For example: –
- Sales Department
- Environment – Sale environment
- Security Group – Sales_SG
- Purpose – Providing access to environments that create sales opportunities, handle quotes, and close deals
- Service Department
- Environment – Service environment
- Security Group – Service_SG
- Purpose – Provide access to the environment that handles customer cases.
As seen in the above example, two security groups provide controlled access to a specific environment.
Follow the below steps and images to create a new security group in your CRM environment-
Create Security Group –
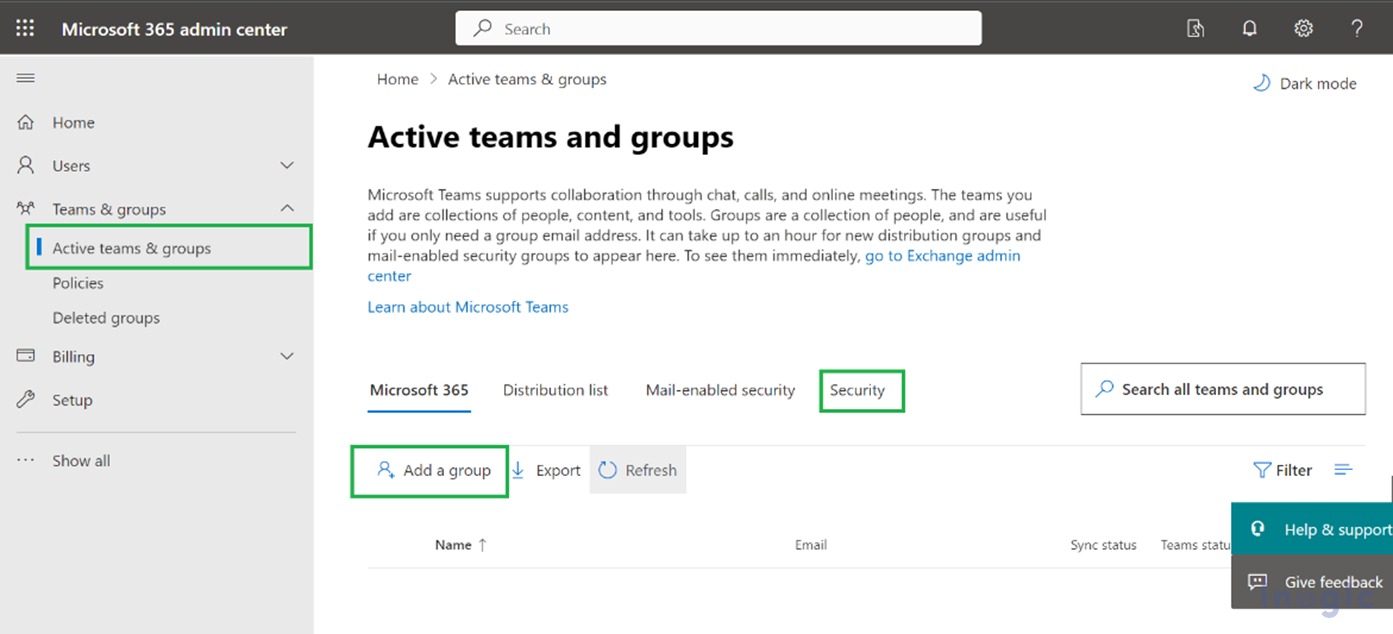
- Visit Microsoft Dynamics 365 admin center and in the navigation panel select “Teams and Groups”. Under the “Teams and Groups” option you can see Active Teams & Groups, select it. Further in the Security tab, you can see Add a Group option, click on it.
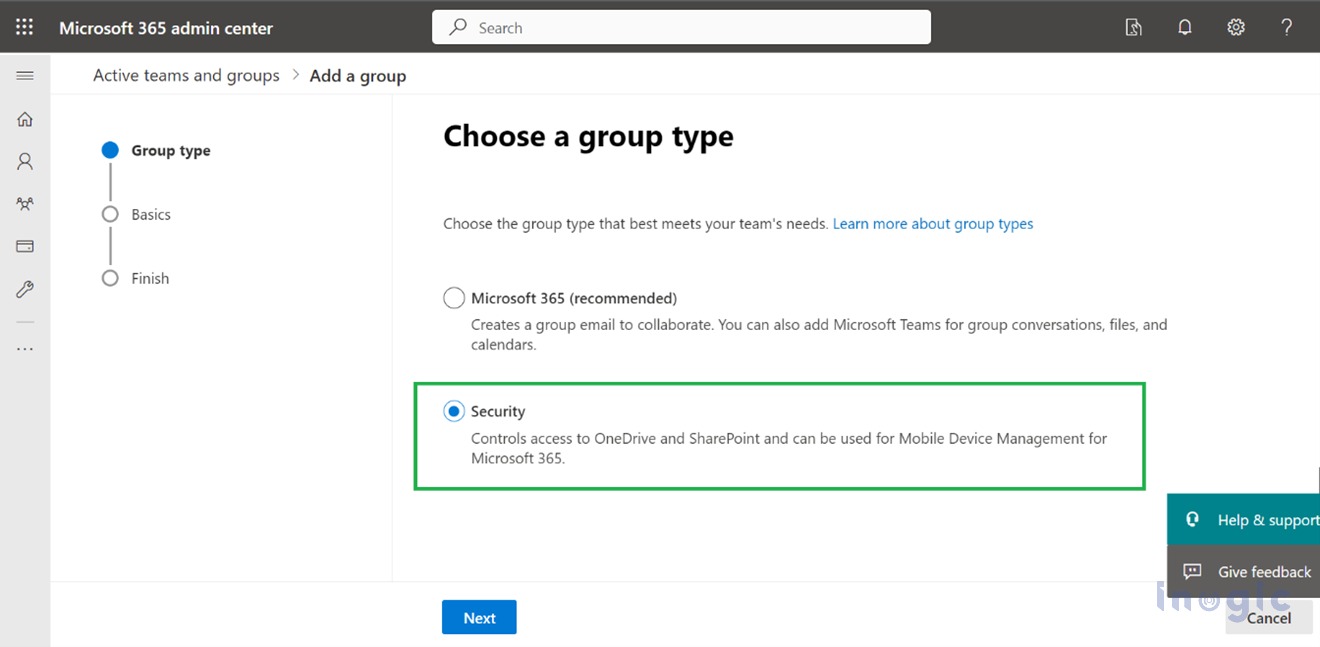
After selecting “Add a group”. You need to select the type of group and click next.
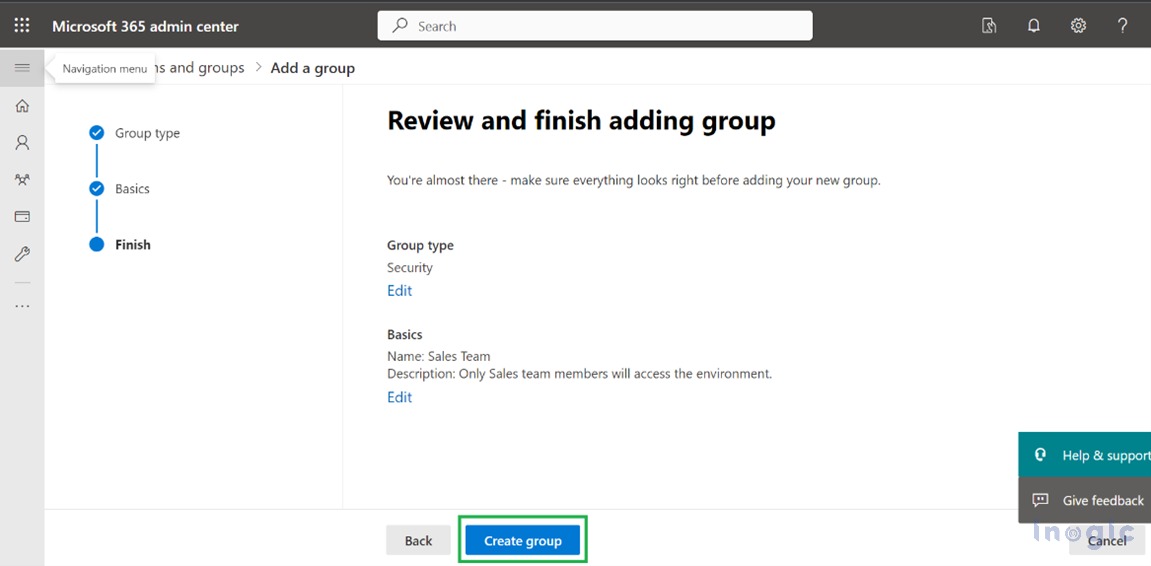
- Add basic information about the security group, click next, then click on “Create group”
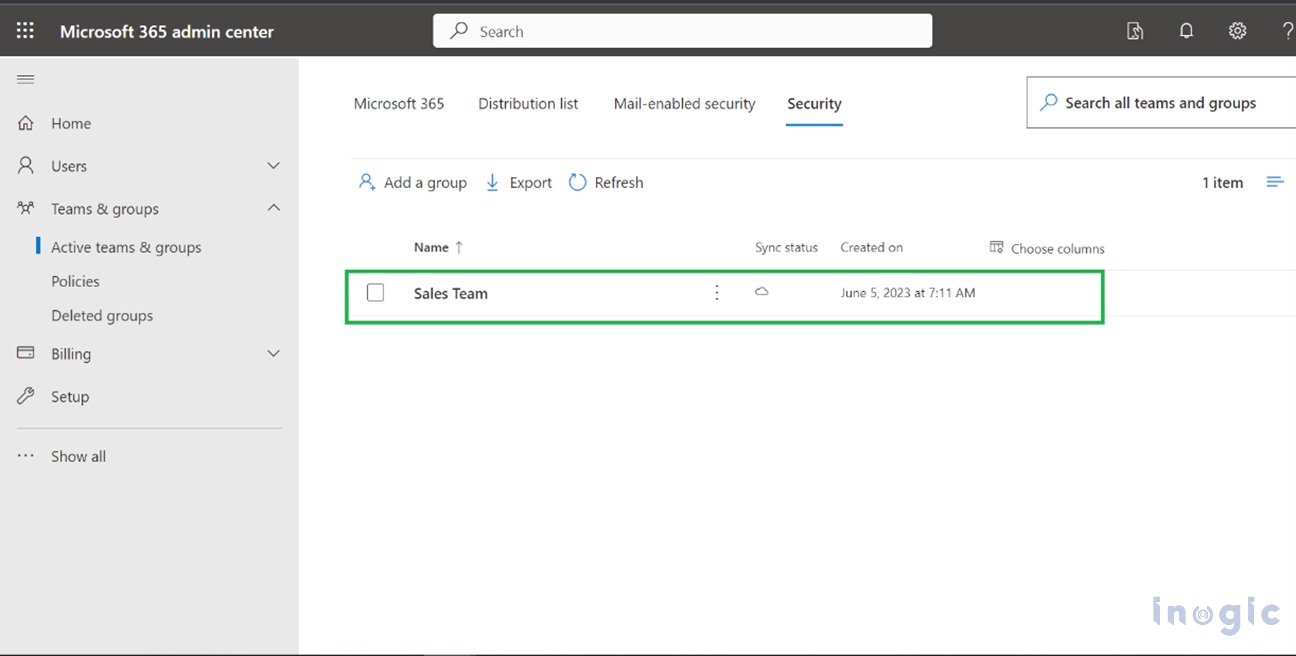
- Under the Security Tab, you will see the newly created Security Group

The next step is to Add members to your Security Group
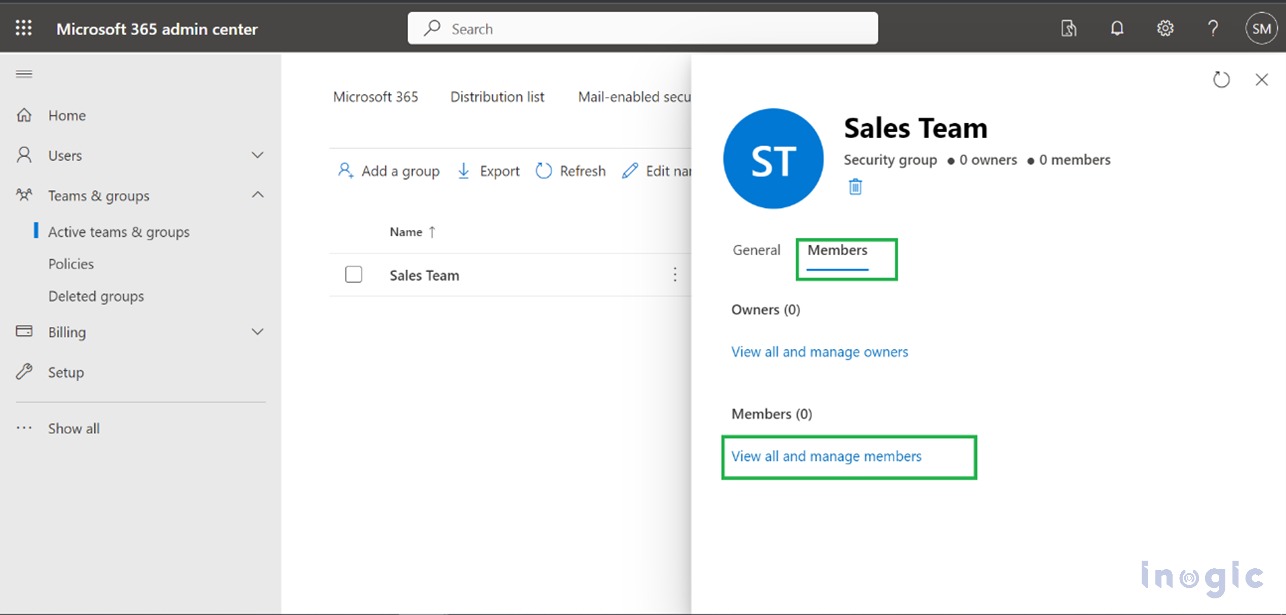
- Click On the security group which is listed under the security tab. You will see a panel Click on “Members” and “View all and manage members” as shown in the below image.
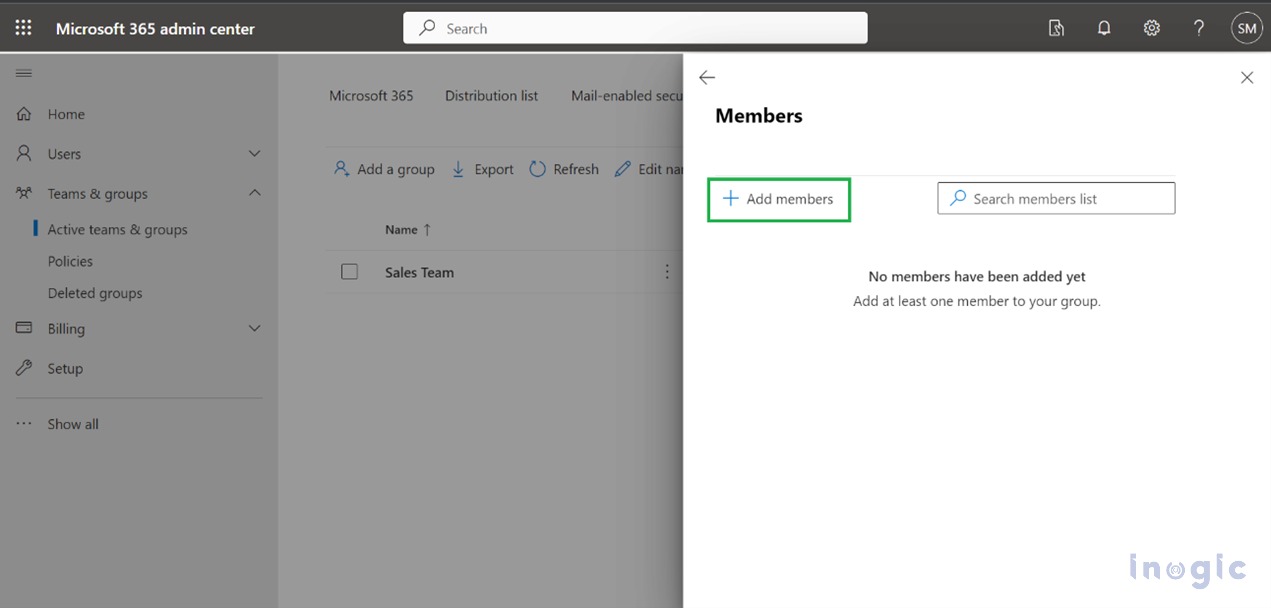
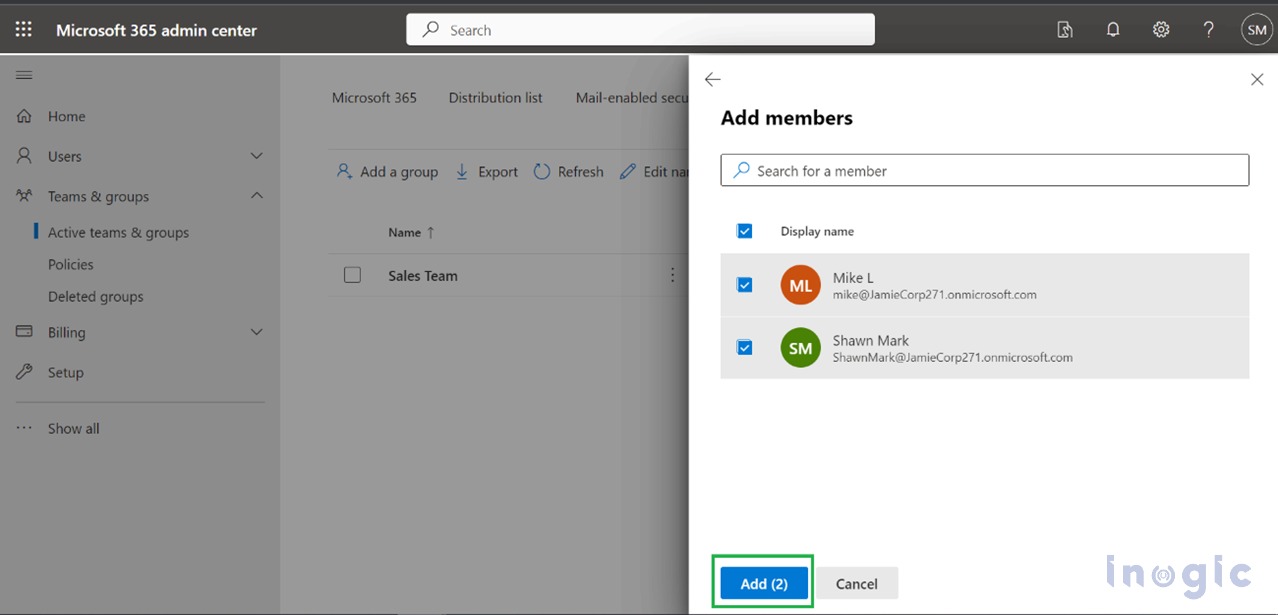
- Click on “Add Members” select the respective user and click on Save
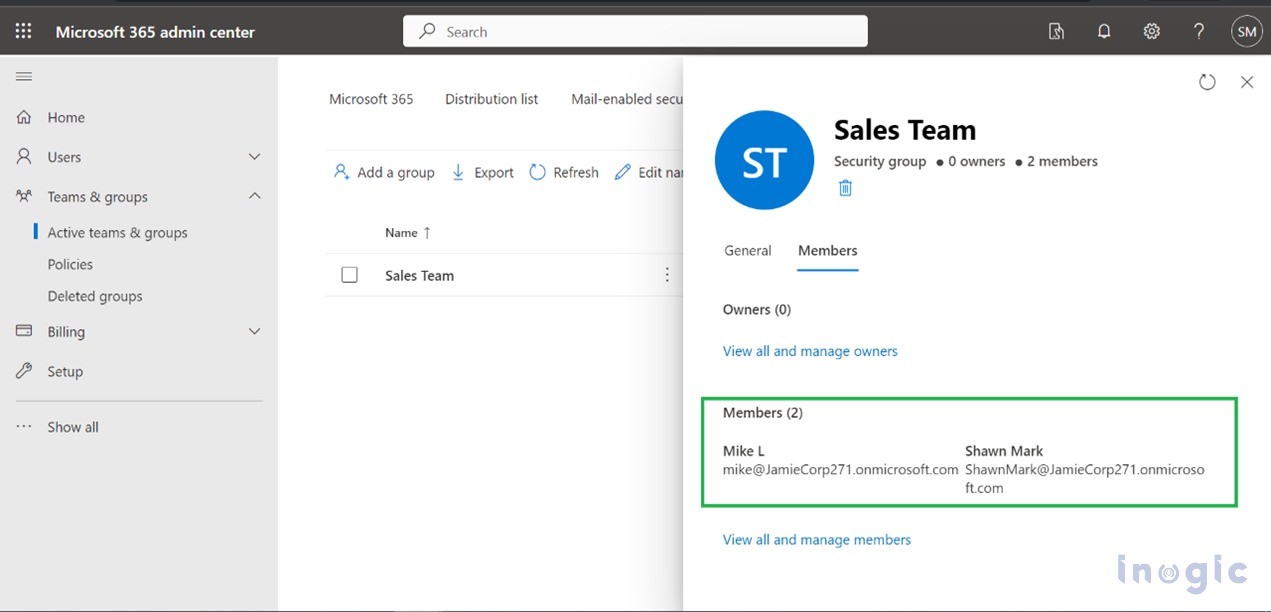
- You will see the Added user in the members plane. As shown in the below image.
Now, you need to add this security group to your environment.
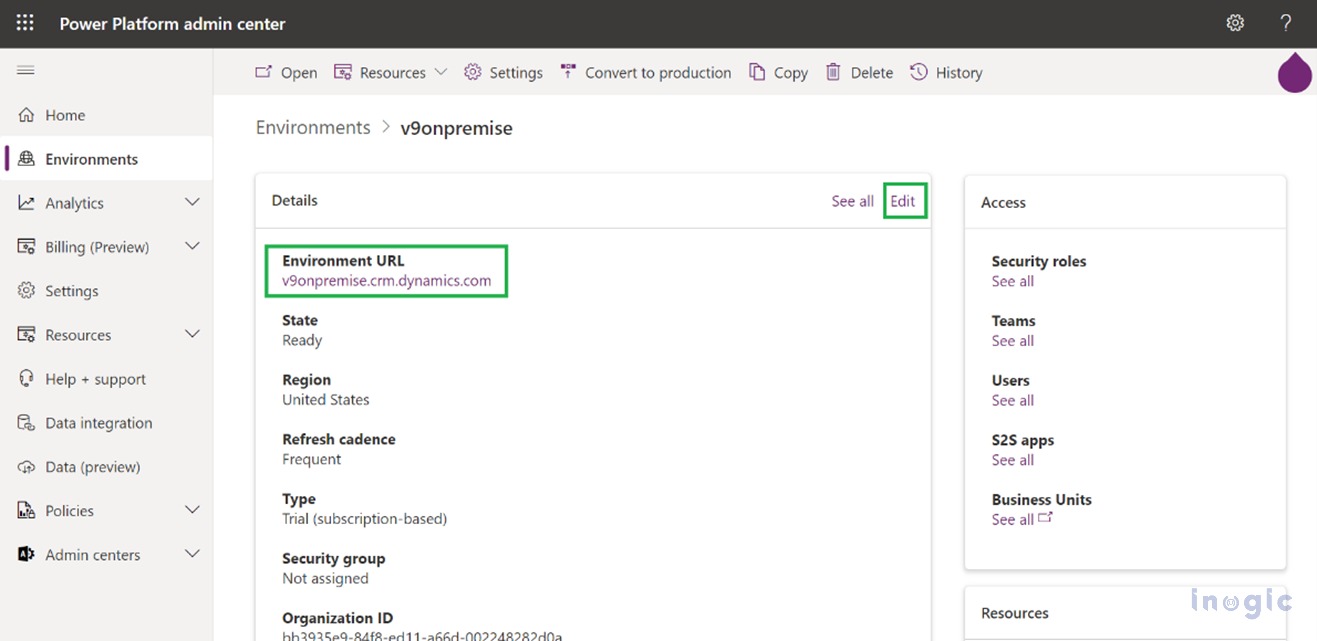
- Visit “Power Platform admin center” select the respective environment you want to add the “Security Group” to and click on Edit
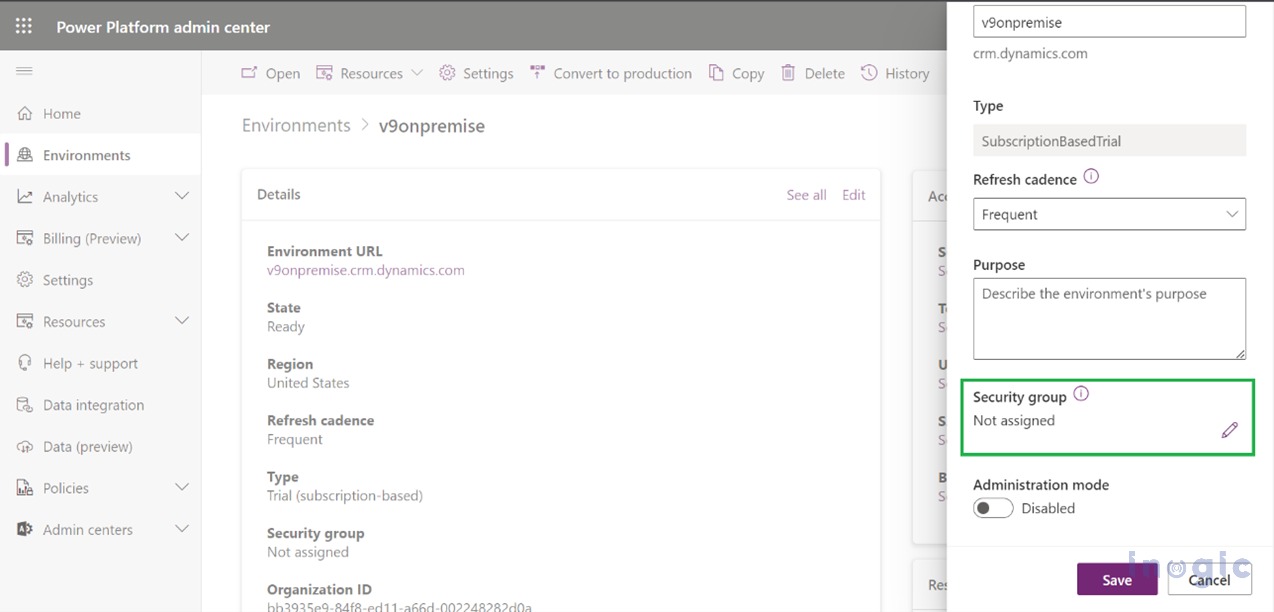
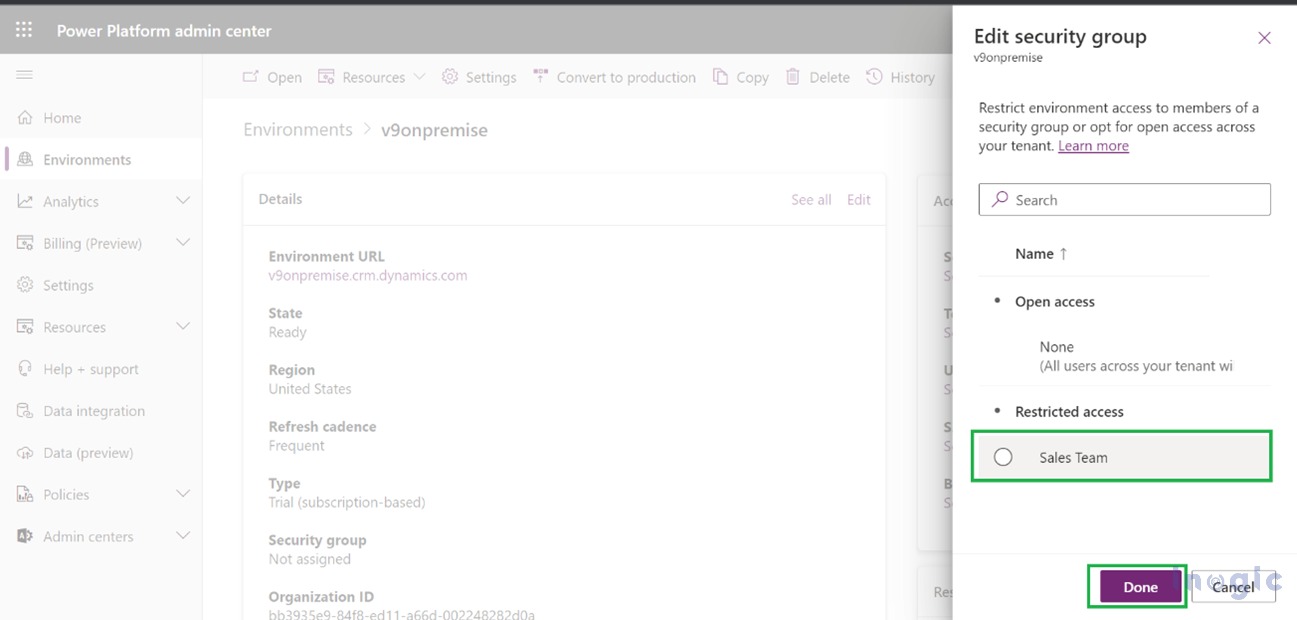
- On the left pane click on “Security group” and assign the security group to the environment.
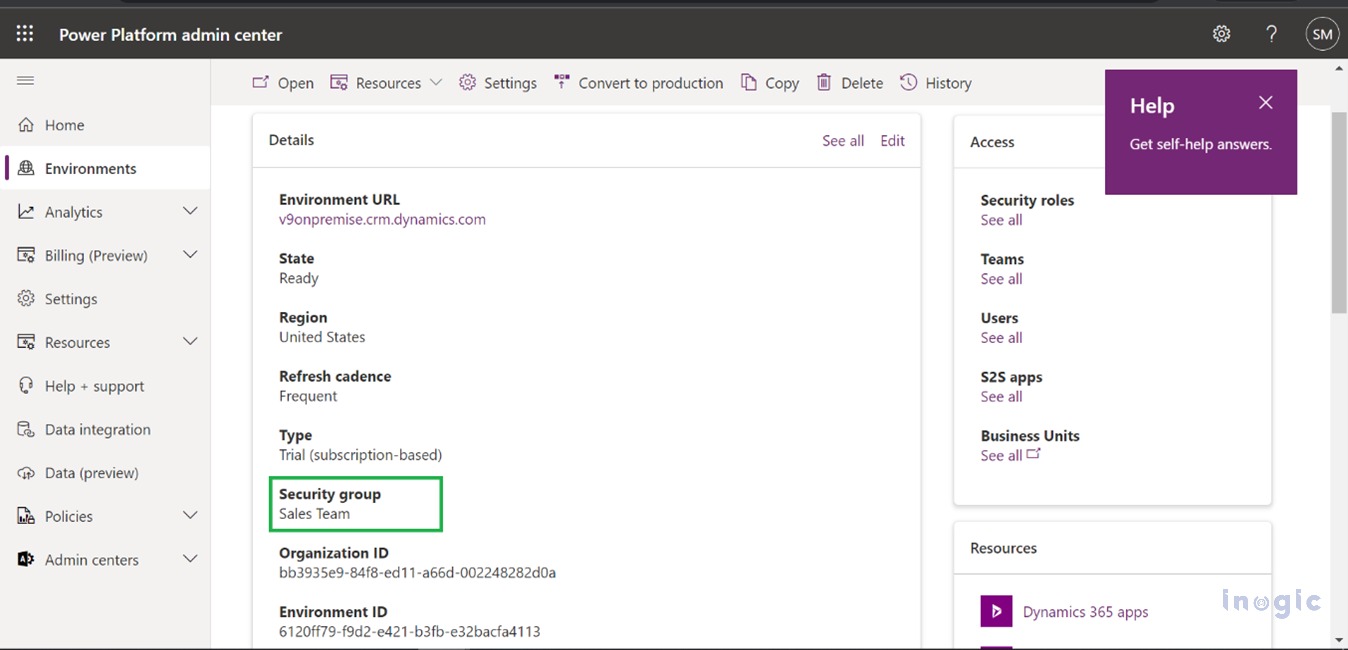
- Now you see the Security group assigned to that respective environment in the below image
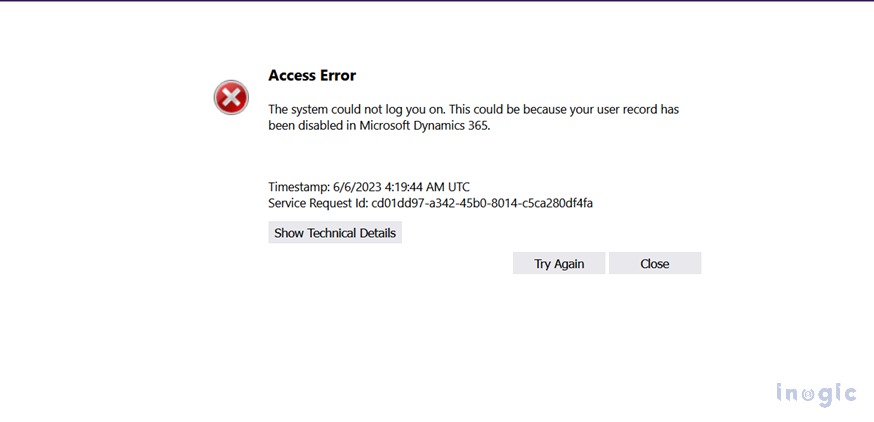
If a user who is not a member of a particular security group tries to login into its environment he/she will get an error pop-up on the screen as-
NOTE –
- The users removed from the group, get disabled from the environment
- When a security group is associated with an existing environment with users, the users in it that are not members of the group get disabled
- If an environment does not have an associated security group, all users with a Dataverse license will be created as users and enabled in the environment
Conclusion
The security group will help you to easily manage and restrict access to users over multiple environments in Microsoft Dynamics 365 CRM and Power Platform.