In this blog, we will learn about the new feature introduced by Microsoft in the 2023 Release Wave 1. The customer 360 component allows users to visualize the customer data on the case form. Previously, using the quick view form we could visualize the data but couldn’t edit the same. In the customer 360 component, however, we can edit the information of related accounts or contact and can configure the column attributes.
Steps to add Customer 360 component on Case form:
In any entity that supports Customer lookup, you can use the following steps to display customer records.
- Add the Customer 360 component to the Account and Contact form
- In Power Apps, Select the environment which contains your solution
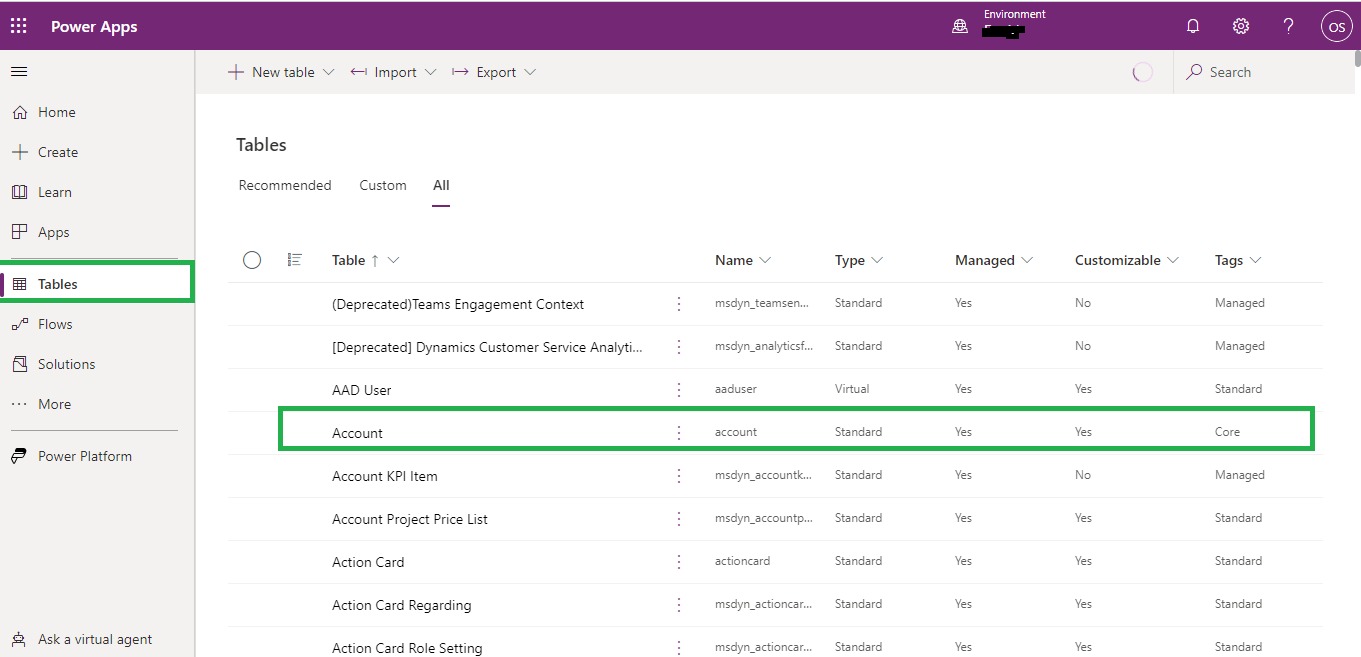
- From the left Navigation pane, Select tables -> Select Account -> In Data experience, Select Forms
3. Select the existing main form or create a new main form.
(Note: Remove/Hide all the elements on a form)
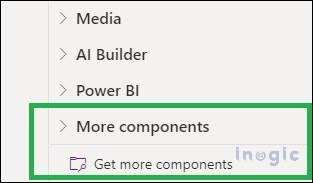
4. In the form designer or from the ribbon bar, click on Components.

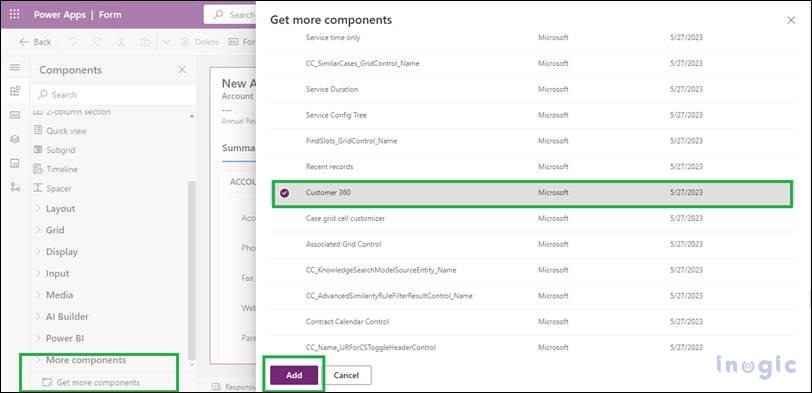
5. On the bottom side, click on Get More Components to import the component; if it is already imported, it will display under the More Components category.
6. After clicking on Get More components, search for Customer 360 and click on Add.
7. Drag the Component on the form and the window will appear.
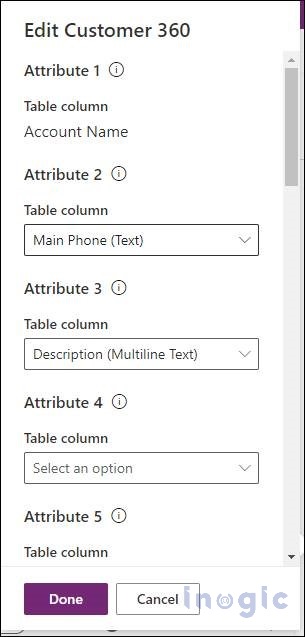
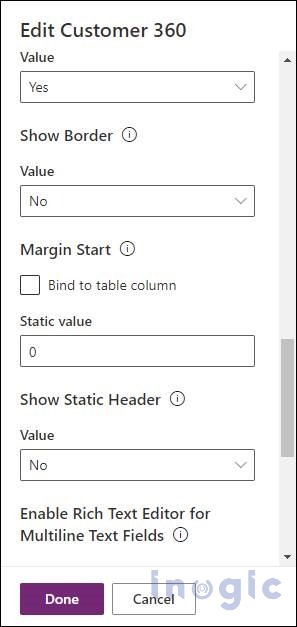
You can select the attributes which you want to see within the component. You can select up to seven attributes and three composite attributes.
Enable Editing field – This dropdown menu allows users to specify whether they are allowed to edit the fields in the component.
Show Border – This field allows you to configure whether to show a border or not. By default, it is set as NO.
Margin Start – This field allows you to pick a Margin start. If show border is enabled then this value is ignored.
Show Static Header – In the control header, the account and contact name are displayed when a customer is selected from a customer lookup. If you want to show a static header, set this field to yes.
Enable Rich Text Editor for Multiline text fields – If this field is enabled, All multiline text fields value will be rendered and edited in Rich text Format.
Custom Rich Text Editor Configuration URL – Specify this field to add advanced configuration for the rich text editor control.

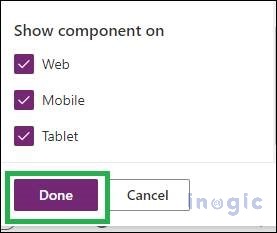
8. You can also configure where to show the component. (Web, Mobile, Tablet)
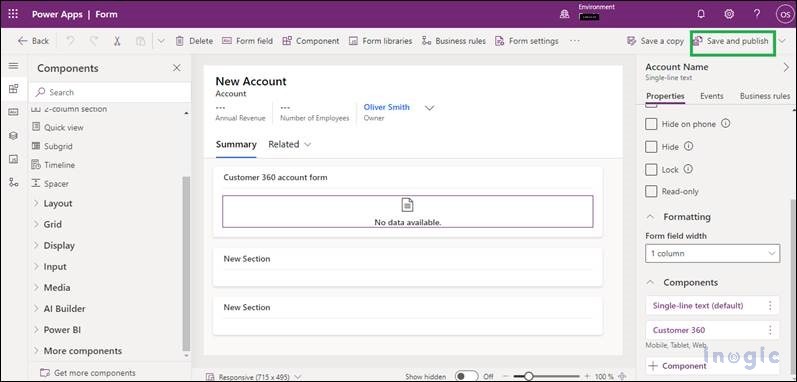
9. Now click on the Done button -> Save and Publish the form.
Note: Once you click on done, you cannot edit the first attribute.
10. Repeat the same steps to add components to the contact form.
2. Add the Customer or Account Form with the Customer 360 Component to the Case form.
1. In the same environment, from the left Navigation pane, Select tables -> Select Case -> In Data experience, Select Forms.
2. Select the existing main form or create a new main form.
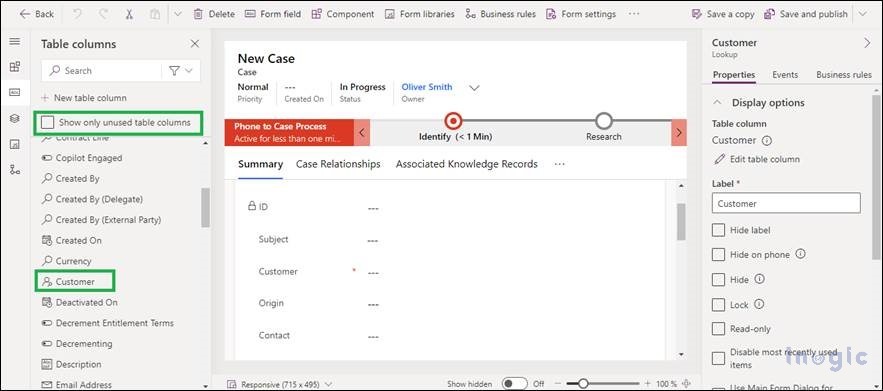
3. From the left Navigation pane, Clear the Show only unused table columns checkbox.
4. Drag the Customer field on the form.
5. In the properties section of customer lookup, scroll down and expand components.
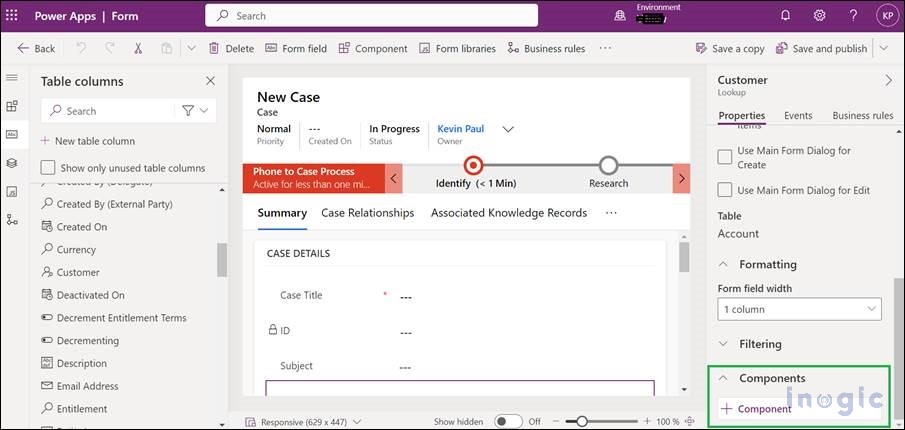
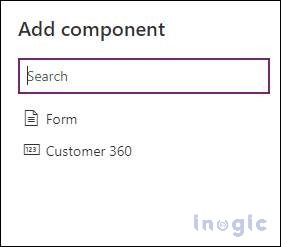
6. Click on add component –> Select Form -> Click on Related form.
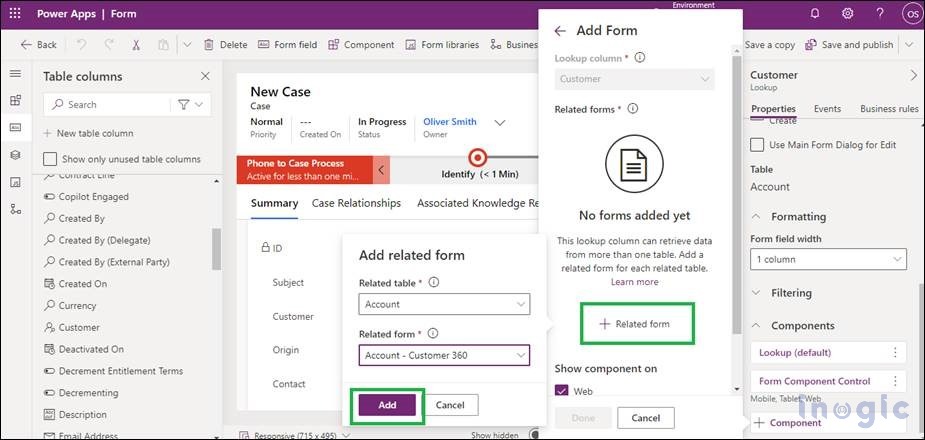
7. Select the related tables and form with component 360 and click on Add button.
8. Repeat steps 6 & 7 to add the Contact entity and form.
9. Save and Publish the form.
Note: Make sure you add these forms to your application. You can add the Customer 360 card to a custom form in the Customer Service workspace and Omnichannel for Customer Service.
When the User selects contact in the Customer field:
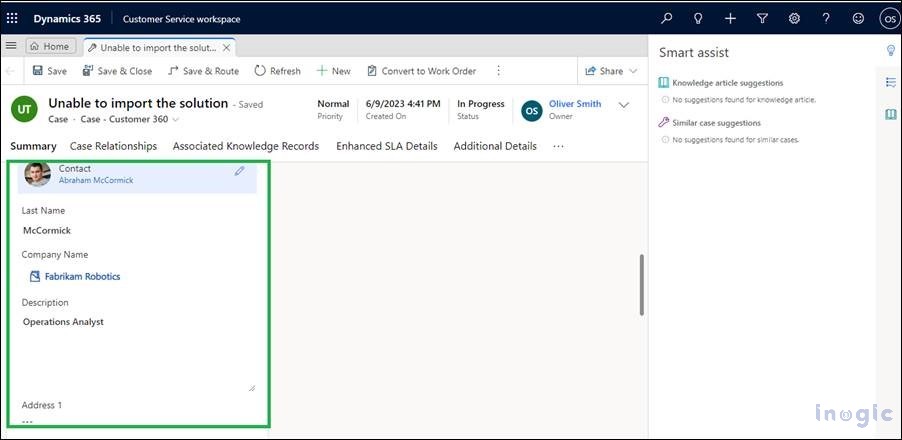
When the user selects an account in the customer field:
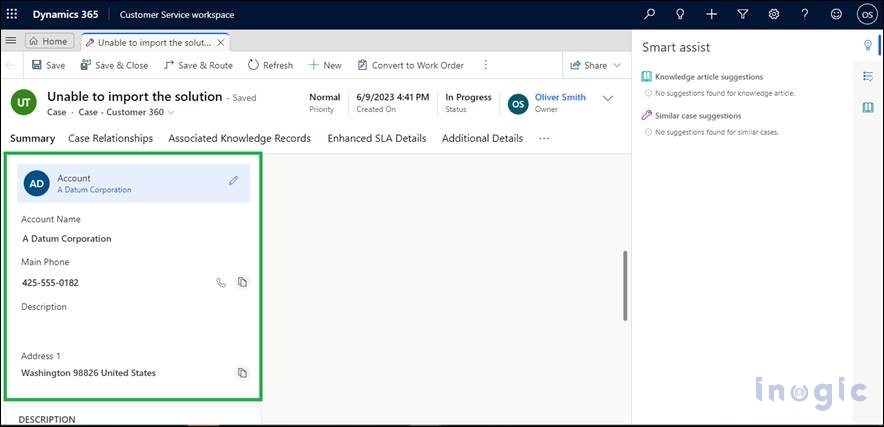
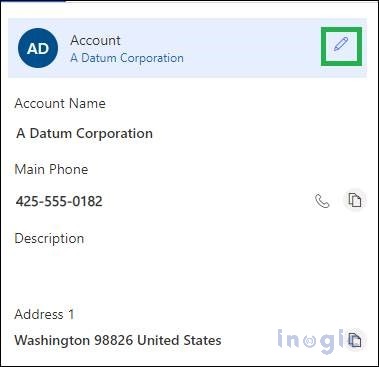
If enable editing field is set as yes then you can edit the field: –
Click on the edit icon -> All the fields are editable now -> Edit the field and click on the save button.

Conclusion
Using this Component control, you can configure attributes of related accounts and contact information and can easily edit the information without switching entities.