Microsoft has added a preview of their new feature called Cards in the wave 2 release. Cards are simplified forms that are connected to Dataverse which can be sent to CRM users to capture the required details. Here, in this blog, we have taken the example of the Event Registration form for any event where an employee can enter their information and register for the event. All their data will be stored inside the Dynamics 365 CRM for future reference.
You can follow the below steps to create a card for the above requirement.
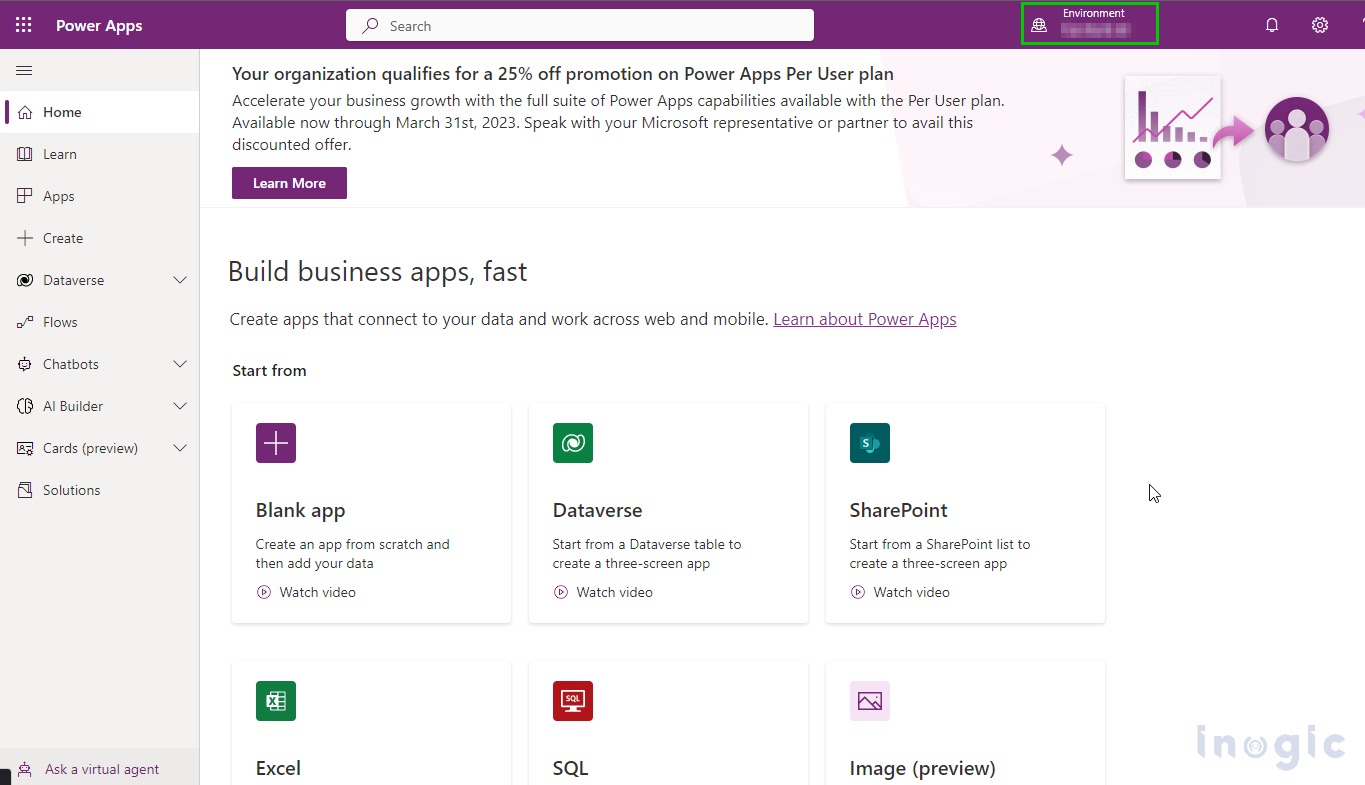
Step 1: Sign in to PowerApps using your credentials and select your environment.
Step 2: Select Cards (Preview) option.
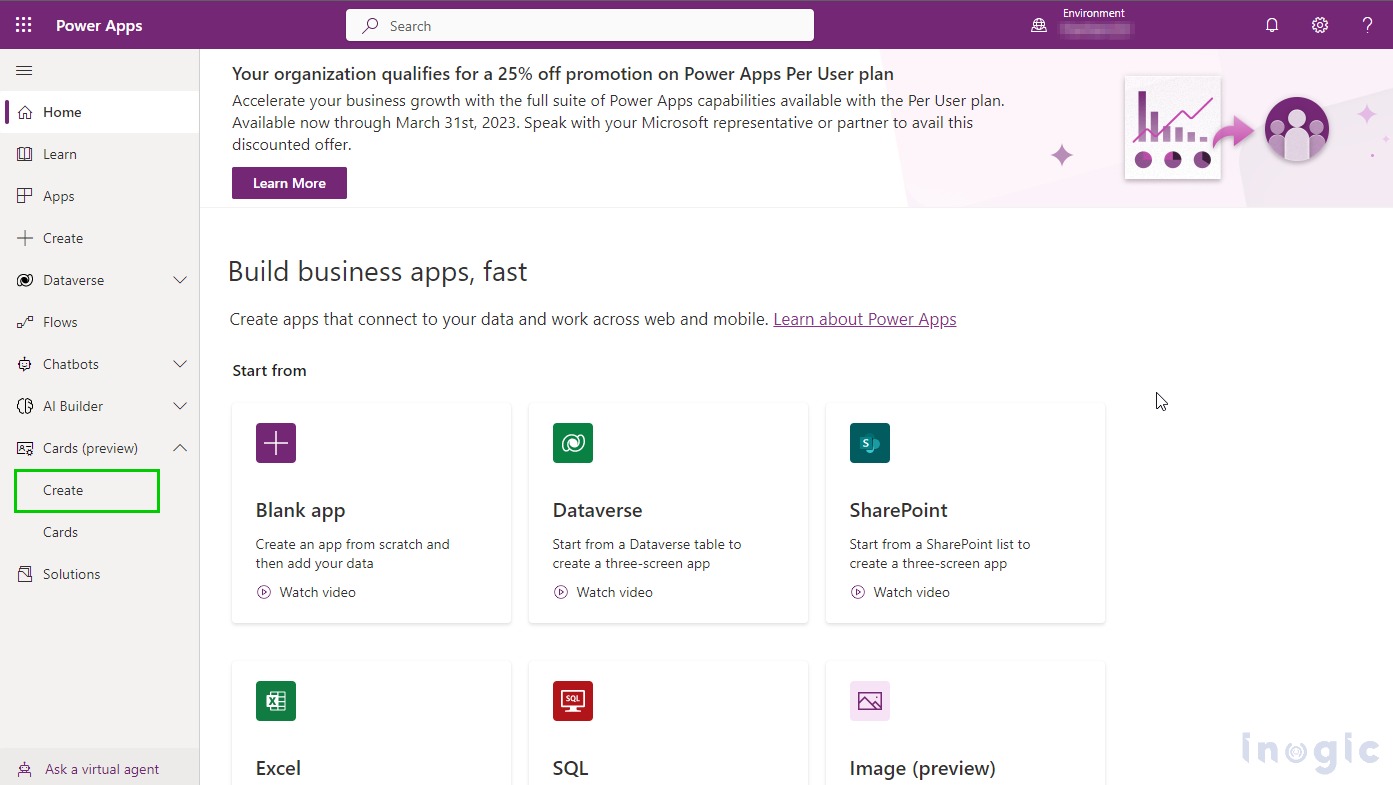
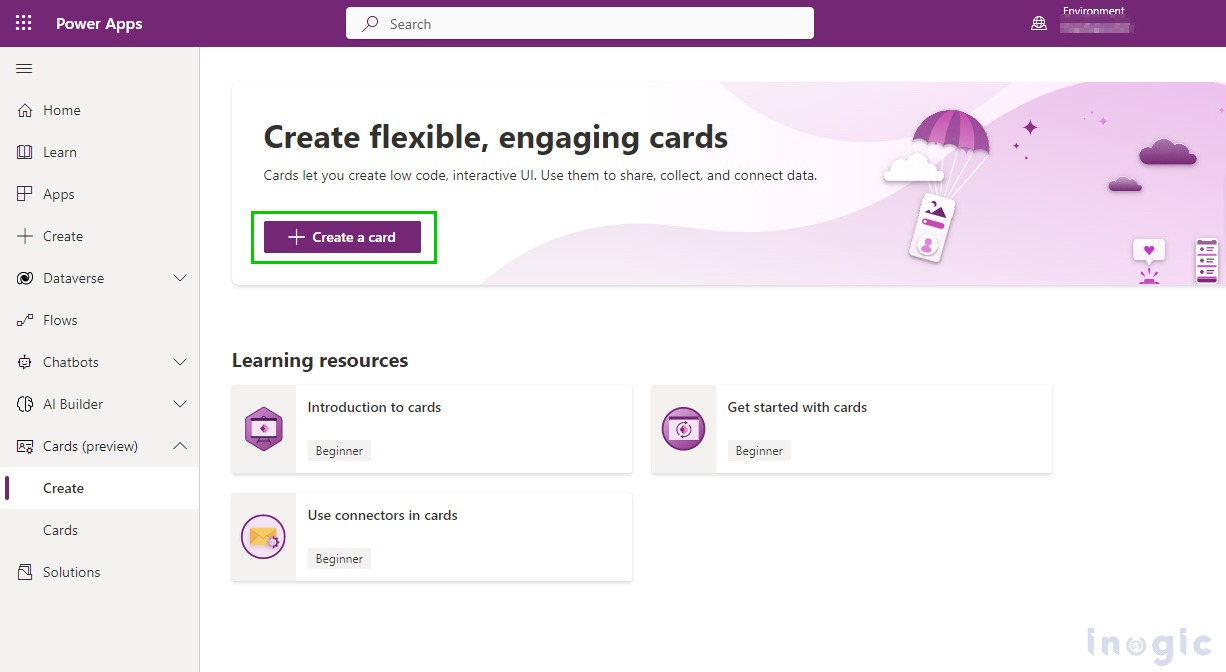
Step 3: Click on Create option
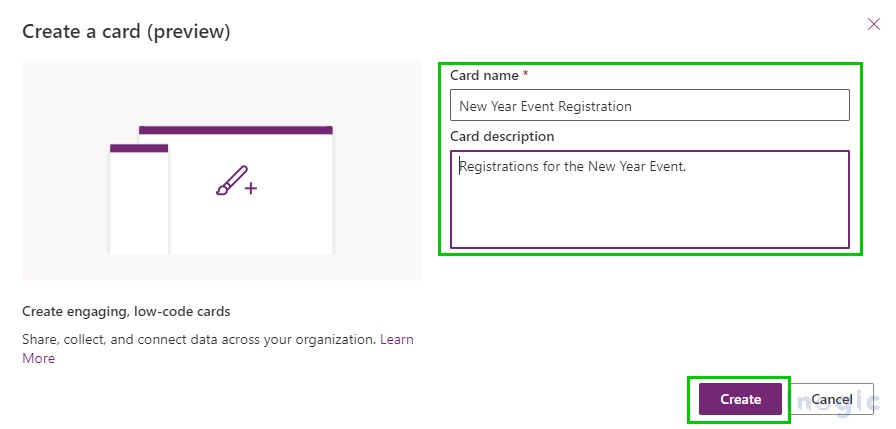
Step 4: Give the appropriate name and description to the card and click on Create Button.
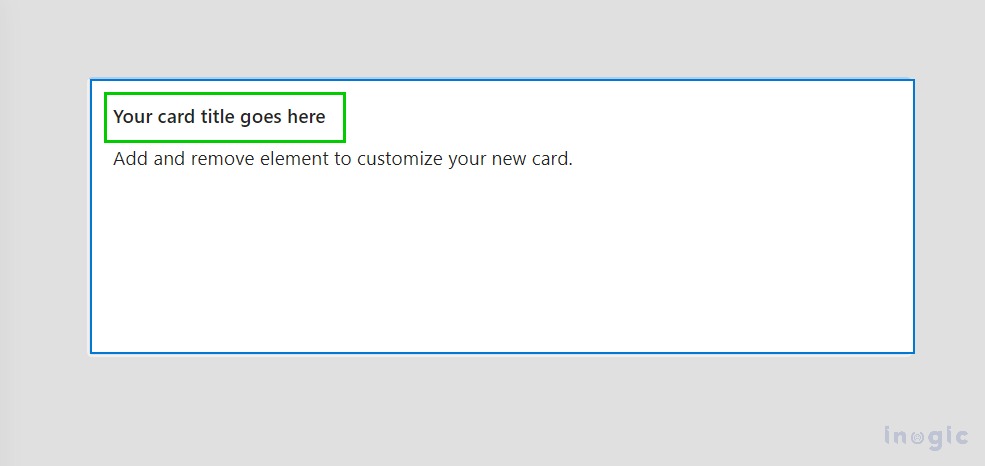
Step 5: Edit your card.
1. Click on the title area.
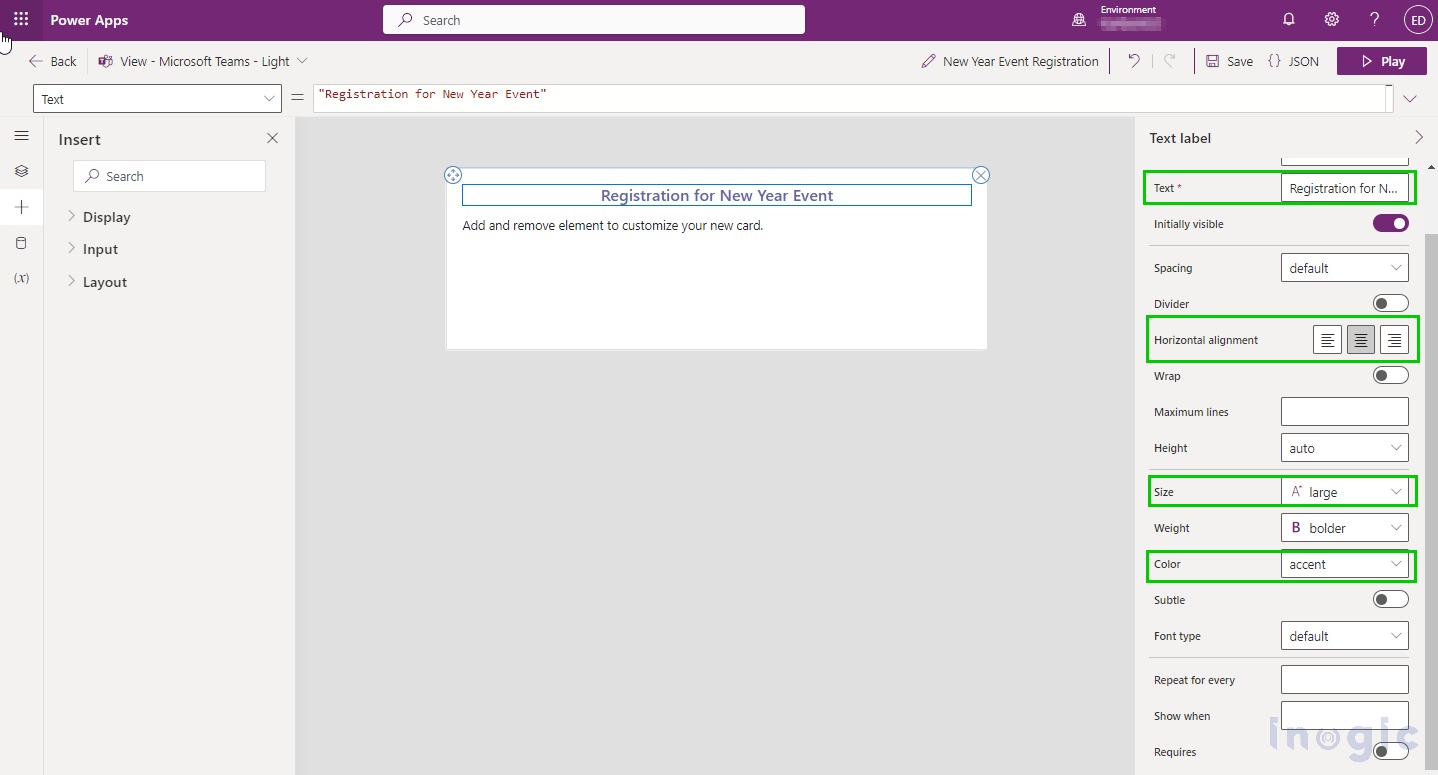
2. After selecting the title area, a side panel will open on the right side where you can edit the properties of that title. I gave the name of that title in the Text section. You can also customize other properties as well like the alignment, spacing, size, or weight of the text, etc.
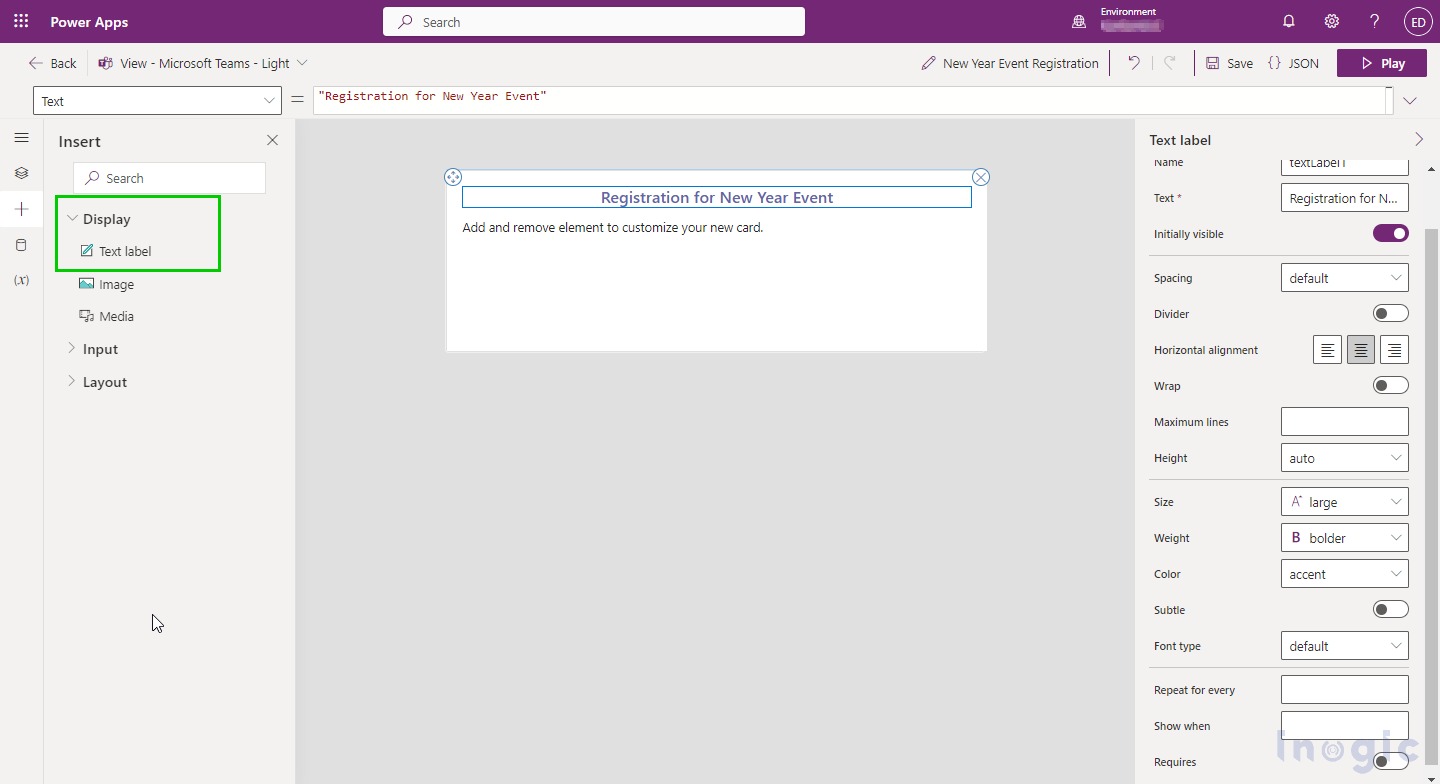
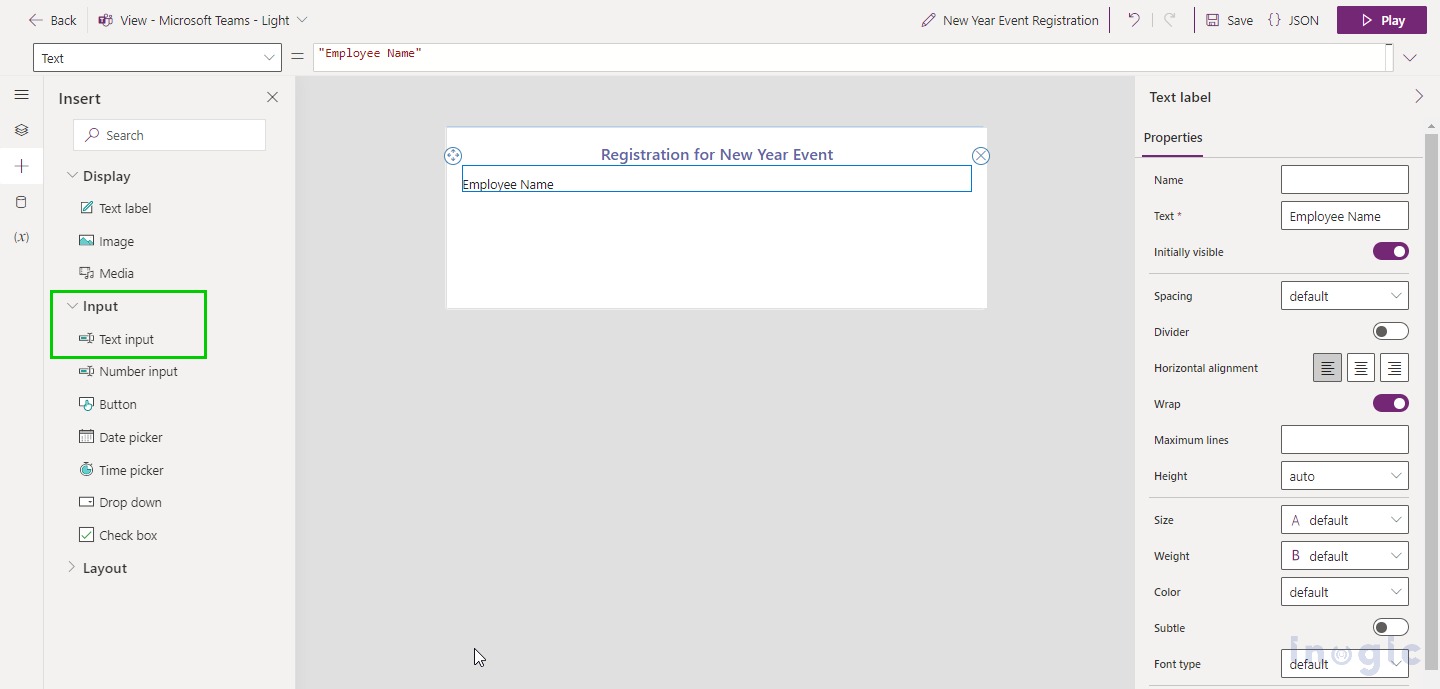
3. Drag and drop the Text label on the card by expanding the Display section.
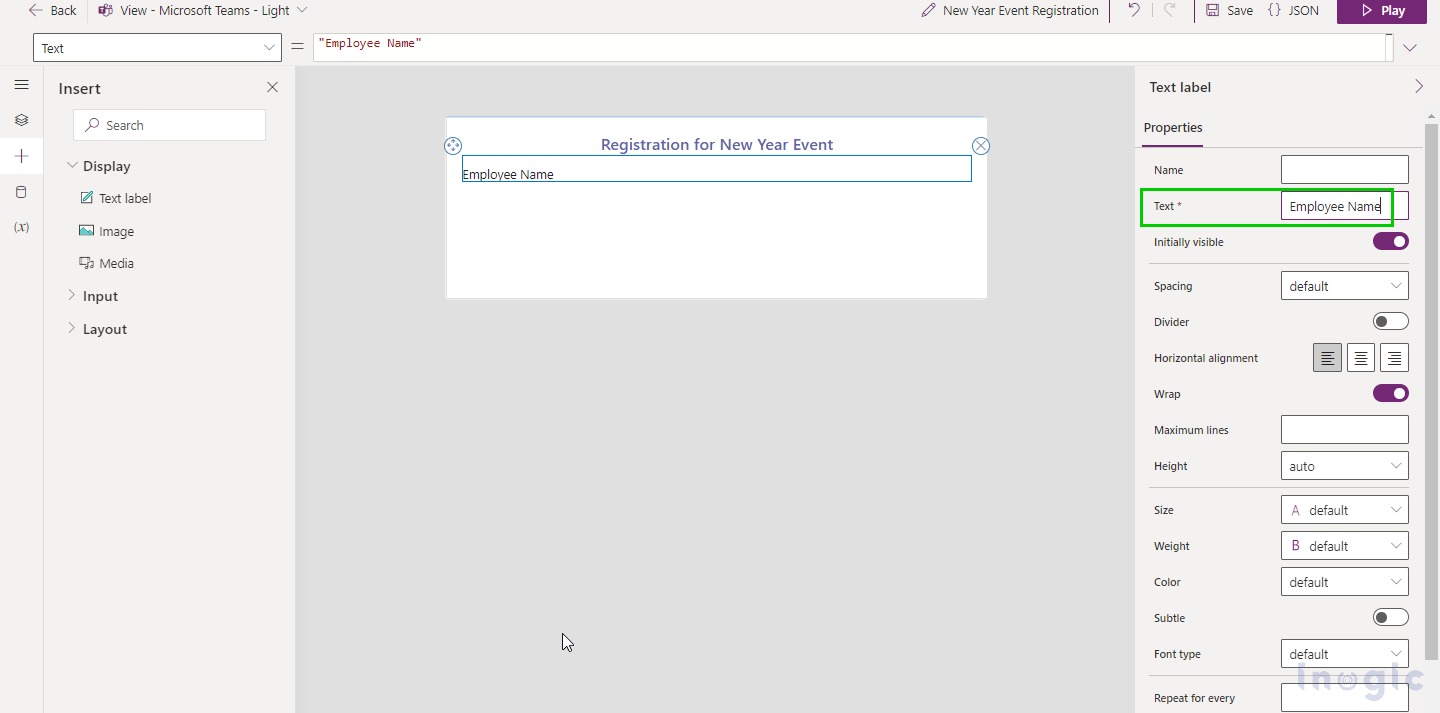
4. Give a proper name to the label i.e., Employee Name in the properties section in the right-side panel.
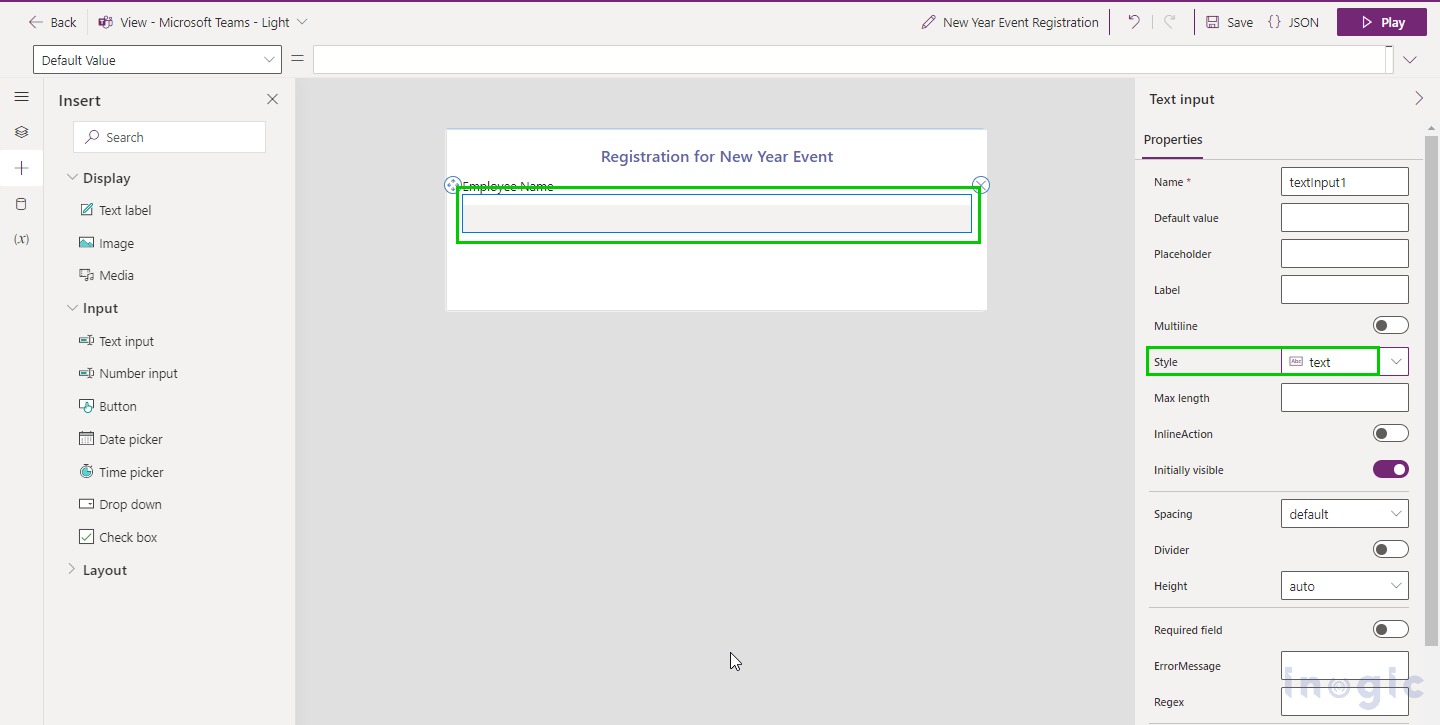
5. Since it’s a form we need an input type field to accept the information from the user. To add an input text field please drag and drop Text Input from the Input section.
6. Edit the property of that text field from the properties window. Here for the text field, we have selected the style as Text.
Similarly add Employee ID, Address, Department, etc. fields on the card.
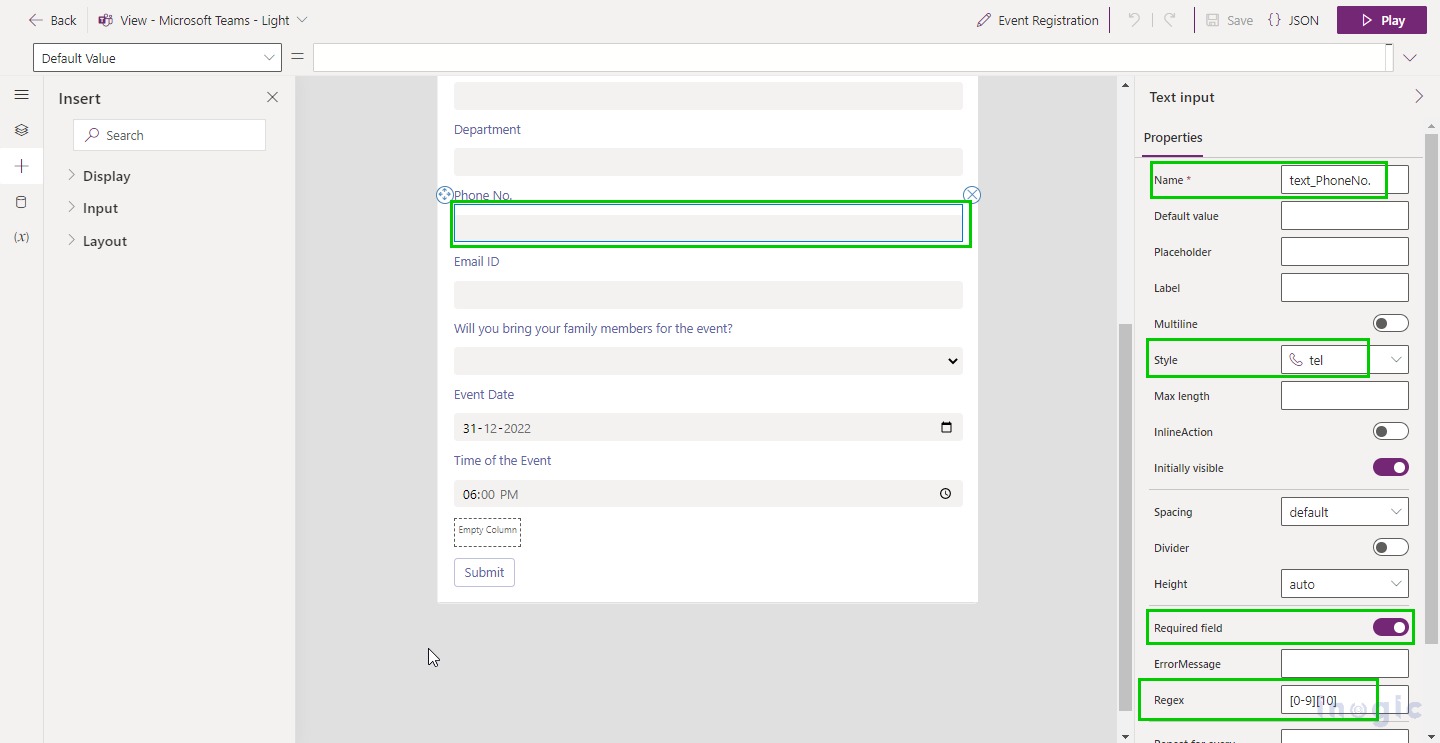
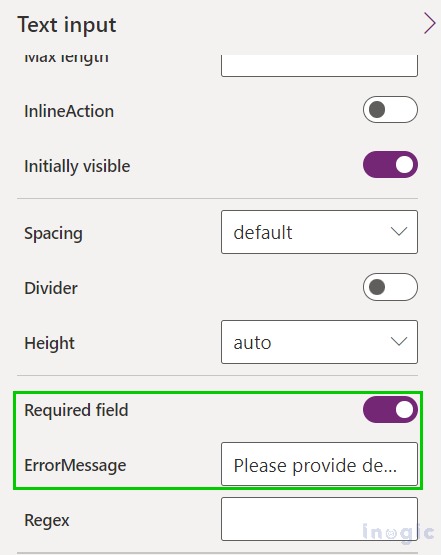
7. Further, add Phone No. field and add a text field with style as tel. Also, I have marked the phone no. field as a Required field by setting the toggle as Yes. You can also validate the field using regular expressions. Here I am validating the Phone no. field.
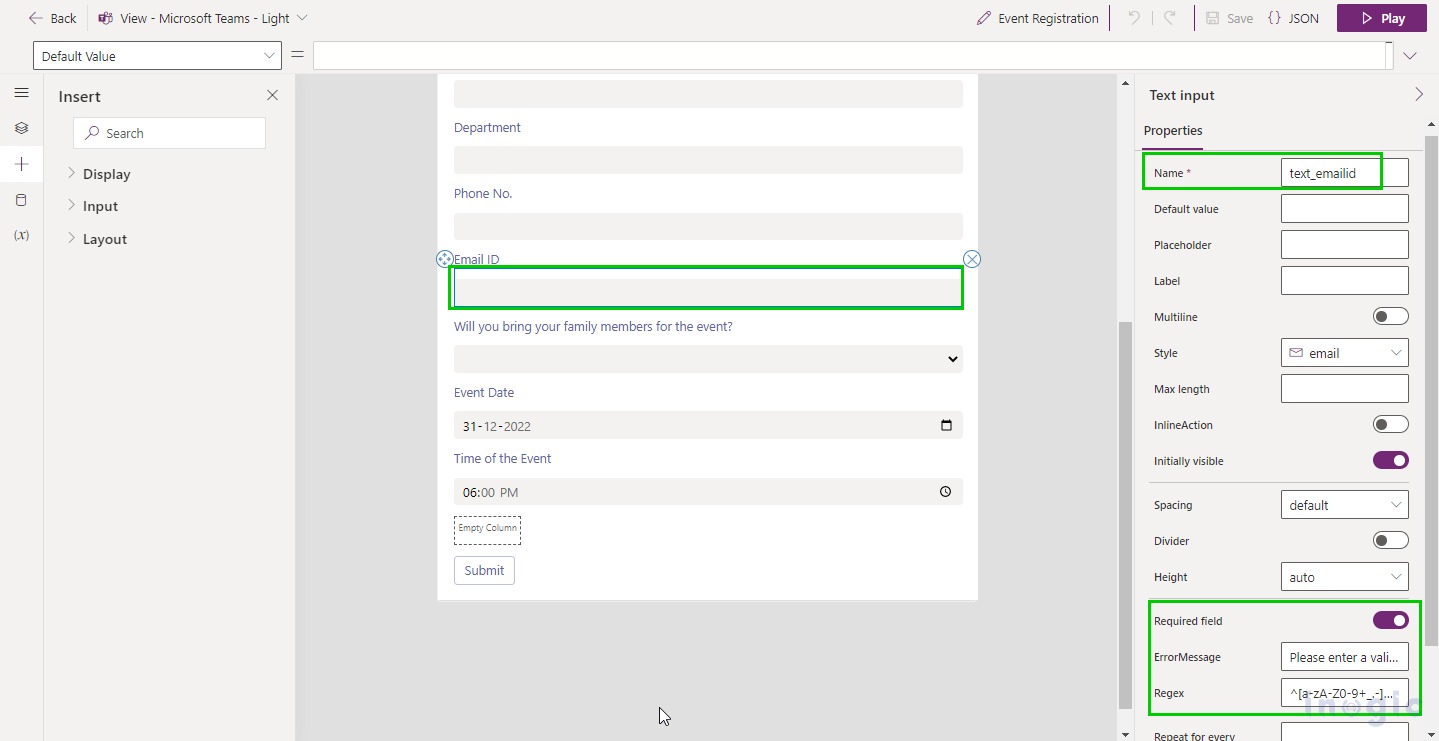
8. Similarly, I have added the Email ID field with the properties as Required field and have set an Error Message as “Please add the valid Email ID”. You can also validate the field using regular expression i.e. Regex. Here I am validating the Email ID field.
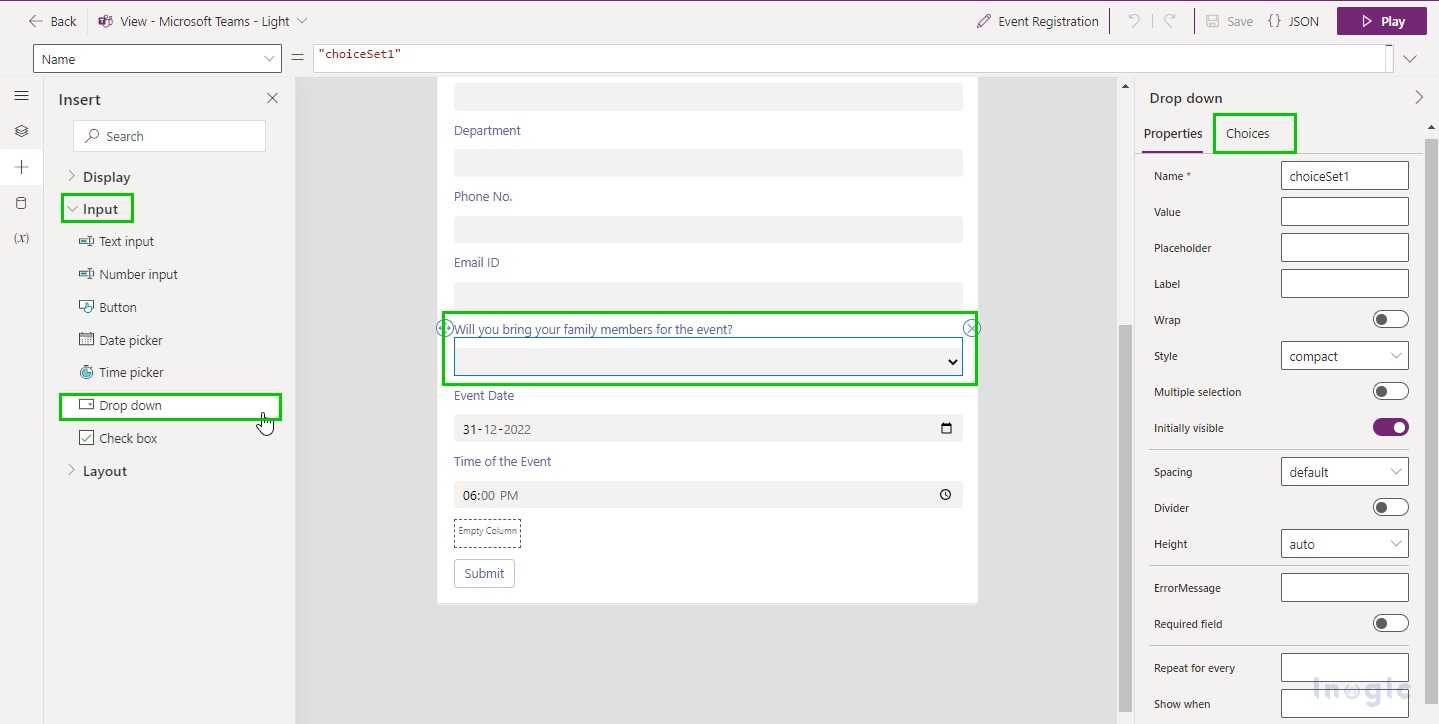
9. For downtown, select the Dropdown option in the Input section and add the choices in the right panel.
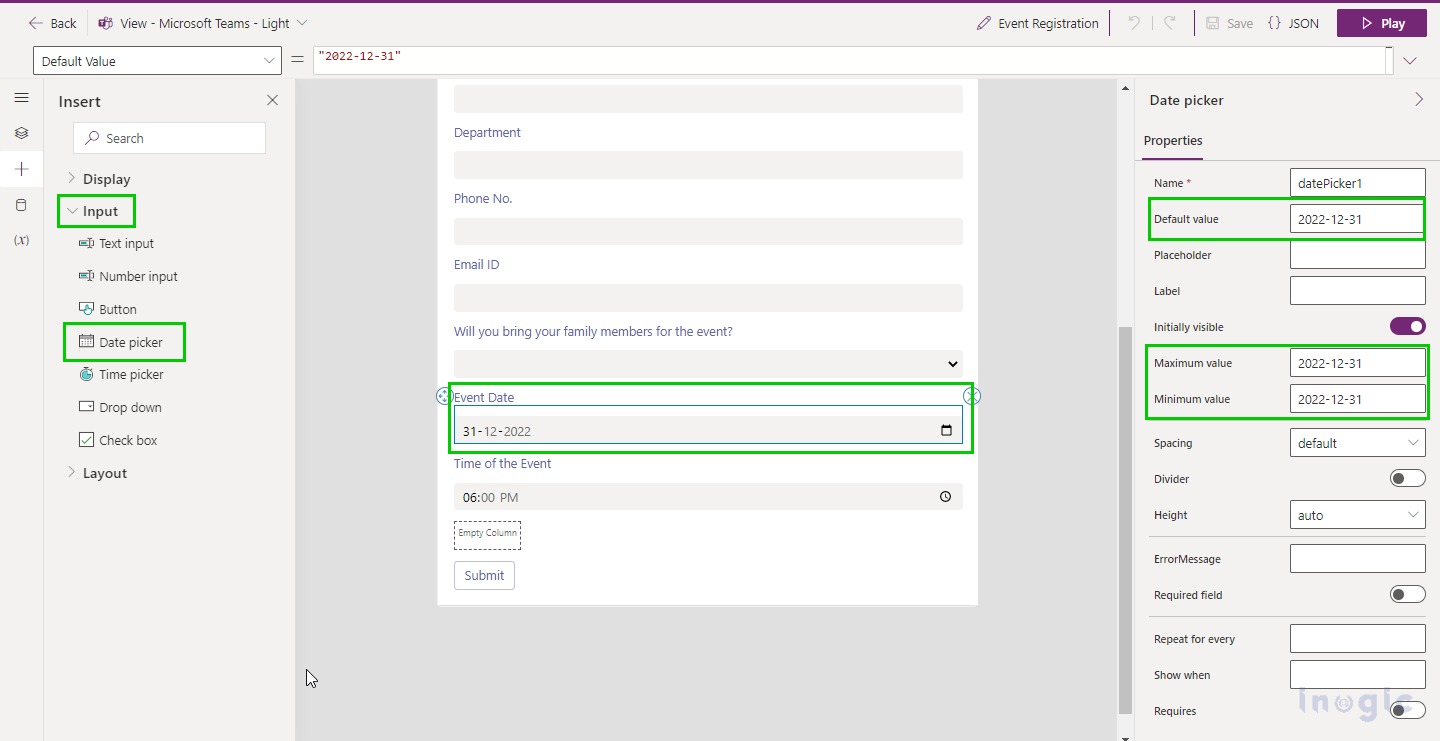
10. For the Event Date field, I have added the Date Picker from the Input Section and have set the Minimum value and Maximum value.
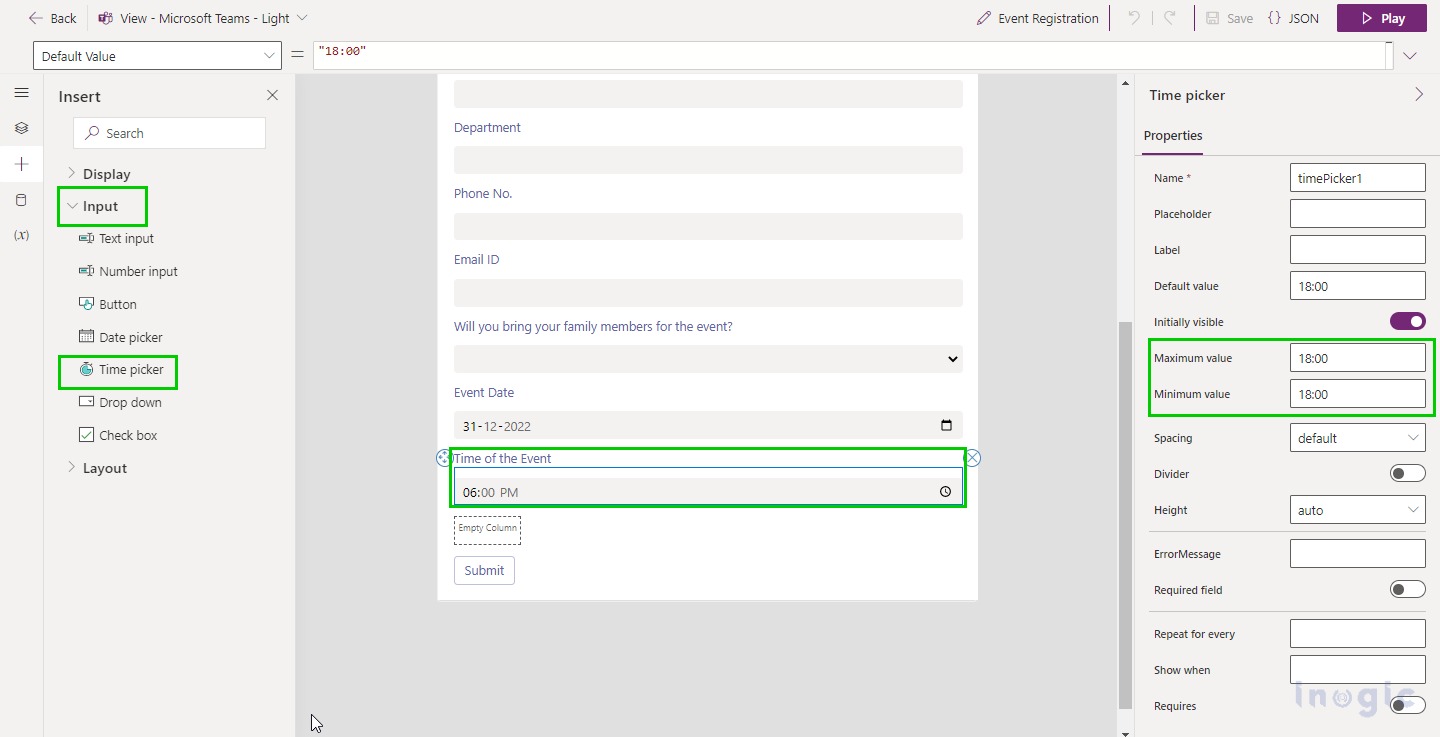
11. For the Time of the Event field, I have added Time Picker from the Input Section and added the Minimum value and Maximum value.
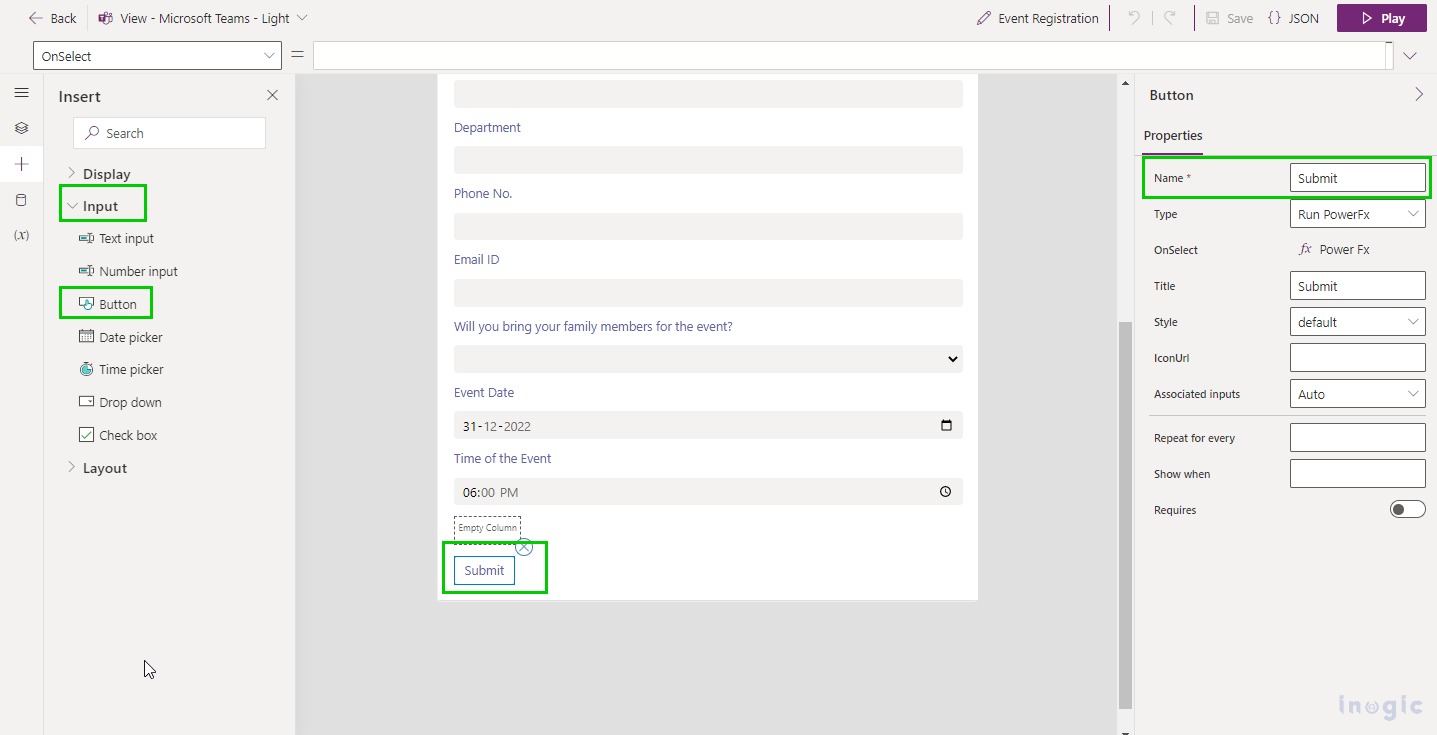
12. Next, I added a button in the registration form from the Button from Input Section and named the button Submit.
13. Lastly, I have added the Image through the Image from the Display Section. We have to add the URL of the image and set some properties like Alignment, Height, etc.
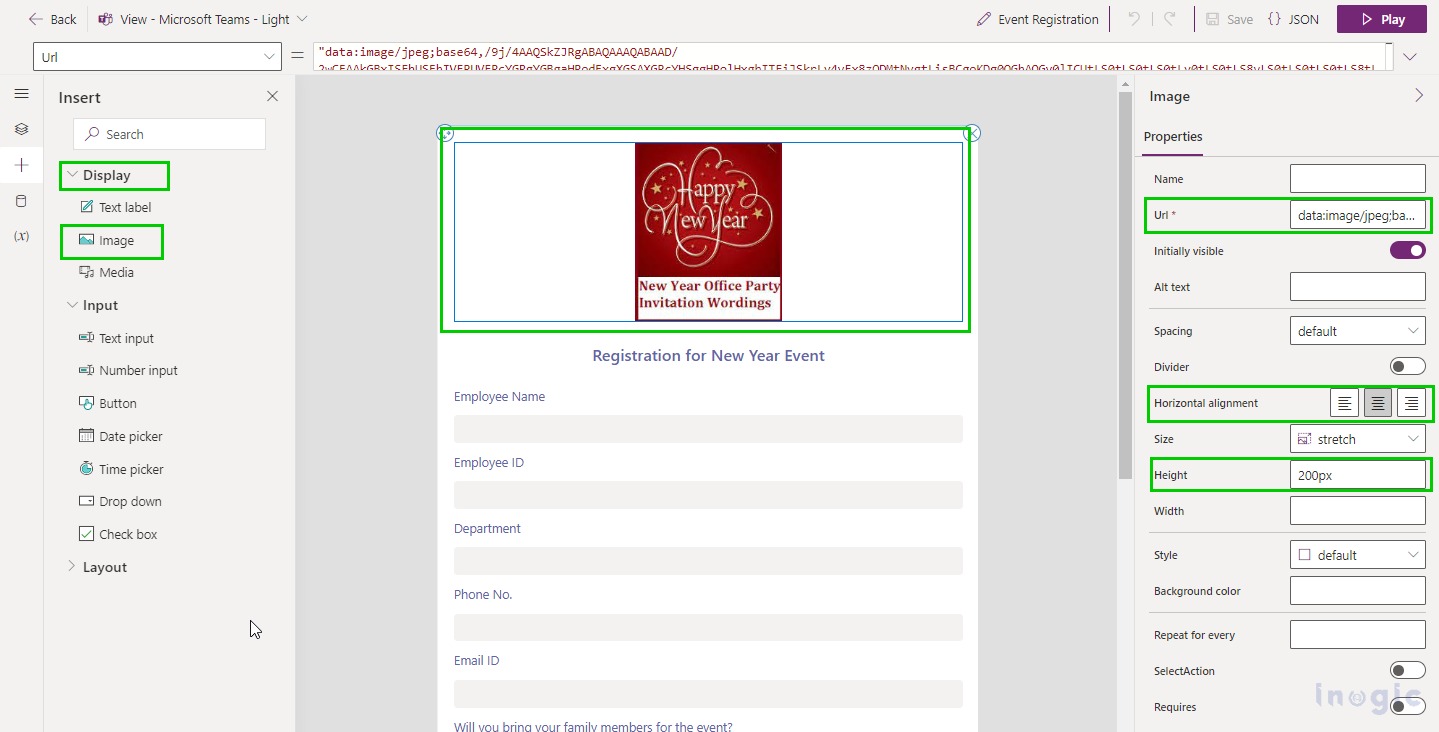
- To make the textbox field required you can check the Required field checkbox and show an error message using the ErrorMessage section
Step 5: Once the card editing is done, Click on Save and Play.
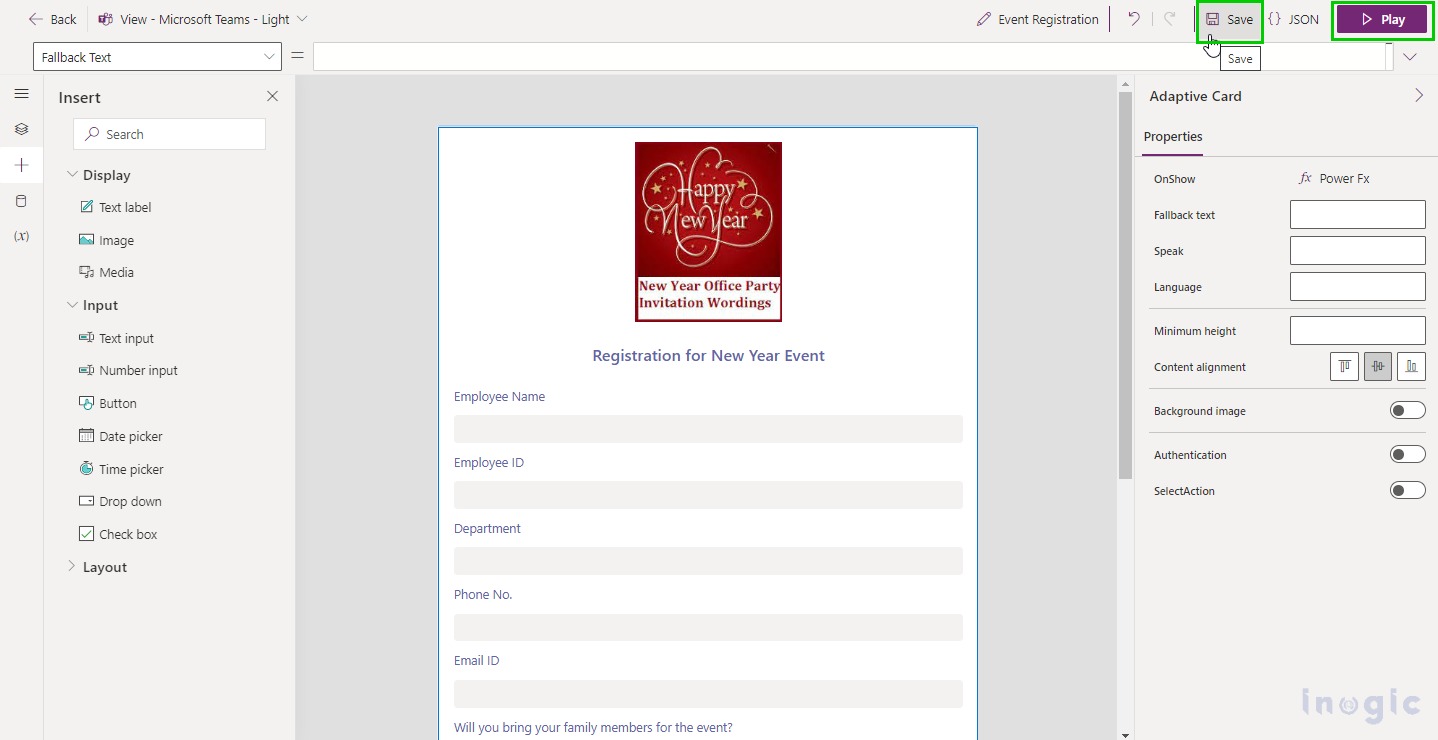
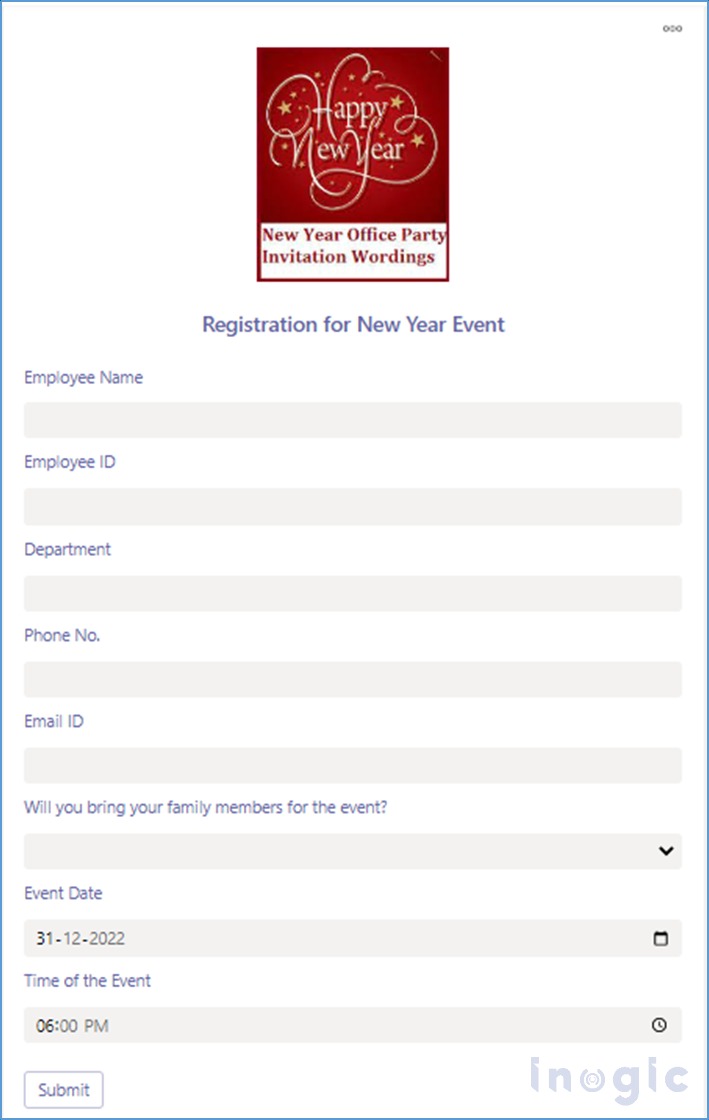
- The completed card should look as the below image:
Conclusion
Thus, in the above blog we learned how to create Cards by adding different fields with different styles. You can create your Cards as per your requirements.
