Introduction
In an earlier Inogic post, “Streamlining E-Signatures in Multi-Step Forms with Power Pages and DocuSign Integration”, Our previous post demonstrated how Power Pages and DocuSign integration streamlines multi-step client data entry and signature workflow.
In this article, we focus on the next step of how to use Power Automate together with DocuSign to automatically send e-signature documents to clients, track their status, and handle the entire workflow with minimal manual effort.
Manual signing can delay approvals and create unnecessary admin work. With Power Automate + DocuSign integration, you can instantly deliver documents for signature as soon as a new client record is created in CRM — and monitor their progress in real time.
Why This Automation Matters
Manual signing often results in missed deadlines and extra effort for both sides. Automating this process ensures every client receives their document immediately after being added to the CRM.
Using Power Automate and DocuSign together provides:
- Instant document delivery for signature as soon as a new client record is created
- Real-time visibility into the document’s progress (sent, viewed, signed).
- A digital record of every activity for complete transparency
It saves time while keeping every client interaction clear and professional.
Step-by-Step Guide: How to Set Up DocuSign Automation in Power Automate
Step 1: How to Prepare a DocuSign Template
- Begin by setting up a template in DocuSign to define your document layout and signing fields. For detailed guidance, refer to the DocuSign Template Documentation
Step 2: Create an Automated Flow in Power Automate
- In Power Automate, go to Create → Automated Cloud Flow.
- Select the trigger When a row is added, modified, or deleted in Microsoft Dataverse (Dynamics 365).
-
- This ensures the flow runs whenever a new client record is added

- Add a Condition to confirm the record includes a valid email:
-
- Left value: Email
- Condition: is not equal to
- Right value: (leave blank)
This ensures documents are only sent when an email address exists.
Step 3: Use Power Automate to Send, Track, and Manage Documents through DocuSign
- Add the action Create envelope using a template with recipients and tabs from the DocuSign connector.
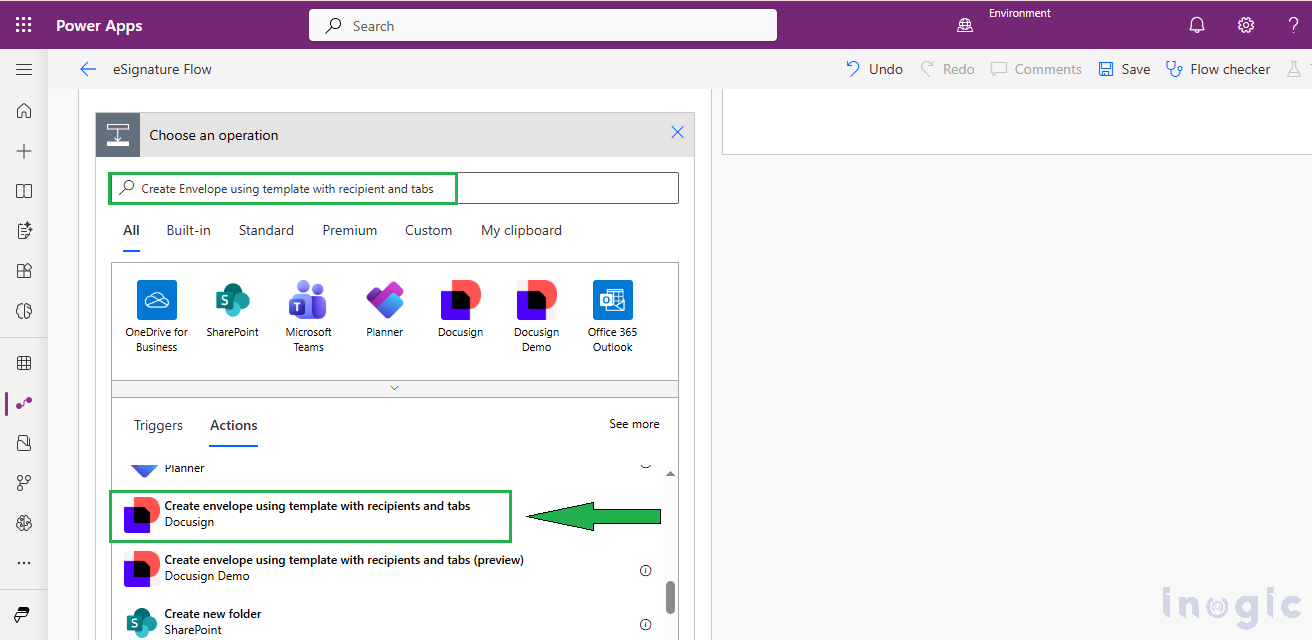
- Here’s what to configure in ‘Create envelope using a template with recipients and tabs’ action:
- Select your DocuSign account connection.
- Choose the DocuSign template you created earlier.
- When you click on advance options Email Subject Field will be appeared then ‘Enter a Subject’ for the Email.
- Provide an email body.
- In Customer Recipient or Signing Group Name column pass the dynamic value for name.
- In Customer Recipient Email (Leave empty if there’s a signing group) column pass dynamic value of Email.
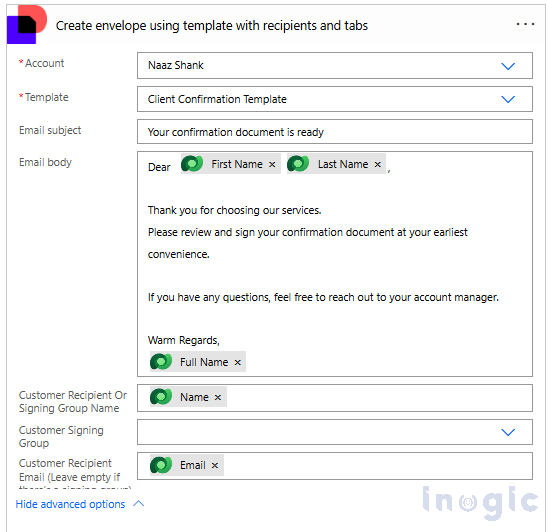
This step prepares the document with all required details ready to be sent for eSignature.
- Add one more DocuSign action: Send envelope.

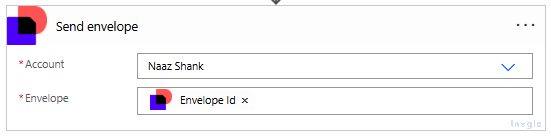
This ensures that the document is sent automatically to the client without needing to log in to DocuSign manually. Once the record is created, the email is instantly delivered to the client’s email for signing.
Step 4: Track the Signing Progress
- DocuSign provides full visibility into every step of the signing journey.
You can track when the document is:
-
- Sent to the recipient
- Opened and viewed
- Signed and completed
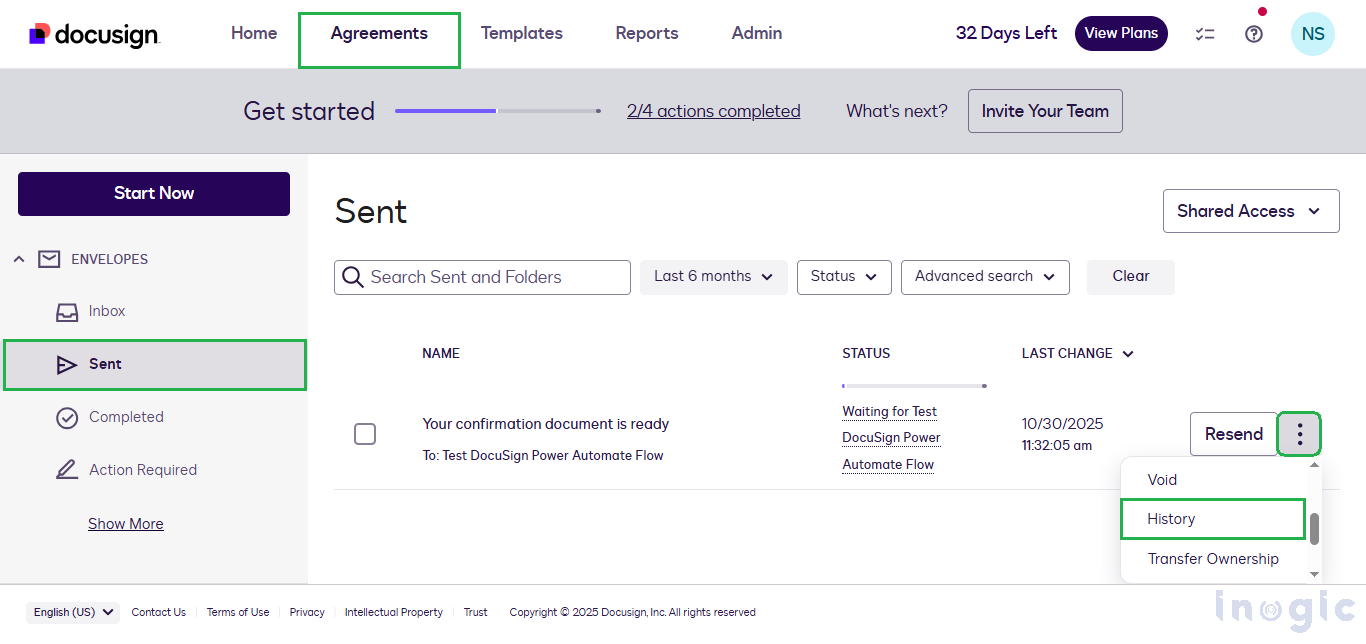
These details are recorded in the Agreement History within DocuSign, helping you maintain a complete audit trail for each client agreement.
Step 5: Finalize and Notify
Client Perspective:
- The client receives an email with a secure link to review the document.

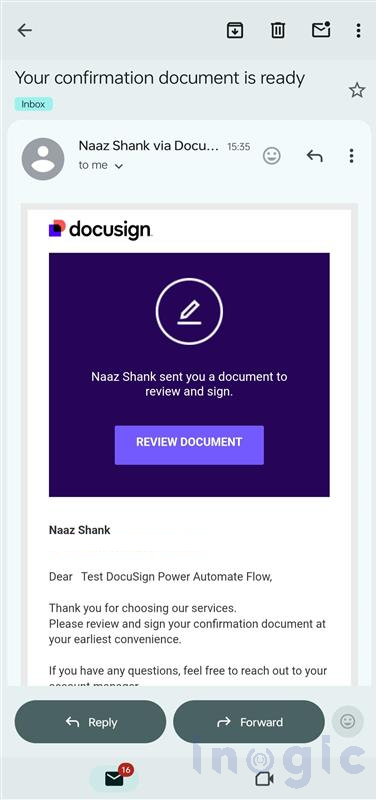
- Upon clicking Review Document, the client is redirected to DocuSign to view and sign.
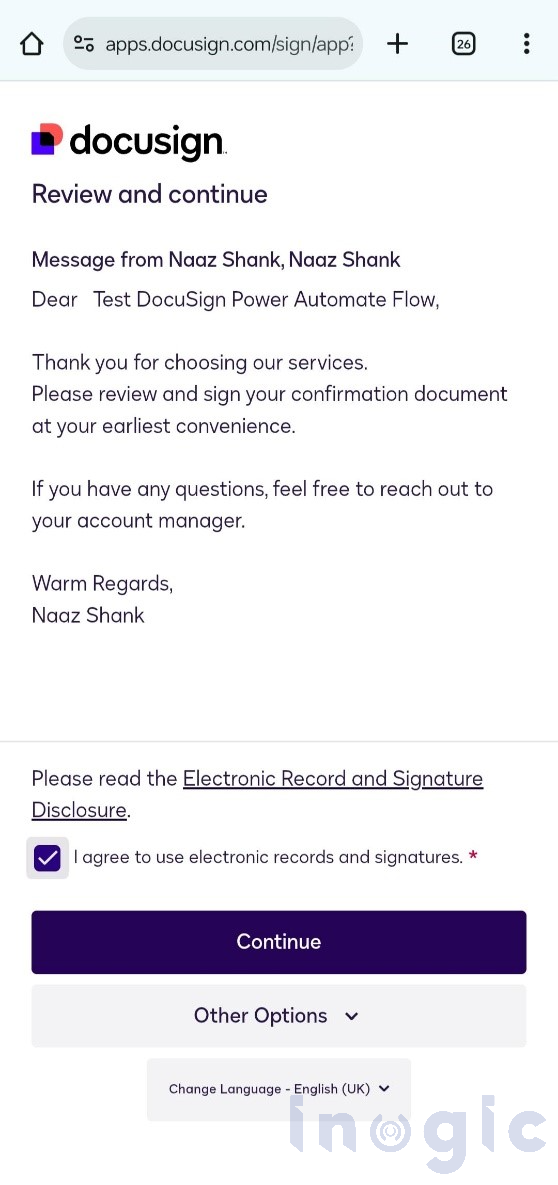
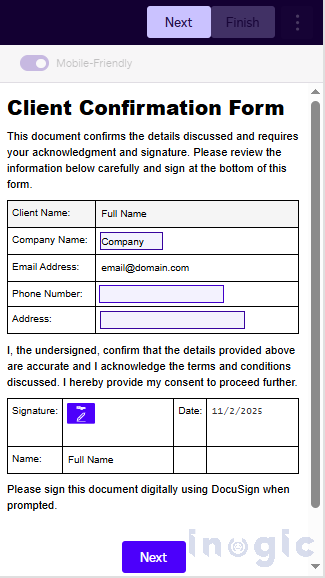
- Once the document is opened, the client can review the details and complete the signing process with just a few clicks.
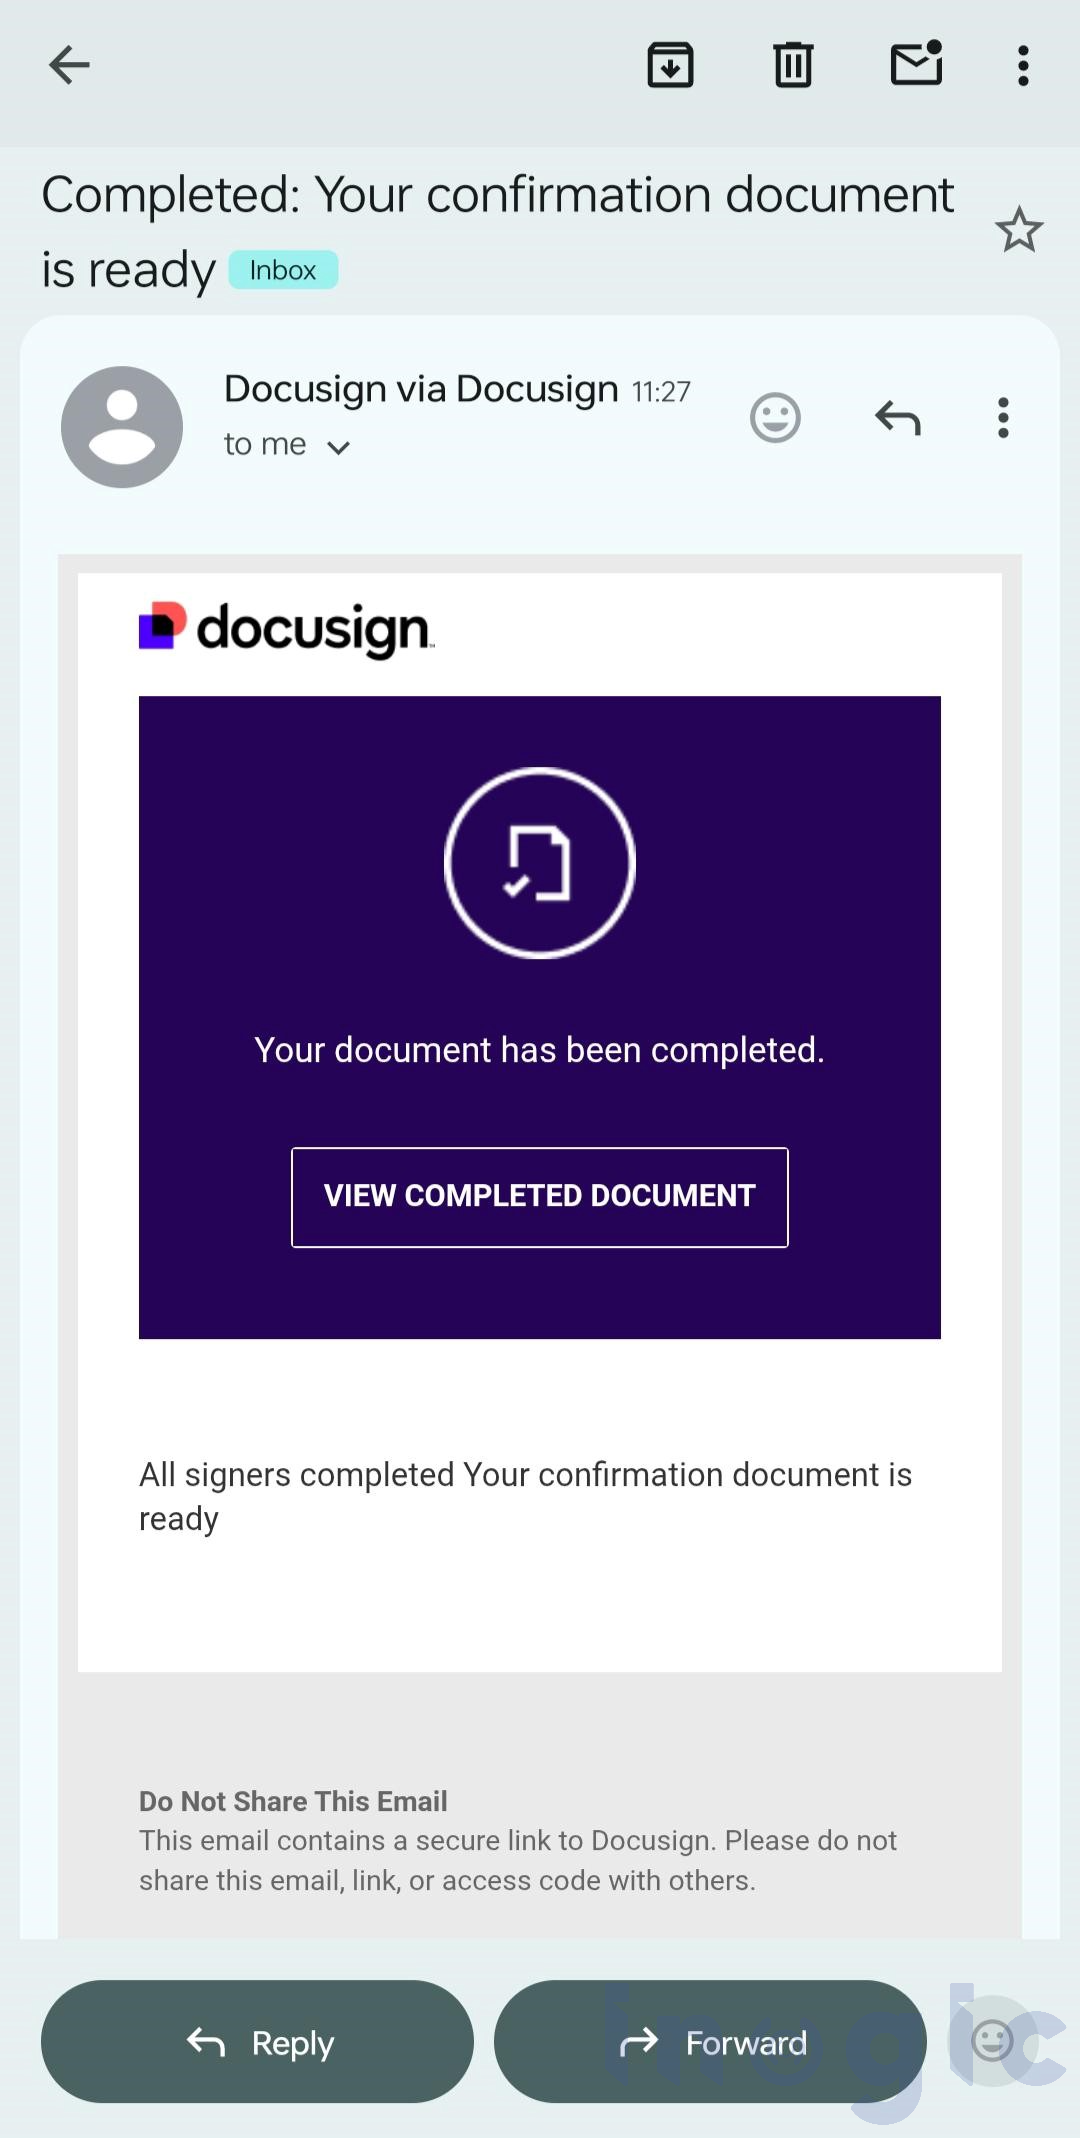
Administrator Perspective:
- After the client signs the document, an automatic confirmation email is sent to adminstrator.
The Benefits of Automation
Manual document signing is now a thing of the past. With this automation, clients can securely review and sign agreements from any device, while your team tracks every step from sent to signed in real time. All records are stored safely, ensuring a faster, smarter, and more reliable signing experience.
Key Benefits:
- Efficiency: Faster turnaround with minimal manual work
- Accuracy: No missing details or signatures
- Transparency: Real-time tracking of document progress
- Professionalism: A modern, seamless experience for clients.
Frequently Asked Questions
- Can I automate DocuSign directly from Dynamics 365?
Yes. By connecting Dynamics 365 with Power Automate and using the DocuSign connector, you can automatically send documents when a record is created or updated. - How do I track if a document is signed in DocuSign?
DocuSign provides envelope status updates (sent, viewed, signed) that can be captured in Power Automate and stored in Dynamics 365. - Do I need a premium Power Automate license for DocuSign?
Yes. The DocuSign connector requires a premium Power Automate plan or per-flow license. - Can the signed documents be stored automatically?
Yes. You can extend the same flow to upload the signed documents into SharePoint, OneDrive, or a specific Dynamics 365 record.
Conclusion
Integrating Power Automate with DocuSign transforms your signing workflow into a fully automated, end-to-end process. Each time a new client record is created, the system automatically sends the configured document for signature, tracks its progress, and securely saves the signed copy all without manual effort. This seamless process ensures smoother operations and an enhanced client experience.