
In today’s digital workflows, teams across HR, operations, finance, and support deal with repetitive manual tasks every day. One of the most common inefficiencies is manually entering data into third-party web forms, especially when those portals do not provide APIs for direct integration. This repetitive work not only slows down productivity but also leads to inconsistent data entry and a higher risk of manual errors.
Power Automate Desktop (PAD), Microsoft’s powerful automation tool, helps users streamline routine desktop processes. By integrating custom JavaScript into PAD flows, users can interact directly with web pages, filling forms, performing validations, and handling scenarios where traditional UI automation or selectors may fail. This approach allows precise and efficient manipulation of HTML elements, making it ideal for automating third-party web forms.
In this blog, we’ll walk through how to configure Power Automate Desktop to read data from Excel and automatically populate a web form, eliminating manual data entry and accelerating workflows.
When is This Automation Useful?
Let’s consider a potential use case:
The HR team receives details of new candidates in an Excel file, including information such as name, contact details, skills, and experience. Currently, HR personnel need to manually enter each candidate’s data into the recruitment portal to initiate the further hiring process. Our goal is to automate this task using Power Automate Desktop (PAD) combined with JavaScript, so that the data from Excel can be directly populated into the web form on the HR portal. This automation eliminates repetitive manual entry, reduces errors, and ensures that candidate information is consistently updated in the system in a fraction of the time.
We will walk through the steps below to achieve the above requirement.
Prerequisites:
Before we get started, we need to have the following things ready:
- Power Automate Desktop is installed on the system.
- An Excel file containing the candidate entries we need to populate on the web form.
- Access to the web form that we plan to automate.
Step-by-Step Implementation
Step 1: Retrieve Data from Excel
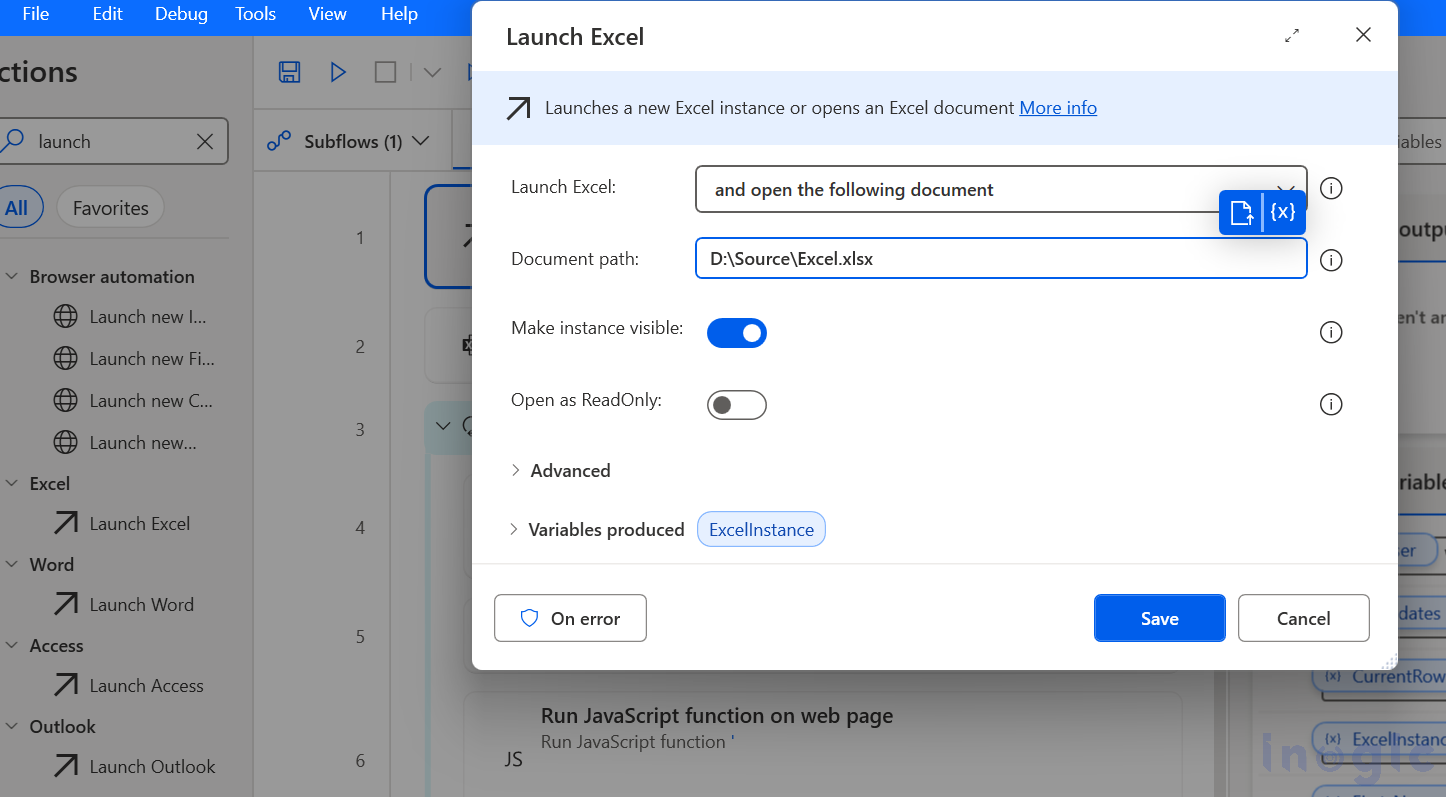
Use the “Launch Excel” action to open the Excel file containing candidate details.
- Enable: Open the following document
- Specify: File path of the Excel sheet
Step 2: Read Records from Excel
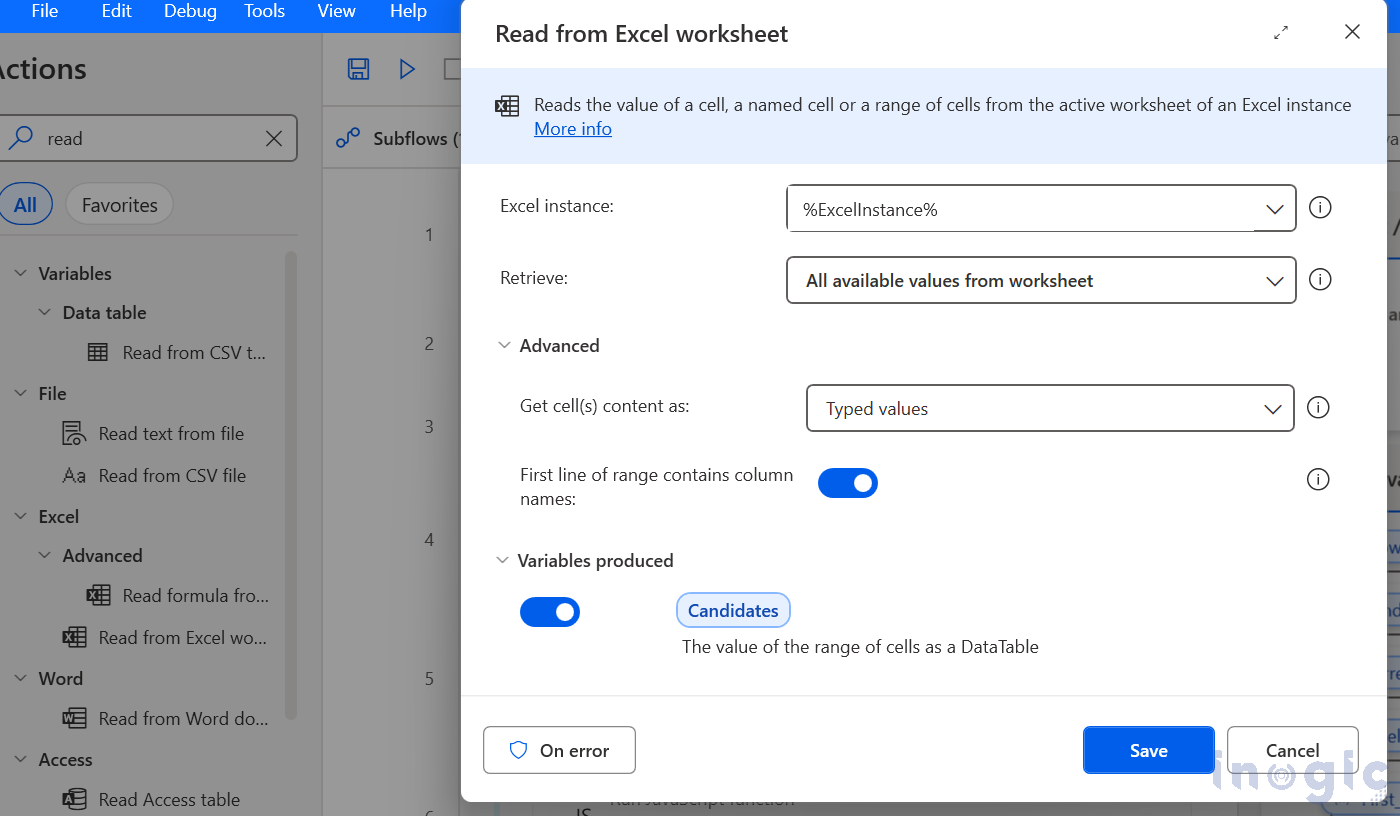
- Select the “Read from Excel Worksheet” action to extract data from the Excel file.
- Set the Retrieve option to “All available values from worksheet”.
- Enable the toggle for “First line of range contains column names”.
- Rename the output variable to Candidates.
Step 3: Loop Through All Records
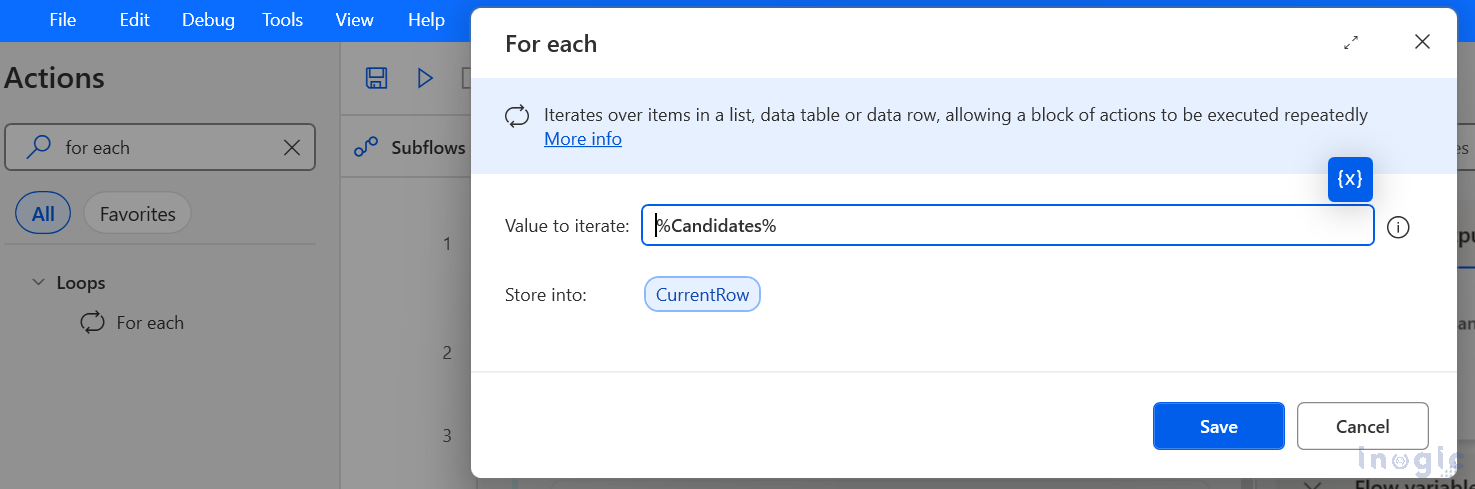
- Select the “For each” action to iterate through all the records in the Excel data
- Set the Value to iterate field to the %Candidates%
Step 4: Launch the Web Form
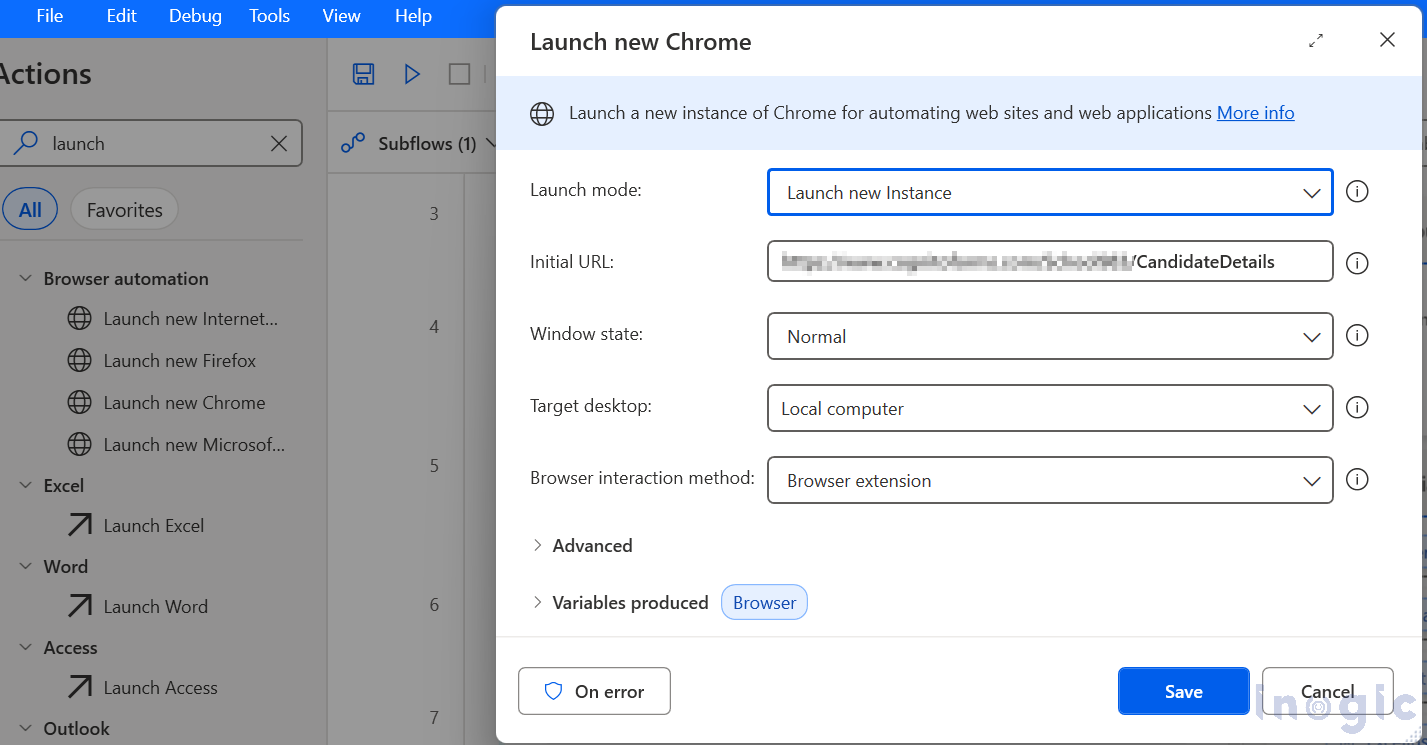
- Select the “Launch Chrome” action and enter the web form’s URL in the Initial URL
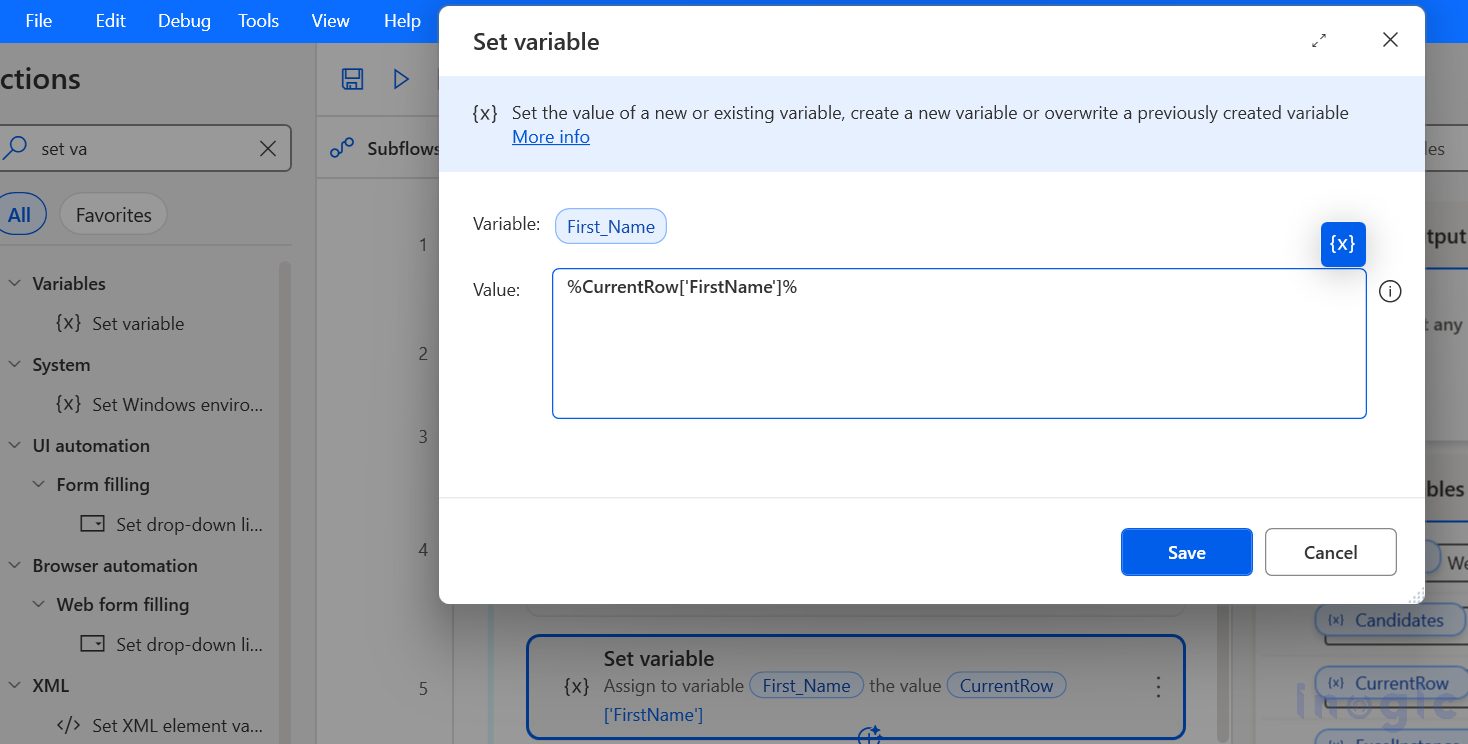
Step 5: Map Excel Values to Variables
- Use the “Set Variable” action to initialize variables by assigning values from the current Excel row: Set the value as %CurrentRow[‘<Column name in Excel>’]%.
- Repeat this process to initialize variables for all columns in the Excel sheet.
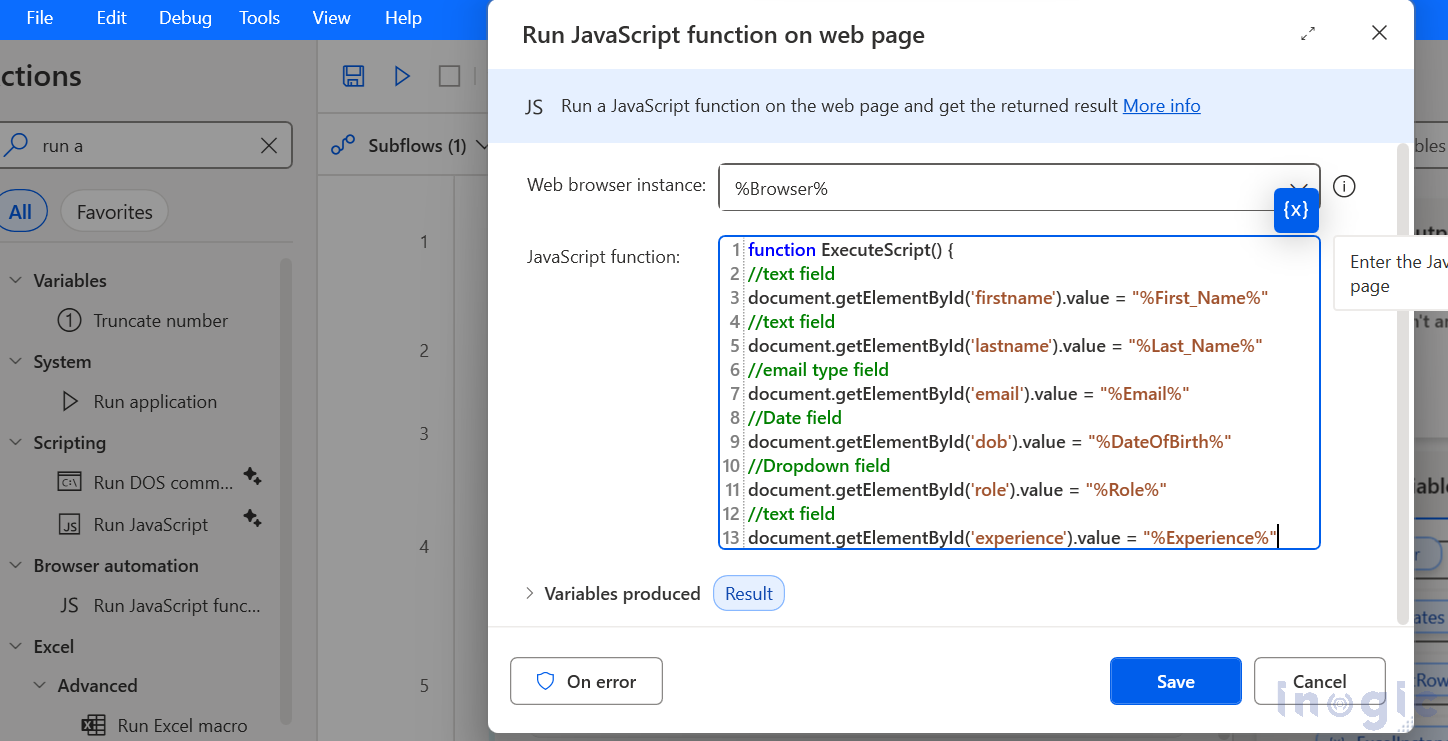
Step 6: Auto-Fill Form Using JavaScript
- Select the “Run JavaScript function on web page”
- Within the JavaScript function, write the code to perform validations and target each form field using its ID with getElementById.
Step 7: Submit the Form
- Select the “Press button on Web page” action to click the form’s submit button.
- Next, use the “Close Web Browser” action to close the browser. Finally, save and test your flow.
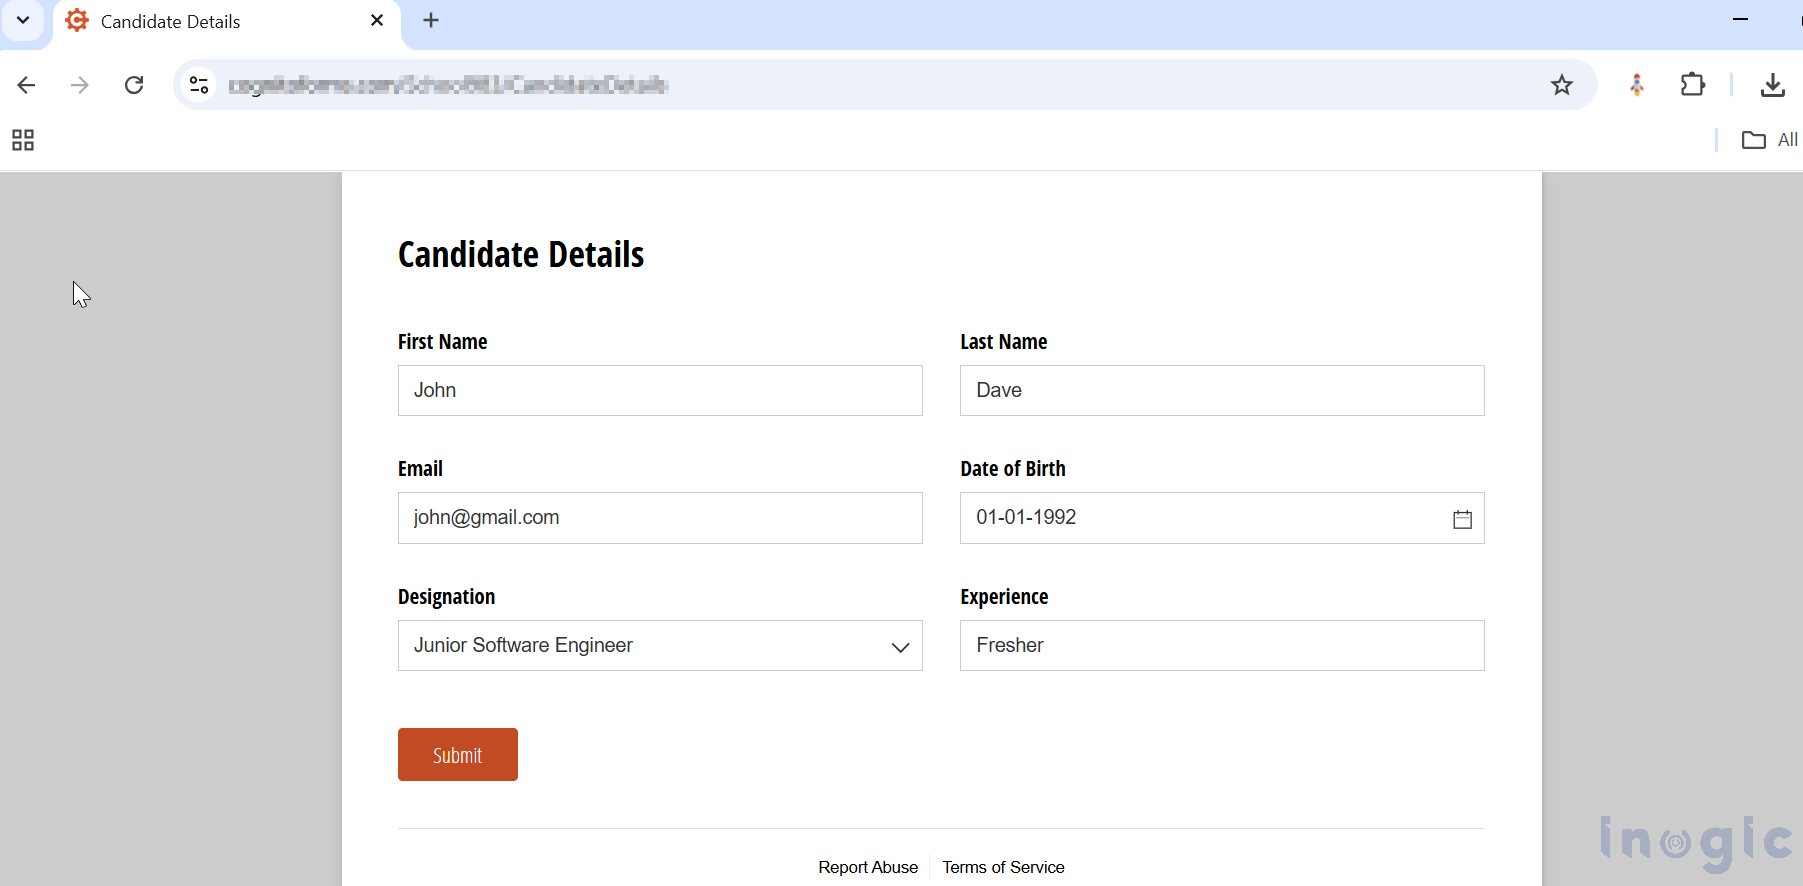
- When executed, the flow will open the Excel file, read the data, launch a new Chrome browser for each record, and automatically fill and submit the web form.
Why This Approach Works (Benefits)
| Benefit | Impact |
| No dependency on APIs | Works on any web portal |
| Reduces manual work | Saves hours per week |
| Eliminates human errors | Ensures consistent entries |
| Scalable & repeatable | Works for HR, CRM, finance, support workflows |
| Low code-friendly | Easy to maintain |
Frequently Asked Questions
- Can I use Power Automate Desktop to automate web forms that do not have API access?
Yes. This is one of the primary use cases for Power Automate Desktop. Even if a third-party web portal does not provide an API or connector, PAD combined with JavaScript can interact directly with web elements (such as input fields, dropdowns, and buttons) through the browser. This allows you to auto-fill and submit forms without relying on backend integration.
- What if the form fields do not have an ID or the element selectors change frequently?
If a form field does not contain stable HTML element IDs, you can locate elements using:
- Class names
- Name attributes
- CSS selectors
- XPath
In dynamic UI environments, Power Automate Desktop’s UI Selector Recorder and browser inspection tools can help you identify reliable selectors. In cases where selectors change often, combining JavaScript DOM traversal with relative element paths enhances stability.
- Is this method secure and suitable for production workflows?
Yes, as long as proper governance and credential handling are applied. You should:
- Use Windows Credential Manager or Azure Key Vault for secure credential storage
- Avoid hardcoding sensitive information in scripts
- Apply role-based access controls for automation execution
- Test workflows across multiple browsers and input data sets
Many enterprise teams use this approach in HR onboarding, CRM data entry, invoice processing, and supplier portal updates, especially when system-level API integrations are not possible.
- Can this automation work for multiple rows of data automatically?
Yes. By using the For Each loop in Power Automate Desktop, you can read multiple rows from Excel and submit the form for each set of data automatically. The automation will:
- Pick one row,
- Populate the form,
- Submit,
- Move to the next row — completely unattended.
Conclusion:
By integrating Power Automate Desktop with JavaScript, you can automate repetitive web form data entry — enhancing accuracy, reducing manual effort, and improving productivity. This approach is especially useful when working with third-party portals where APIs are not available.
If you are looking to streamline data entry workflows across HR, CRM, operations, or business applications — adding an automation layer like this can deliver immediate efficiency gains.