You can enhance Microsoft Power Pages list views using conditional formatting with JavaScript. This approach lets you visually highlight records such as “Qualified” or “Cancelled” leads based on their status field, improving readability, prioritization, and overall data presentation.
What Is Microsoft Power Pages?
Microsoft Power Pages is a low-code platform that allows users to build secure, responsive, and data-integrated web portals connected to Dataverse — all without extensive coding. It enables organizations to share business data and processes with external users (customers, partners, vendors) while providing powerful tools for design, automation, and customization.
Why Use Conditional Formatting in Power Pages Lists?
Conditional formatting allows you to automatically change the appearance of list items based on their underlying values.
For example:
- Highlight “Qualified” leads in green
- Mark “Cancelled” leads in red
- Use orange for “Cannot Contact” leads
By visually differentiating rows, users can identify important records instantly — making lists more intuitive and user-friendly.
In Power Pages, lists are often used to display data such as leads, contacts, or opportunities. However, without formatting, all rows look identical, making it hard to spot priority items.
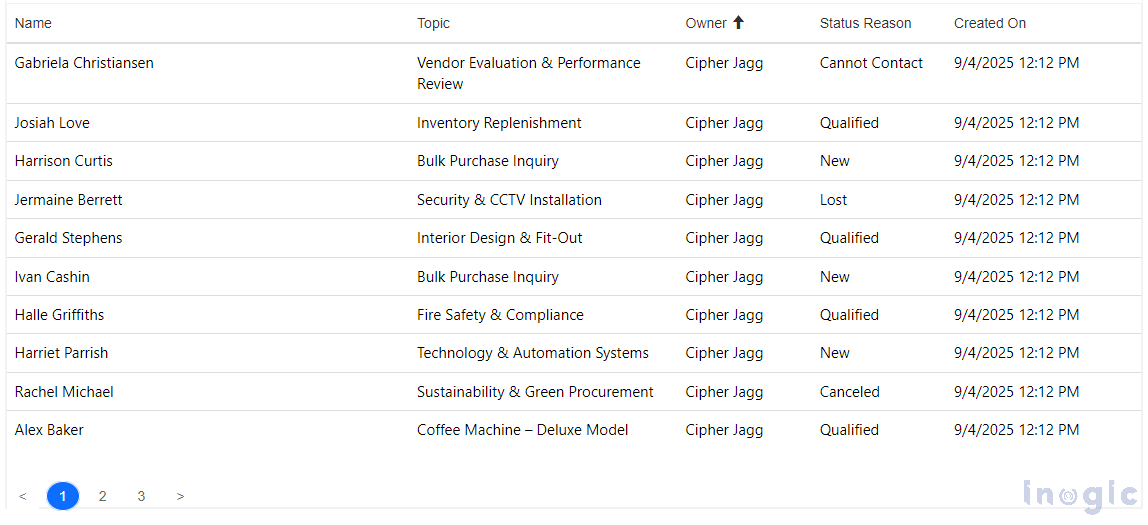
Due to this uniform appearance, it can be challenging for users to identify important items quickly.
Let’s consider scenario below:
In many Power Pages implementations, list components are used to display critical business data such as leads, opportunities, or service requests. However, without visual cues, users are often left to interpret raw data manually — a process that is both time-consuming and error-prone.
There would be the following challenges faced by a sales or support team:
- Qualified leads and cancelled leads appear identical in the list view, making it difficult to prioritize follow-ups.
- High-priority opportunities fail to stand out, buried among dozens of other records with no visual distinction.
- Users must read each row carefully to identify statuses or flags, increasing the risk of oversight and reducing productivity.
These issues not only slow down decision-making but also increase the likelihood of missing critical updates or misinterpreting data. This is where conditional formatting becomes a game-changer — enabling you to apply visual logic that highlights what matters most. By automatically changing the background colour, text colour, or style of rows based on specific values, such as the status of a lead, users can instantly identify important items.
For instance:
- Green for “Qualified” leads
- Red for “Cancelled” leads
- Orange for “Cannot Contact” leads
With conditional formatting, lists become visually intuitive, allowing users to make quicker decisions and work more efficiently on the portal.
Step-by-Step Guide: Implementing Conditional Formatting in Power Pages
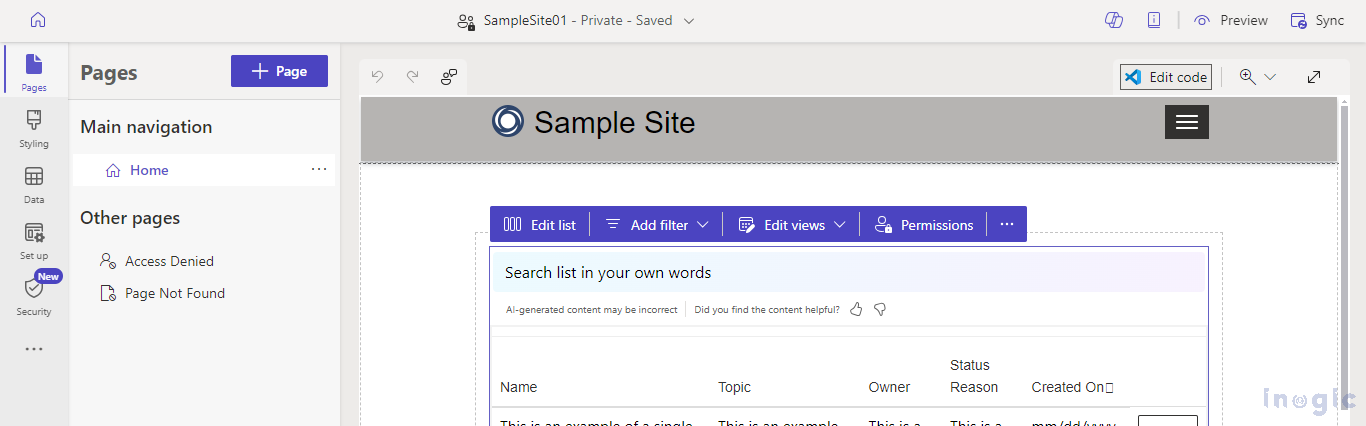
Step 1: Setting up the List in Power Pages
Before writing any code, confirm that your Power Pages site includes a Leads list and that the Status field is displayed. You’ll also need permission to inject custom JavaScript through a Web File or the page’s script editor.
For this time, we are using the custom script on the Target Page.
Step 2: Adding Custom JavaScript
Power Pages allows you to add custom JavaScript using Web Files or Page Custom Scripts.
For this example, we will use jQuery to make it easier to select and style HTML elements.
1. Navigate to the Power Pages Design Studio
2. Lead List Page
3. Click on the Edit Code
4. Click on Open Visual Studio
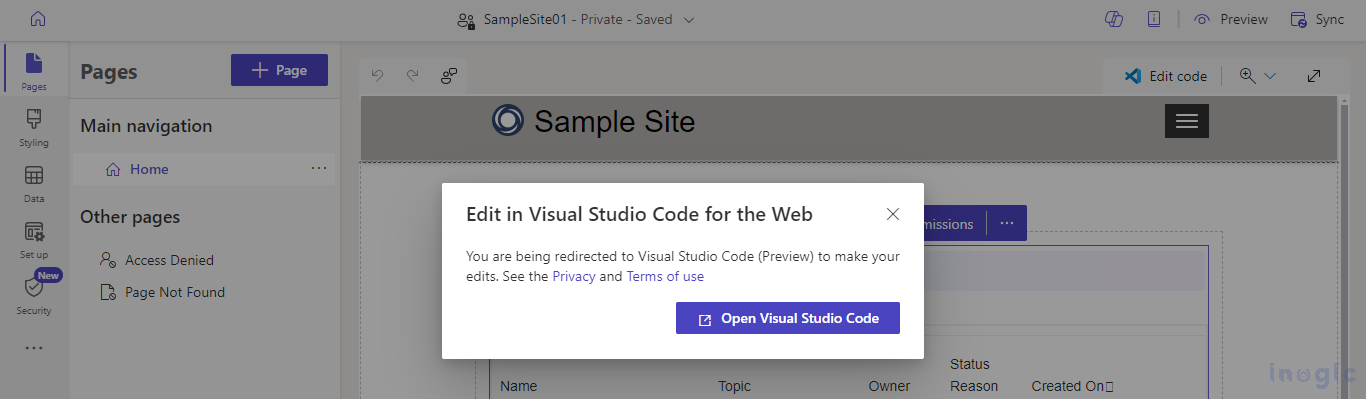
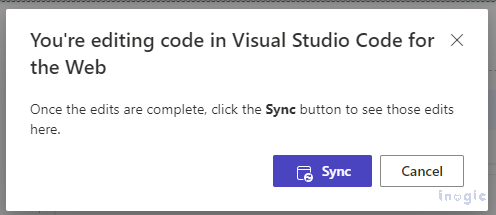
5. Make sure you click on the Sync on the Power Pages Design Studio.
6. Select the JS file of the page and paste the JavaScript Code
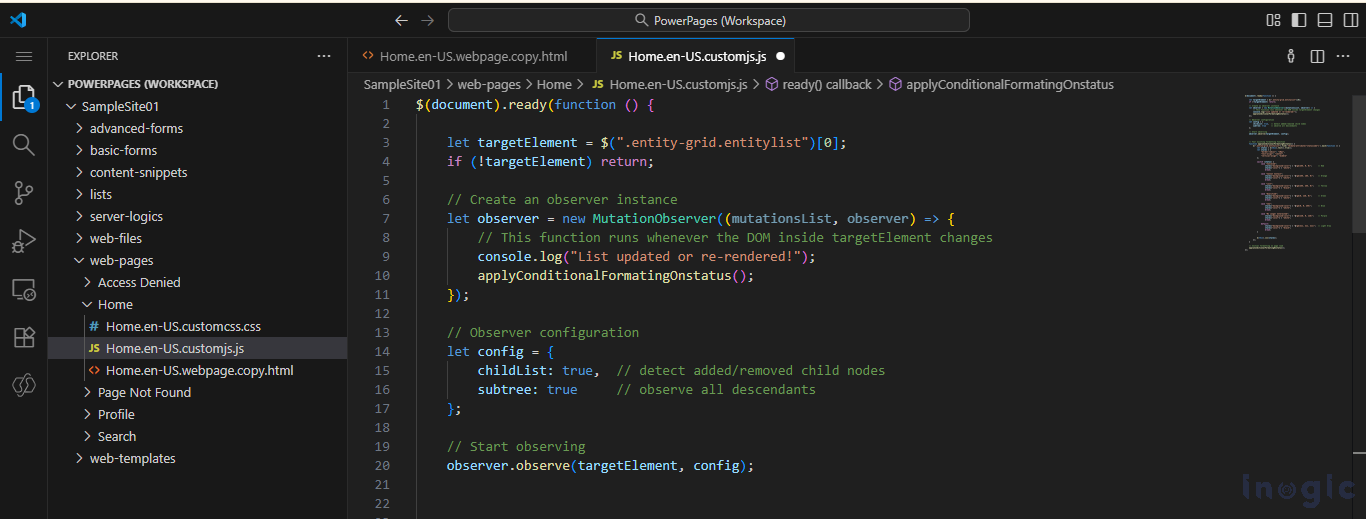
Complete JavaScript code that applies conditional formatting:
Update the code with proper column nodes for selecting the appropriate elements. Also, you can change the formatting options to just change the font colour, or it can be extended further.
$(document).ready(function () {

let targetElement = $(".entity-grid.entitylist")[0];
if (!targetElement) return;

// Declaring an observer object
let observer = new MutationObserver((mutationsList, observer) => {
// This function runs whenever the DOM inside targetElement changes
console.log("List updated or re-rendered!");
applyConditionalFormatingOnstatus();
});

// Observer configurations for target Element
let config = {
childList: true,  // detect added/removed child nodes
subtree: true     // observe all descendants
};

// Start observing
observer.observe(targetElement, config);

// Function to format the List
function applyConditionalFormatingOnstatus() {
$(".entity-grid.entitylist").find('td[data-attribute="statuscode"]').each(function () {
let status = $(this).text().trim();
let styles = {

"text-align": "center",

"vertical-align": "middle",

"font-weight": "600",

"border-radius": "20px",

"box-shadow": "0 2px 8px rgba(0, 0, 0, 0.3)",

"padding": "6px 12px",

"display": "inline-block",

"width": "100%",

"text-transform": "capitalize"

};

switch (status) {
case "Canceled":
styles["background-color"] = "rgb(255, 0, 0)";      // Red
styles["color"] = "white";
break;

case "Cannot Contact":
styles["background-color"] = "rgb(255, 165, 0)";    // Orange
styles["color"] = "white";
break;

case "Lost":
styles["background-color"] = "rgb(255, 255, 0)";    // Yellow
styles["color"] = "black";
break;

case "Qualified":
styles["background-color"] = "rgb(0, 128, 0)";      // Green
styles["color"] = "white";
break;

case "new":
styles["background-color"] = "rgb(0, 0, 255)";      // Blue
styles["color"] = "white";
break;

case "No Longer Interested":
styles["background-color"] = "rgb(128, 0, 128)";    // Purple
styles["color"] = "white";
break;

default:
styles["background-color"] = "rgb(211, 211, 211)";  // Light Gray
styles["color"] = "black";
break;
}

$(this).css(styles);
});
}

// Running the function to apply the Formatting on load
applyConditionalFormatingOnstatus();
});
Step 3: Understanding the Code
1. Document Ready
$(document).ready(function () { … }); Ensures the code runs after the page fully loads.
2. Select the List
let targetElement = $(“.entity-grid.entitylist”)[0]; Selects the HTML table representing the lead list. Stops if the list doesn’t exist.
3. MutationObserver
let observer = new MutationObserver((mutationsList, observer) => { applyConditionalFormatingOnstatus(); }); The observer re-triggers the formatting logic whenever the list refreshes, ensuring consistent styling even after filtering or sorting.
4. Observer Configuration
let config = { childList: true, subtree: true }; observer.observe(targetElement, config); Watches all child elements of the list to detect updates.
5. Apply Conditional Formatting
$(“.entity-grid.entitylist”).find(‘td[data-attribute=”statuscode”]’).each(function () {…}); Loops through each Status cell, reads its value, and applies CSS styles based on the status.
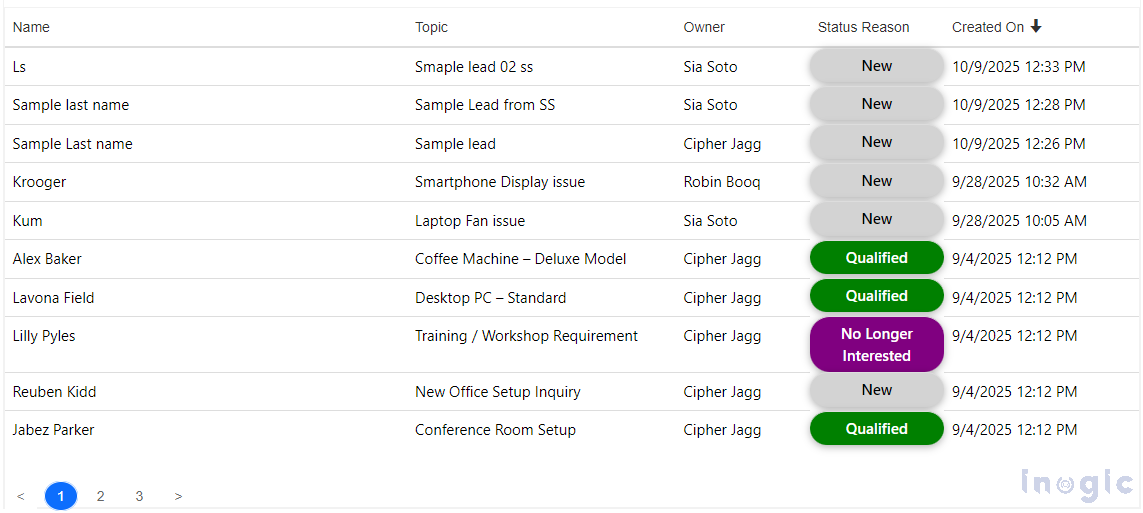
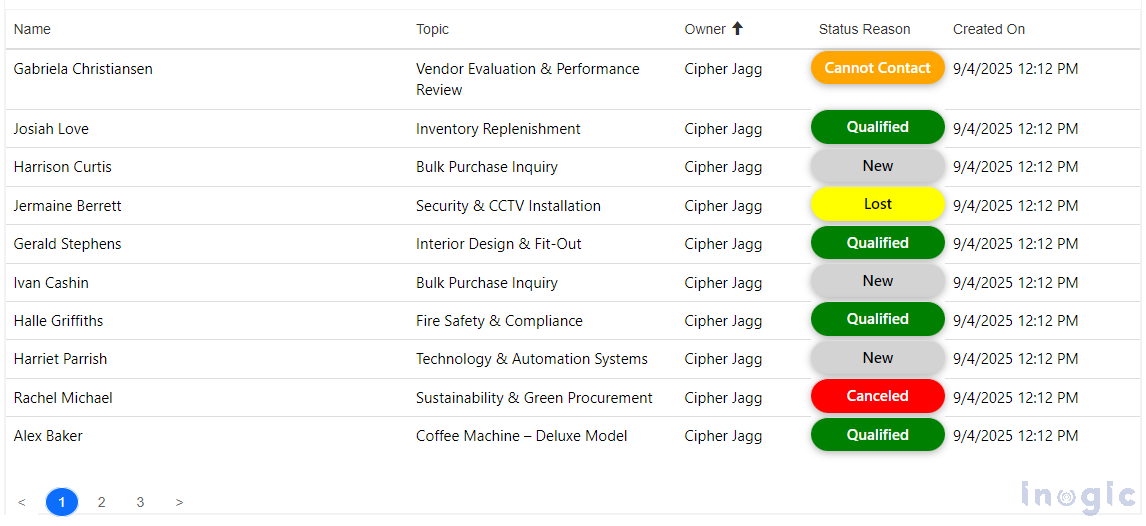
6. Styles by Status The switch statement assigns background and text colors for each status. For example, “Qualified” leads are green, and “Canceled” leads are red.
7. Initial Formatting
applyConditionalFormatingOnstatus(); Applies formatting immediately on page load.
Step 4: Highlighting Qualified Leads
In the code, the “Qualified” status has special styling: case “Qualified”: styles[“background-color”] = “rgb(0, 128, 0)”; styles[“color”] = “white”; break;
This ensures all qualified leads and other statuses are highlighted, making it easy to identify important leads at a glance. You can further tailor color schemes to match your organization’s visual identity.
Testing the Configuration and Enhancing Visual Consistency
- Integrate the JavaScript by adding it to your Power Pages site using Page Custom Scripts or by uploading it as a Web File.
- To validate the implementation, navigate to the Leads list and modify the status values. The conditional formatting should be applied automatically based on the logic defined.
- You can easily extend this functionality to additional fields such as Priority, Rating, or any custom attributes relevant to your business needs.
- For a consistent user experience, consider aligning the color scheme with your organization’s branding guidelines.
FAQs
Q1. Can I use conditional formatting in Power Pages without JavaScript?
Currently, no. Power Pages lists don’t natively support conditional formatting, so custom JavaScript or Liquid injection is required.
Q2. Will formatting remain after filtering or refreshing the list?
Yes. The MutationObserver ensures formatting is re-applied automatically whenever the list updates.
Q3. Can I extend conditional formatting to other columns?
Yes. You can easily extend this logic to other fields like Priority or Rating by updating the column selectors in the script.
Q4. Is this method compatible with Dataverse data?
Yes. Power Pages lists connected to Dataverse can use this approach since the formatting applies to the rendered HTML of the list.
Conclusion:
By implementing conditional formatting in Power Pages lists, you can significantly improve the clarity and usability of standard data views. This technique enhances the user experience by making key information—such as lead status or priority—immediately visible through visual cues. With just a few lines of JavaScript, you can transform static list components into dynamic, intuitive interfaces that reflect your organization’s branding and support faster, more informed decision-making.