Introduction:
After installing, connecting Dynamics 365 and QuickBooks Online, and successfully activating InoLink, you are ready to proceed to the next step. Dynamics 365/CRM and QuickBooks deal with some accounting concepts like Discounts and Write-In differently. Hence setting up the configuring the mapping of products is required for error-free sync between Dynamics 365/CRM and QuickBooks.
Follow the steps mentioned below to perform Mapping in InoLink:
1. In Dynamics 365/CRM you can either add Existing Products as line items or enter in a write-in product in Quote and Invoice. QuickBooks, however, does not allow entering a line item without specifying the product.
2. Also, you can specify discounts for line-items by specifying the discount amount in the Discount and Volume Discount fields on the line item form in Dynamics 365/CRM. QuickBooks, on the other hand, requires products to be created of the type “Discount” and add it as a separate line item in the transaction.
3. Therefore, before setting up the mapping in InoLink, you need to create ‘Service’ type products in QuickBooks to act as placeholder products for ‘Write-In’ and ‘Discount’.
Steps to create Service type ‘Write-In’ and ‘Line Discount’ product in QuickBooks:
A. Navigate to ‘Products and Services’ in QuickBooks and click on ‘New’ as shown in the screenshot below;

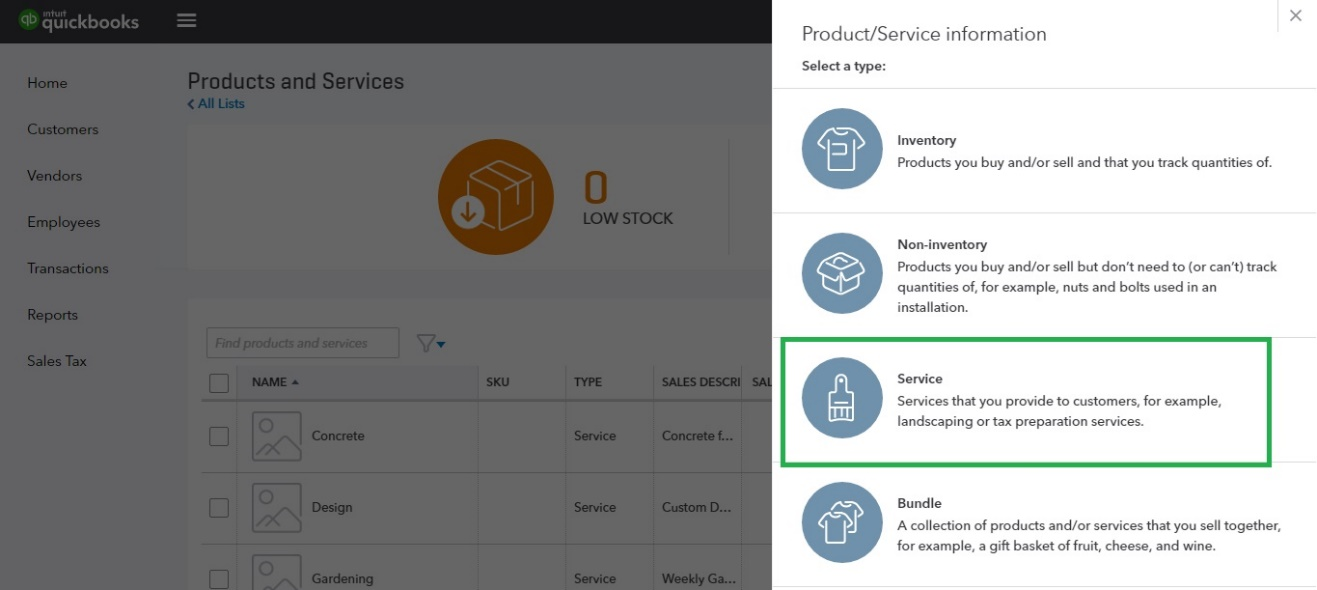
B. Select ‘Service’ as shown in the screenshot below;
C. Now, enter ‘Write-In’ in the name section and click on ‘Save and close’ to create a service type of product as shown in the screenshot below;
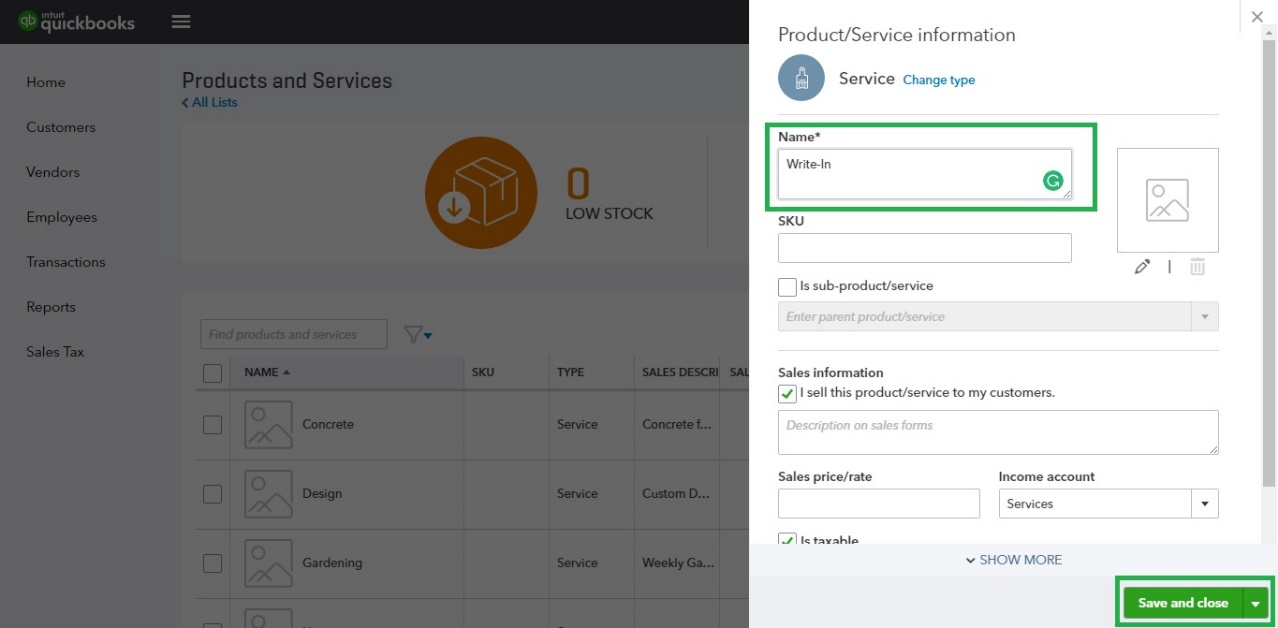
D. Similarly, you have to create ‘Line Discount’ service type of product.
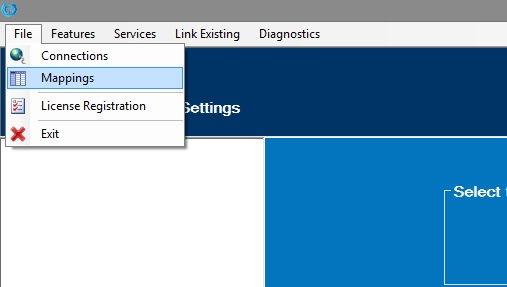
4. Now open ‘InoLink Settings’ application and navigate to File > Mappings as shown in the screenshot below;
5. Select the ‘Write-In’ and ‘Line Discount’ product from the drop down menu for the respective fields and click on ‘Save’ as shown in the screenshot below;
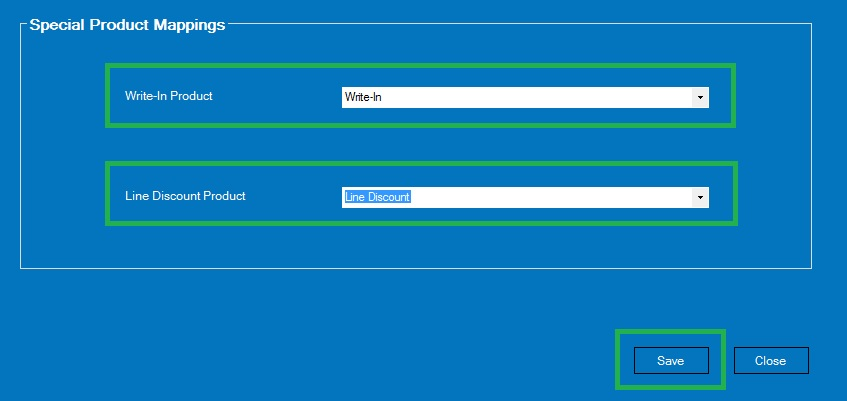
Note: ‘Write-In’ and ‘Line Discount’ products will be visible in InoLink only after they are created in QuickBooks.
6. You have now successfully mapped the products in Dynamics 365/CRM and QuickBooks.
Note: To know more about how the fields between Dynamics CRM and QuickBooks, read ‘Field mapping for Account, Contact & Product‘ and ‘Field mapping for Quote & Invoice‘.
Conclusion:
After successfully mapping the products, you are now ready to configure integration preferences for the sync using InoLink. In the next article, we will guide you through the steps needed for configuring integration preference for Customers, Products and Transactions Sync between Dynamics 365/CRM and QuickBooks.