Introduction:
After successfully installing InoLink and connecting QuickBooks and Dynamics 365, the next step is to register and activate InoLink. License registration will allow you to register InoLink for use with Dynamics 365/CRM and QuickBooks.
Video Tutorial:
If you need step by step instructions, continue reading.
Follow the steps mentioned below to register and activate InoLink:
1. You will receive ‘InoLink-QBCRM.lic’ file based on the number of users and your Dynamics CRM/365 details.
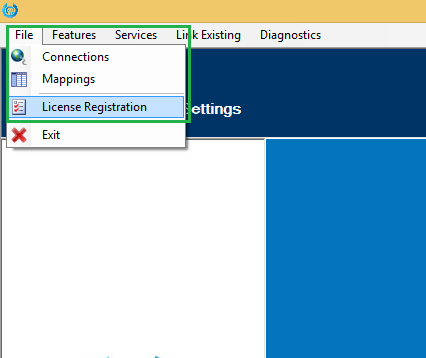
2. Open ‘InoLink Settings’ on your system and navigate to File>License Registration as shown in the screenshot below;
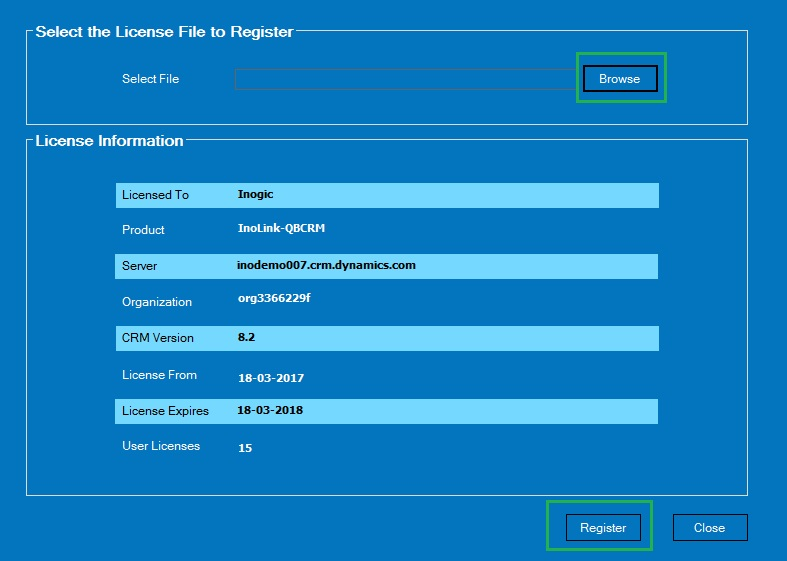
3. Click on ‘Browse’ and select the ‘InoLink-QBCRM.lic’ file and click on ‘Register’ to register and activate InoLink;
4. Now you have successfully registered and activated InoLink for use with your Dynamics CRM/365 and QuickBooks application.
Conclusion:
After successfully registering InoLink, you are ready to use the application. However, we need to map the products in Dynamics 365/CRM and QuickBooks, as both the systems handle accounting concepts differently. In the next article, we will guide you through the steps needed for configuring product Mapping in InoLink.