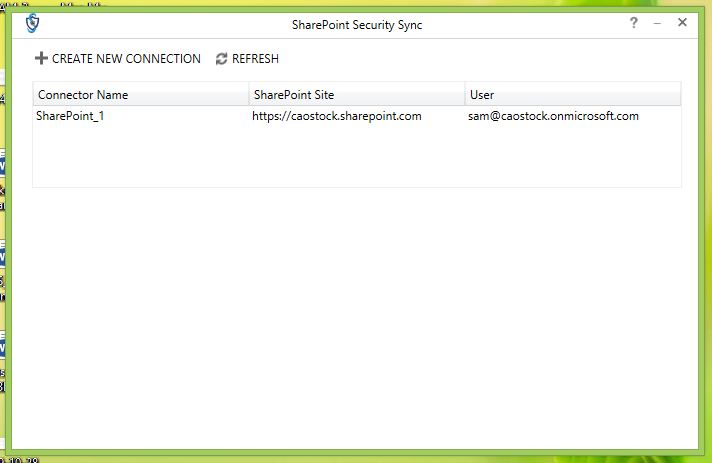
Once logged in, you will find details of all the configured connectors. Select any one of the connectors for which you want to sync the security privileges. If more connectors are added then click on ‘Refresh’ button on the top to update connector details.
Now let’s go through the different functions of SharePoint Security Sync Tool.
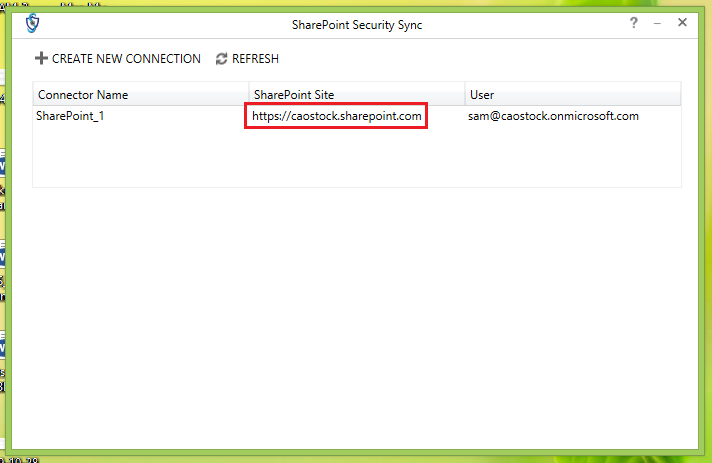
- First click on the respective SharePoint Site.
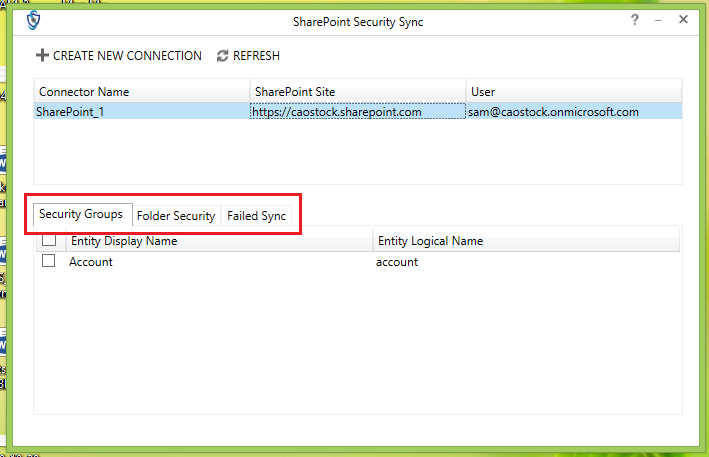
- After clicking on respective SharePoint Site, three new tabs will be displayed – Security Groups, Folder Security and Failed Sync.

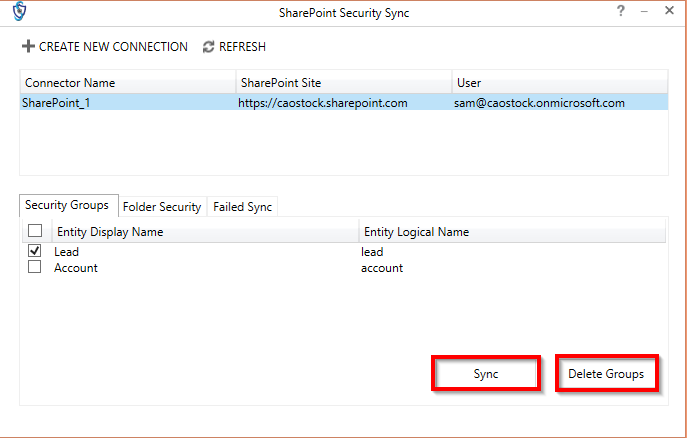
- Now, click on first tab – Security Groups. Here, all the existing configured entities will be displayed. Select any entity. After selecting the entity, two buttons will appear – Sync and Delete Groups. Click on ‘Sync’ button to create groups against that entity. Click on ‘Delete Groups’ to delete all the existing groups against that entity.

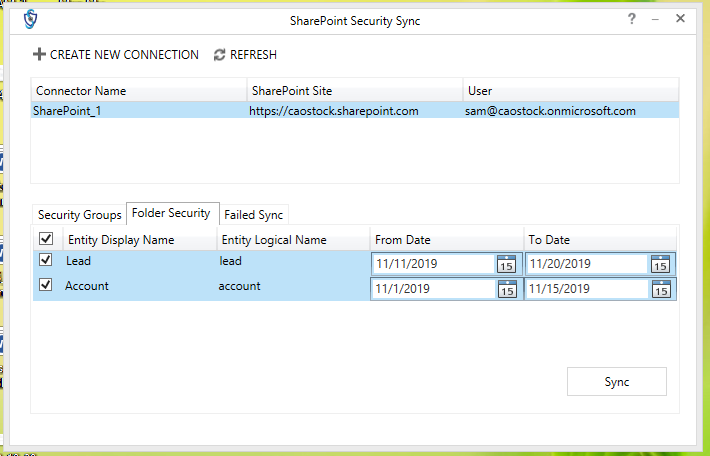
- Next tab is Folder Security. With this tab you can sync/assign groups for a selected period of time.
- The last tab is Failed Sync. Click on the ‘Sync’ button to sync all the failed records.


To know more visit our Website and for any queries, mail us at crm@inogic.com.