Our seasoned team of Solution experts have been amongst the earliest adopters of Microsoft technologies. We have developed quite a number of solutions that augment the functionality of Dynamics 365 CRM. One such solution from our suite of productivity tools is Attach2Dynamics.
Attach2Dynamics’ every functionality is unique and not supported by Dynamics 365 CRM inherently. This makes it a potent tool thereby enabling you to implement significant actions like Drag & Drop, Upload/Download files/folders and others to SharePoint, Dropbox and Azure Blob Storage from within Dynamics 365 CRM.
Users can perform actions against an Entity record for which the Connector is configured, and Entity Configuration is done. Doing so enables the Attach2Dynamics button for the respective entity.
However, it is also possible to add Attach2Dynamics tab embedded in the form without having to open it from the Ribbon Button. Below the steps for the same are mentioned:
Go to Settings -> Customizations -> Customize the System
A Default solution window will open. Here are the steps how to create an embedded tab in the Form of a particular Entity.
1. On the left pane go to Components -> Entities
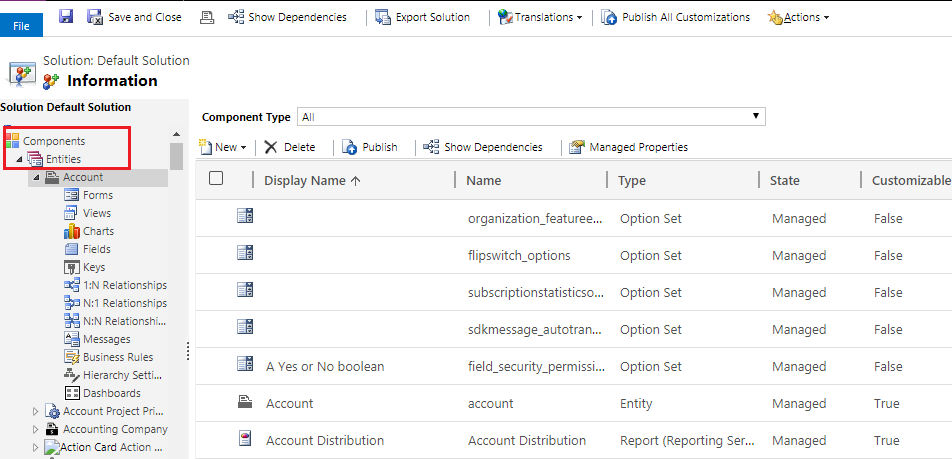
2. Expand the Entity Drop Down and Select Forms for the Entity you want to create an embedded tab for.
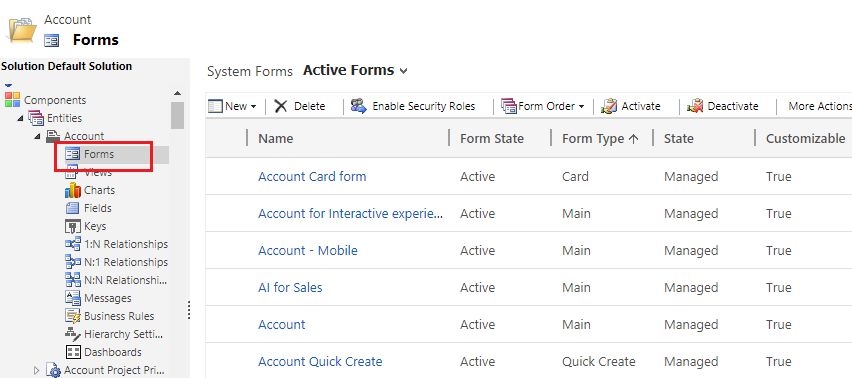
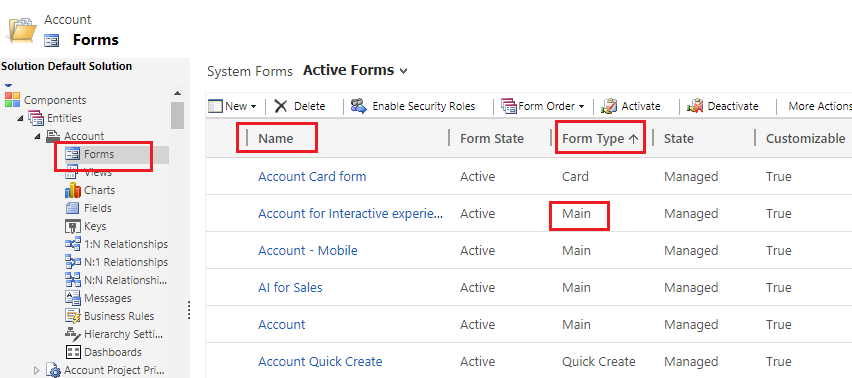
3. Under the Active Forms Select any Name for which Form Type is Main.
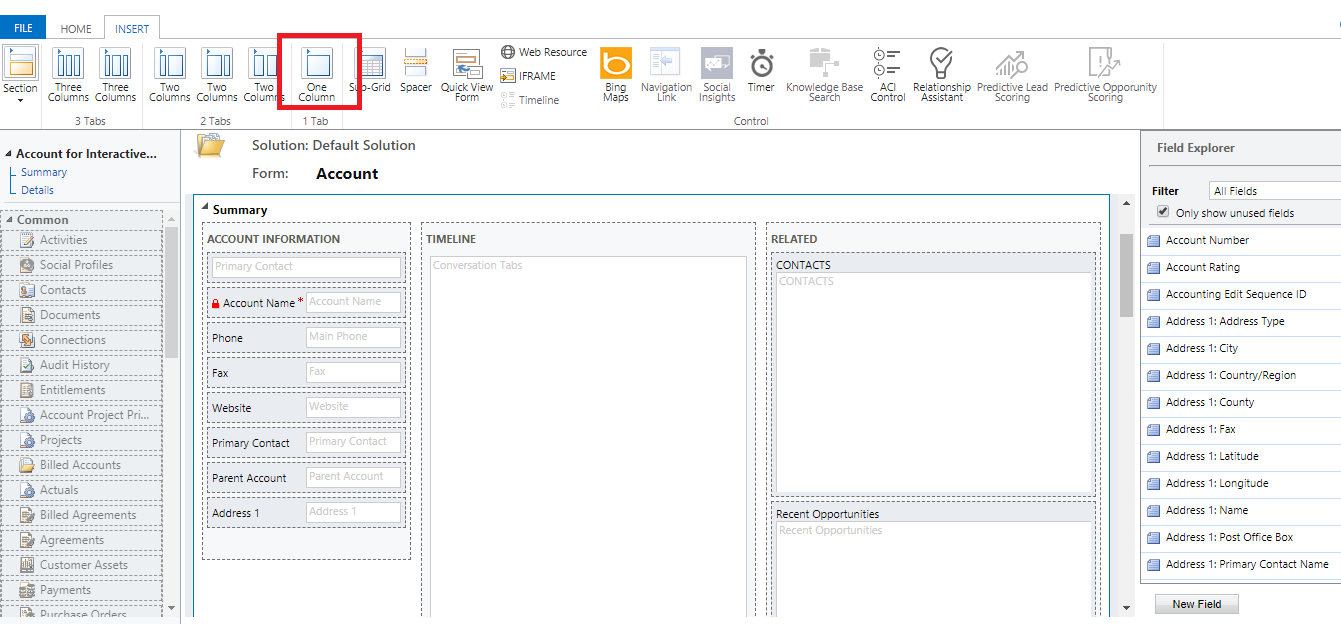
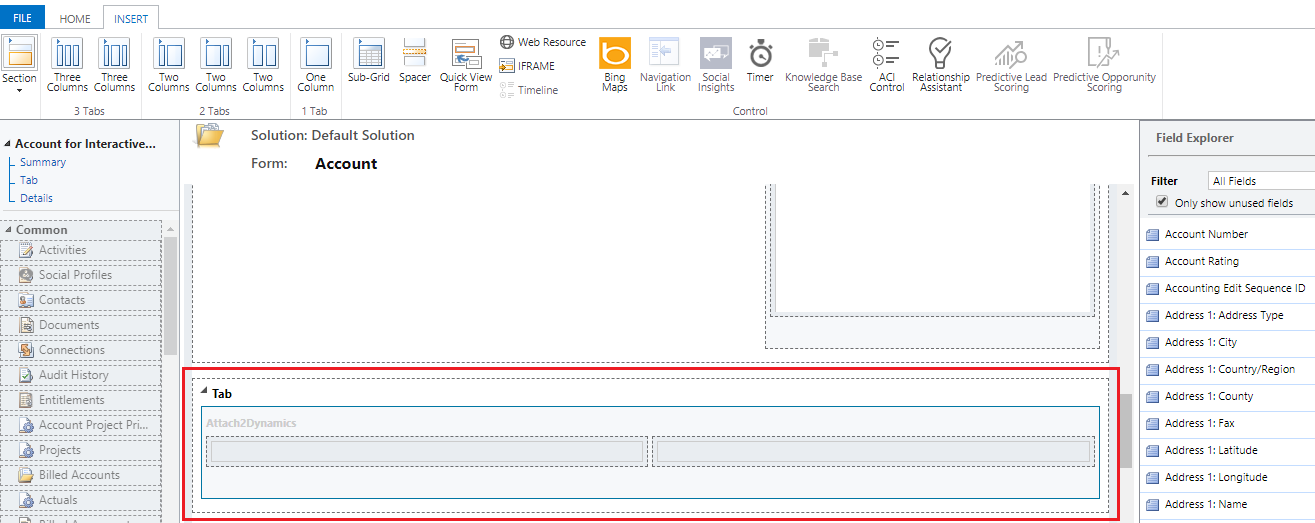
4. The Forms Window will open. Go to Insert tab and insert One Column Tab and drag it anywhere on the form.
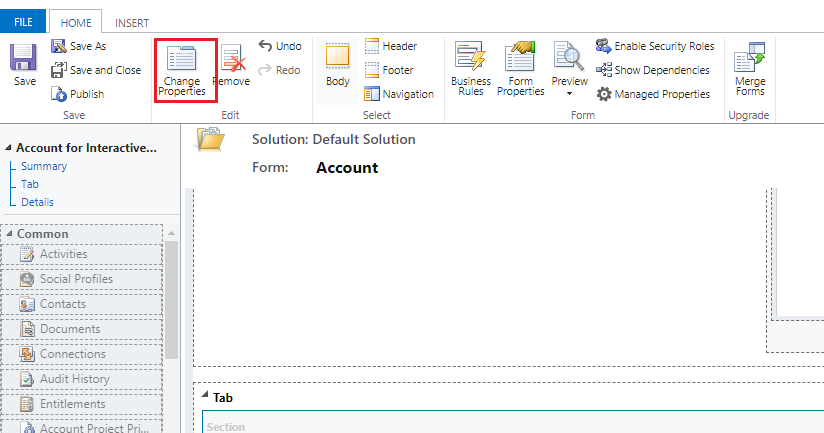
5. Go to Home and click on Change Properties.
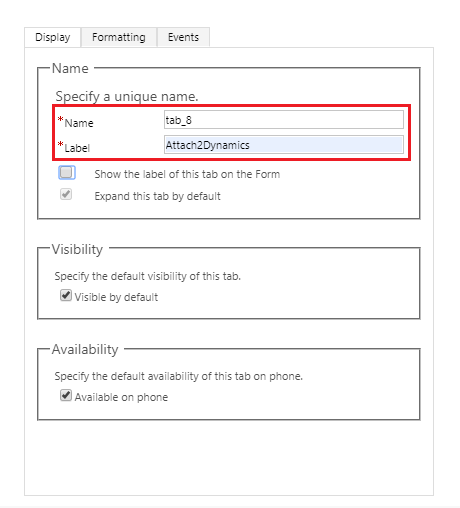
6. A tab Properties Window will be landed. In Name and Label enter the name you want to be displayed in the tab on the form. Click on OK.
7. Go to Insert tab and click on Web Resource.
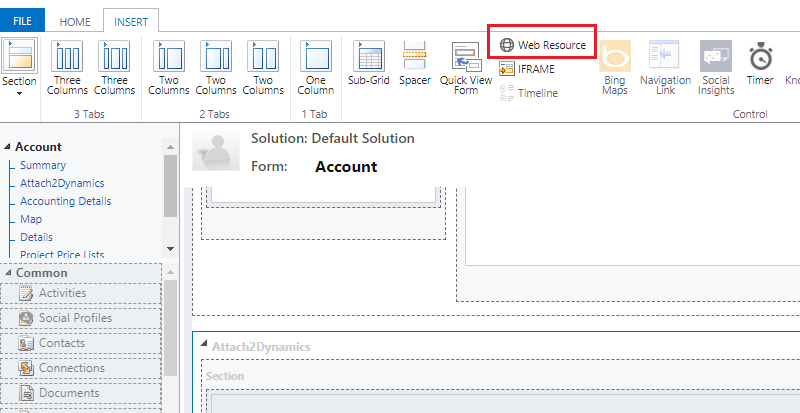
8. In Web resource field enter ikl_/Attach2Dynamics/Library/index.html
In Name and Label enter the name you want to be displayed.
Scroll down and check the Pass record object-type code and unique identifier as parameters box. Click on OK.
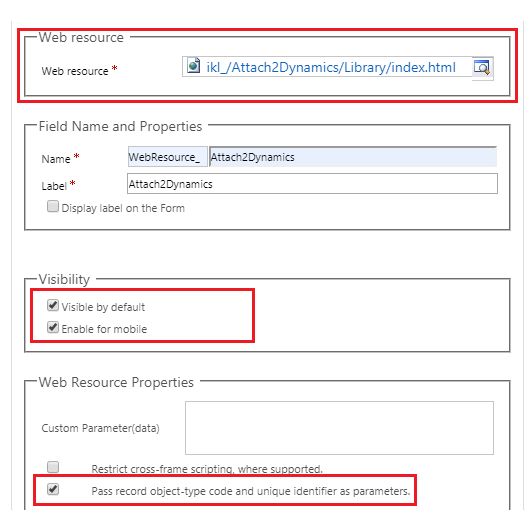
Note: Check the Enable for mobile box to make it visible in UCI.
9. Go to Home and Save then Publish.
10. Now navigate to Entity (for which you have configured the Form) and open a record. Scroll down, and you can see your desired tab embedded in the page.
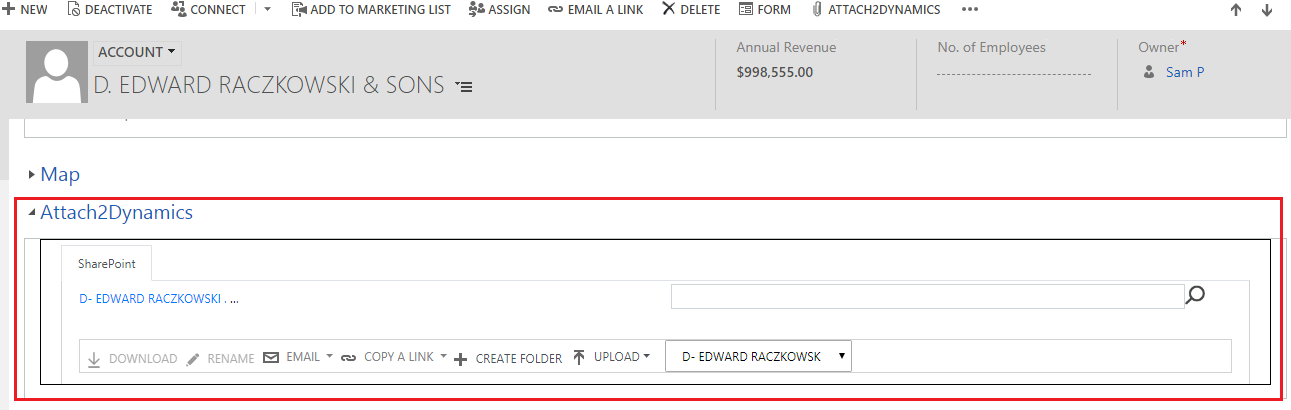
As seen above, it is effortless to access Attach2Dynamics as an Embedded UI without opening the window from the Ribbon every time. For exploring the features of Attach2Dynamics click here.
In case you have not downloaded the FREE solution yet, here you go!
For any enquiry, suggestion or feedback mail at crm@inogic.com
Go back to Attach2Dynamics InfoCentre homepage.
Ciao!