Drag & Drop and Uploading/Downloading files/folders from within Dynamics 365 CRM to SharePoint, Dropbox and Azure Blob Storage is no longer a distant reality. Yes! Now perform these impossible actions using Attach2Dynamics, the one-stop solution for document management. Using Attach2Dynamics, you have a vast range of features to select from like Move/Copy Notes/Email/Sales Literature Attachments, Copy Links, Deep Search, Rename, and so forth on cloud storages of choice. Attach2Dynamics reduces the number of clicks considerably and makes Dynamics 365 CRM even more efficient.
To start using Attach2Dynamics, you have to configure Connectors and Entity Configuration Entity. In Attach2Dynamics, you can configure multiple connectors for all three cloud storages. For example, for SharePoint you can create SharePoint_1, SharePoint_2, SharePoint_3, and so on. Similarly multiple connectors can also be created for Dropbox and Azure Blob Storage.
Below are the steps for the same:
Configure Connectors
Steps to configure the Connectors – SharePoint, Dropbox and Azure Blob Storage.
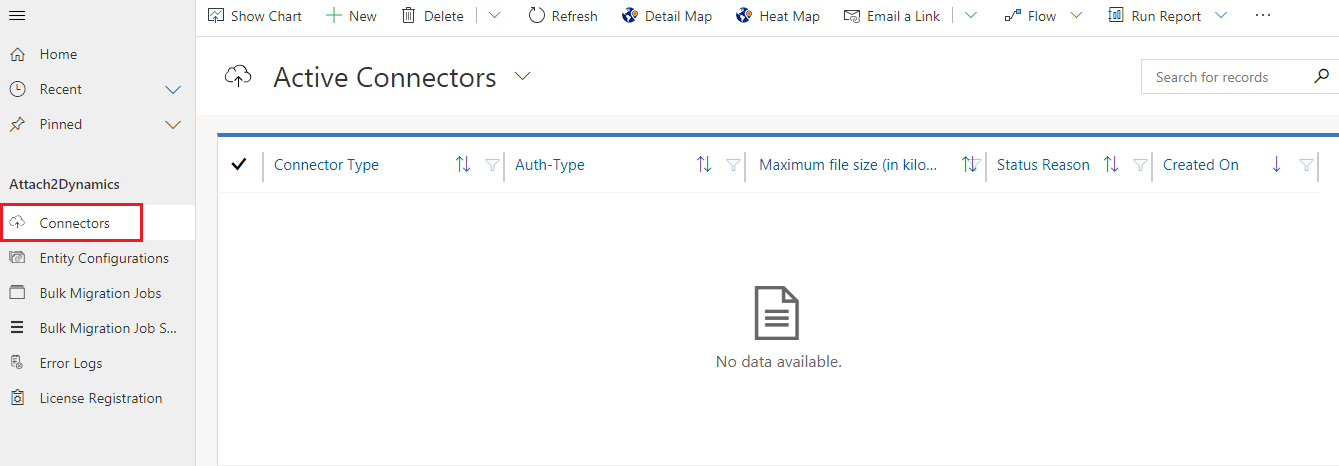
Navigate to Attach2Dynamics and then click Connectors Next, click New to create a new Connector.
Configuring SharePoint Connector
- Name: Give name to the connector
- Connector Type: Choose SharePoint from the drop-down
- Default Connector: If required, enable the checkbox to set SharePoint_1 as default connector
- SharePoint Site: This is valid only for SharePoint. It is the location of SharePoint, where files and folders will be stored. Select the valid SharePoint site here. This field is not visible for Dropbox and Azure Blob Storage.
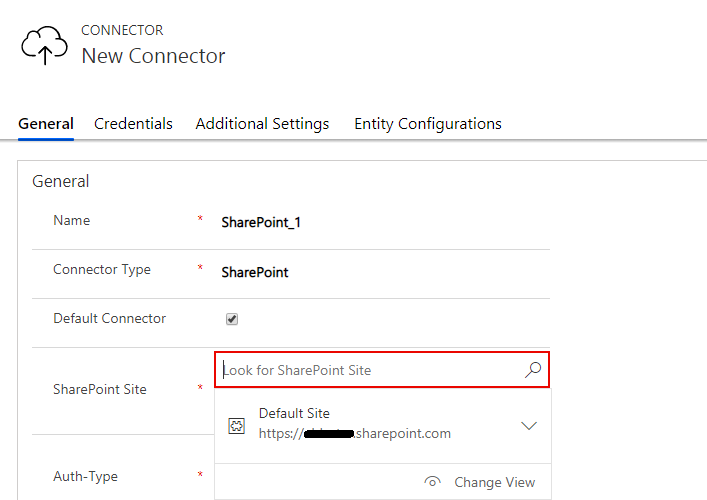
Note: The user has to create new SharePoint site for each new connector.
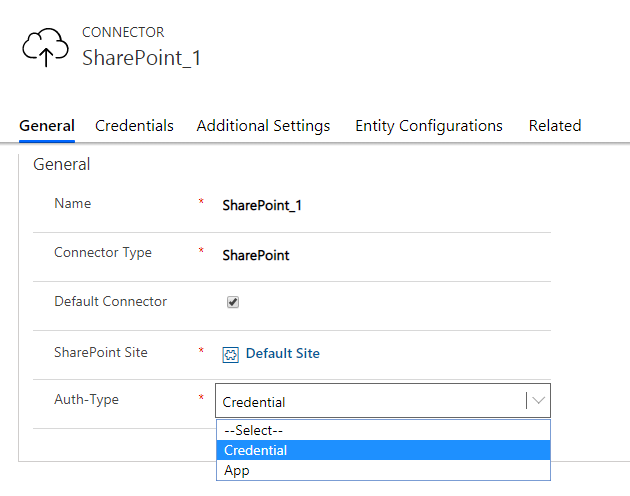
- Auth-Type: You can select the value ‘App’ or ‘Credential’ here. This indicates whether Authentication with the connector is done through App or Credential.
For SharePoint both App and Credential are supported.
For Dropbox only App is valid.
For Azure Blob Storage only Credential is valid.
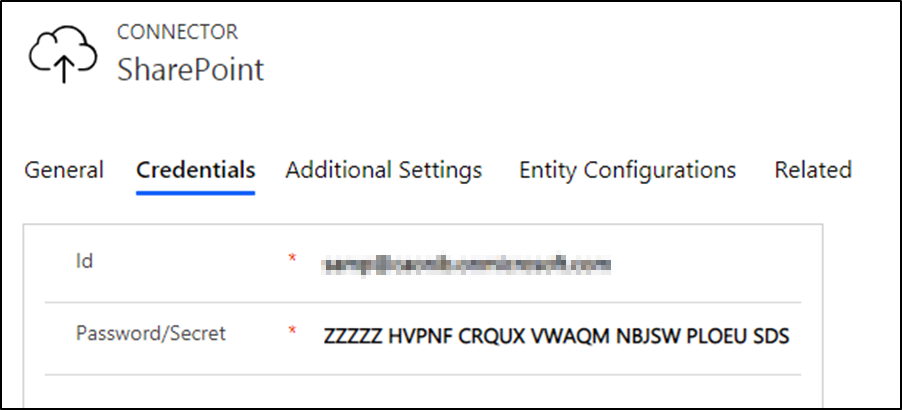
- Credentials: It is mandatory to enter credentials in order to create a new Connector. Enter value for Id and Password/Secret. Next authenticate the credentials.
Note:
The Id/Password origin differs for SharePoint, Dropbox and Azure Blob Storage.
- Id and Password for SharePoint: In the Id/Password field enter your username and in password enter password. It can be your normal Dynamics 365 CRM credentials.
- Id and Password/Secret for Dropbox: Enter your ‘Developer’ App Key and App secret for the app you are developing.
- Id and Password for Azure Blob Storage: Enter your Storage Account Name and Access Key as password.
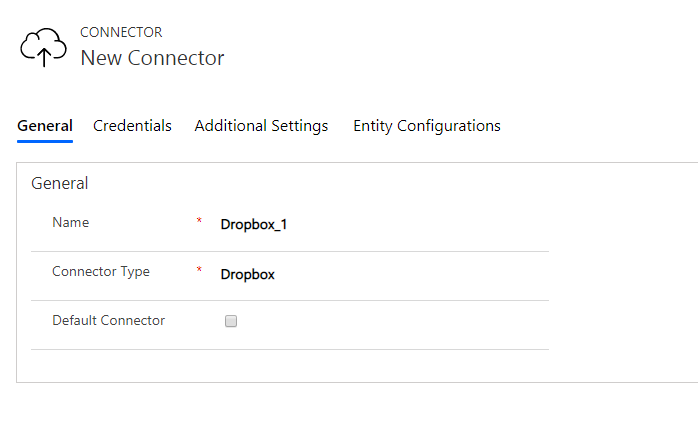
Configuring Dropbox Connector
- Name: Give name to the connector
- Connector Type: Choose Dropbox from the drop-down
- Default connector: If required, enable the checkbox to set Dropbox_1 as default connector
Note: The user has to create new app for each new Dropbox connector.
To get the Id/Secret for Dropbox follow the below steps:
Go to www.dropbox.com and enter your login credentials for Dropbox. After you are logged in you will land on the ‘Home Page.’ At the bottom right corner of the screen click on the ‘Points of Ellipsis (the three dots)’ and then select Developers from the view.
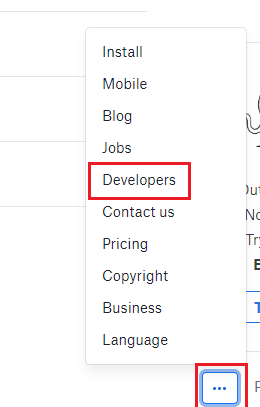
Now, click on My apps on the list.

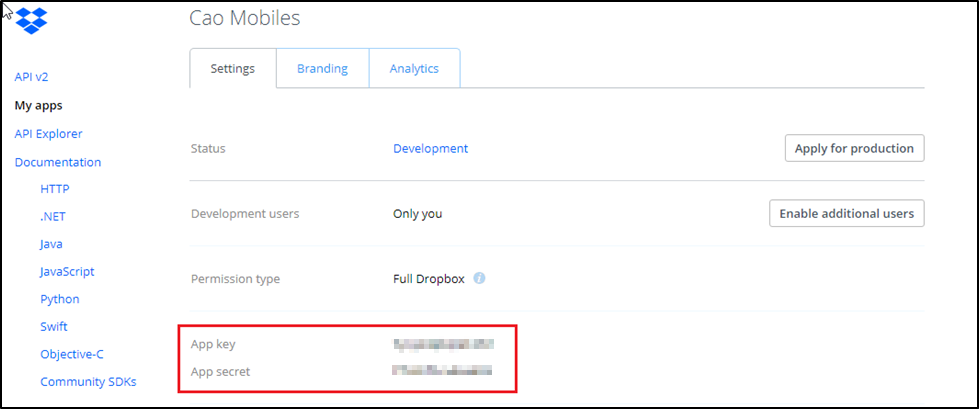
If you have already created an app click on the ‘app icon,’ you will be redirected to the App’s home page. Scroll down and you will you will find App Key and App Secret.
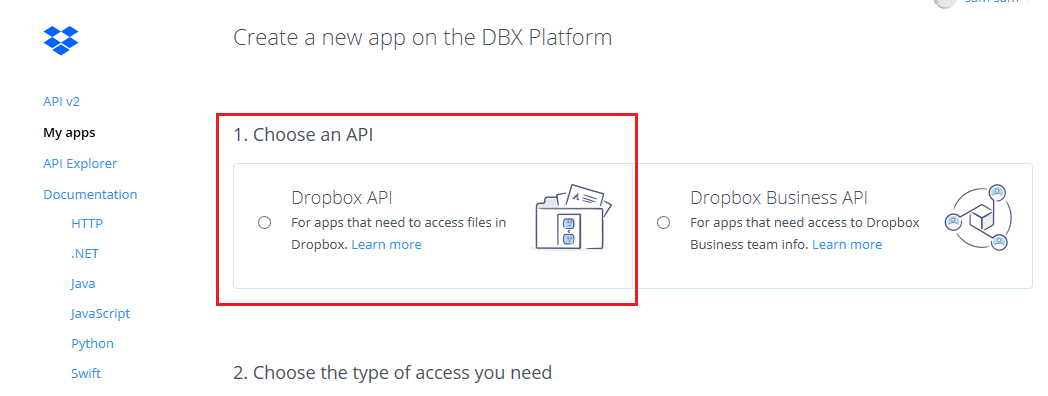
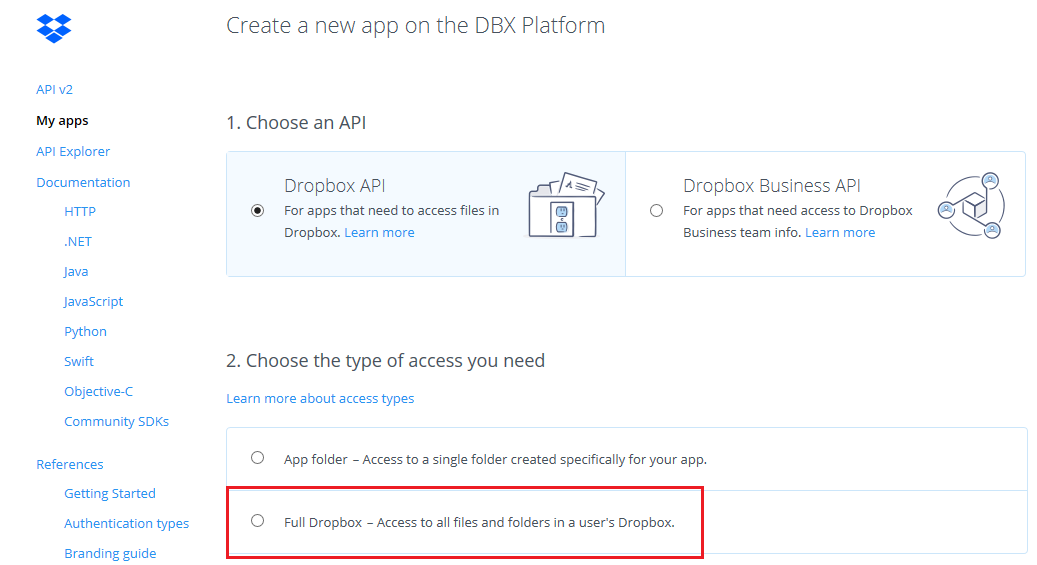
If you don’t have an app Click on Create App. From Choose an API click on the Dropbox API button.
In Choose the type of access you need to Select Full Dropbox.
Name your app – Here enter the name of the app you are going to create. Check ‘agree to terms’ and click on the Create App button. After clicking on the Create App button, you will be redirected to the home page of the created app. Select your App Key and App Secret from here.
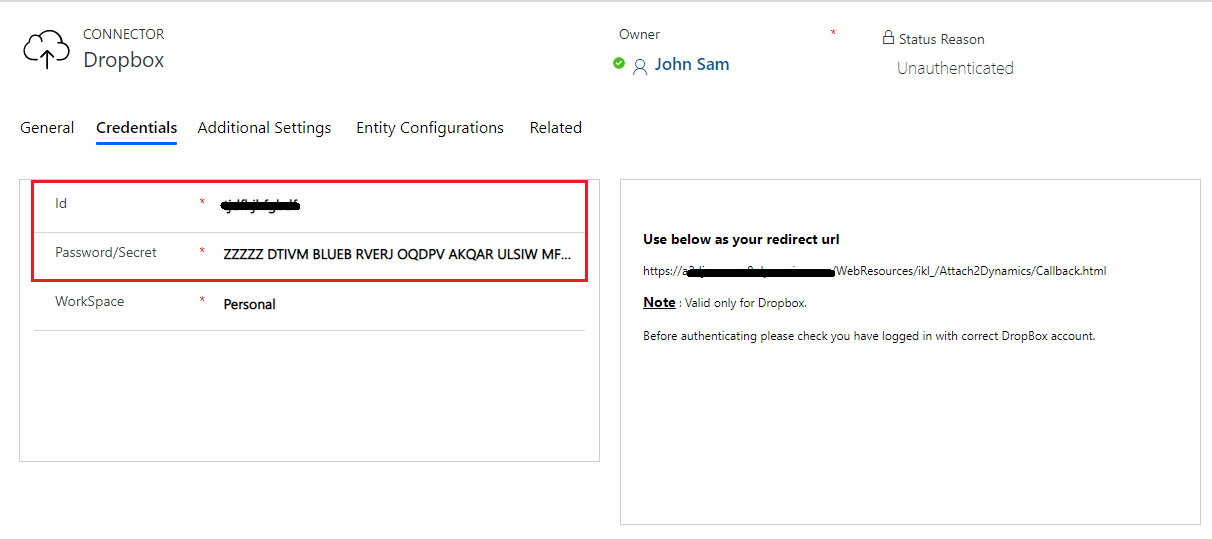
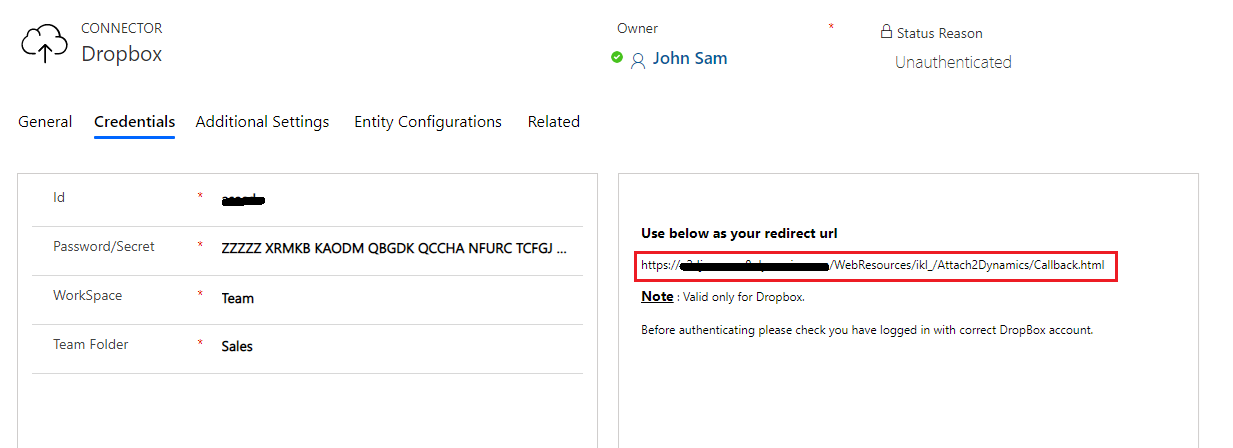
Enter these credentials in the ‘New Connector’ Credentials. After you enter the Password/Secret (Dropbox App Secret) it immediately gets encrypted as shown below.
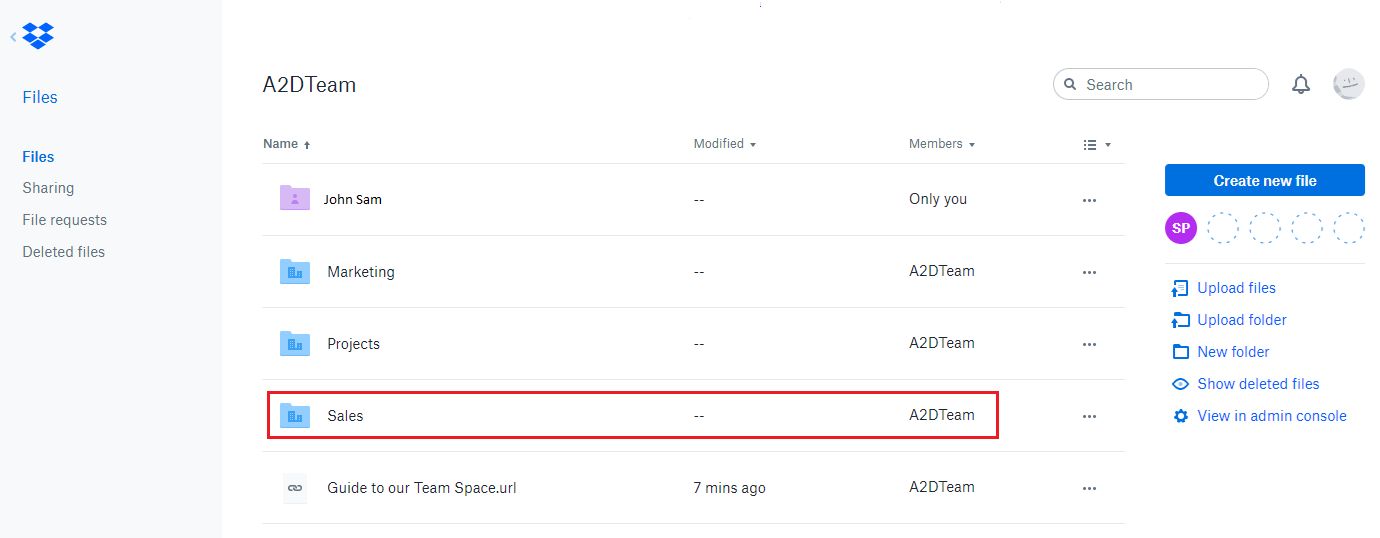
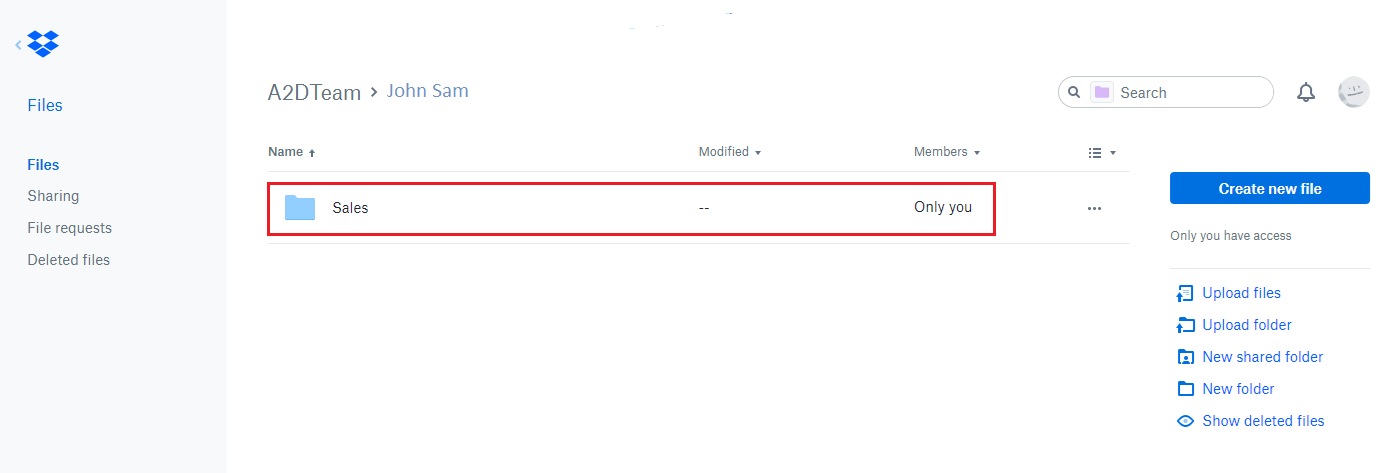
The user can give access of this workspace created in Dropbox cloud storage to their team members if necessary. Go to WorkSpace field and select Team. After selecting Team another field will appear termed Team Folder. Give name to the team folder.
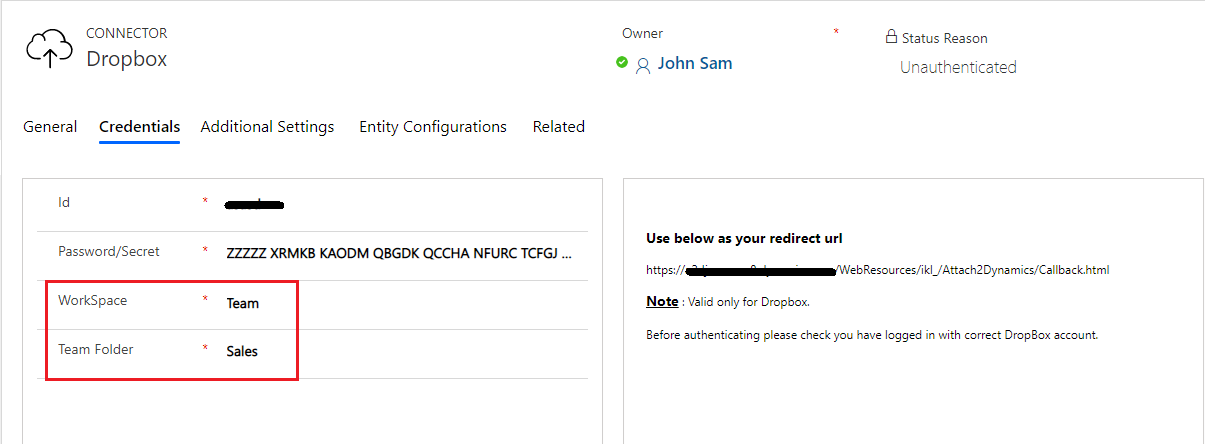
This folder will appear outside App folder.
If the WorkSpace field is set as Personal then the files and folders will be stored inside App folder.
Next the Redirect URL in connector page needs to be added in the Dropbox App as in below Screenshot.
This URL is mentioned on the Connector entity.
Copy this URL and paste it in the App on Dropbox as shown below:
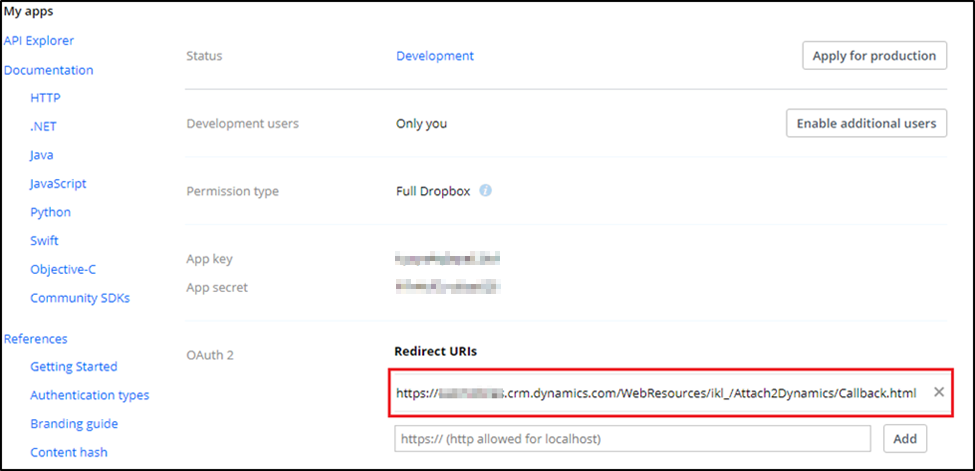
After entering the link click on “Add.” This step must not be skipped.
Configuring Azure Blob Storage Connector
To get Storage Account Name & Access Key for Azure Blob Storage, follow the below steps:
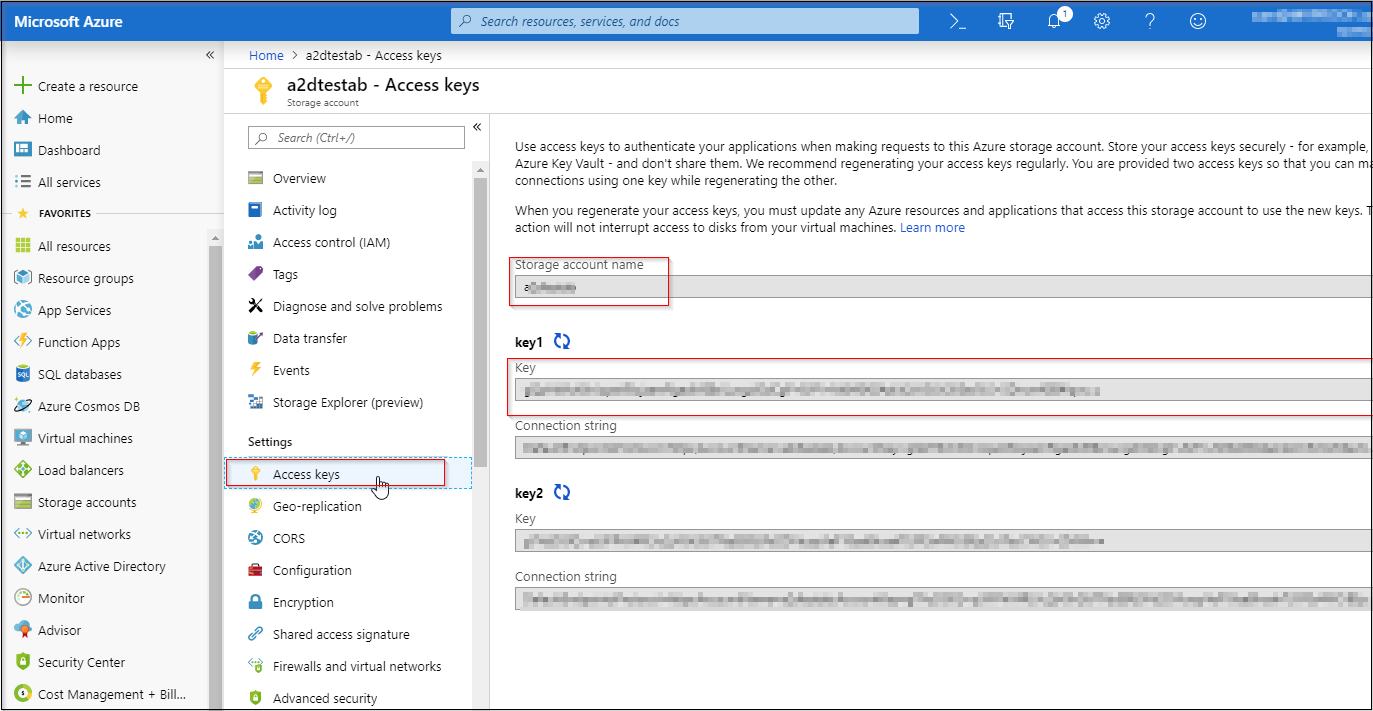
Open URL: https://portal.azure.com and enter your Microsoft Azure Credentials
Next go to storage account section.
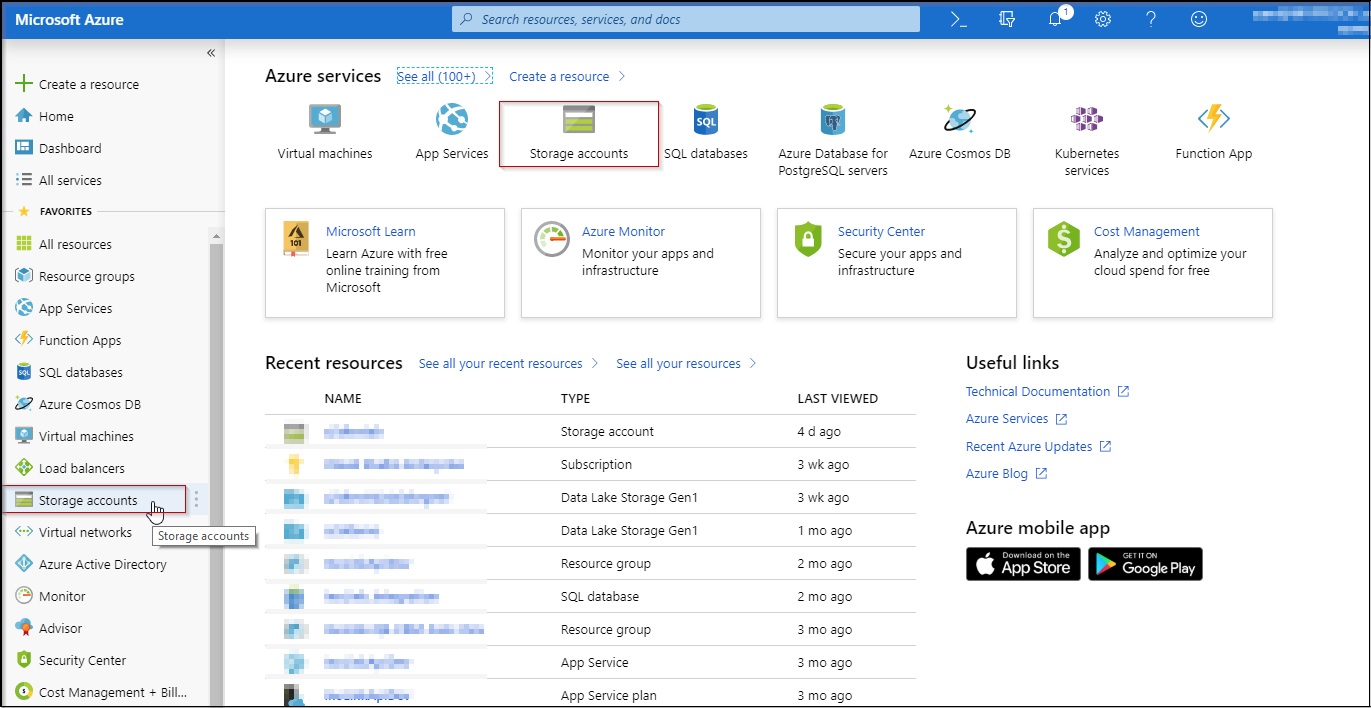
Select your storage account and open it, look for Access Keys (as shown in the below screenshot), get the Storage account name and Key from it.
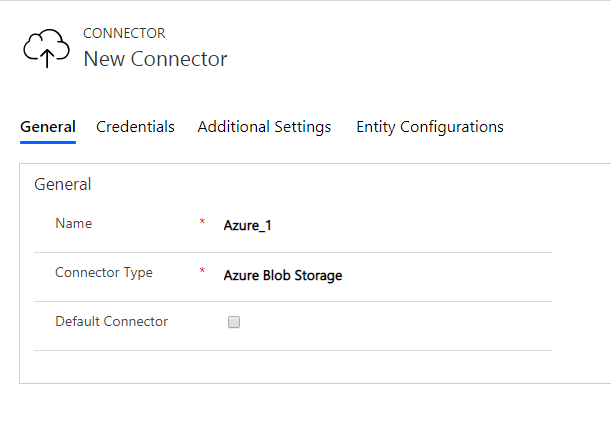
Now create a new Connector.
- Name: Give name to the connector
- Connector Type: Choose Azure Blob Storage from the drop-down
- Default connector: If required, enable the checkbox to set Azure_1 as default connector
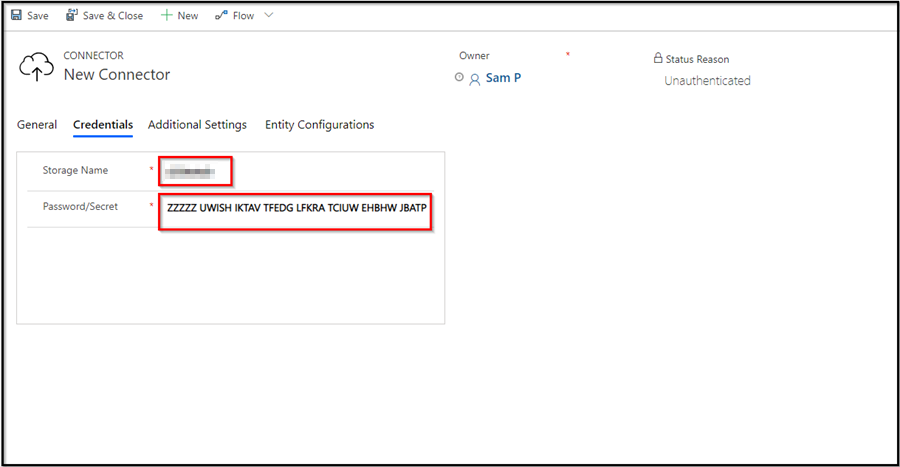
Note: The user can add other storage accounts from Azure Blob Storage.
Now add the Storage Account Name and Access Key. Next authenticate the credentials. Your connector is now ready to function.
Additional Settings:
a. Set file size limit for attachments – Maximum file upload size can be 50 MB.
b. Set blocked file extensions for attachment – This contains the list of file extensions (semicolon separated) which the Connector won’t be able to upload on Cloud. You can enter it as per your preference.
e.g., txt;docx
Click on save and the ‘New Connector’ is created with a form notification as “Click on Authenticate button to authenticate the connector.”
After the Connector is Authenticated, Entity Configuration record should be created.
It is mandatory to Configure Connector on which you want to manage documents. Say you want to Drag and Drop files records of Account Entity in Dropbox, there are two necessities for it:
a. You must have DropBox configured.
b. Entity Configuration must be done for Account Entity.
As we have just covered how to configure Connectors, we will now configure Entity Configuration in our next blog.
If you haven’t downloaded our solution yet, download it for a FREE trial of 15 days from here!
In case you have any queries, suggestions or want demo write to us at crm@inogic.com
Go back to Attach2Dynamics InfoCentre homepage.