You would be aware by now how to import Attach2Dynamics in Dynamics 365 CRM. It is a simple procedure that automatically installs the solution in your environment. To use Attach2Dynamics the next step is to configure and register the license which we will cover in this blog.
Below are the mentioned steps required to configure and do license registration of Attach2Dynamics within your Dynamics 365 CRM.
Configuring Attach2Dynamics:
1) After importing the solution, Attach2Dynamics will be available in the list of imported solutions.
Navigate to Settings -> Solutions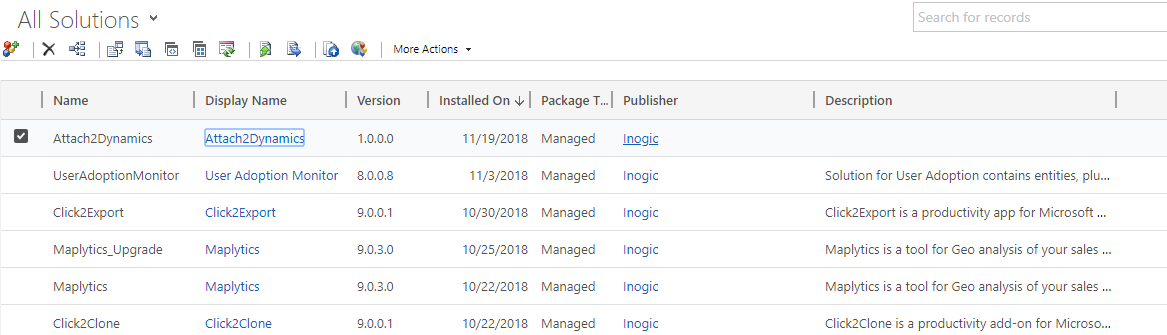
2) Attach2Dynamics will be available under Attach2Dynamics App under My Apps. Click on License Registration.
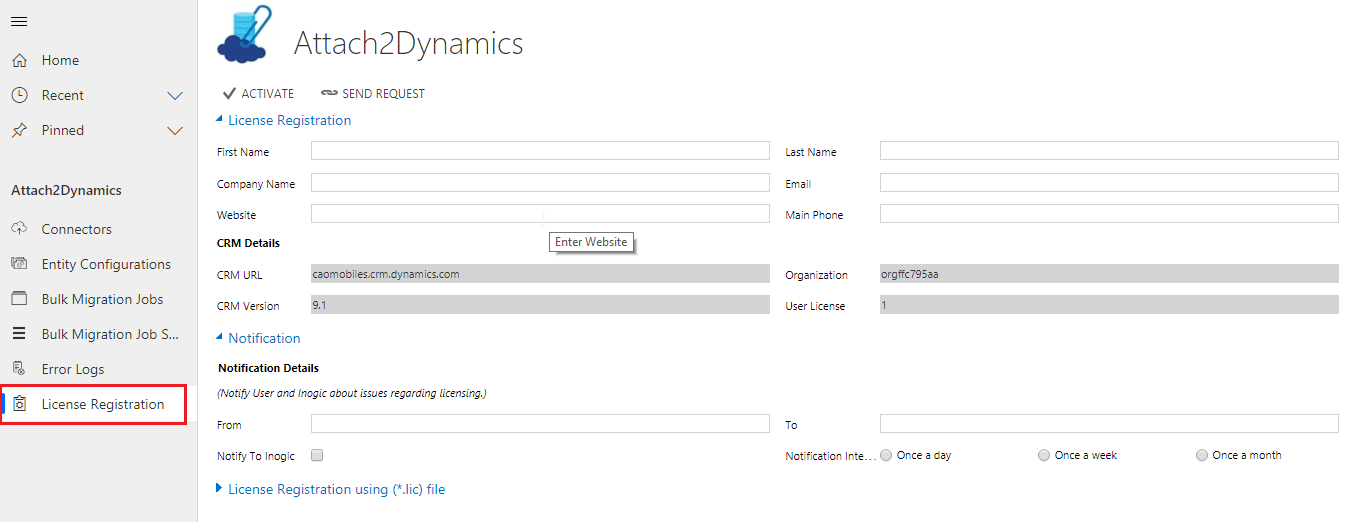
3) The following window will open.
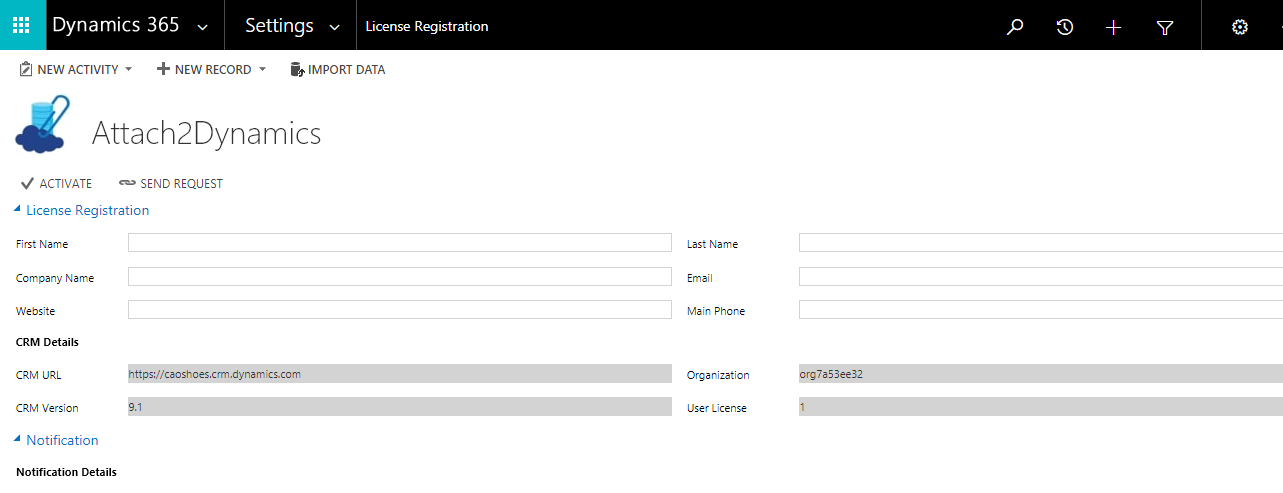
4) Enter the details: First Name, Last Name, Main Phone (Phone Number), Email, Company Name, Website.
In CRM Details, CRM URL (the URL of CRM environment you are using), Organization (Organization instance for your environment), CRM Version (Version of CRM you are using) and User License (Number of users for whom the license has to be issued) will be automatically populated.
5) In case you want to notify any user about any issue concerning licensing you need to fill the Notification Details tab.
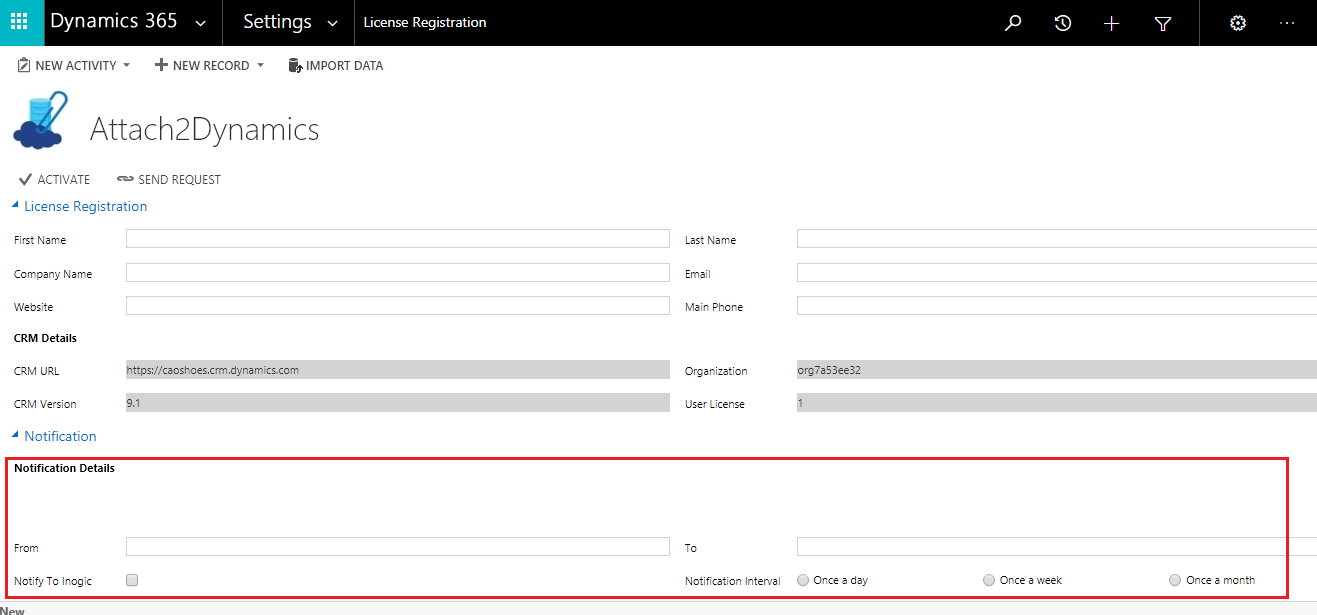
From: The CRM user who has email configured and can be used to send emails.
To: The user to whom the email has to be sent.
Notify to Inogic: If this is checked then, an Account will be created in your CRM with name “Inogic” and email address as crm@inogic.com. The notification email will also be sent to Inogic at crm@inogic.com
Notification Interval: How often to do you want to send the notification email before the issue gets resolved: Once a Day or Once a week or Once a month.
License Registration:
1) After filling the Details click ‘ACTIVATE’ for activating the Trial Version for 15 days. The license is issued based on the details filled in the CRM Details section.

If you want to purchase or extend the trial, click ‘SEND REQUEST,’ which will redirect you to an email along with details entered in the License Registration section. This email needs to be sent to us so that we can process the request. In case you are unable to activate the license, you can complete the registration through the ‘License Registration using (*.lic) file’ section.
2) Steps to complete License registration through *.lic file:
a) Once the configuration window pops up on the screen, click ‘Choose File’ to locate the file with the extension .lic

b) Select the file from the window and then click on ‘Open’.
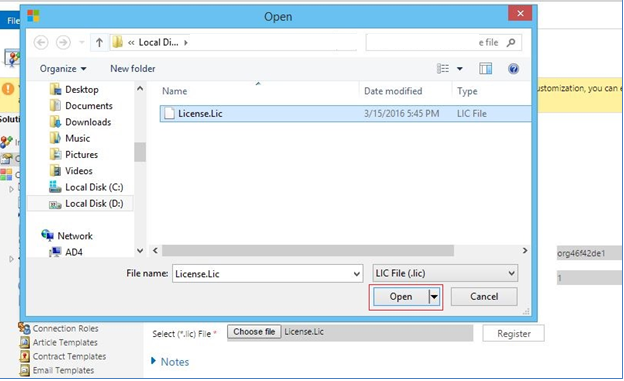
Next, click ‘Register’ to complete the License Registration.
Thus you have just seen how to configure and register license of Attach2Dynamics. You can try the solution for free right now!
In order to install the latest Attach2Dynamics solution visit this space.
For any query or feedback don’t forget to write to us at crm@inogic.com
Go back to Attach2Dynamics InfoCentre homepage.