You are now well acquainted with the Installation, License Registration and Uninstallation of Map My Relationships solution. Now let’s move on to the next step – Configuration.
Map My Relationships has been built using the PowerApps Control framework. The Administrator of the system has to add the Map My Relationships control on the entity forms. To configure the view the administrator has two options i.e. basic configuration and advanced configuration.
Now, let’s see how to do Basic Configuration for Map My Relationships.
Prerequisites: The user should have the System Administrator or System Customizer role.
Add Map My Relationships view on the form: Decide the entity on which the users would be able to see the related records of that entity. The entity may be a common use entity.
Note: The Administrator can configure the Map My Relationships control for any number of entities in the system.
In this document, we will configure the Map My Relationships for the Account entity.
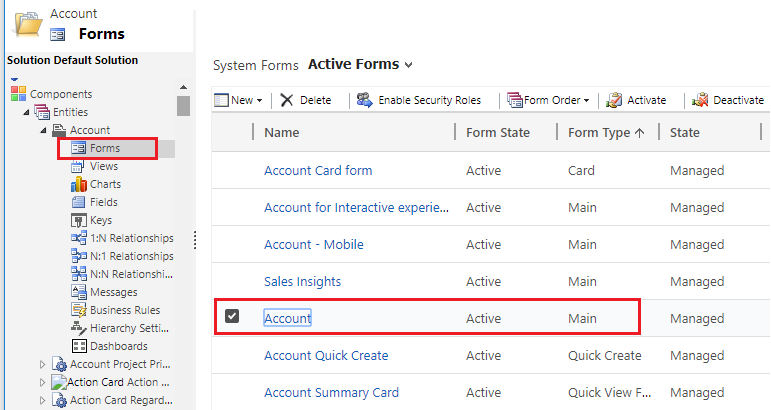
1) Navigate to Default Solution Settings -> Customizations -> Customize the System -> Expand Entities and select the entity.

2) Expand the selected entity and open the form on which the Map My Relationships view needs to be added.
3) The next step is to bind a Map My Relationships control to any text field. The Best approach is to create a new text type of custom field. Add a custom text field on the form wherever the users/administrator likes to see it. There is no limitation on where to add the Map My Relationships view on the form.
Go to existing tab or a new tab on the form and add newly created custom field in the section.
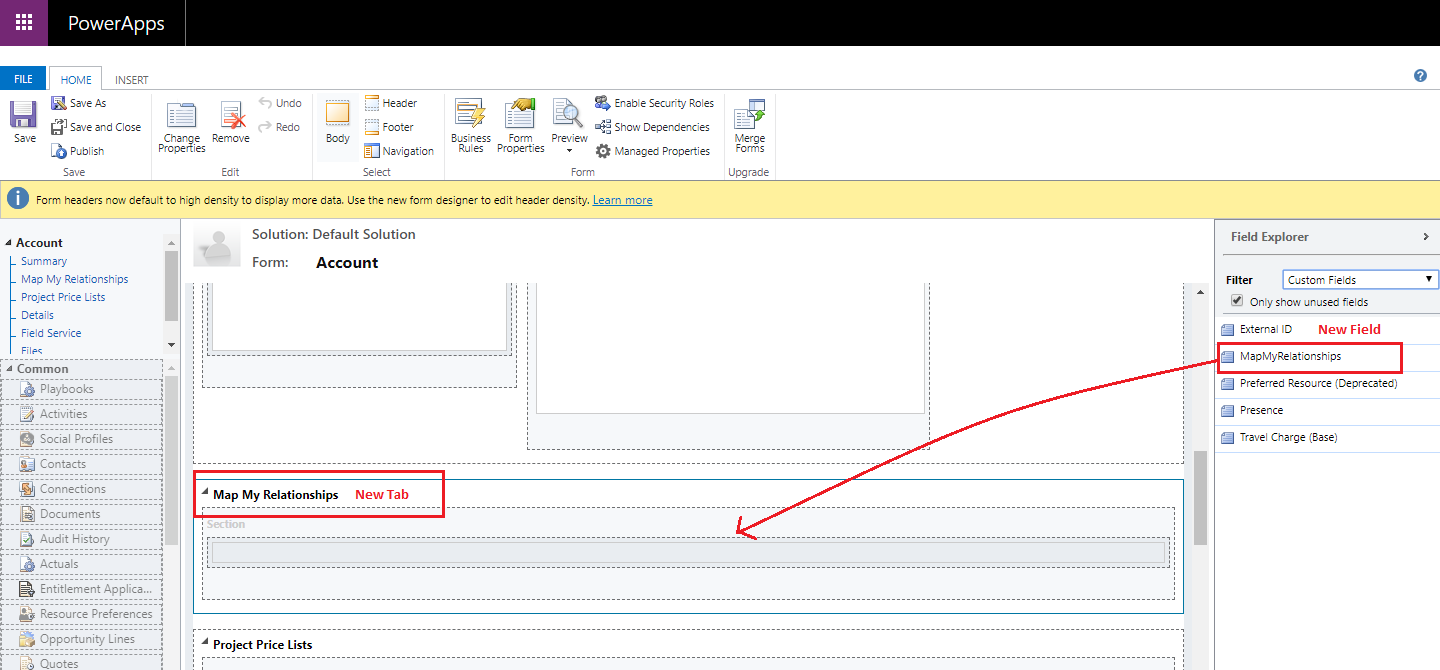
Note: New field of type text is required to bind Map My Relationships control. The field does not hold any data.
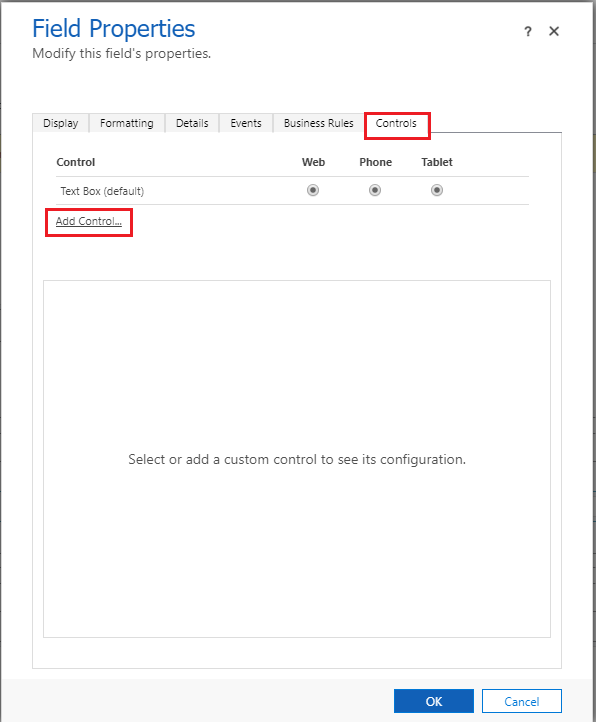
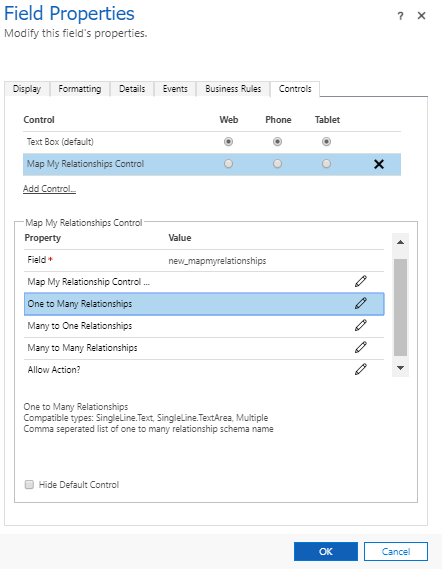
4) Edit the properties of the field and bind control. In field properties, go to Controls and then click on Add Controls button.
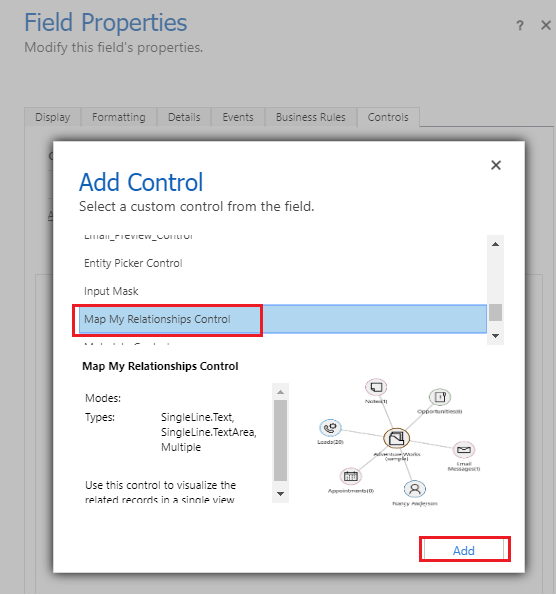
Scroll down from the list of control and select the Map My Relationships control and click on ‘Add’ button.
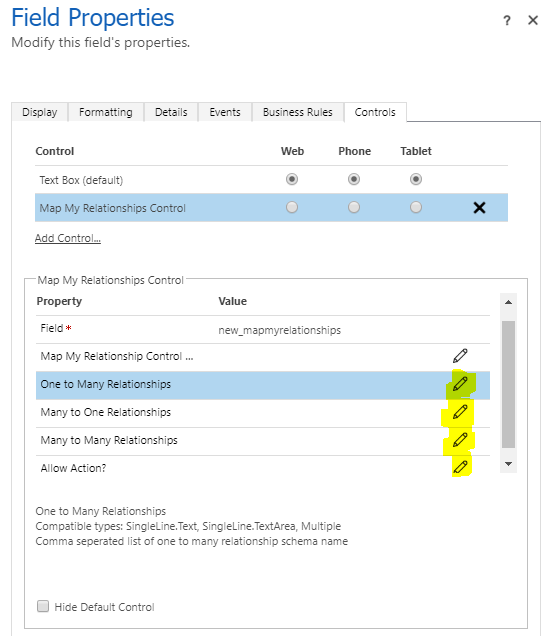
5) Fill in the values for following properties, ‘One to Many Relationships’, ‘Many to One Relationships’, ‘Many to Many Relationships’ and ‘Allow Actions?’
The first property ‘Map My Relationships Control Configuration’ is for advanced configuration. (see section)
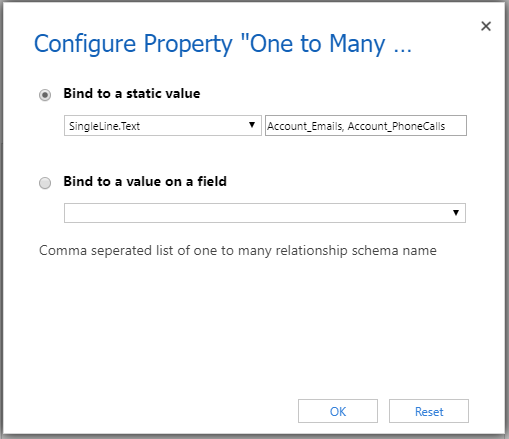
One to Many Relationships: Enter the comma separated one to many relationship schema names.
Ex: Account_Emails, Account_PhoneCalls
Here Account is the primary entity where control is being added and Email and Phone calls are related to account as 1:N relationship. This will show emails and phone call of the account record.
Click here to to know how to find relationship schema name.
Many to One Relationships: Enter the comma separated many to one relationship schema names.
Ex: account_primary_contact, account_originating_lead
Here Account is the primary entity and contact (Primary Contact) and lead(Originating Lead) are the related entity with N:1 relationship.
Click here to to know how to find relationship schema name.
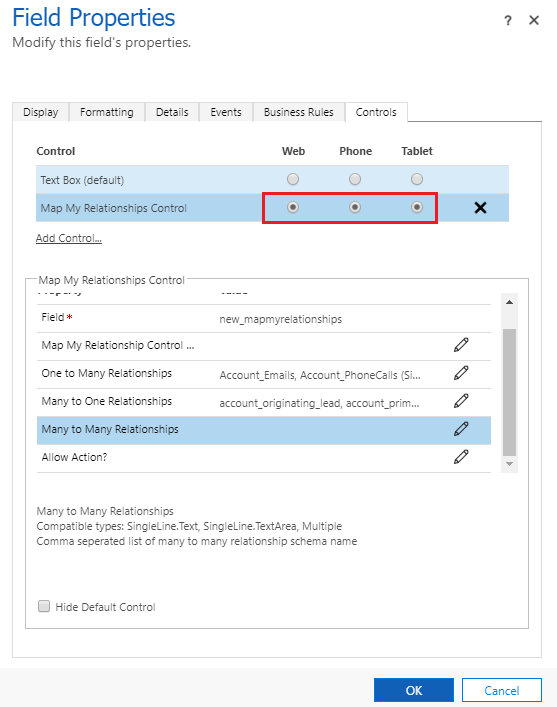
Many to Many Relationships: Enter the comma separated many to many relationship schema name.
Allow Actions?: Specify whether the user should be able to perform actions such as Create Email, Create Phone Call or Create Task. Enter 0 for Yes and 1 for No. Default is Yes i.e. 0.
6) Click the edit button which is present against the property. This will open a ‘Configure Property…’ window.
7) Select ‘Bind to a static value’ and enter the comma separated relationship schema name.
8) Repeat the above step for the other properties and fill the details.

9) Select the device where the control should be displayed. Click ‘OK’ to save changes.
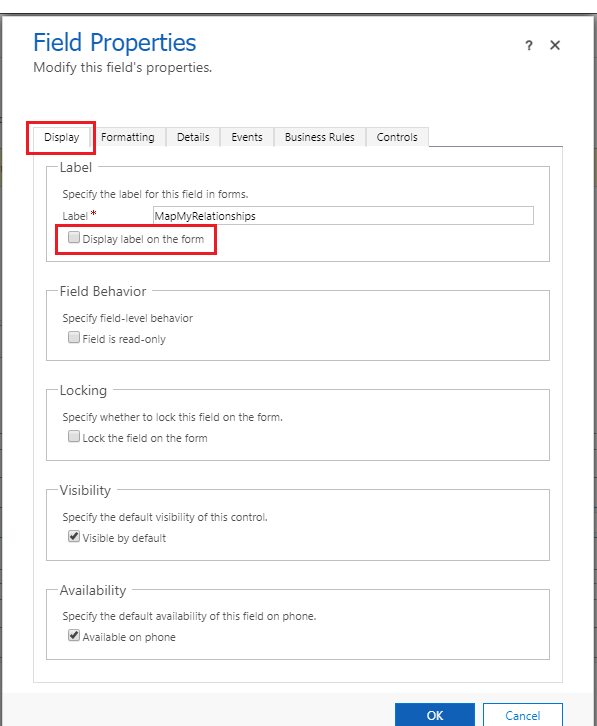
10) Go to ‘Display’ field properties and uncheck ‘Display label on the form’.
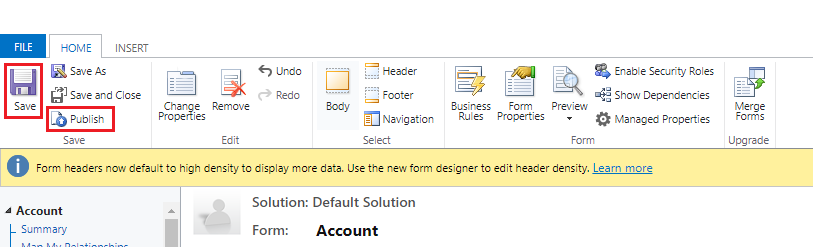
11) Save form and publish customizations.
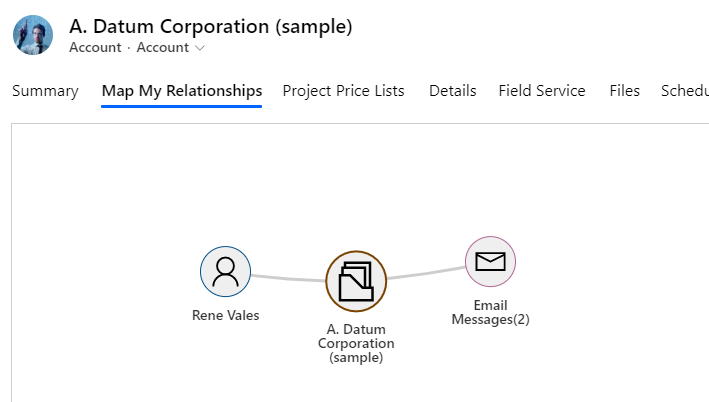
12) After publishing successfully navigate to the record and check if the Map My Relationships control is working or not.
13) If the control shows following message, ‘Something went wrong. Please check the configuration’ then check if the invalid relationships has been added in the properties or not. We can only add those relationship records which are available to read.
For more info, please visit our Website.
If you have views and suggestions feel free to share them at crm@inogic.com
Go back to Map My Relationships InfoCentre homepage.