Please follow the below steps to create Azure Active Directory (AAD) app:
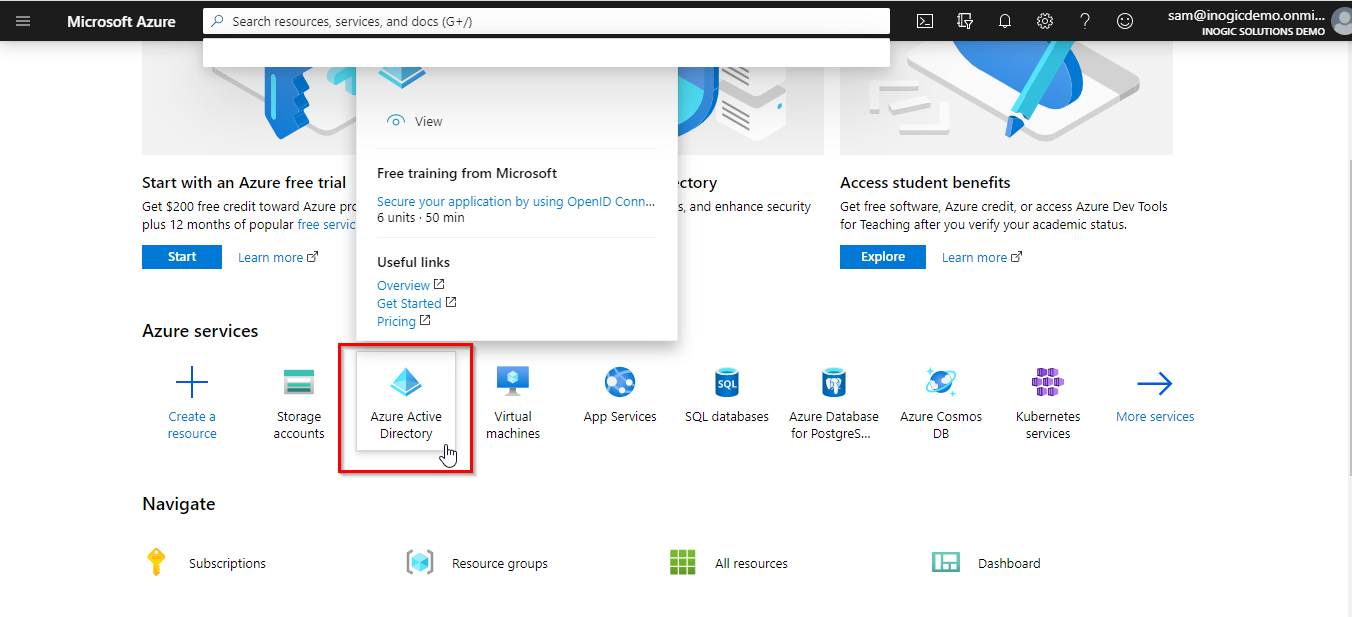
Step 1 – Login into Azure portal – https://portal.azure.com/
Step 2 – Click on Azure Active Directory.
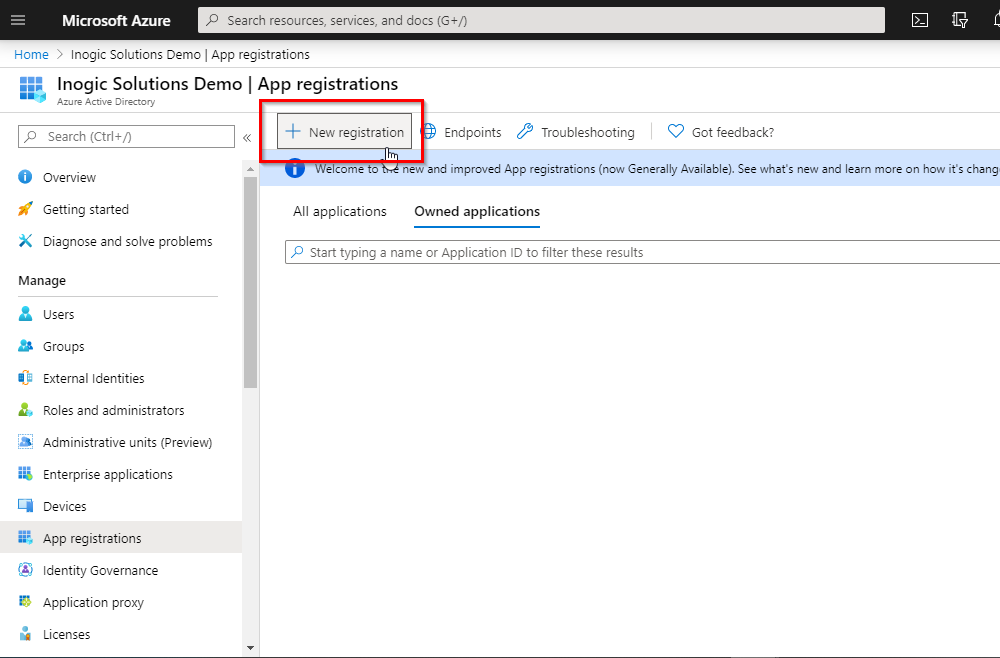
Step 3 – Navigate to App registrations and then click on new registration.
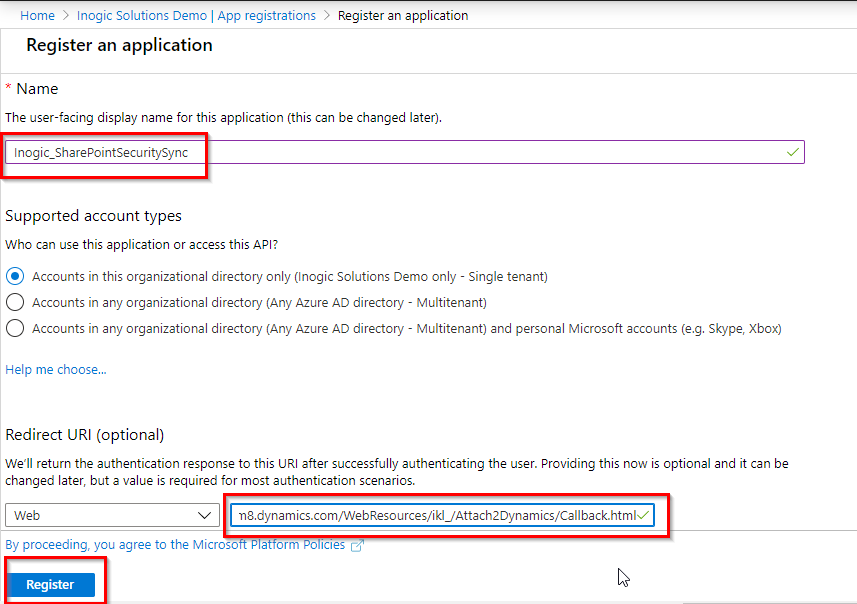
In display name of app:
If you are going to use this app for Attach2Dynamics then ‘Inogic_Attach2Dynamics’ or if you are going to use it for SharePoint Security Sync then ‘Inogic_SharePointSecuritySync’.
Redirect URL should be in the below format:
‘CRMUrl/WebResources/ikl_/Attach2Dynamics/Callback.html’
Here, CRMUrl is like – https://basket.crm8.dynamics.com. After filling these details click on Register.
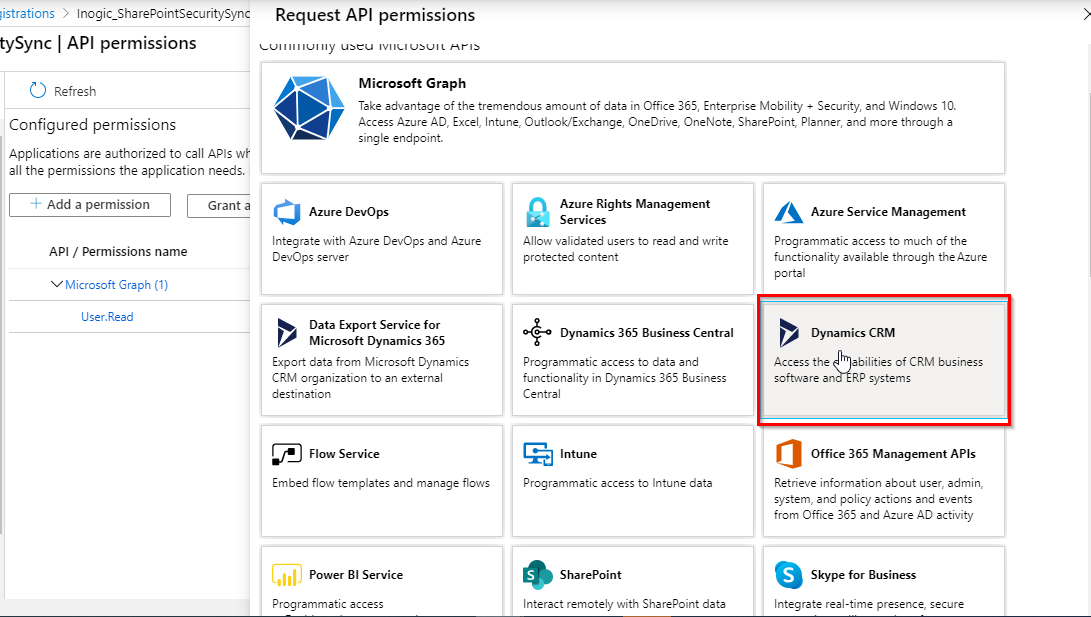
Step 4 – Now you need to give some permissions to app. So, navigate to API permissions. Here you need to add permission for Dynamics 365 CRM and SharePoint.
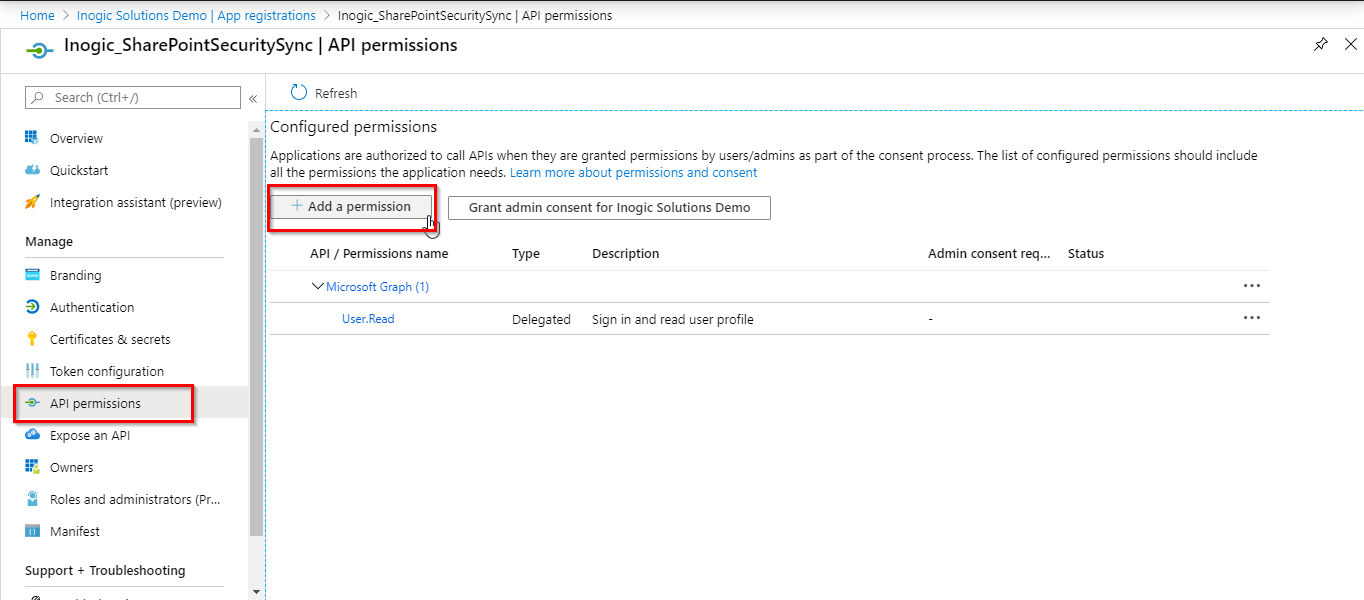
To add permissions, please follow steps shown in below screenshots.
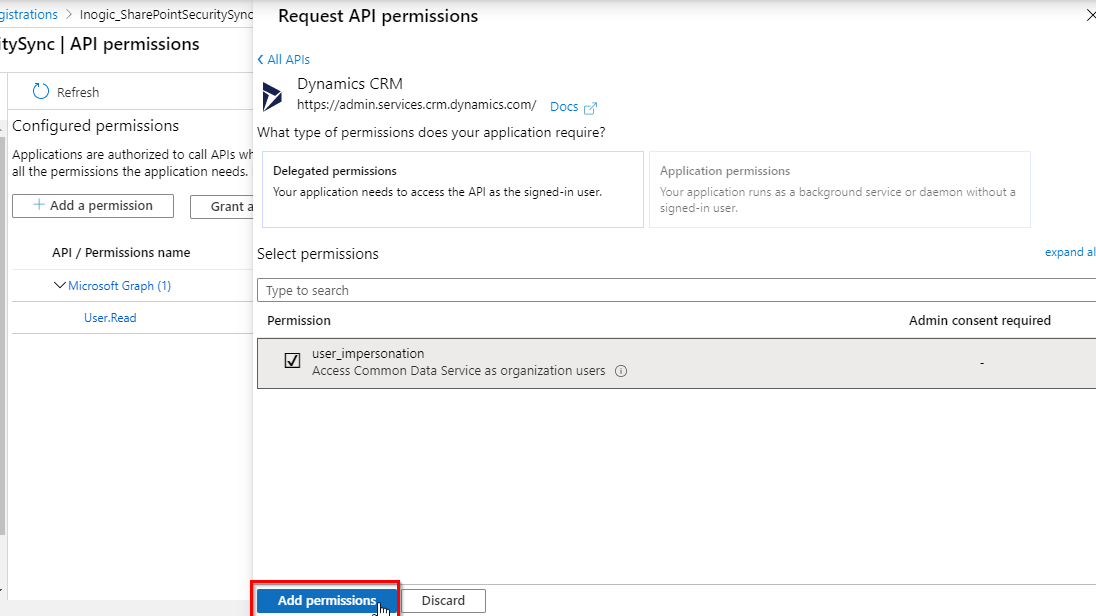
Adding Dynamics 365 CRM permissions:
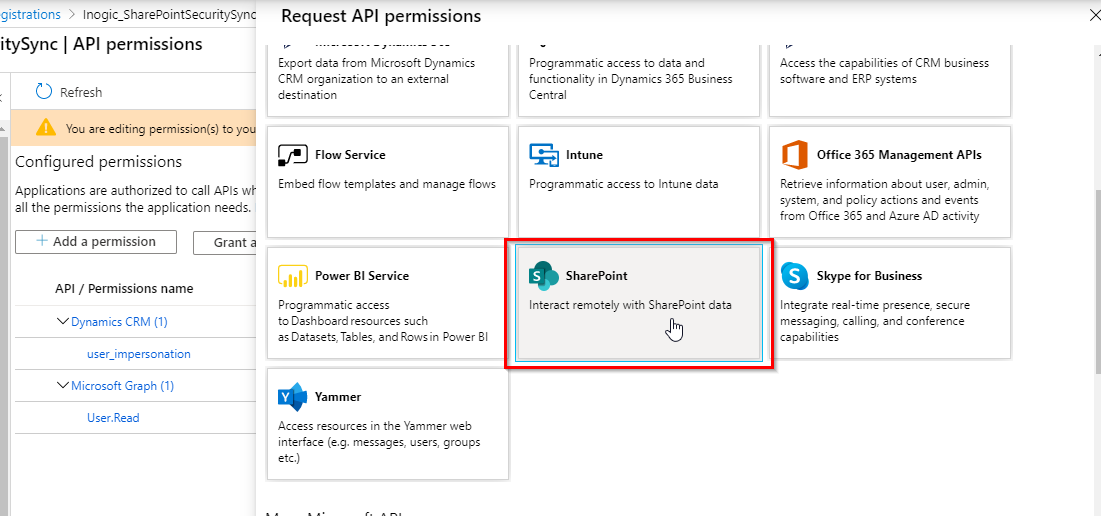
Adding SharePoint permissions:
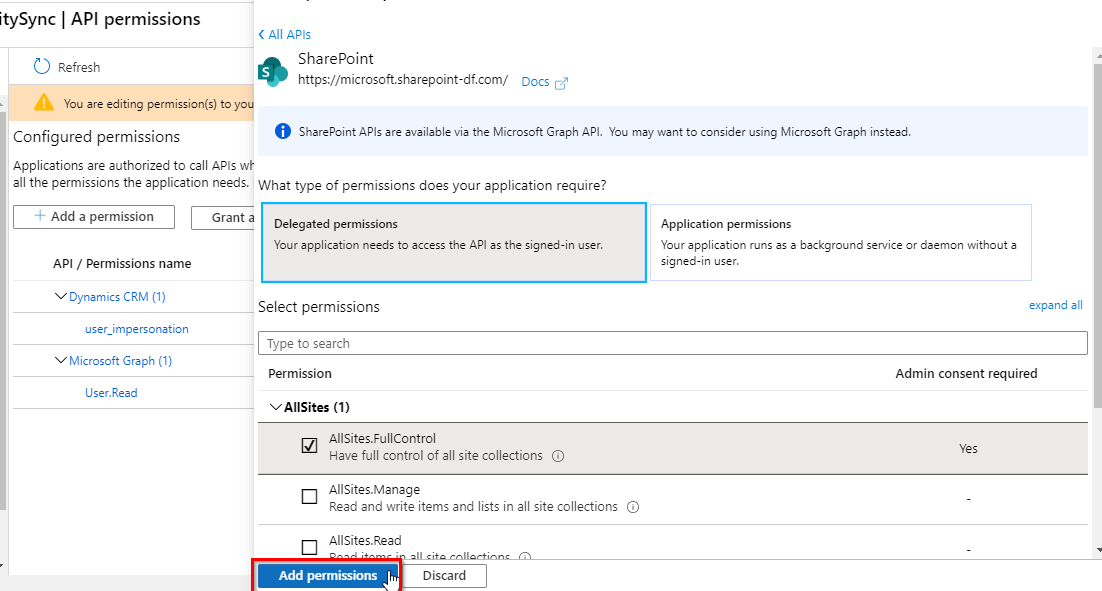
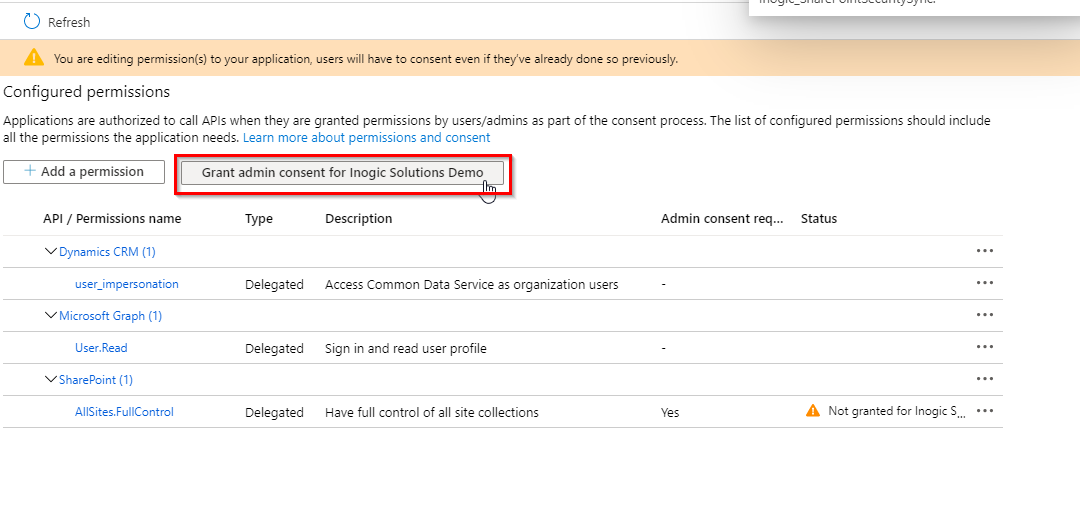
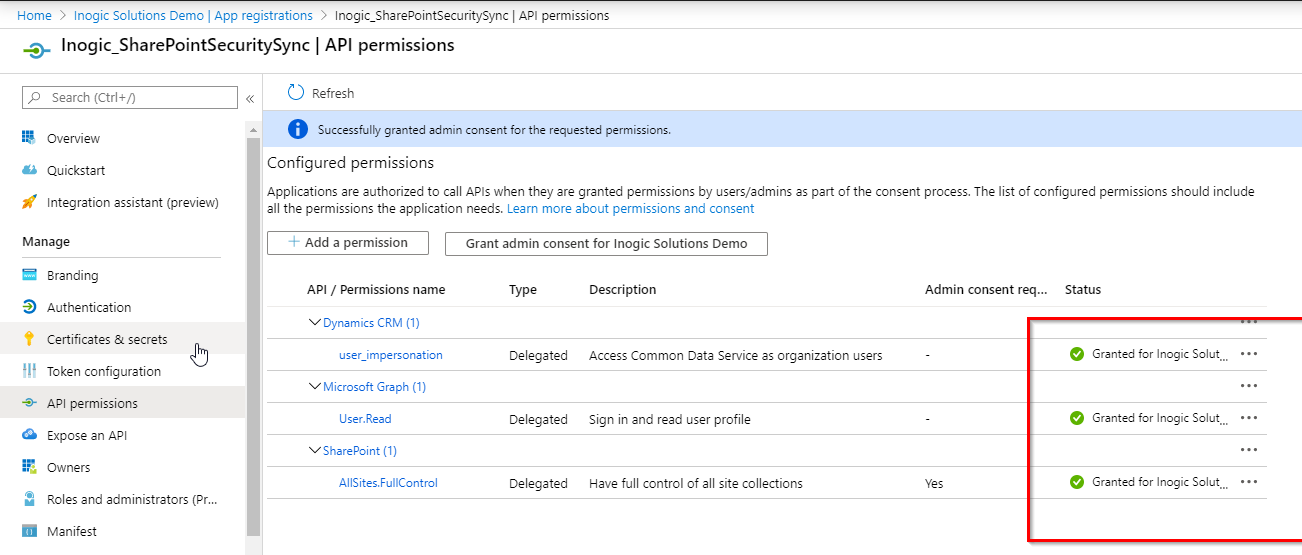
After adding permissions, we need to Grant this by clicking Grant admin consent button.
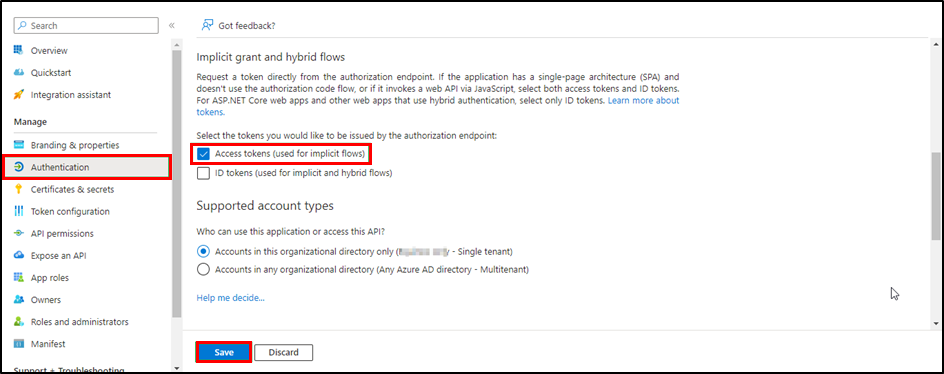
Step 5 – Navigate to Authentication, enable access tokens, and click ‘Save’.
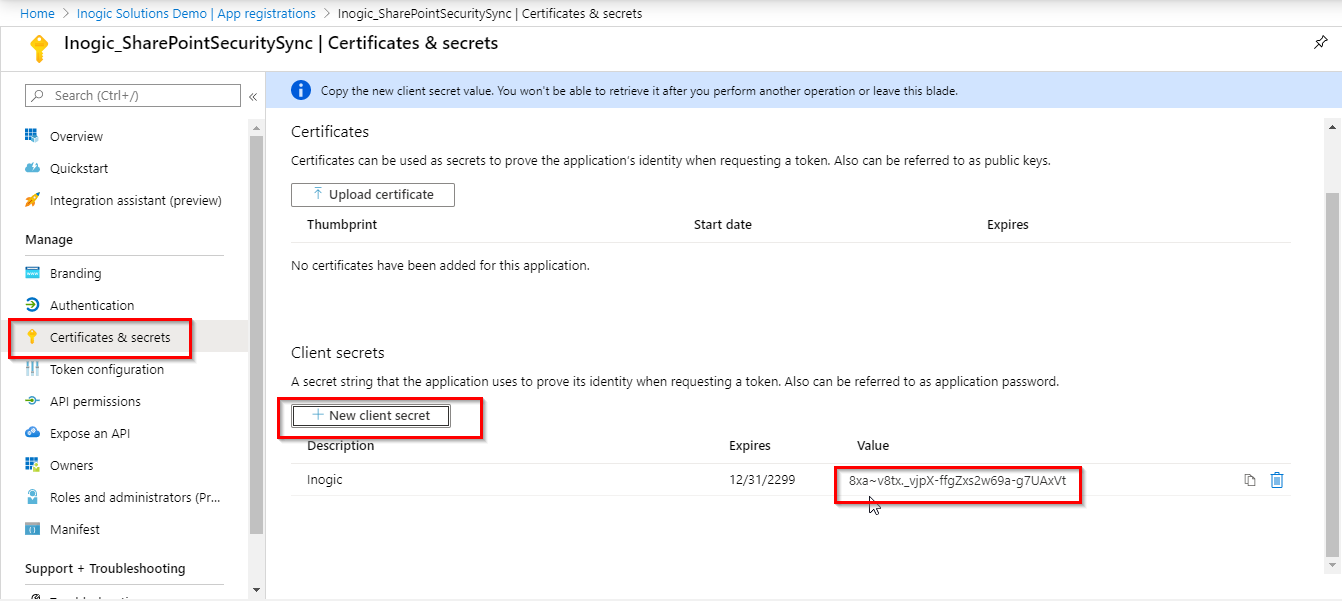
Step 6 – Now we need to create secret key. For this, navigate to Certificate & secrets and create secret key.
Please copy it immediately and keep it for future reference as it will disappear after some time.
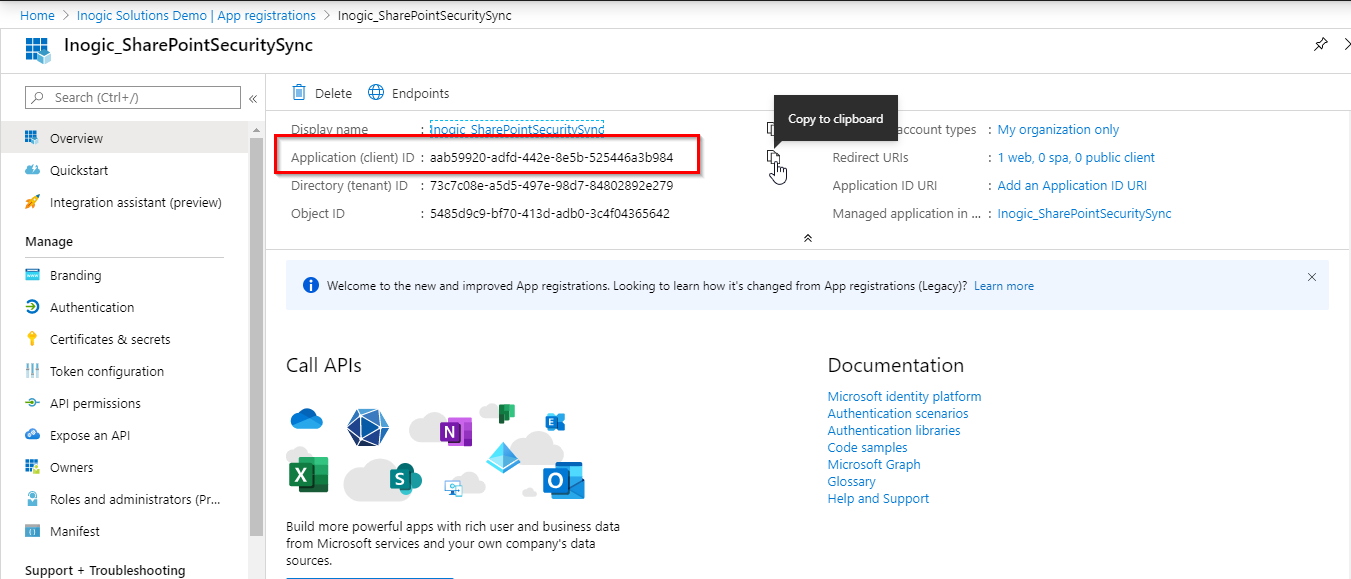
We are done with AAD app. Now copy your app id and secret key in connector credentials section and authenticate it.