Introduction
The new enhanced calendar control (Calendar Control V2) provides productive and intuitive ways to manage tasks across the team, provides sellers a peace of mind knowing that team tasks are organized, prioritized, and delivered.
By adding a new calendar control (Calendar Control V2) to an entity, user can see all records in a calendar view. User can view, create, and delete entity records in a day, week, or month view. And it can be added to any entity.
But by default, records are displayed in a read-only grid. However, when the Calendar Control V2 control is added to an entity and the view is changed to the calendar view; records associated with the entity will be displayed in an interactive calendar.
Add Calendar control to entities
1. In the app, select the Settings icon, and then select Advanced Settings.
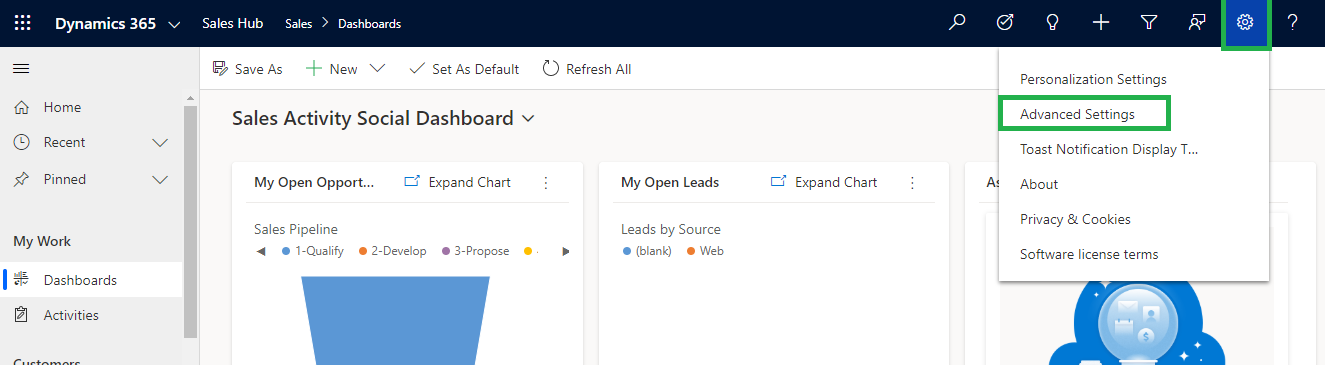
2. On select, the Business Managementpage opens in a new browser tab.
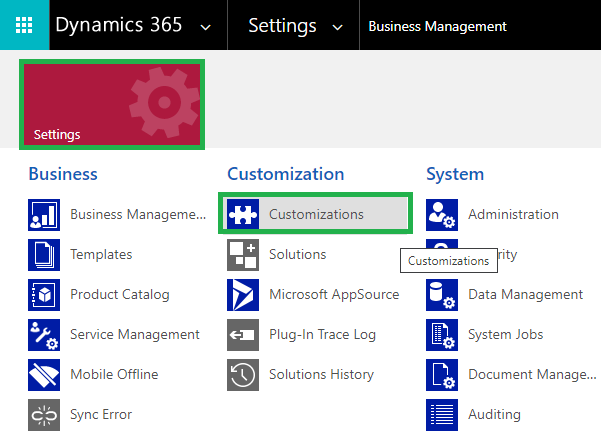
3. On the navigation bar, select Settings and then under Customization, select Customizations.
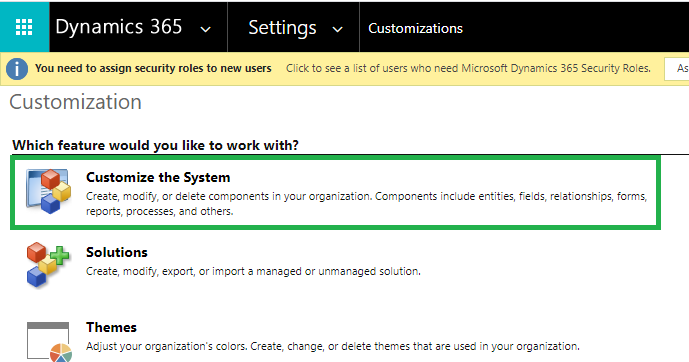
4. Select Customize the System.
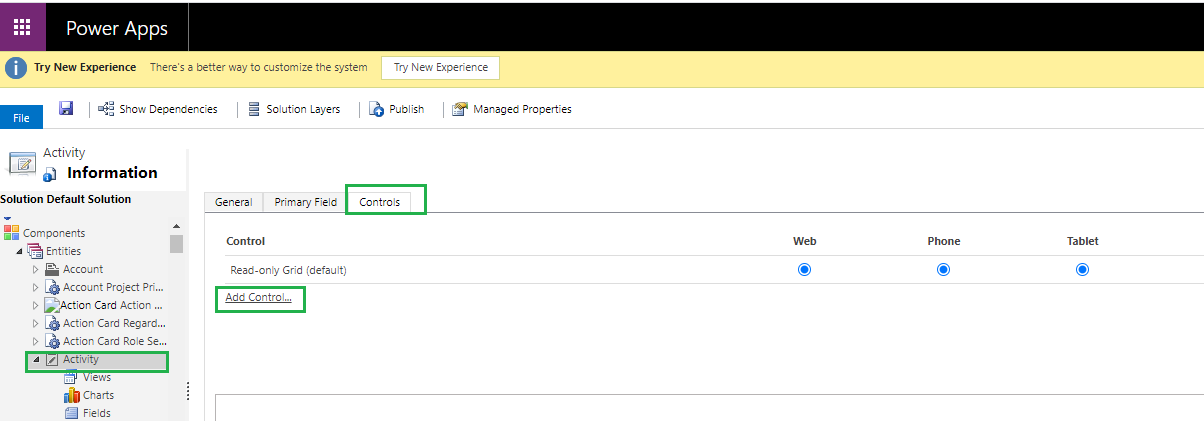
5. Under Components in the solution explorer, expand Entities, and then select an entity.
For example, Activity.
6. On the Controls tab, select Add Control.
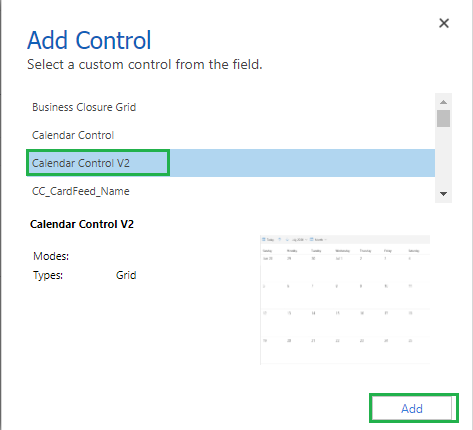
7. In the Add Control dialog box, select Calendar Control V2, and then select Add.
8. The calendar control is added to the list of controls.
9. Select the edit icon for each of the mandatory fields and then select the binding values.
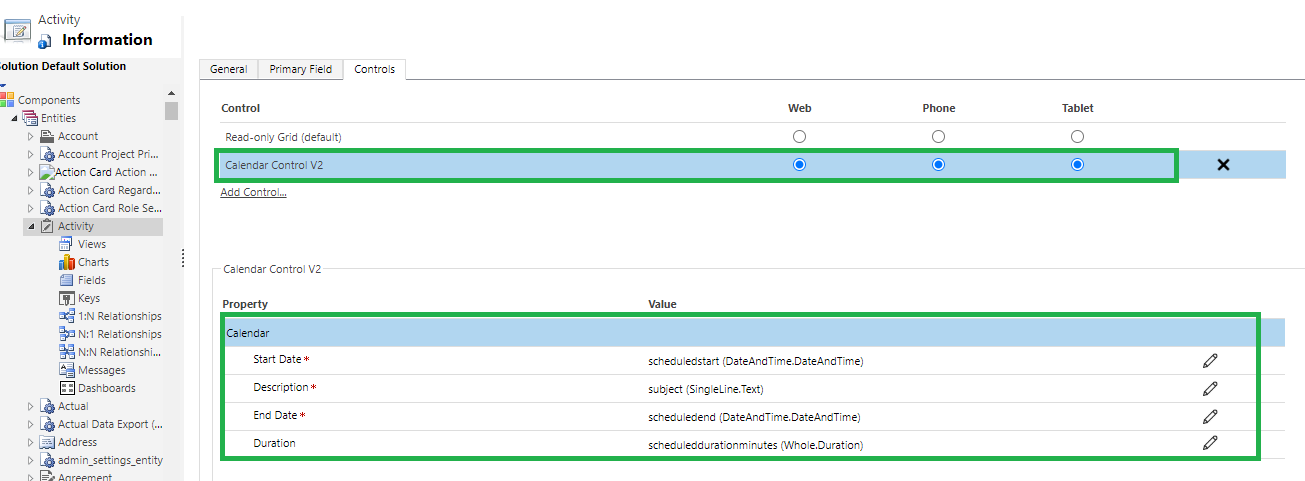
Start Date: Select the field based on which you want to display ‘Start Date’ of record.
E.g. ‘Start Date (scheduledstart)’ field.
Description: Select field to show as a description in the calendar view.
E.g. ‘Subject (subject)’ field.
End Date: Select the field based on which you want to display ‘End Date’ of record.
E.g. ‘End Date (scheduledend)’ field.
10. Select Save to save your changes and Publish.
Switch to the new calendar view
The calendar view is made available when the calendar control is added to an entity view. To switch to the new calendar view, follow the steps given below:
1. In the site map, select Activities.
2. On the command bar, select the More commands icon, and then select Show As > Calendar Control V2.
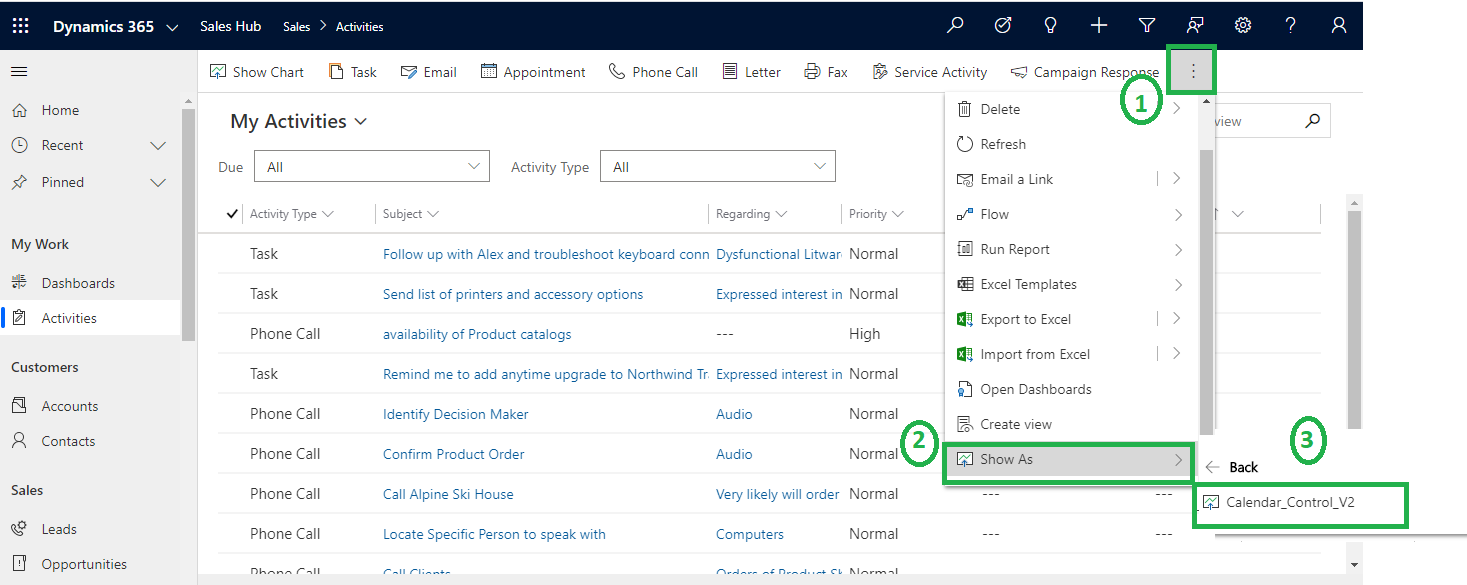
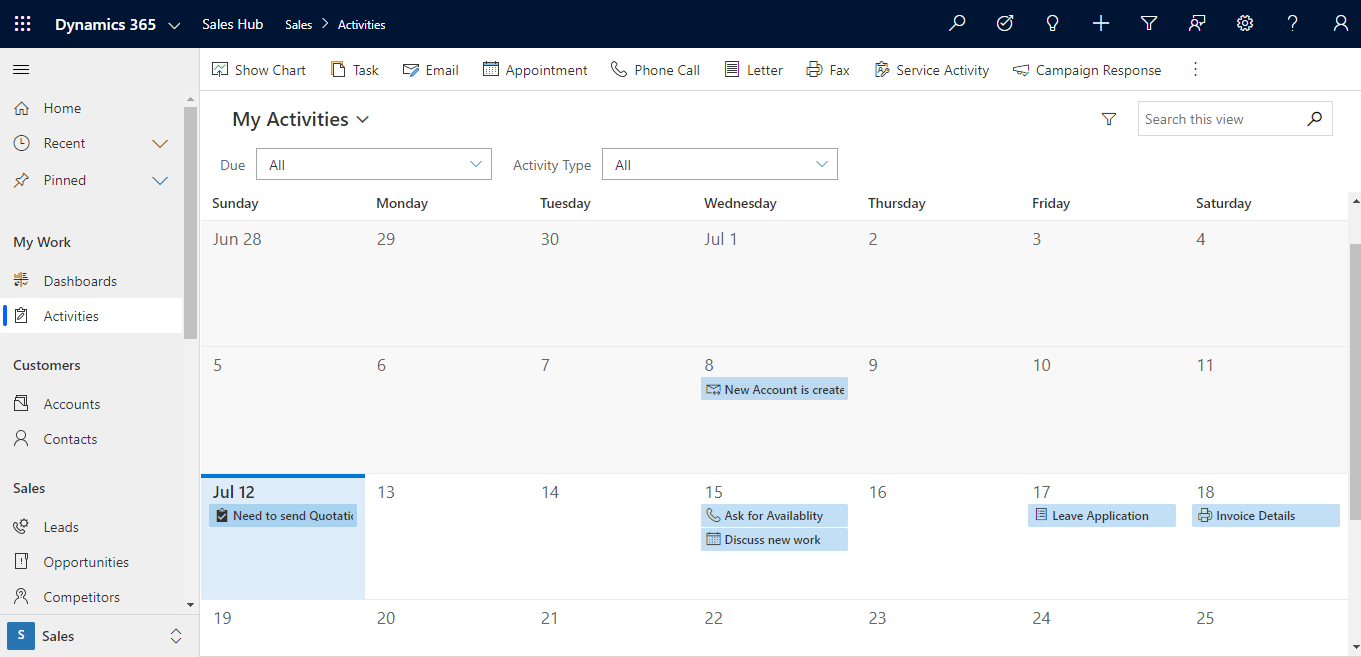
3. On select, the activities will get displayed in the new calendar view.
Work with the new calendar view
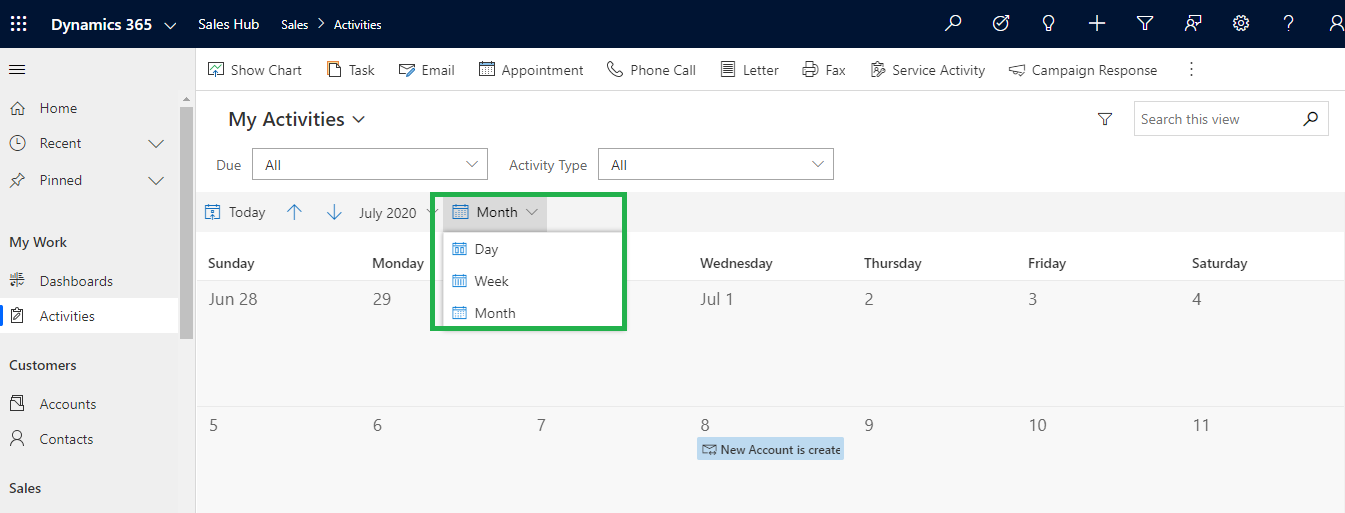
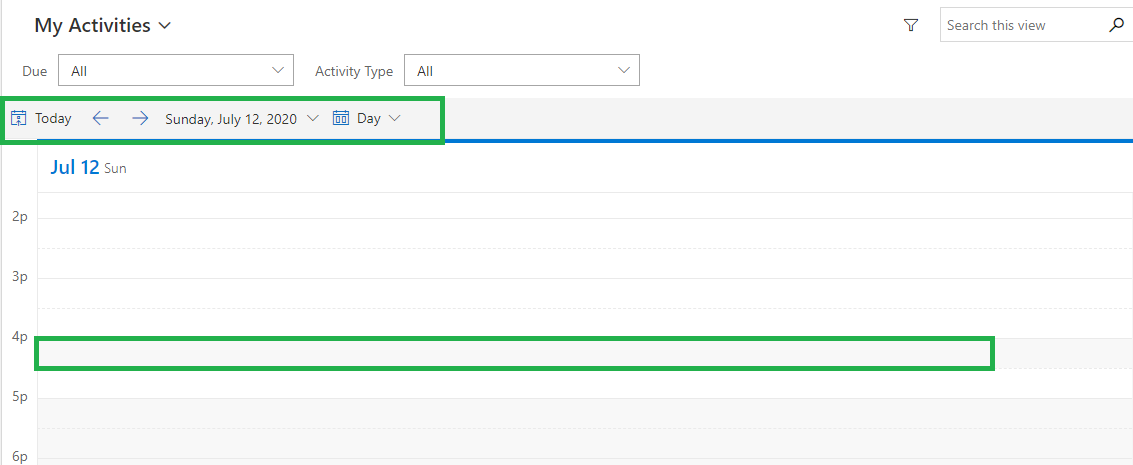
1. Change the Calendar view
From the navigation bar of the calendar, select any of the below view to see the records in calendar views:
- Day: View the current day.
- Week: View the week from Sunday to Saturday, by default. User can change the first day of the week in system settings.
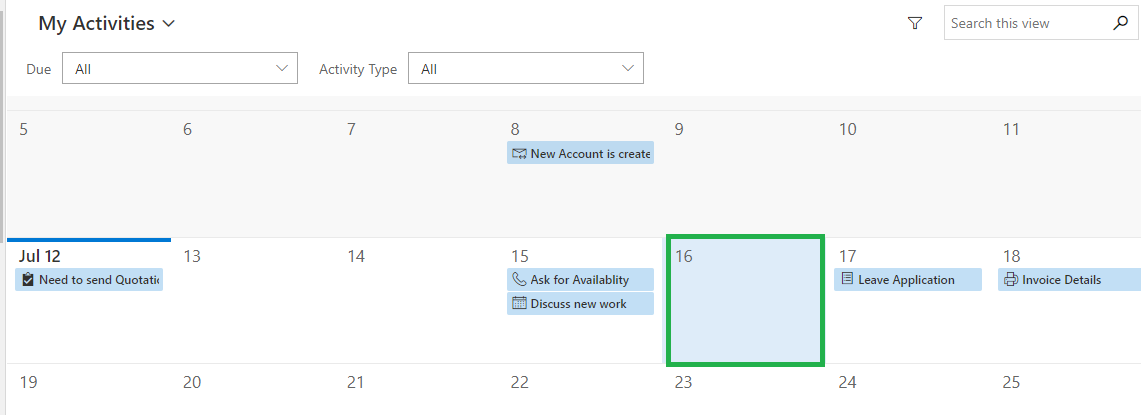
- Month: View the entire month.
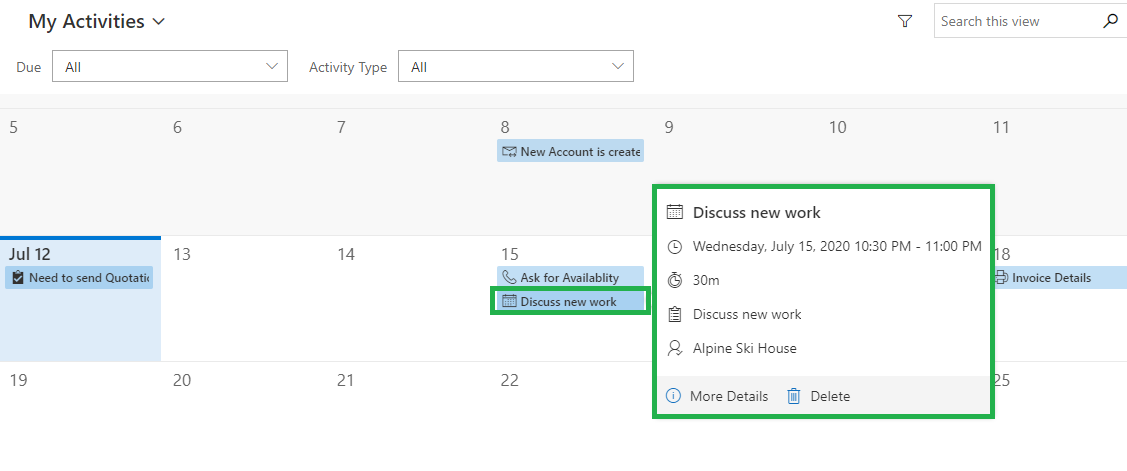
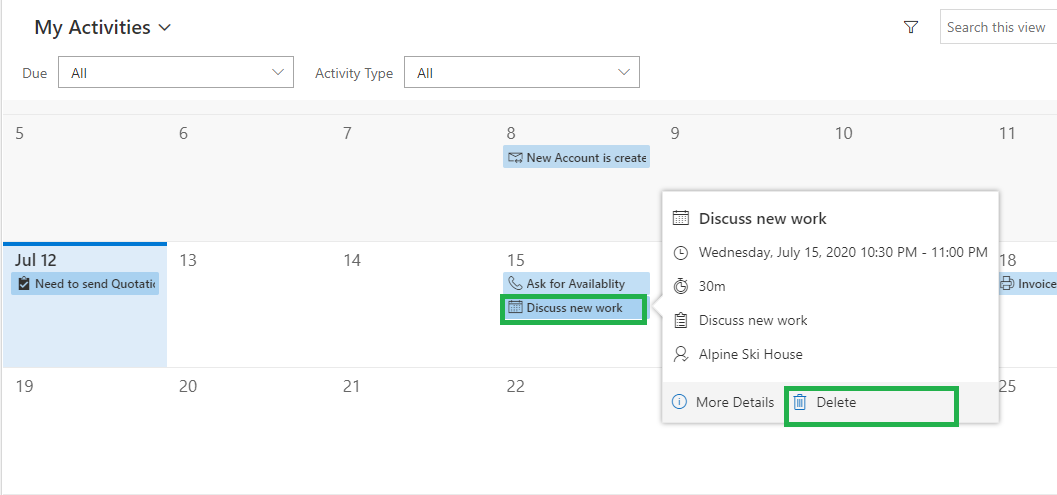
2. View records details of a calendar item
Click on the record to view summary in the calendar. A pop-up window opens and displays the summary information.
Record details for an Activity Entity
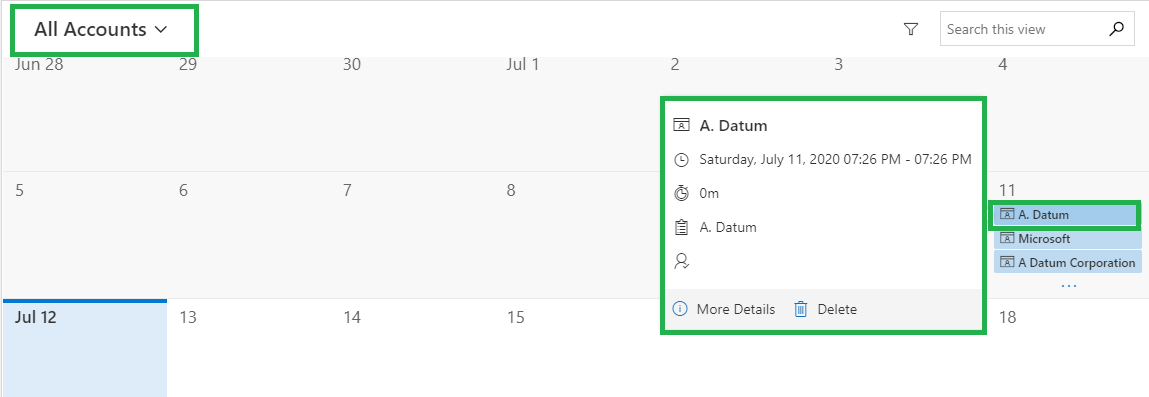
Record details for an Account Entity
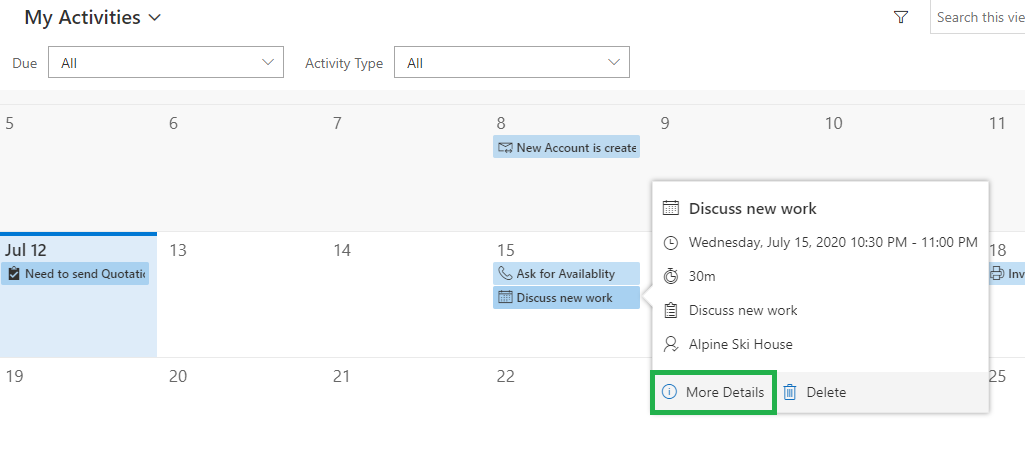
Also, user can view complete details of the record by clicking More Details as shown below:
3. Create and delete record from the Calendar
The new calendar view allows to create and delete records from the calendar.
Create a record
- In the calendar, double-click a date tile (in Month view) or select a time slot (in Day or Week view) in which you want to create a record.
Note:
- For an activity entity, an appointment is created when new record is created from the calendar. And start and end times are filled-in automatically as per the selected date tile or time slots. By default, the duration is set to 30 minutes.
- Based on the entity on which calendar control is added, new form is opened. For example, if you are viewing accounts, a form to create new account is opened.
- Fill the details, and save the record.
Delete a record
- On the calendar, select the record you want to delete.
- Select Delete in the pop-up window.
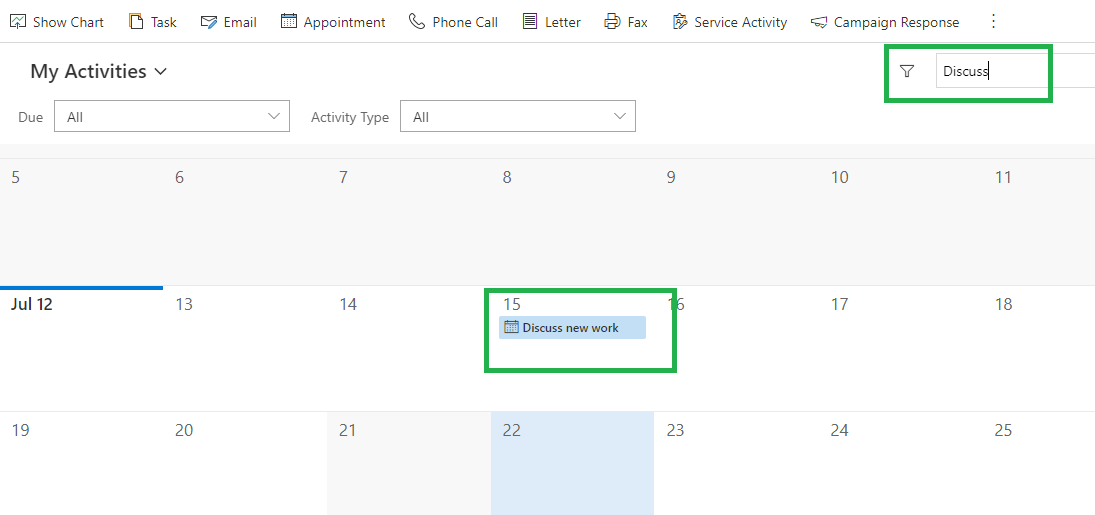
4. Search Records
User can use the Search box to filter the records in the calendar based on a search term.
For example, enter keyword Discuss, it refreshes the calendar view to show only the records where the title begins with Discuss.
Conclusion:
As illustrated above, the new calendar view helps user to create, view, find and manage the records easily in Dynamics 365 CRM.
Questions:
Calendar control (v1) had an option for color, does Calendar control v2 have a way to extend color to a category of events?
Currently, there is no OOB way to do the same as while configuring property for a Calendar control v2, we are only getting an option to select fields for Start Date, End Date, Description and Duration.
Thanks!
Is there a way to customize the fields showing in the pop-up window mentioned in “2. View records details of a calendar item”?