Introduction:
InoLink gives you the freedom to configure integration preferences for data synchronization between Dynamics 365/CRM and QuickBooks. You can choose to move data from Dynamics 365/CRM to QuickBooks or vice versa. In this article, we will show you how you can configure integration preferences for Customers, Products, and Transactions synchronization in InoLink.
Video Tutorial:
If you need step-by-step instructions, continue reading.
Follow the steps mentioned below to configure integration preferences for Customers, Products, and Transactions (Quote, Invoice and Sales History) synchronization:
1. Configure integration preference for Customers sync:
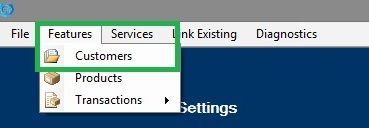
A. Navigate to Features > Customers as shown in the screenshot below;
B. You have the option to choose whether you want to sync data from ‘CRM to QuickBooks’ and/or ‘QuickBooks to CRM’ as shown in the screenshot below;

C. You can see in the above screenshot that under both the sections you have ‘Name Matching Criteria,’ ‘Deadlock Win,’ and ‘Allow Primary Contacts to Sync.’ Let us explore these settings in detail;
1. Name Matching Criteria: You have two options here, ‘Exact’ and ‘Pattern.’ Select ‘Exact’ when you want InoLink to look for an exact name match. Select ‘Pattern’ when you want InoLink to perform a pattern match to cover for any typos in data entry in the two systems.
2. Deadlock Win: If you want to configure two-way sync, then this setting will allow you to define the application that will hold the last change, in case changes are made in both systems to the same record.
3. Allow Primary Contacts to Sync: Accounting Contacts might be different from the Business Contact stored in Dynamics 365/CRM. You may not want to override the Primary Contacts in the two systems. However, if you would like to sync this information, this setting allows you to sync Primary Contact field from Dynamics 365/CRM to the Contact field in QuickBooks.
D. Select the settings as per your preference and click on ‘Save’ to save the configurations as shown in the screenshot below;

2. Configure integration preference for Products sync:
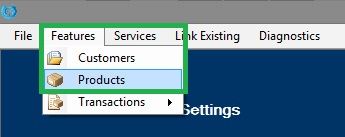
A. Navigate to Features > Products as shown in the screenshot below;
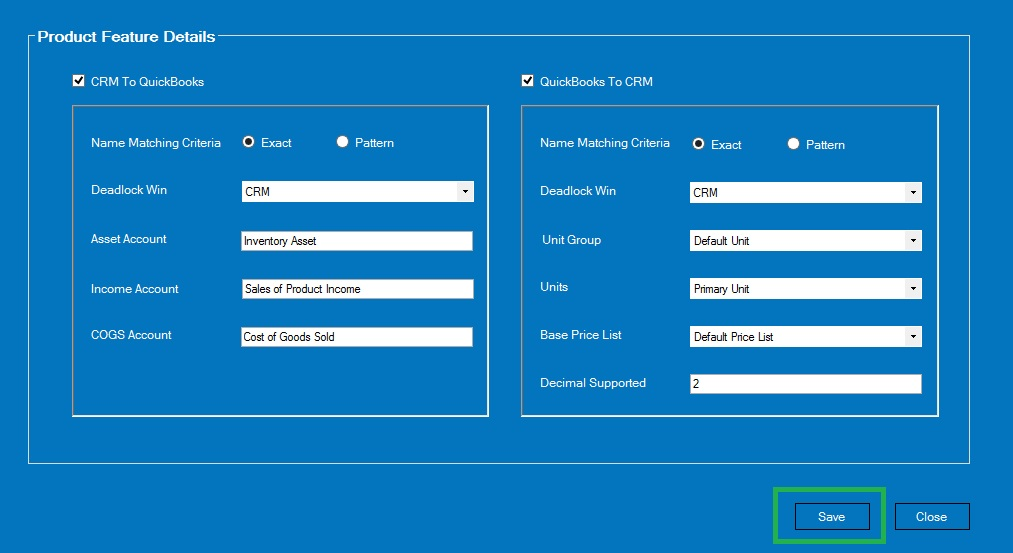
B. You have the option to choose whether you want to sync data from ‘CRM to QuickBooks’ and/or ‘QuickBooks to CRM.’ However, the settings for Products are different from those for Customers as seen in the screenshot below;
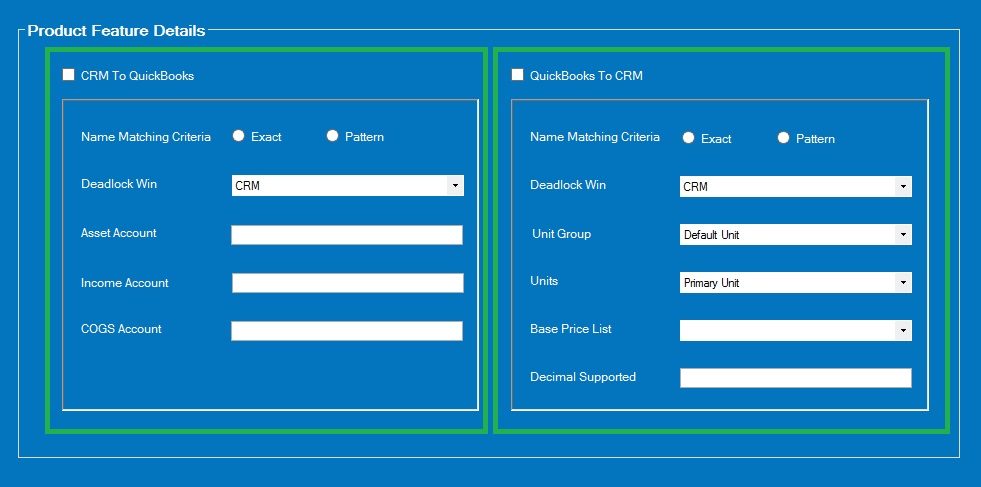
C. Let us explore the settings under ‘CRM to QuickBooks’ section first;
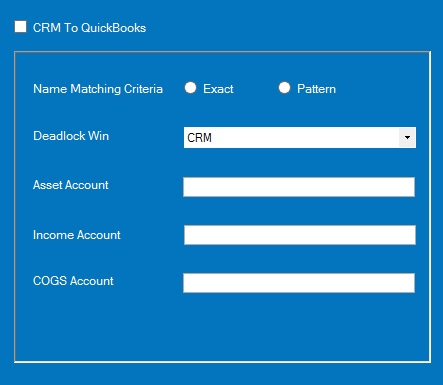
1. Name Matching Criteria, and Deadlock Win is same as explained for integration preferences for Customers sync above.
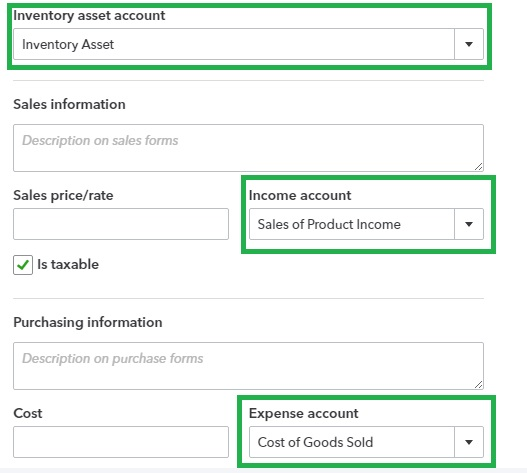
2. Asset Account, Income Account, and COGS Account: Every Product in QuickBooks needs to have Asset Account, Income Account, and COGS Account provided to handle the accounting transactions against these products correctly.
To find these accounts in QuickBooks, click on![]() Gear icon and then go to ‘Charts of Accounts’ as seen in the screenshotbelow;
Gear icon and then go to ‘Charts of Accounts’ as seen in the screenshotbelow;
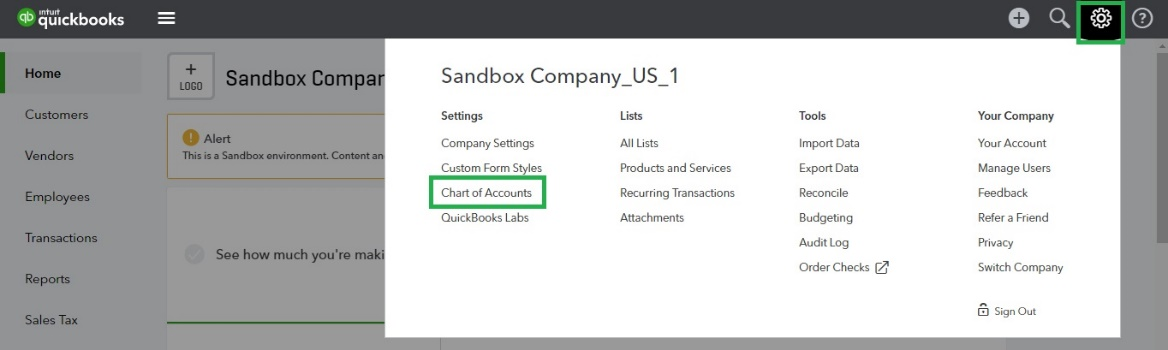
Here you can find these accounts as seen in the screenshots below;
![]()
![]()
![]()
When a Product is synced from Dynamics 365/CRM to QuickBooks it will set above Accounts as seen in the screenshot below;
D. Now, let us explore the settings under ‘QuickBooks to CRM’ section;
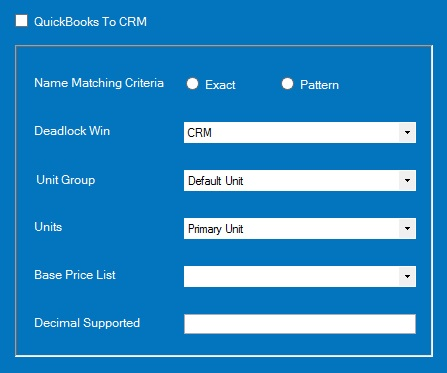
a. Name Matching Criteria, and Deadlock Win is same as explained for integration preferences for Customers sync above.
b. Unit Group and Units: In Dynamics 365/CRM, you need to specify the Unit Group and Units for Products. You need to enter the default Unit Group and Unit to be set for new products created in Dynamics 365/CRM from QuickBooks.
c. Base Price List: In Dynamics 365/CRM, Products need to have a Default Price List. This default value will then be used for Products created from QuickBooks. Price List Items for the Products would be set up for this Price List. If you are already using Price List in Dynamics 365/CRM, specify the Price List you have created to store the product prices.
d. Decimal Supported: Enter the Default value to be set for the Decimal supported attribute of the Product in Dynamics 365/CRM.
E. Once you have entered all the required details, click on ‘Save’ to save the configurations as shown in the screenshot below;
3. Configure integration preference for Transaction (Quotes, Invoice and Sales History) sync:
A. Go to Features > Transactions. Here you can set up the integration preference for Quote, Order, Invoice and Sales History.
B. Configuration for Quotes, Order and Invoice are exactly similar as seen in the screenshot below;
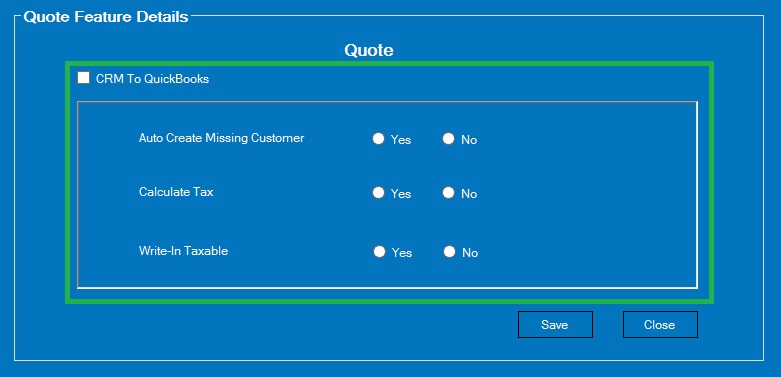
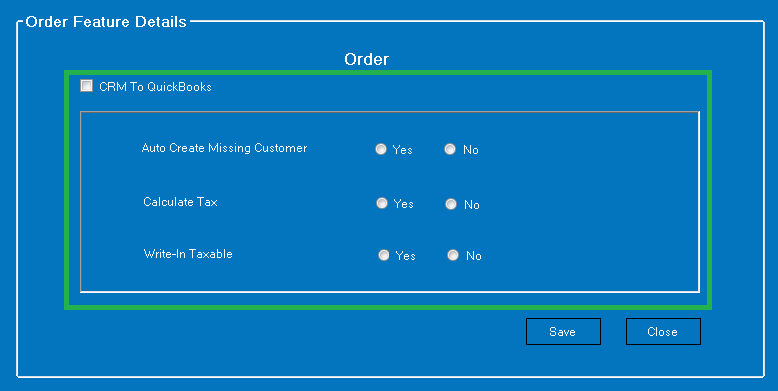
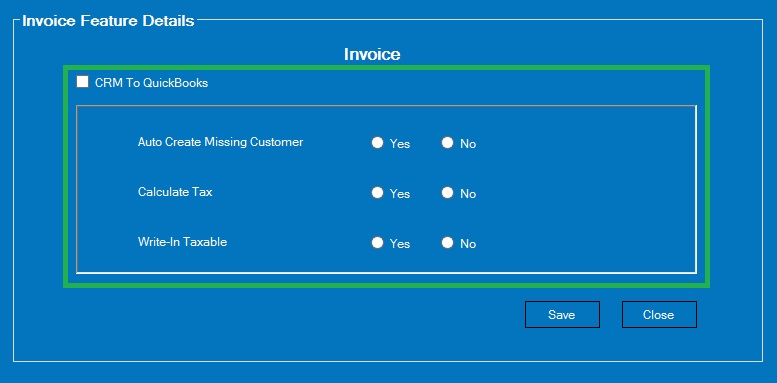
C. Let us discuss ‘CRM to QuickBooks’ sync configurations for Quotes, Order and Invoice in details;
a. Auto Create Missing Customer: If you want to automatically create a missing customer in QuickBooks when a transaction is promoted from Dynamics 365/CRM to QuickBooks, select ‘Yes.’ If you want to manually control the creation of customer records in QuickBooks, select ‘No.’ However, if you choose ‘No,’ the transaction will not be created if associated customer record is not found in QuickBooks.
b. Calculate Tax: Enabling this setting will automatically calculate and display Tax in Dynamics 365/CRM fields using the Tax Calculation feature in Dynamics 365/CRM. The details for tax calculation would be read from the associated customer and product. InoLink synchronizes the Sales Tax code of the Customer and Item in QuickBooks to the Dynamics 365/CRM Account and Product respectively.
c. Write-In Taxable: Enabling this setting will allow the Write-In Products in Dynamics 365/CRM to be taxable in QuickBooks when it is synced.
Note: This is not available in InoLink for QuickBooks Desktop.
- InoLink syncs and transfers the data of Order entity and creates and saves the data in Invoice entity
- InoLink syncs and transfers the data of invoice entity from CRM and saves it in Invoice entity in QuickBooks.
d. Select the settings as per your needs and click on ‘Save’ to save the configurations.
D. QuickBooks Sales History includes Estimates, Invoices, Sales Receipt, Credit Memo, and Payments.
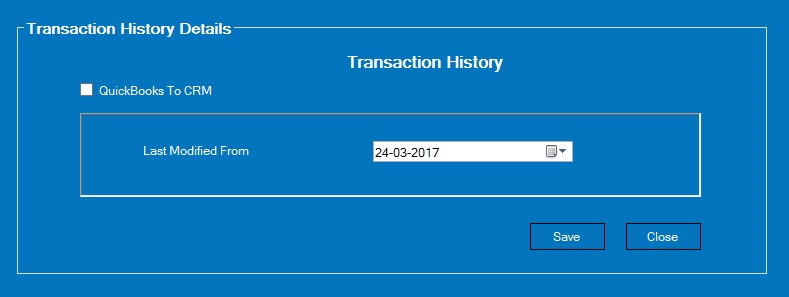
Here you have the option to enter the ‘Last Modified From’ date that should be used as the deadline for importing sales transaction from QuickBooks to Dynamics 365/CRM. Click on ‘Save’ to save the configuration.
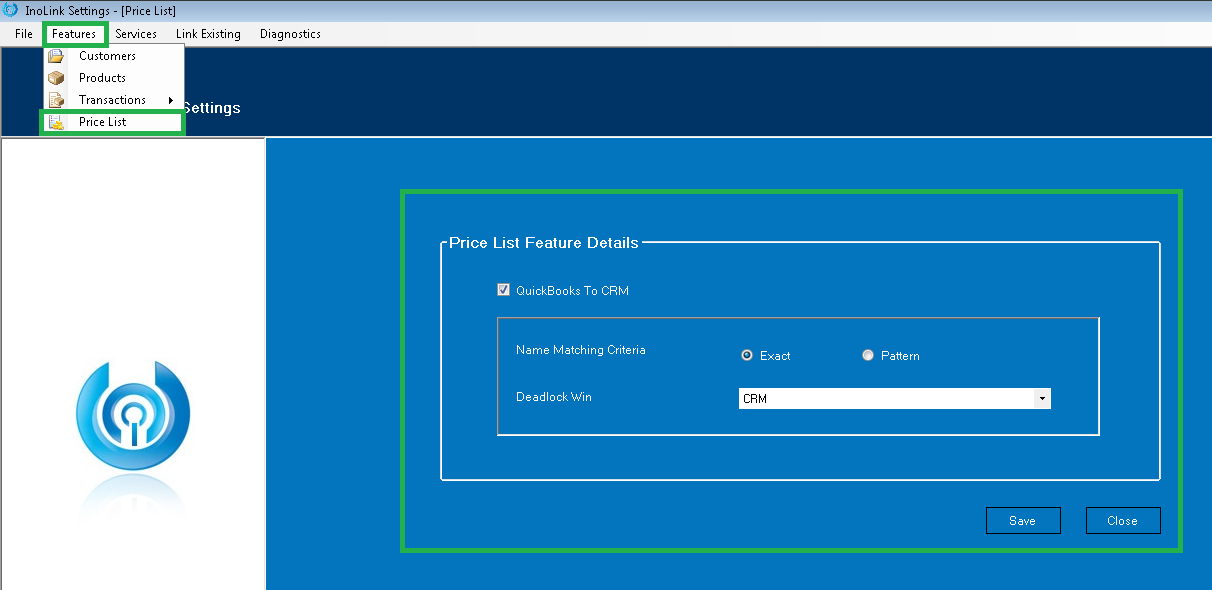
4. Configure integration preference for Price List sync (only for InoLink for QuickBooks Desktop):
Conclusion:
Integration preference for Customers, Products and Sales Transactions is needed to be configured once, and now you are ready to use InoLink. However, before actually showing you the seamless sync, we will discuss some more necessary things in InoLink. In the next article, we will guide you through the steps needed to link existing Customers and Products with InoLink.