Introduction:
The much talked about Spring Release is now slowly being released across various geo for CRM Online. Let us take a look at what this release has to offer.
Leo updates are optional, i.e. after your CRM program and db has been upgraded to version 6.1.x you are now on the latest CRM release.

But to take advantage of the new features, you need to manually install the updates from Settings –> Administration
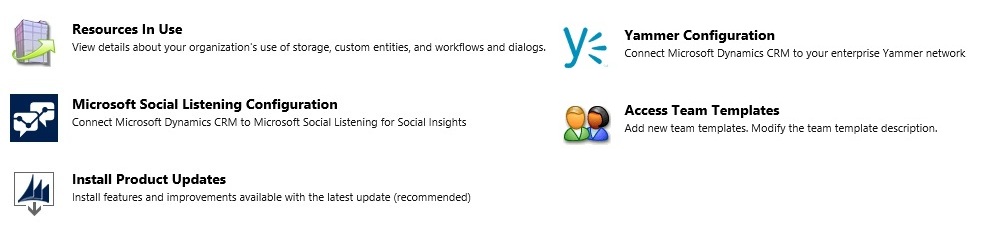
Yes it also has the Social Listening Configuration options now available. You however need to subscribe to Microsoft Social Listening to be able to integrate your CRM with Social Listening.
Service Management module:
This post focuses on the improvements and new features introduced in the Service Management module.
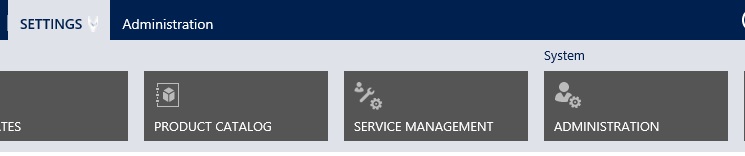
Once the updates have been installed the Service Management now has its own Area in Settings.
And these are all the features now available for the Service Module.
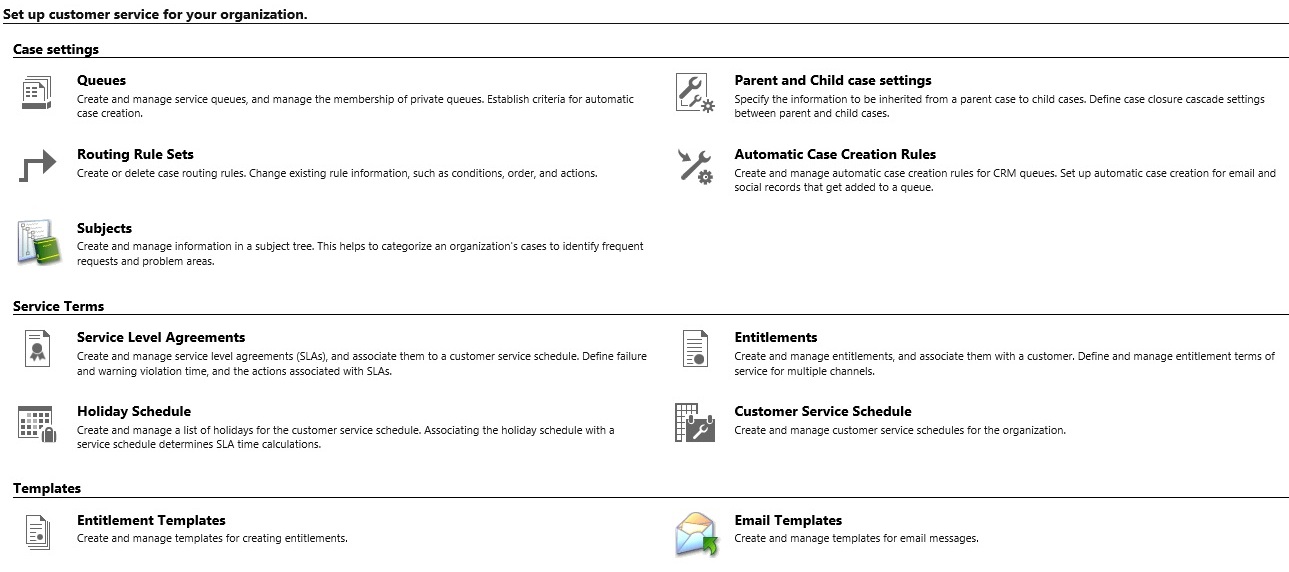
The idea is clearly to move towards Service Automation. So how would this work?
Well, to begin with, setup a Queue for receiving emails into CRM. In this version, Queues have been enhanced to now support Public and Private Queues. Public queues are visible to all. Something that was earlier available. And now there are private queues that are different from personal queues. You can associate members with Private Queue and all the members can access the items of that Queue.
Next, configure Server-side sync to enable emails to route to CRM automatically without the need for any manual tracking of emails. You can learn about Server-side in this blog.
You now have all mails in CRM. Using Automatic Case Creation Rules option, configure the conditions under which an incoming mail should automatically be converted to a Case. It has a detailed UI similar to the advance find filtering screen.
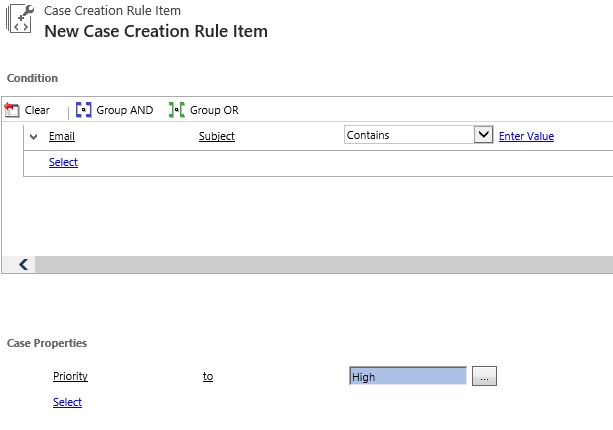
You can have multiple rules configured for case creation. The first rule that is satisfied by an email would be used to create the email.
Now that the Case has been created for the email, you can go ahead and configure where the case should be routed to automatically. Do this using the new Routing Rule Sets.
Similar to the Case Creation Rules, define the conditions for routing.
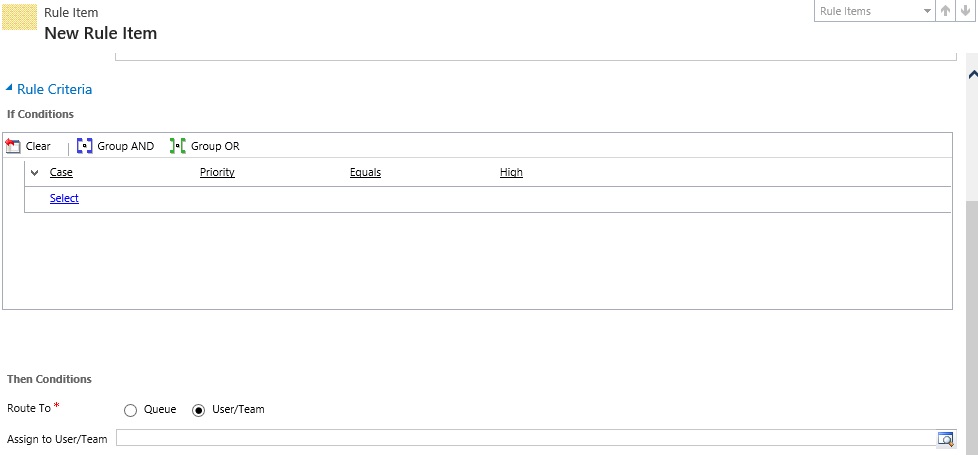
You can setup multiple routing rule items. The first condition that a case satisfies will be used.
Note: You can only have one Rule Set active at a time though.
The end-to-end Email to Case process has been automated without requiring any mail intervention.
Have you ever been in a situation where you receive multiple emails for the same issue and you would rather track them as a single Case or perhaps create a Parent case and associate all others as child cases to that one Case. Well, your wish has been granted in this version you can Create Parent – Child relationships for Case and also merge Cases.
To set the properties that should be inherited by the child case when creating a new Child case, use the Parent-Child Case Settings option. This option is the relationship mappings that we do as developers when configuring 1:N relationship. The below screen is a user friendly screen that allows users to configure the settings without having to customize the entity.
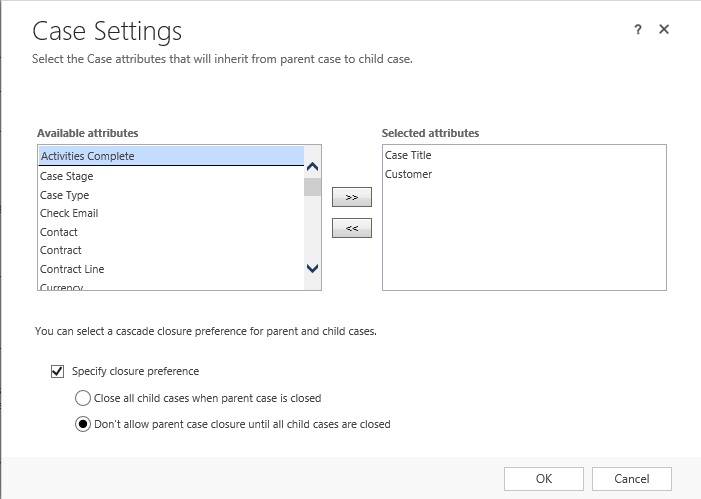
Besides the Mapping, it also allows you to define the Close behaviour for Parent & Child Cases.
The Merge option that was until now only available for selected entities like Account, Contact has now been extended to Cases. You can now merge cases and define the Case that becomes the parent.

And do you notice the fancy icons against the cases, well these represent the Case Origin. So yes you can now have Cases created in CRM from social channels as well.
Next, this version introduces the concept of SLA. Organizations can define their SLA and monitor the performance on the SLA.
You define SLA using the Service Level Agreements.
OOB they have provided First Response By and Resolve By indicators of SLA but you can go ahead and extend it to other custom fields you wish to monitor as well.
The SLA Item configuration screen
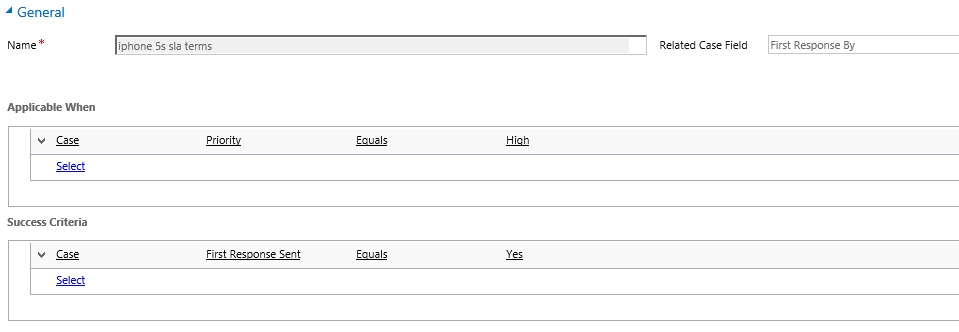
The Related Case field – select the field of which the SLA needs to be based off. This SLA Item Configuration defines the terms for the First Response By time for a Case.
Define the conditions under which this SLA Item is applicable to Cases.
The condition to determine if the SLA has been met.
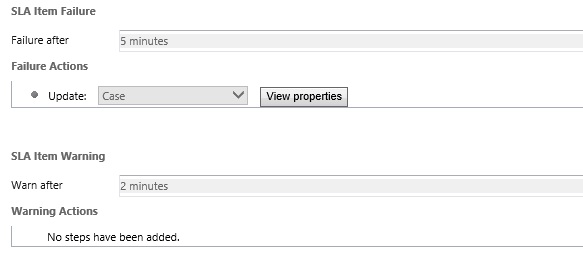
The Failure time defines your SLA for First Response by.
The SLA uses the workflow architecture and you can define the actions in case of failure of the SLA or to warn in case the Case is approaching an SLA failure.
You can set a default SLA for the entire organization or an associate SLA through Entitlements to each individual Case.
And yes, now let us look at Entitlements. What is Entitlements? Well it is the same concept of Contracts less the deficiencies of Contract that made it unusable in the past.
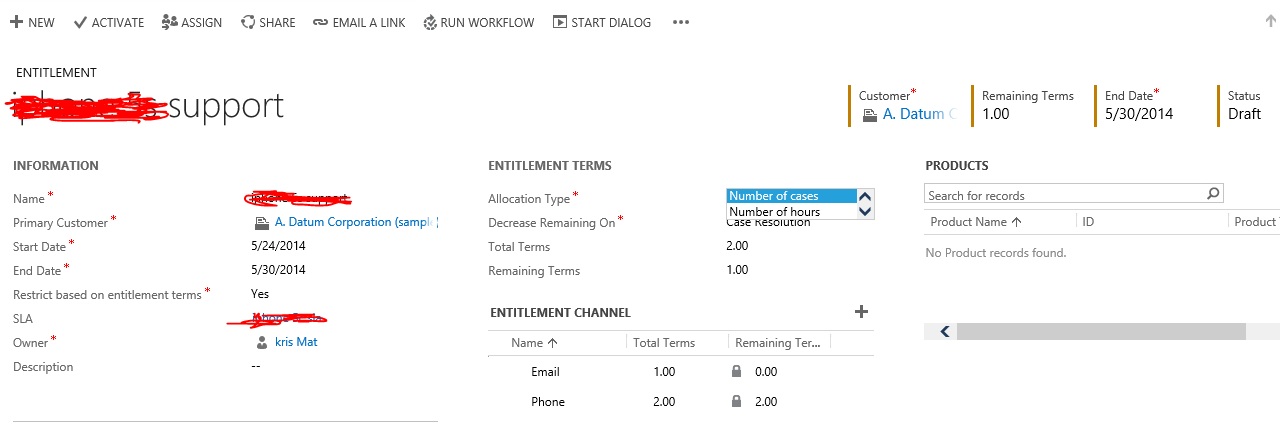
It supports Allocation Types of Cases and Hours. You have the entitlement validity dates within which the entitlements are applicable.
You can now also define Entitlement Channels. The Entitlement Channel lets you set up the max counts per channel. This means the various channels through which Case can be registered. In this above case only Email & Phone is supported.
The moment you create a Case and set the origin to either of these, the entitlement count would reduce.
This now makes managing Entitlements way simpler than the Contracts.
Conclusion:
This is just a very brief summary of the Service enhancements. In the later blogs I would pick up each of these features individually and explain them in detail.
These enhancements come with improvements in the platform as well, which would be a topic for another blog in detail.